Create a custom agent from a prebuilt agent
Copilot Studio supports several prebuilt agents to help you get started. Prebuilt agents are bundled in with Copilot Studio or available on the AppSource portal. You can customize these agents to fit your needs.
| Agent name | Type | Where available |
|---|---|---|
| Awards and Recognition | Custom agent | Awards and Recognition on the AppSource portal |
| Case Management | Custom agent | Create and Home pages of Copilot Studio |
| Citizen Services | Custom agent | Create and Home pages of Copilot Studio |
| EU CBAM Estimator (preview) | Custom agent | Create and Home pages of Copilot Studio |
| Financial Insights | Custom agent | Create and Home pages of Copilot Studio |
| Inclusivity | Custom agent | Create and Home pages of Copilot Studio |
| IT Helpdesk | Custom agent | Create and Home pages of Copilot Studio |
| Leave Management | Custom agent | Leave Management on the AppSource portal |
| Safe Travels | Custom agent | Create and Home pages of Copilot Studio |
| Store Operations | Custom agent | Create and Home pages of Copilot Studio |
| Sustainability Insights | Custom agent | Create and Home pages of Copilot Studio |
| Team Navigator | Custom agent | Create and Home pages of Copilot Studio |
| Voice | Custom agent | Create and Home pages of Copilot Studio |
| Weather | Custom agent | Create and Home pages of Copilot Studio |
| Website Q&A | Custom agent | Create and Home pages of Copilot Studio |
| Wellness Check | Custom agent | Wellness Check on the AppSource portal |
| Benefits | Microsoft 365 Copilot agent | Create and Home pages of Copilot Studio |
| Self-Help | Microsoft 365 Copilot agent | Create and Home pages of Copilot Studio |
To create a custom agent from a prebuilt agent bundled with Copilot Studio:
From the Home or the Create page, under Explore agents, select an agent.
On the agent configuration page, enter a name and, as required, a description and instructions for your new agent.
To change the icon representing your agent, select Change icon.
As required, confirm the agent's data connection:
If you need to set up or change the data connection, select the three dots next to the data connection, and then select Edit.
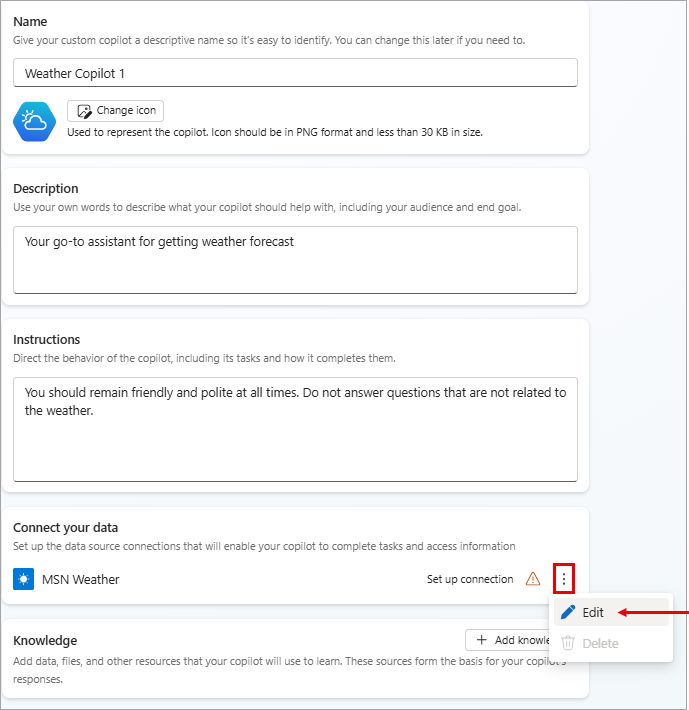
On the Connection setup page, if you're satisfied with the listed connection, select Confirm, or sign in, as required.
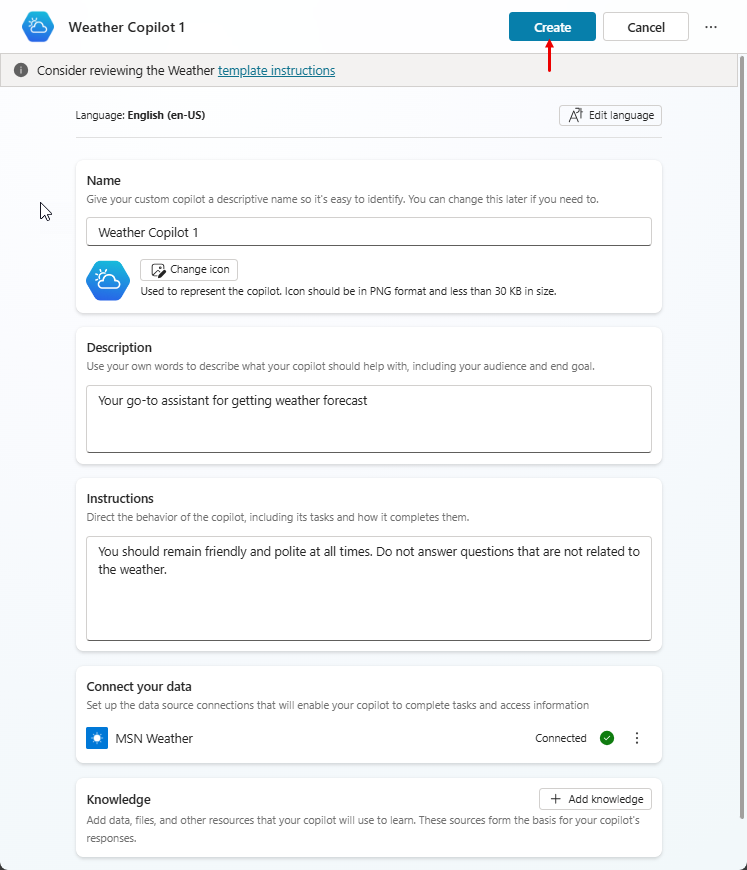
On the agent configuration page, select a primary language.
(Optional) To add extra knowledge sources, select Add knowledge.
When you're finished configuring your new agent on the agent configuration page, select Create at the top of the page.
To test your new agent, select Test at the top of the page, and then test the responses. Continue to refine your agent as desired in the Overview page.
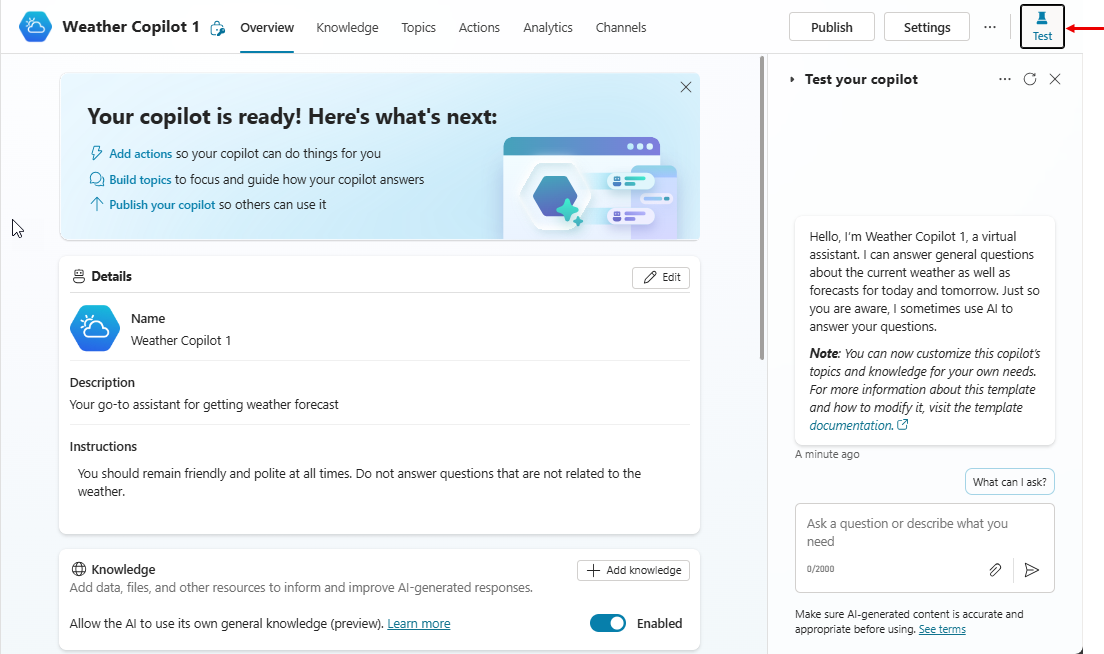
When you're ready to publish your agent, select Publish at the top of the page.
Note
Agent operations like publish and authentication configurations might take a few more minutes to be ready for use.