自定义代理的外观
代理的画布决定了它的外观。 可以通过两种方法自定义区域,具体取决于所需更改的复杂程度:
在部署代理的网站的 HTML 代码中使用 JavaScript 样式自定义默认区域。
如果要在不投入代码开发的情况下进行少量自定义,则此方法非常有用。使用自定义区域,此区域基于 Bot Framework Web 聊天区域。
此方法需要广泛的开发人员知识。 它对于需要完全自定义体验的组织很有用。
重要提示
您可以安装和使用本文中包含的示例代码,但仅限用于 Copilot Studio。 此示例代码“按原样”许可,所有服务级别协议或支持服务中均已排除。 使用本文档时的风险自负。
Microsoft 不提供任何明示担保、保证或条件,并且不提供任何默示担保,包括适销性、特定用途适用性以及不侵犯他人权利的默示担保。
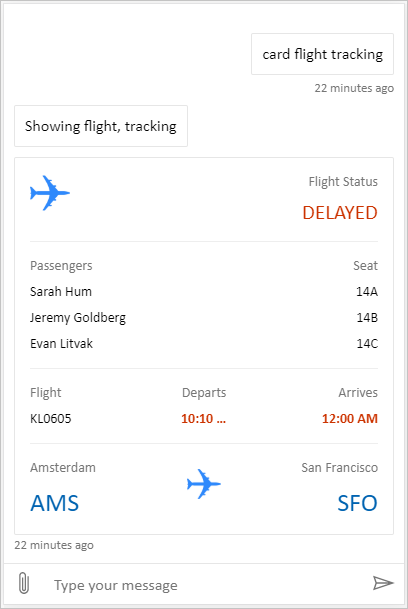
您创建并发布代理之后,您的客户可以使用代理的 Web 聊天区域与其交互。
也可以将自定义的区域与配置代理来自动启动对话相结合。
最后,您可以直接从门户更改代理的名称和图标(当代理在 Microsoft Teams 中共享时)。
更改代理的名称和图标
重要提示
如果您的代理连接到全渠道 Customer Service,则该助手的名称由 Azure 门户注册中的显示名称属性定义。
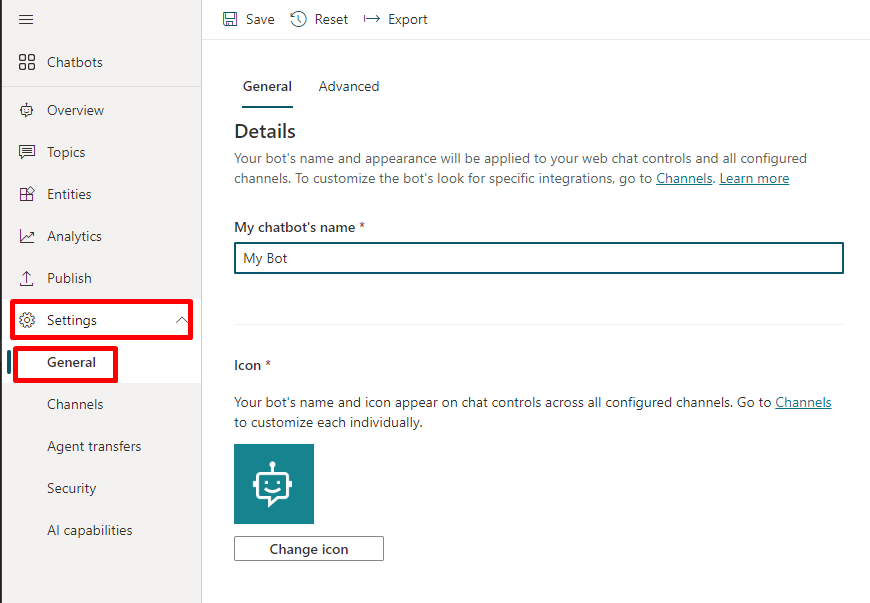
您可以更改代理的名称和图标。 这将影响发布代理的所有渠道中的图标。
在导航菜单中的设置下面,选择详细信息。
更改代理名称和图标。 查看有关 Microsoft Teams 图标格式的建议。
选择保存提交更改。
重要提示
更新代理图标后,新图标可能需要 24 小时才能在各处显示。
检索令牌终结点
要自定义画布,无论是默认画布还是您连接的自定义画布,您都需要检索代理详细信息。
在导航菜单中的设置下面,选择渠道。
选择移动应用。
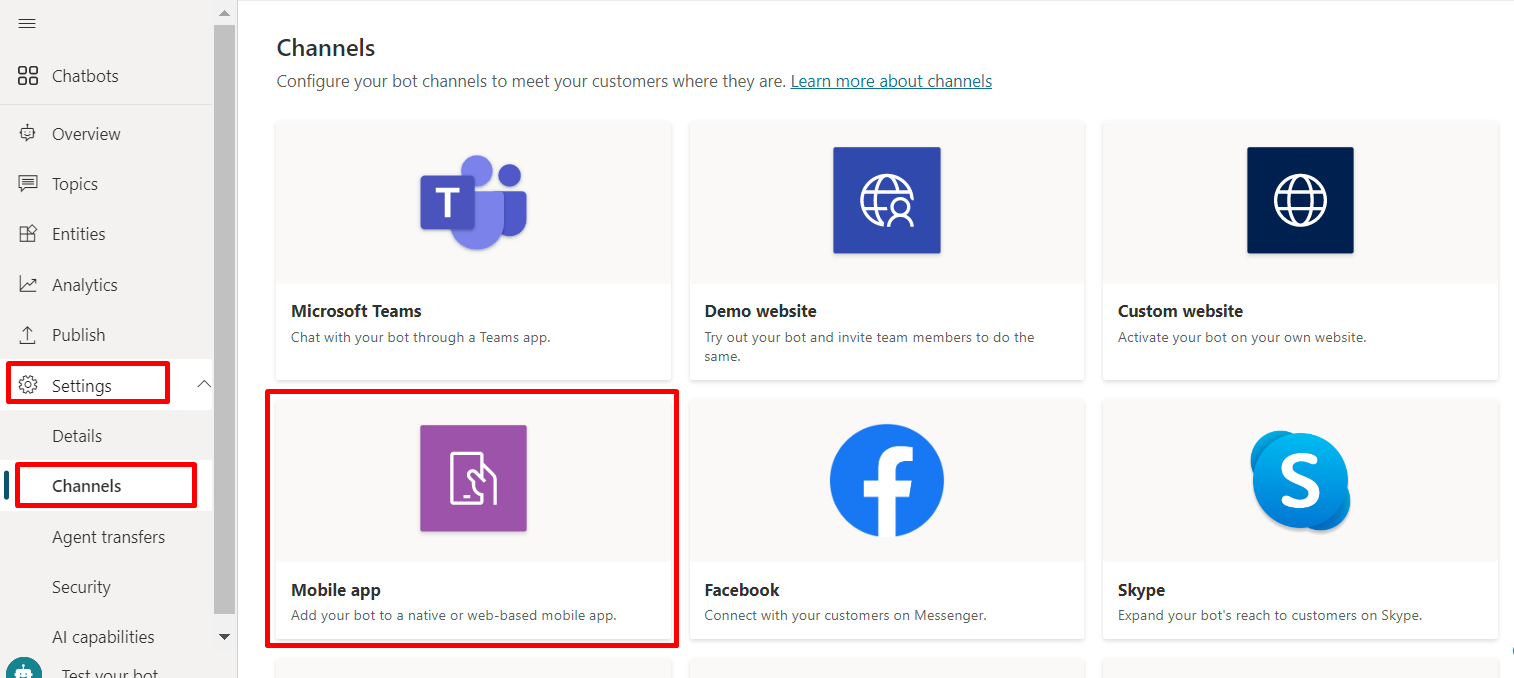
在令牌终结点旁边,选择复制。

自定义默认画布(简单)
使用一些简单的 CSS 和 JavaScript 样式选项配置聊天区域的外观。
首先,您需要配置部署代理画布的位置。
复制并粘贴下面的 HTML 代码并保存为 index.html。
也可以将下面的代码复制并粘贴到 w3schools.com HTML 试用编辑器中。 您仍然需要添加您的令牌终结点。<!doctype html> <html lang="en"> <head> <title>Contoso Sample Web Chat</title> <!-- This styling is for the Web Chat demonstration purposes. It is recommended that style is moved to a separate file for organization in larger projects. Please visit https://github.com/microsoft/BotFramework-WebChat for details about Web Chat. --> <style> html, body { height: 100%; } body { margin: 0; } h1 { color: whitesmoke; font-family: Segoe UI; font-size: 16px; line-height: 20px; margin: 0; padding: 0 20px; } #banner { align-items: center; background-color: black; display: flex; height: 50px; } #webchat { height: calc(100% - 50px); overflow: hidden; position: fixed; top: 50px; width: 100%; } </style> </head> <body> <div> <div id="banner"> <h1>Contoso agent name</h1> </div> <div id="webchat" role="main"></div> </div> <!-- In this sample, the latest version of Web Chat is being used. In production environment, the version number should be pinned and version bump should be done frequently. Please visit https://github.com/microsoft/BotFramework-WebChat/tree/main/CHANGELOG.md for changelog. --> <script crossorigin="anonymous" src="https://cdn.botframework.com/botframework-webchat/latest/webchat.js"></script> <script> (async function () { // Specifies style options to customize the Web Chat canvas. // Please visit https://microsoft.github.io/BotFramework-WebChat for customization samples. const styleOptions = { // Hide upload button. hideUploadButton: true }; // Specifies the token endpoint URL. // To get this value, visit Copilot Studio > Settings > Channels > Mobile app page. const tokenEndpointURL = new URL('<AGENT TOKEN ENDPOINT>'); // Specifies the language the agent and Web Chat should display in: // - (Recommended) To match the page language, set it to document.documentElement.lang // - To use current user language, set it to navigator.language with a fallback language // - To use another language, set it to supported Unicode locale // Setting page language is highly recommended. // When page language is set, browsers will use native font for the respective language. const locale = document.documentElement.lang || 'en'; // Uses language specified in <html> element and fallback to English (United States). // const locale = navigator.language || 'ja-JP'; // Uses user preferred language and fallback to Japanese. // const locale = 'zh-HAnt'; // Always use Chinese (Traditional). const apiVersion = tokenEndpointURL.searchParams.get('api-version'); const [directLineURL, token] = await Promise.all([ fetch(new URL(`/powervirtualagents/regionalchannelsettings?api-version=${apiVersion}`, tokenEndpointURL)) .then(response => { if (!response.ok) { throw new Error('Failed to retrieve regional channel settings.'); } return response.json(); }) .then(({ channelUrlsById: { directline } }) => directline), fetch(tokenEndpointURL) .then(response => { if (!response.ok) { throw new Error('Failed to retrieve Direct Line token.'); } return response.json(); }) .then(({ token }) => token) ]); // The "token" variable is the credentials for accessing the current conversation. // To maintain conversation across page navigation, save and reuse the token. // The token could have access to sensitive information about the user. // It must be treated like user password. const directLine = WebChat.createDirectLine({ domain: new URL('v3/directline', directLineURL), token }); // Sends "startConversation" event when the connection is established. const subscription = directLine.connectionStatus$.subscribe({ next(value) { if (value === 2) { directLine .postActivity({ localTimezone: Intl.DateTimeFormat().resolvedOptions().timeZone, locale, name: 'startConversation', type: 'event' }) .subscribe(); // Only send the event once, unsubscribe after the event is sent. subscription.unsubscribe(); } } }); WebChat.renderWebChat({ directLine, locale, styleOptions }, document.getElementById('webchat')); })(); </script> </body> </html>在创建的 index.html 文件的
const tokenEndpointURL = "<YOUR TOKEN ENDPOINT>";行中,输入您的令牌终结点。使用现代浏览器(例如 Microsoft Edge)打开 index.html 以在自定义画布中打开代理。
测试代理以确保从代理接收响应,并且代理可以正常工作。
如果遇到问题,请确保已发布代理,并在正确位置插入了令牌端点。 其应该位于行
const tokenEndpointURL = "<YOUR TOKEN ENDPOINT>"中的等号 (=) 后,并且两侧有双引号 (")。
自定义代理图标、背景颜色和名称
使用代理启用自定义的区域之后,可以对其进行更改。
可以使用 JavaScript styleOptions 选项配置一些预定义的样式。
有关指向 defaultStyleOptions.js 文件的链接以及有关您可以自定义的内容及其外观的详细信息,请参阅 Web 聊天自定义。
更改代理图标
使用以下示例代码更新 index.html 文件:
const styleOptions = {
  accent: '#00809d',
  botAvatarBackgroundColor: '#FFFFFF',
  botAvatarImage: 'https://learn.microsoft.com/azure/bot-service/v4sdk/media/logo_bot.svg',
  botAvatarInitials: 'BT',
  userAvatarImage: 'https://avatars.githubusercontent.com/u/661465'
};
将代理和用户头像图像替换为公司图像。
如果您没有图像 URL,可以改用 Base64 编码的图像字符串。
更改背景颜色
使用以下示例代码更新 index.html 文件:
const styleOptions = {
  backgroundColor: 'lightgray'
};
将
backgroundColor更改为您需要的任何颜色。 可以使用标准的 CSS 颜色名称、RGB 值或十六进制值。
更改代理名称
使用以下内容更新 index.html 文件中的
<h1>文本:<body> <div id="banner"> <h1><img src="contosocopilot-teams.png"> Contoso agent name</h1> </div>将此文本更改为要用于称呼代理的任何内容。 也可以插入图像,虽然可能需要为其设置样式以确保其适应标题部分。
自定义和托管聊天区域(高级)
可以将 Copilot Studio 代理与以独立 Web 应用的形式托管的自定义区域连接。 如果需要在多个网页中嵌入一个自定义的 iFrame,此选项最适合。
备注
需要开发软件才能托管自定义区域。 此处的指导面向经验丰富的 IT 专业人士,如深谙开发人员工具、实用程序和 IDE 的 IT 管理员或开发人员。
选择要自定义的示例
建议从下面的一个自定义创建的示例开始使用 Copilot Studio:
也可以在 Bot Framework 提供的其他示例 Web 聊天区域中挑选。
使用 styleSetOptions 自定义区域
就像自定义默认区域,可以使用 styleSetOptions 定制自定义区域。
defaultStyleOptions.js 中列出了所有可自定义属性。 有关可自定义的对象及其外观的详细信息,请参阅 Web 聊天自定义。
部署自定义的区域
若要托管自定义区域,请将所有文件部署到 Web 应用。