Route records in Omnichannel Administration app
Omnichannel for Customer Service offers a suite of capabilities that extend the power of Dynamics 365 Customer Service Enterprise to enable organizations to instantly connect and engage with their customers across digital messaging channels. An additional license is required to access Omnichannel for Customer Service. For more information, see the Dynamics 365 Customer Service pricing overview and Dynamics 365 Customer Service pricing plan pages.
Important
- Support for the Omnichannel Administration app ended on April 30, 2022, and the app was removed in July 2023. We recommend that you use the Customer Service admin center app to configure the latest features, such as unified routing and voice channel. More information: Omnichannel Administration app is deprecated and will be removed in July 2023.
- We recommend that you upgrade to the latest version of Omnichannel for Customer Service and use unified routing. For more information, see Overview of unified routing.
Overview
In Omnichannel Administration, Entity Records channel helps you to automatically route cases and other records to agents based on the agent's skill, capacity, and presence. To learn more about skill-based routing, see Skill-based routing overview.
Automatic distribution of cases and other records
With routing for records, organizations can route cases and other records to omnichannel queues. The cases and other records routed to omnichannel queues are automatically distributed and assigned to best available agents based on their skill, capacity, and presence.
Routing and queues
Cases and other records can be routed to omnichannel queues with work items that originate from other channels such as Chat and SMS.
This allows organizations to tightly define the work profile that their agents are supposed to handle, and organizations can automate the work flow assignment across channels and assign the work items based on agents skill, capacity, and presence.
Configure records channel
To setup the Entity Record channel for cases, follow the steps:
| Step | Description |
|---|---|
| Step 1: Create queues and add agents | Define queues for your organization and add agents (users) to the queues. |
| Step 2: Enable entity for queues | Enable the entity for queues. |
| Step 3: Enable entity for routing channel | Create entity record configuration to enable an entity for routing. |
| Step 4: Create routing rules | Create routing rules to route cases to the appropriate queues. |
Create queues and add agents
Create an omnichannel queue or use an existing omnichannel queue, and then add agents to these queues. To learn more, see Create a queue.
Enable entities for queues
Perform the steps mentioned in Enable entities for queues for unified routing.
Enable record for routing
Create record configuration to enable it for routing.
Sign in to the Omnichannel Administration app.
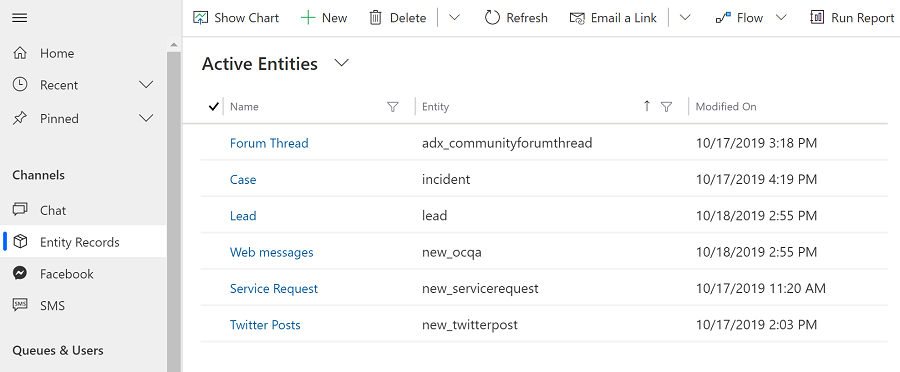
Select Entity Records under Channels in the sitemap.
Select New in the Active Entities page.
Specify the following in the New Entity page.
Tab Field Description Value Basic Details Name Specify a name for the record channel. Case channel
Note: This is an example value.Basic Details Entity Select a value from the list. Case (Incident) Select Save to save the record channel. After you save, in the Work distribution section, a default work stream is automatically created to distribute these records.
Note
When you create a record channel configuration, a default work stream will be created to distribute these records. You can edit the default work stream or create more work streams as per your business scenarios. To learn more, see Create work stream for record routing.
Create routing rules
After creating a record configuration, and enabling the record for routing, you can define routing rules to route these records to appropriate queues.
Routing rules for records consists of routing rule sets, which in turn contains rule items.
Let's see how to create routing rule set and rule items for records. In this procedure, we are adding it for case record as example.
Sign in to the Omnichannel Administration app.
Select Entity Records under Channels in the sitemap.
Select a records channel that you created for routing the records from the Active Entities view.
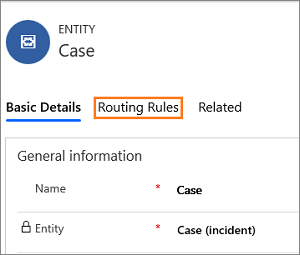
Select the Routing Rules tab in the entity records channel.
Create routing rule set
Routing rule set is a collection of rule items, and you can have multiple routing rule sets defined for a record. However, only one routing rule set can be active at any point in time. The rules items in active routing rule set are used to route the records. To create a new routing rule set, follow steps 5-7.
Note
You can’t edit an active routing rule set. Therefore, if you’re importing a solution that includes an active routing rule set into an organization where the rule set already exists with the same ID, the solution import will fail.
Select New Routing Rule Set.
Specify the following in the New Routing Rule Set page.
Tab Field Value Description General Name Case routing rules Specify a name to the routing rule set. General Entity Case Select the entity for which you are creating the rule set. General Description This routing rule set is used for routing high priority cases to agents. Specify a description for you to identify the purpose of the routing rule set. 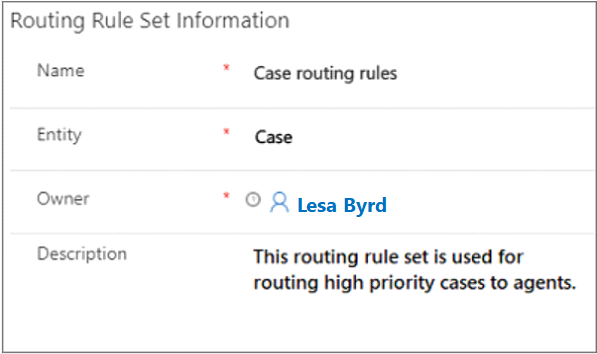
Select Save to save the rule set. Once you save the record, you can see the Rule Items section in the page.
Create rule item
You can define multiple routing rule items in a routing rule set. A rule item consists of a condition and destination to route the records. Let's see how to define the rule items. To create a new rule item, follow steps 8-13.
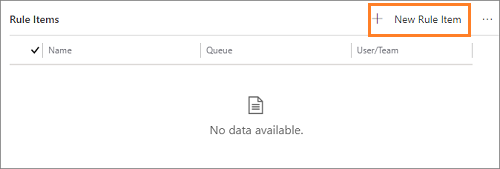
Select New Rule Item in the Rule Items section. A New Rule Item page appears.
Specify the following on the New Rule Item page.
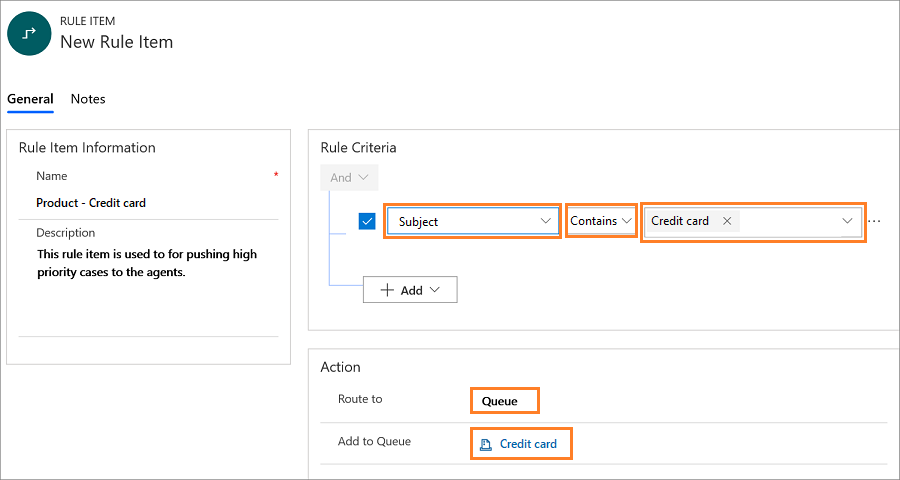
Tab Field Value Description General Name Product - Credit card Specify a name to the rule item. General Description This rule item is used for routing credit card cases. Specify a description for you to identify the purpose of the rule item. Select Add in the Rule Criteria section, and then select Add row.
a. Select a rule from the list for the first box. For example, Subject.
b. Select a condition from the list. For example, Contains.
c. Select a value for the rule from the list. For example, Credit card.
Note
You can define conditions for both primary entity attributes and related entity attributes.
Select Queue for the Route to field.
Select an omnichannel queue for the Add to Queue field.
The steps 9 to 11 indicate if the Subject of a case is Credit card, then route the case to the selected omnichannel queue.
Note
You must select an omnichannel queue for automatic work distribution in the Add to Queue field to automatically assign records to agents.
Select Save to save the rule item.
You've successfully created queues, enabled entity for routing, and created routing rule sets. Now, activate the routing rule set.
Upgrade path for preview users
If you are upgrading from preview release to the latest version, then earlier configured work streams will be obsolete. You need to create a new entity records channel and then redefine the work streams. To learn more, see Create workstream for entity record routing.
See also
Route trigger for entity records