iOS SDK에서 기능 정보 표시(미리 보기)
참고 항목
Azure Maps iOS SDK 사용 중지
이제 iOS용 Azure Maps 네이티브 SDK는 더 이상 사용되지 않으며 2025년 3월 31일에 사용 중지됩니다. 서비스 중단을 방지하려면 2025년 3월 31일까지 Azure Maps 웹 SDK로 마이그레이션합니다. 자세한 내용은 Azure Maps iOS SDK 마이그레이션 가이드를 참조하세요.
공간 데이터는 종종 점, 선 및 다각형을 사용하여 표현됩니다. 이 데이터는 연결된 메타데이터 정보를 포함하는 경우가 많습니다. 예를 들어, 점은 식당의 위치를 나타낼 수 있으며 해당 식당에 대한 메타데이터는 해당 이름, 주소 및 사용되는 음식의 종류가 될 수 있습니다. 이 메타데이터는 GeoJSON Feature의 속성으로 추가할 수 있습니다. 다음 코드에서는 값이 "Hello World!"인 title 속성이 있는 단순한 요소 기능을 만듭니다.
// Create a data source and add it to the map.
let source = DataSource()
map.sources.add(source)

// Create a point feature.
let feature = Feature(Point(CLLocationCoordinate2D(latitude: -122.33, longitude: 47.64)))

// Add a property to the feature.
feature.addProperty("title", value: "Hello World!")

// Create a point feature, pass in the metadata properties, and add it to the data source.
source.add(feature: feature)
데이터를 만들고 맵에 추가하는 방법에 대한 자세한 내용은 데이터 원본 만들기를 참조하세요.
사용자가 맵의 기능과 상호 작용하는 경우 이벤트를 사용하여 해당 작업에 대응할 수 있습니다. 일반적인 시나리오는 사용자가 상호 작용한 기능의 메타데이터 속성으로 메시지를 표시하는 것입니다. azureMap(_:didTapOn:) 이벤트는 사용자가 맵의 기능을 탭할 때 감지에 사용되는 기본 이벤트입니다. azureMap(_:didLongPressOn:) 이벤트도 있습니다. 대리자가 맵에 추가되면 이를 제한할 계층의 ID를 전달하여 단일 계층으로 제한할 수 있습니다. 계층 ID가 전달되지 않은 경우에는 해당 계층에 관계 없이 맵의 임의 기능을 눌러 이 이벤트를 발생시킬 수 있습니다. 다음 코드는 맵에서 요소 데이터를 렌더링할 기호 계층을 만든 다음, azureMap(_:didTapOn:) 이벤트를 처리하는 이 기호 계층으로 제한된 대리자를 추가합니다.
// Create a symbol and add it to the map.
let layer = SymbolLayer(source: source)
map.layers.addLayer(layer)

// Add the delegate to the map to handle feature tap events on the layer only.
map.events.addDelegate(self, for: [layer.id])
func azureMap(_ map: AzureMap, didTapOn features: [Feature]) {
    // Retrieve the title property of the feature as a string.
    let title = features.first?.properties["title"] as? String

    // Do something with the title.
}
경고 표시
알림은 사용자에게 정보를 표시하는 가장 쉬운 방법 중 하나이며 일반적으로 지원되는 모든 iOS 버전에서 사용할 수 있습니다. 사용자가 탭한 내용에 대해 사용자에게 신속하게 알리려면 알림이 좋은 옵션일 수 있습니다. 다음 코드에서는 알림을 azureMap(_:didTapOn:) 이벤트와 함께 사용할 수 있는 방법을 보여 줍니다.
func azureMap(_ map: AzureMap, didTapOn features: [Feature]) {
    // Retrieve the title property of the feature as a string.
    let title = features.first?.properties["title"] as? String

    // Display an alert with the title information.
    let alert = UIAlertController(title: title, message: nil, preferredStyle: .alert)
    alert.addAction(UIAlertAction(title: "OK", style: .cancel))
    present(alert, animated: true)
}
알림 외에도 다음과 같은 다양한 방법으로 기능의 메타데이터 속성을 표시할 수 있습니다.
- 맵을 통해 사용자 지정 보기 추가
- 맵 위에 자식 보기 컨트롤러 추가
- 현재 컨트롤러 위에 다른 뷰 컨트롤러를 모듈식으로 표시합니다.
- 다른 뷰 컨트롤러로 이동합니다.
팝업 표시
Azure Maps iOS SDK는 맵의 위치에 고정된 UI 주석 요소를 쉽게 만들 수 있도록 하는 Popup 클래스를 제공합니다. 팝업의 경우 팝업의 content 옵션에 자체 크기 조정 보기를 전달해야 합니다. 다음은 흰 배경 위에 짙은 텍스트를 표시하는 간단한 보기 예제입니다.
class PopupTextView: UIView {
    private let textLabel: UILabel = {
        let label = UILabel()
        label.translatesAutoresizingMaskIntoConstraints = false
        label.numberOfLines = 0
        label.textColor = UIColor(red: 34 / 255, green: 34 / 255, blue: 34 / 255, alpha: 1)
        label.font = .systemFont(ofSize: 18)
        return label
    }()

    override init(frame: CGRect) {
        super.init(frame: frame)
        setup()
    }

    required init?(coder: NSCoder) {
        super.init(coder: coder)
    }

    override func awakeFromNib() {
        super.awakeFromNib()
        setup()
    }

    private func setup() {
        backgroundColor = .white
        addSubview(textLabel)

        NSLayoutConstraint.activate([
            textLabel.topAnchor.constraint(equalTo: topAnchor, constant: 10),
            textLabel.bottomAnchor.constraint(equalTo: bottomAnchor, constant: -10),
            textLabel.leadingAnchor.constraint(equalTo: leadingAnchor, constant: 10),
            textLabel.trailingAnchor.constraint(equalTo: trailingAnchor, constant: -25)
        ])
    }

    func setText(_ text: String) {
        textLabel.text = text
    }
}
다음 코드는 팝업을 만들어 맵에 추가합니다. 기능을 탭하면 PopupTextView 클래스를 사용하여 title 속성을 표시하며, 이 레이아웃의 아래쪽 가운데는 맵에서 지정된 위치에 고정됩니다.
// Create a popup and add it to the map.
let popup = Popup()
map.popups.add(popup)

// Set popup to the class property to use in events handling later.
self.popup = popup
func azureMap(_ map: AzureMap, didTapOn features: [Feature]) {
    guard let popup = popup, let feature = features.first else {
        // Popup has been released or no features provided
        return
    }

    // Create the custom view for the popup.
    let customView = PopupTextView()

    // Set the text to the custom view.
    let text = feature.properties["title"] as! String
    customView.setText(text)

    // Get the position of the tapped feature.
    let position = Math.positions(from: feature).first!

    // Set the options on the popup.
    popup.setOptions([
        // Set the popups position.
        .position(position),

        // Set the anchor point of the popup content.
        .anchor(.bottom),

        // Set the content of the popup.
        .content(customView)

        // Optionally, hide the close button of the popup.
        // .closeButton(false)

        // Optionally offset the popup by a specified number of points.
        // .pointOffset(CGPoint(x: 10, y: 10))
    ])

    // Open the popup.
    popup.open()
}
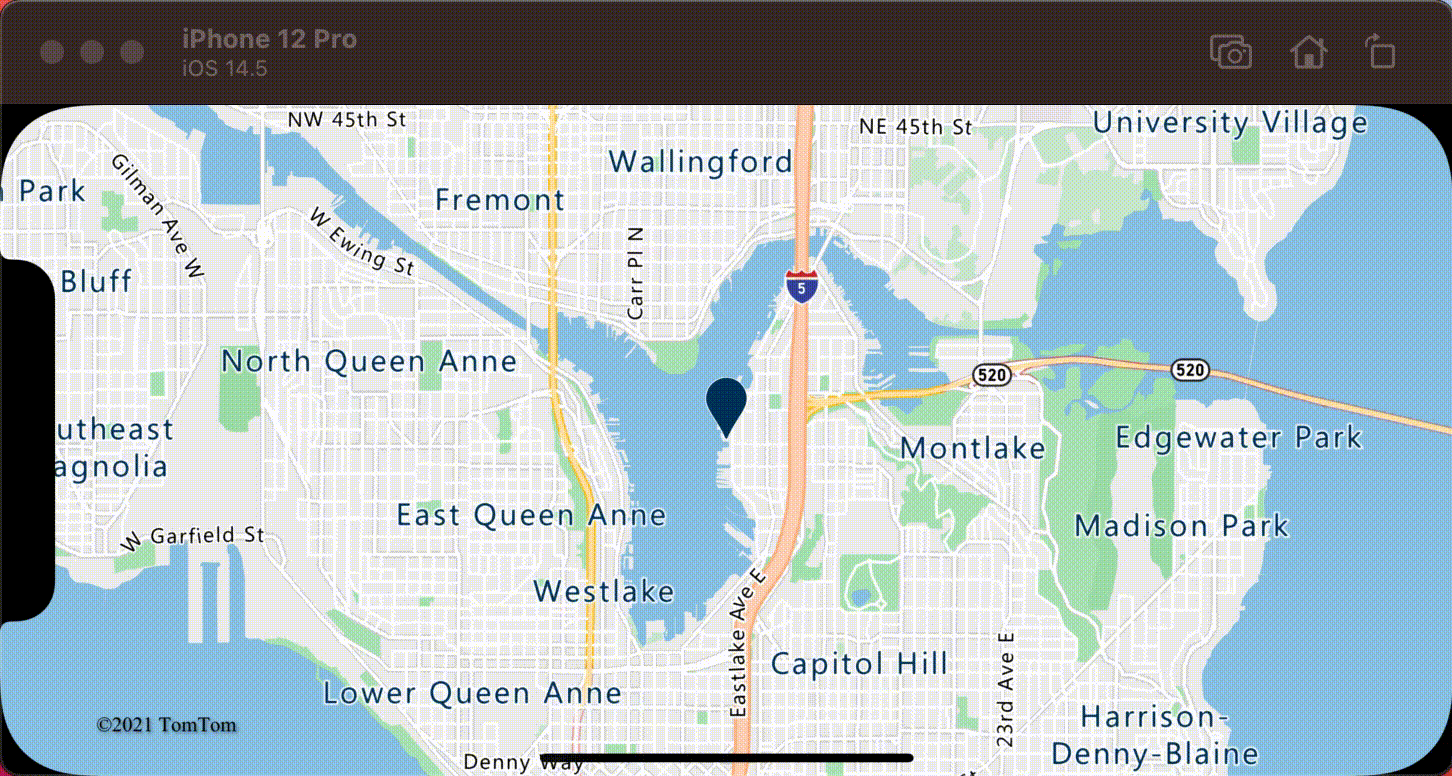
다음 화면 캡처는 기능을 탭하고 맵의 이동 시 지정된 위치에 고정되어 있을 때 나타나는 팝업을 보여 줍니다.
추가 정보
원본에 더 많은 데이터 추가: