マップにポップアップを追加する
この記事では、マップ上のポイントにポップアップを追加する方法について説明します。
コードの理解
次のコードでは、シンボル レイヤーを使用して、name プロパティと description プロパティを持つポイント フィーチャーをマップに追加します。 Popup クラスのインスタンスが作成されますが、表示されません。 ポップアップのオープンとクローズをトリガーするためのマウス イベントがシンボル レイヤーに追加されます。 マーカー シンボルをマウスでポイントすると、ポップアップの position プロパティがマーカーの位置に応じて更新され、マウスでポイントされているポイント フィーチャーの name プロパティと description プロパティをラップしている HTML に応じて content オプションが更新されます。 次に、その open 関数を使用してマップにポップアップが表示されます。
//Define an HTML template for a custom popup content laypout.
var popupTemplate = '<div class="customInfobox"><div class="name">{name}</div>{description}</div>';

//Create a data source and add it to the map.
var dataSource = new atlas.source.DataSource();
map.sources.add(dataSource);

dataSource.add(new atlas.data.Feature(new atlas.data.Point([-122.1333, 47.63]), {
  name: 'Microsoft Building 41',
  description: '15571 NE 31st St, Redmond, WA 98052'
}));

//Create a layer to render point data.
var symbolLayer = new atlas.layer.SymbolLayer(dataSource);

//Add the polygon and line the symbol layer to the map.
map.layers.add(symbolLayer);

//Create a popup but leave it closed so we can update it and display it later.
popup = new atlas.Popup({
  pixelOffset: [0, -18],
  closeButton: false
});

//Add a hover event to the symbol layer.
map.events.add('mouseover', symbolLayer, function (e) {
  //Make sure that the point exists.
  if (e.shapes && e.shapes.length > 0) {
    var content, coordinate;
    var properties = e.shapes[0].getProperties();
    content = popupTemplate.replace(/{name}/g, properties.name).replace(/{description}/g, properties.description);
    coordinate = e.shapes[0].getCoordinates();

    popup.setOptions({
      //Update the content of the popup.
      content: content,

      //Update the popup's position with the symbol's coordinate.
      position: coordinate

    });
    //Open the popup.
    popup.open(map);
  }
});

map.events.add('mouseleave', symbolLayer, function (){
  popup.close();
});
複数のポイントでポップアップを再利用する
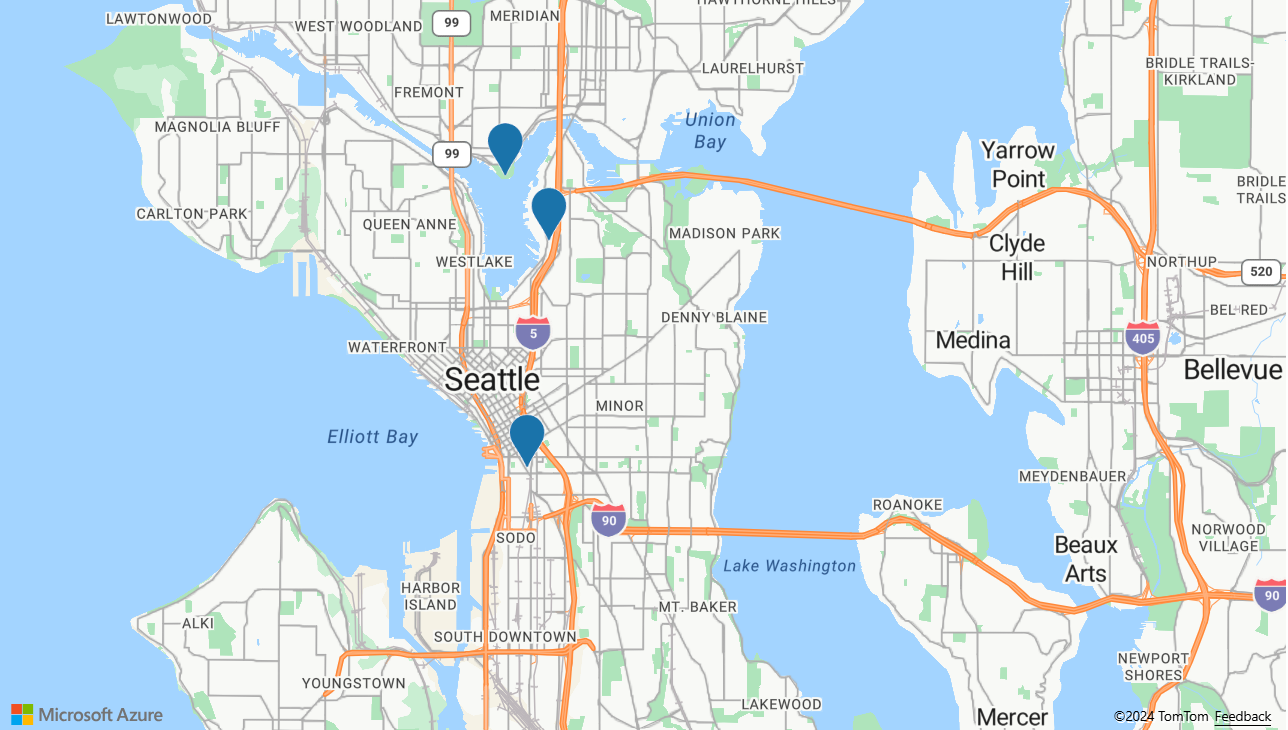
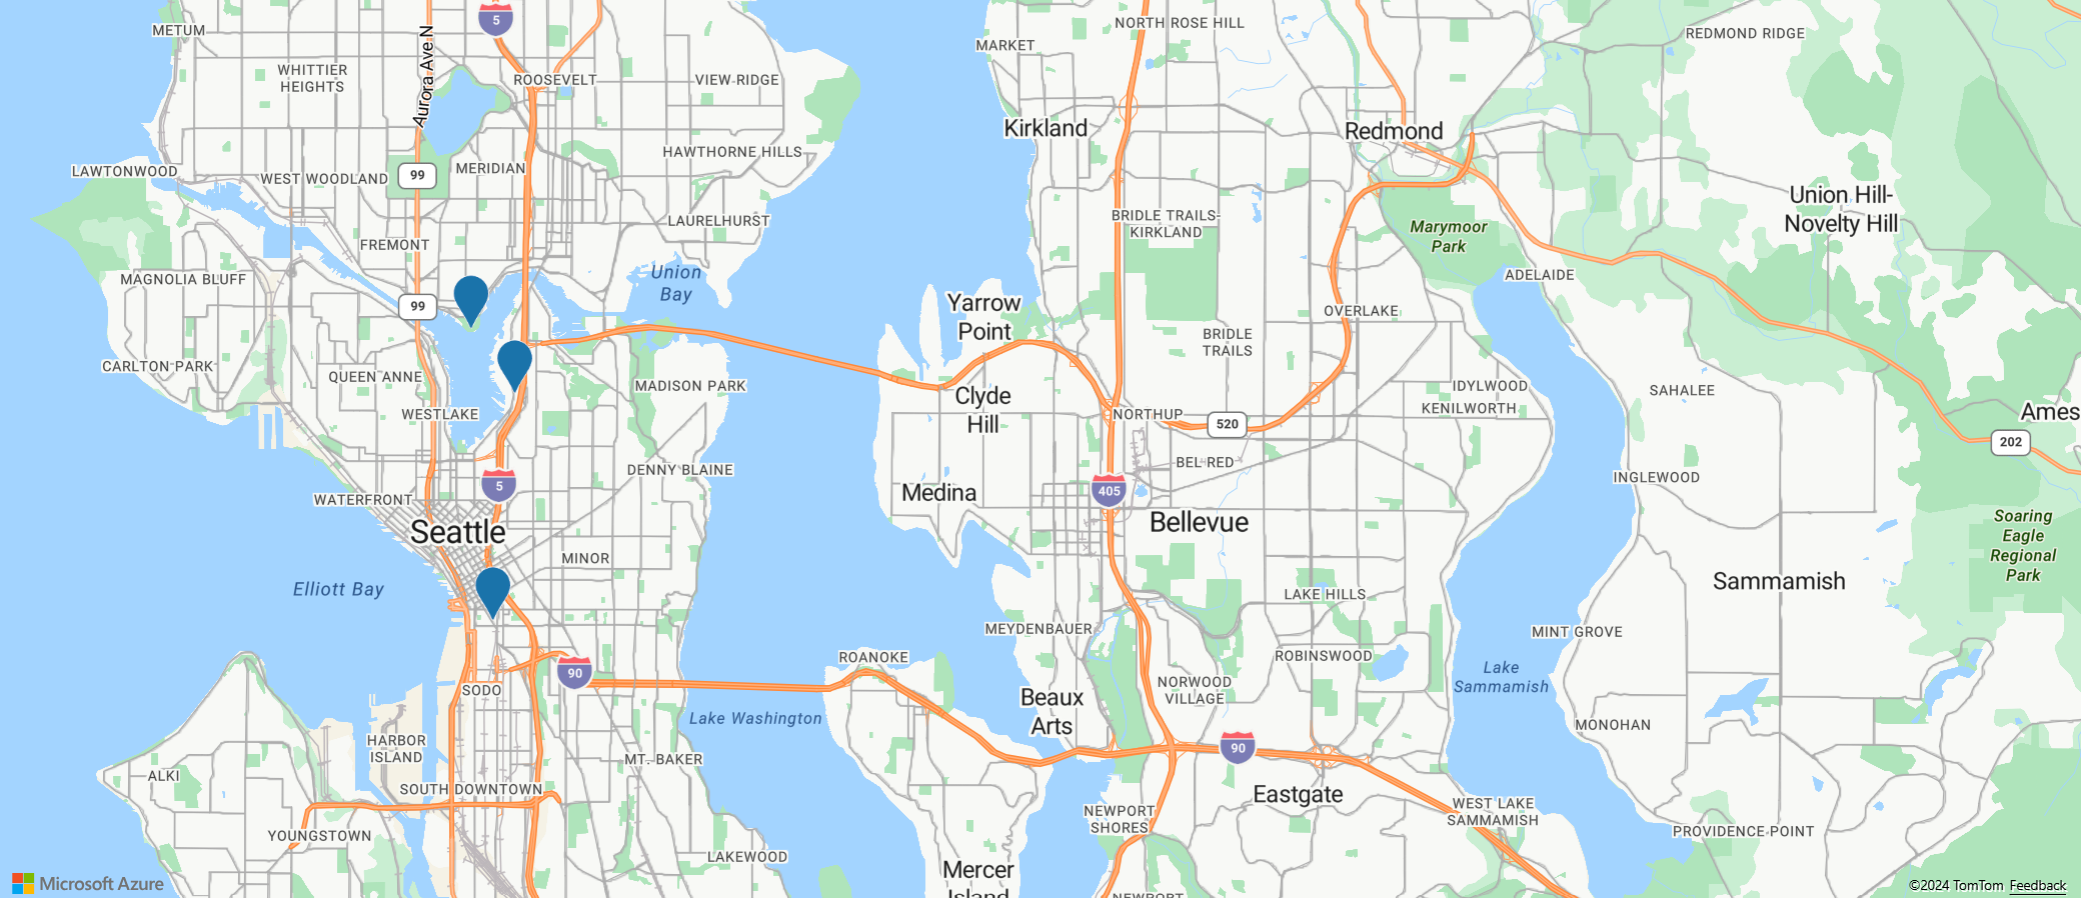
ポップアップを 1 つ作成して再利用することが最善のアプローチである場合があります。 たとえば、ポイントが多数あって、一度に 1 つのポップアップだけ表示したい場合があります。 ポップアップを再利用することで、アプリケーションによって作成される DOM 要素数が大幅に削減され、パフォーマンスが向上します。 次のサンプルでは、3 ポイント フィーチャーを作成します。 そのいずれかを選択すると、そのポイント フィーチャーのコンテンツを含むポップアップが表示されます。
各ポイント フィーチャのポップアップを作成するのではなく、1 つのポップアップを作成して再利用する方法を示す完全に機能するサンプルについては、Azure Maps サンプルの「複数のピンを使用してポップアップを再利用する」をご覧ください。 このサンプルのソース コードについては、「複数のピンを使用したポップアップの再利用のソース コード」を参照してください。
ポップアップのカスタマイズ
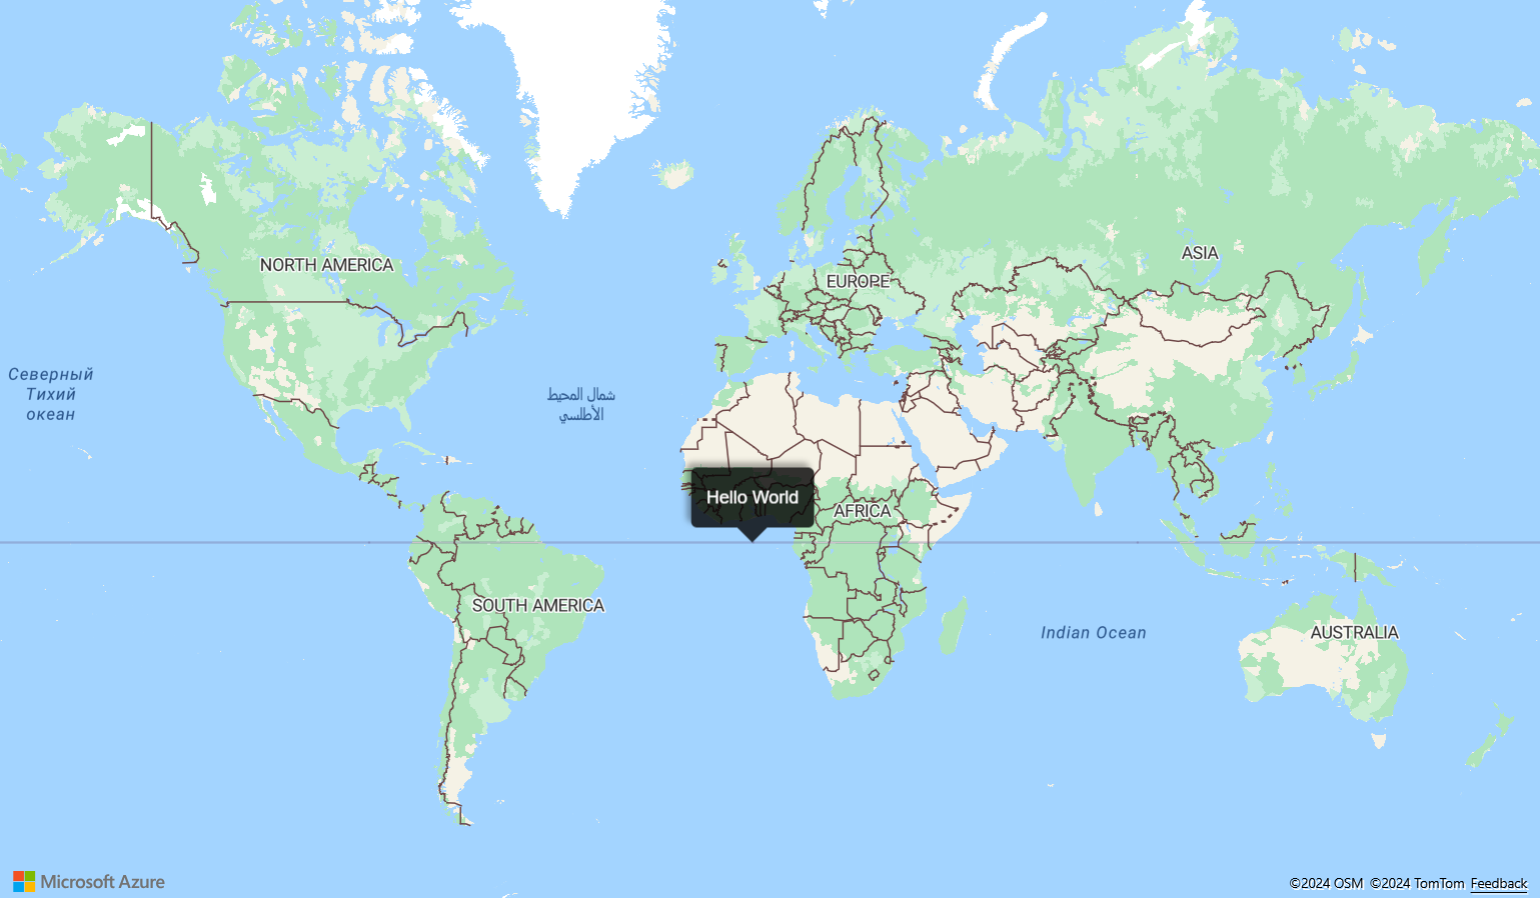
既定では、ポップアップには白の背景、下部にポインターの矢印、右上隅に [閉じる] ボタンがあります。 次のサンプルでは、ポップアップの fillColor オプションを使用して背景色を黒に変更します。 CloseButton オプションを false に設定すると、[閉じる] ボタンが削除されます。 ポップアップの HTML コンテンツでは、ポップアップの端から 10 ピクセルのスペースが使用されます。 テキストは白で表示されるため、黒の背景に適切に表示されます。
ポップアップの外観をカスタマイズする方法を示す完全に機能するサンプルについては、Azure Maps サンプルの「ポップアップをカスタマイズする」をご覧ください。 このサンプルのソース コードについては、「ポップアップのカスタマイズのソース コード」を参照してください。
マップにポップアップ テンプレートを追加する
ポップアップ テンプレートを使用すると、ポップアップ用のデータ ドリブン レイアウトを簡単に作成できます。 以下のセクションでは、フィーチャーのプロパティを使用して書式設定されたコンテンツを生成するためのさまざまなポップアップ テンプレートの使用方法を示します。
Note
既定では、ポップアップ テンプレートを使用してレンダリングされるすべてのコンテンツは、iframe 内にセキュリティ機能としてサンドボックス化されます。 ただし、次のような制限があります。
- すべてのスクリプト、フォーム、ポインター ロック、上部ナビゲーションの機能は無効になります。 リンクをクリックすると、新しいタブで開くことができます。
- iframe の
srcdocパラメーターをサポートしていない古いブラウザーでは、少量のコンテンツのレンダリングに制限されます。
ポップアップに読み込まれるデータを信頼しており、潜在的に、ポップアップに読み込まれるこれらのスクリプトがアプリケーションにアクセスできるようにしたい場合は、ポップアップ テンプレートの sandboxContent オプションを false に設定することによって、これを無効にすることができます。
文字列テンプレート
文字列テンプレートでは、プレースホルダーがフィーチャー プロパティの値に置き換えられます。 このフィーチャーのプロパティに、文字列型の値を割り当てる必要はありません。 たとえば、value1 では整数が保持されます。 これらの値は、次に popupTemplate のコンテンツ プロパティに渡されます。
numberFormat オプションでは、表示する数値の形式が指定されます。 numberFormat を指定しないと、コードではポップアップ テンプレートの日付形式が使用されます。 numberFormat オプションでは、Number.toLocaleString 関数を使用して数値の形式が設定されます。 大きな数値の形式を設定するには、numberFormat オプションを、NumberFormat.format からの関数と共に使用することを検討してください。 たとえば、次のコード スニペットでは、maximumFractionDigits を使用して、小数部の桁数が 2 に制限されます。
Note
文字列テンプレートでイメージをレンダリングできる方法は 1 つだけです。 まず、文字列テンプレートにはイメージ タグを用意する必要があります。 イメージ タグに渡す値は、イメージへの URL とする必要があります。 次に、文字列テンプレートでは、HyperLinkFormatOptions 内で isImage を true に設定する必要があります。 isImage オプションで、ハイパーリンクがイメージ用であることが指定されると、ハイパーリンクはイメージ タグに読み込まれます。 ハイパーリンクをクリックすると、イメージが開きます。
var templateOptions = {
  content: 'This template uses a string template with placeholders.<br/><br/> - Value 1 = {value1}<br/> - Value 2 = {value2/subValue}<br/> - Array value [2] = {arrayValue/2}',
  numberFormat: {
    maximumFractionDigits: 2
  }
};

var feature = new atlas.data.Feature(new atlas.data.Point([0, 0]), {
    title: 'Template 1 - String template',
    value1: 1.2345678,
    value2: {
        subValue: 'Pizza'
    },
    arrayValue: [3, 4, 5, 6]
});

var popup = new atlas.Popup({
  content: atlas.PopupTemplate.applyTemplate(feature.properties, templateOptions),
  position: feature.geometry.coordinates
});
PropertyInfo テンプレート
PropertyInfo テンプレートには、フィーチャーの使用可能なプロパティが表示されます。 label オプションでは、ユーザーに表示するテキストが指定されます。 label を指定しないと、ハイパーリンクが表示されます。 さらに、ハイパーリンクがイメージである場合は、"alt" タグに割り当てられた値が表示されます。 dateFormat では日付の形式が指定されます。日付の形式を指定しないと、日付は文字列としてレンダリングされます。 hyperlinkFormat オプションではクリック可能なリンクがレンダリングされます。同様に、email オプションを使用すると、クリック可能な電子メールアドレスをレンダリングできます。
PropertyInfo テンプレートでは、プロパティをエンド ユーザーに表示する前に、プロパティがそのフィーチャーに対して実際に定義されていることを再帰的に確認します。 また、スタイルおよびタイトルのプロパティを表示することは無視されます。 たとえば、color、size、anchor、strokeOpacity、および visibility は表示されません。 このため、バックエンドでプロパティ パスのチェックが完了すると、コンテンツは PropertyInfo テンプレートによってテーブル形式で表示されます。
var templateOptions = {
  content: [
    {
        propertyPath: 'createDate',
        label: 'Created Date'
    },
    {
        propertyPath: 'dateNumber',
        label: 'Formatted date from number',
        dateFormat: {
          weekday: 'long',
          year: 'numeric',
          month: 'long',
          day: 'numeric',
          timeZone: 'UTC',
          timeZoneName: 'short'
        }
    },
    {
        propertyPath: 'url',
        label: 'Code samples',
        hideLabel: true,
        hyperlinkFormat: {
          label: 'Go to code samples!',
          target: '_blank'
        }
    },
    {
        propertyPath: 'email',
        label: 'Email us',
        hideLabel: true,
        hyperlinkFormat: {
          target: '_blank',
          scheme: 'mailto:'
        }
    }
  ]
};

var feature = new atlas.data.Feature(new atlas.data.Point([0, 0]), {
    title: 'Template 2 - PropertyInfo',
    createDate: new Date(),
    dateNumber: 1569880860542,
    url: 'https://samples.azuremaps.com/',
    email: 'info@microsoft.com'
}),

var popup = new atlas.Popup({
  content: atlas.PopupTemplate.applyTemplate(feature.properties, templateOptions),
  position: feature.geometry.coordinates
});
複数のコンテンツ テンプレート
また、フィーチャーには、文字列テンプレートと PropertyInfo テンプレートの組み合わせを使用してコンテンツを表示することもできます。 この場合、白の背景上に文字列テンプレートによってプレースホルダーの値がレンダリングされます。 さらに、テーブル内に PropertyInfo テンプレートによって全幅のイメージがレンダリングされます。 このサンプル内のプロパティは、前のサンプルで説明したプロパティに似ています。
var templateOptions = {
  content: [
    'This template has two pieces of content; a string template with placeholders and a array of property info which renders a full width image.<br/><br/> - Value 1 = {value1}<br/> - Value 2 = {value2/subValue}<br/> - Array value [2] = {arrayValue/2}',
    [{
      propertyPath: 'imageLink',
      label: 'Image',
      hideImageLabel: true,
      hyperlinkFormat: {
        isImage: true
      }
    }]
  ],
  numberFormat: {
    maximumFractionDigits: 2
  }
};

var feature = new atlas.data.Feature(new atlas.data.Point([0, 0]), {
    title: 'Template 3 - Multiple content template',
    value1: 1.2345678,
    value2: {
    subValue: 'Pizza'
    },
    arrayValue: [3, 4, 5, 6],
    imageLink: 'https://samples.azuremaps.com/images/Pike_Market.jpg'
});

var popup = new atlas.Popup({
  content: atlas.PopupTemplate.applyTemplate(feature.properties, templateOptions),
  position: feature.geometry.coordinates
});
テンプレートが定義されていないポイント
ポップアップ テンプレートが文字列テンプレート、PropertyInfo テンプレート、またはその両方の組み合わせとして定義されていない場合、既定の設定が使用されます。 割り当てられているプロパティが title と description だけである場合、ポップアップ テンプレートには、白の背景、右上隅に [閉じる] ボタンが表示されます。 また、小さい画面および中くらいの画面には、下部に矢印が表示されます。 title と description 以外のすべてのプロパティについては、既定の設定がテーブル内に表示されます。 既定の設定にフォール バックしても、引き続きポップアップ テンプレートをプログラムによって操作することができます。 たとえば、ユーザーはハイパーリンクの検出を無効にできますが、他のプロパティには引き続き既定の設定が適用されます。
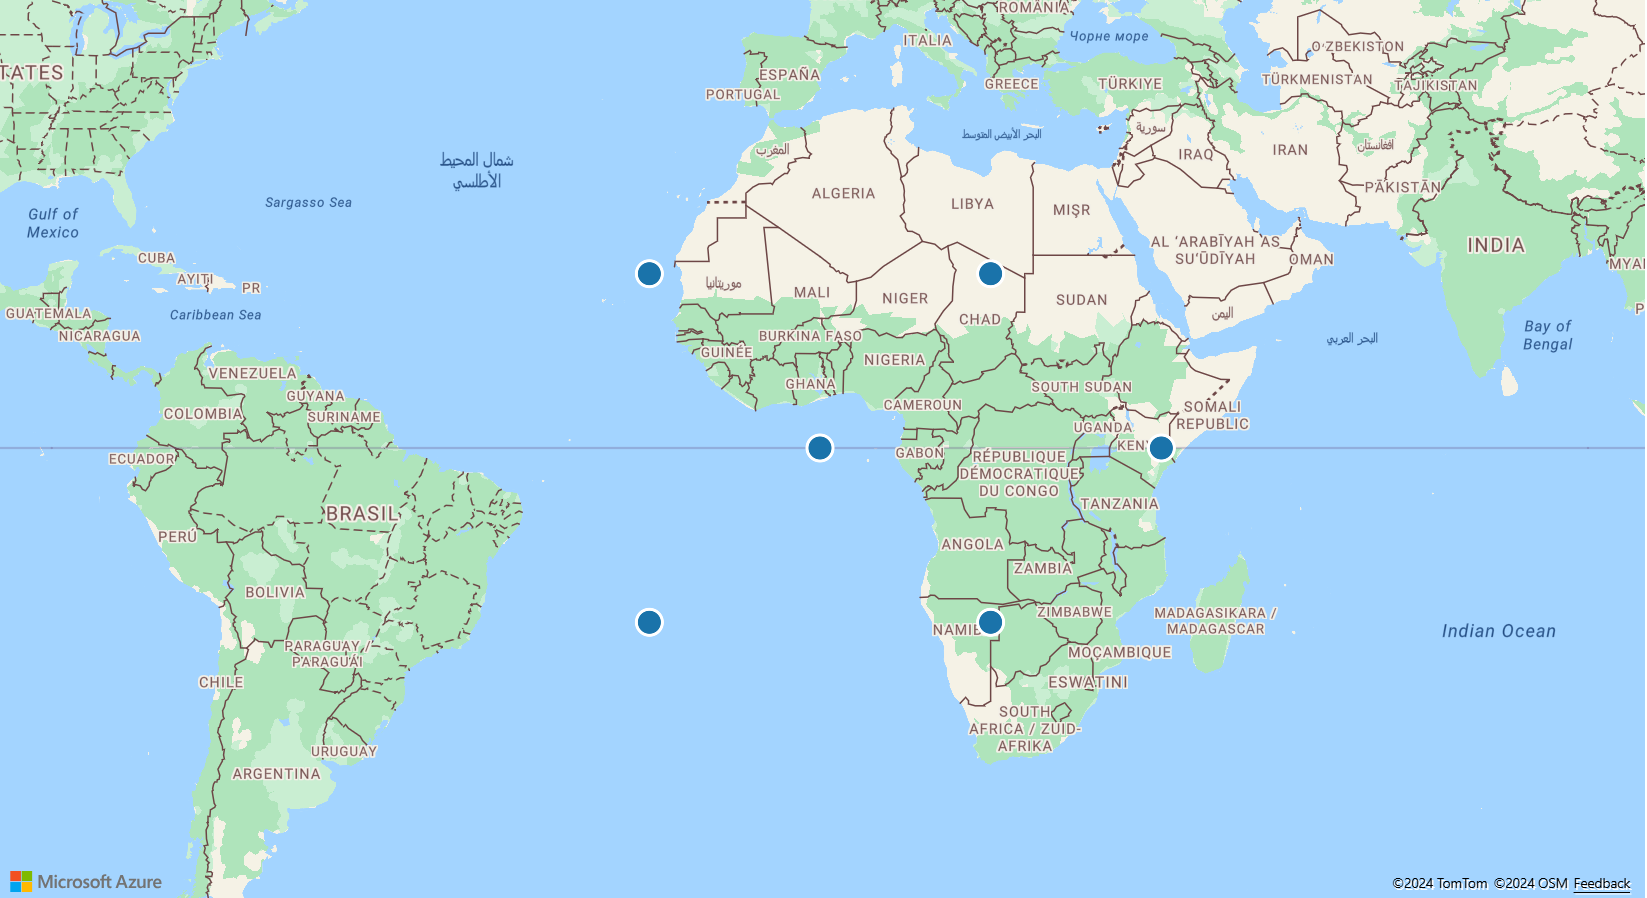
実行すると、マップ上のポイントを選択してポップアップを表示できます。 次の各ポップアップ テンプレートでは、マップ上にポイントがあります: 文字列テンプレート、PropertyInfo テンプレート、および複数コンテンツ テンプレート。 既定の設定を使用したテンプレートがどのようにレンダリングされるかを示す 3 つのポイントもあります。
function InitMap()
{
  var map = new atlas.Map('myMap', {
      zoom: 2,
      view: "Auto",

    //Add authentication details for connecting to Azure Maps.
      authOptions: {
          authType: 'subscriptionKey',
          subscriptionKey: '{Your-Azure-Maps-Subscription-key}'
      }
  });

  //Wait until the map resources are ready.
  map.events.add('ready', function() {
    //Create a data source and add it to the map.
    var datasource = new atlas.source.DataSource();
    map.sources.add(datasource);

    //Add sample data.
    datasource.add([
      new atlas.data.Feature(new atlas.data.Point([-20, 20]), {
        title: 'No template - title/description',
        description: 'This point doesn\'t have a template defined, fallback to title and description properties.'
      }),

      new atlas.data.Feature(new atlas.data.Point([20, 20]), {
        title: 'No template - property table',
        message: 'This point doesn\'t have a template defined, fallback to title and table of properties.',
        randomValue: 10,
        url: 'https://samples.azuremaps.com/',
        imageLink: 'https://samples.azuremaps.com/images/Pike_Market.jpg',
        email: 'info@microsoft.com'
      }),

      new atlas.data.Feature(new atlas.data.Point([40, 0]), {
        title: 'No template - hyperlink detection disabled',
        message: 'This point doesn\'t have a template defined, fallback to title and table of properties.',
        randomValue: 10,
        url: 'https://samples.azuremaps.com/',
        email: 'info@microsoft.com',
        popupTemplate: {
          detectHyperlinks: false
        }
      }),

      new atlas.data.Feature(new atlas.data.Point([-20, -20]), {
        title: 'Template 1 - String template',
        value1: 1.2345678,
        value2: {
          subValue: 'Pizza'
        },
        arrayValue: [3, 4, 5, 6],
        popupTemplate: {
          content: 'This template uses a string template with placeholders.<br/><br/> - Value 1 = {value1}<br/> - Value 2 = {value2/subValue}<br/> - Array value [2] = {arrayValue/2}',
          numberFormat: {
            maximumFractionDigits: 2
          }
        }
      }),

      new atlas.data.Feature(new atlas.data.Point([20, -20]), {
        title: 'Template 2 - PropertyInfo',
        createDate: new Date(),
        dateNumber: 1569880860542,
        url: 'https://samples.azuremaps.com/',
        email: 'info@microsoft.com',
        popupTemplate: {
          content: [{
            propertyPath: 'createDate',
            label: 'Created Date'
          },
                    {
                      propertyPath: 'dateNumber',
                      label: 'Formatted date from number',
                      dateFormat: {
                        weekday: 'long',
                        year: 'numeric',
                        month: 'long',
                        day: 'numeric',
                        timeZone: 'UTC',
                        timeZoneName: 'short'
                      }
                    },
                    {
                      propertyPath: 'url',
                      label: 'Code samples',
                      hideLabel: true,
                      hyperlinkFormat: {
                        label: 'Go to code samples!',
                        target: '_blank'
                      }
                    },
                    {
                      propertyPath: 'email',
                      label: 'Email us',
                      hideLabel: true,
                      hyperlinkFormat: {
                        target: '_blank',
                        scheme: 'mailto:'
                      }
                    }
                    ]
        }
      }),

      new atlas.data.Feature(new atlas.data.Point([0, 0]), {
        title: 'Template 3 - Multiple content template',
        value1: 1.2345678,
        value2: {
          subValue: 'Pizza'
        },
        arrayValue: [3, 4, 5, 6],
        imageLink: 'https://samples.azuremaps.com/images/Pike_Market.jpg',
        popupTemplate: {
          content: [
            'This template has two pieces of content; a string template with placeholders and a array of property info which renders a full width image.<br/><br/> - Value 1 = {value1}<br/> - Value 2 = {value2/subValue}<br/> - Array value [2] = {arrayValue/2}',
            [{
              propertyPath: 'imageLink',
              label: 'Image',
              hideImageLabel: true,
              hyperlinkFormat: {
                isImage: true
              }
            }]
          ],
          numberFormat: {
            maximumFractionDigits: 2
          }
        }
      }),
    ]);

    //Create a layer that defines how to render the points on the map.
    var layer = new atlas.layer.BubbleLayer(datasource);
    map.layers.add(layer);

    //Create a popup but leave it closed so we can update it and display it later.
    popup = new atlas.Popup();

    //Add a click event to the layer.
    map.events.add('click', layer, showPopup);
  });

  function showPopup(e) {
    if (e.shapes && e.shapes.length > 0) {
      var properties = e.shapes[0].getProperties();

      popup.setOptions({
        //Update the content of the popup.
        content: atlas.PopupTemplate.applyTemplate(properties, properties.popupTemplate),

        //Update the position of the popup with the pins coordinate.
        position: e.shapes[0].getCoordinates()
      });

      //Open the popup.
      popup.open(map);
    }
  }
}
ポップアップ テンプレートの再利用
ポップアップを再利用するのと同様に、ポップアップ テンプレートも再利用することができます。 このアプローチは、ポイントが複数ある場合、一度に 1 つのポップアップ テンプレートのみを表示したいときに便利です。 ポップアップ テンプレートを再利用すると、アプリケーションによって作成される DOM 要素の数が減り、アプリケーションのパフォーマンスが向上します。 次の例では、3 つのポイントに同じポップアップ テンプレートを使用します。 そのいずれかを選択すると、そのポイント フィーチャーのコンテンツを含むポップアップが表示されます。
共通のプロパティ フィールドのセットを共有する複数の機能を持つ 1 つのポップアップ テンプレートを再利用するホットを示す完全に機能するサンプルについては、Azure Maps サンプルの「ポップアップ テンプレートを再利用する」をご覧ください。 このサンプルのソース コードについては、「ポップアップ テンプレートの再利用のソース コード」を参照してください。
ポップアップ イベント
ポップアップは、開く、閉じる、ドラッグすることができます。 popup クラスには、開発者がこれらのイベントに応答するために役立つイベントが用意されています。 次の例では、ユーザーがポップアップを開いたり、閉じたり、ドラッグしたりしたときに発生するイベントが強調されています。
ポップアップにイベントを追加する方法を示す完全に機能するサンプルについては、Azure Maps サンプルの「ポップアップ イベント」をご覧ください。 このサンプルのソース コードについては、「ポップアップ イベントのソース コード」を参照してください。
次のステップ
この記事で使われているクラスとメソッドの詳細については、次を参照してください。
完全なコードのサンプルについては、次の優れた記事をご覧ください。


