教學課程:將 .NET Aspire 專案部署至 Redis ,使用 Azure 快取
在本教學課程中,您將瞭解如何使用 .NET Aspire 快取來設定 Redis 專案,以部署至 Azure。 .NET Aspire 提供多個快取整合組態,可在 Redis中配置不同的 Azure 服務。 您將瞭解如何:
- 設定應用程式以佈建一個 AzureAzure Cache for Redis
- 配置應用程式以配置容器化的 Redis 快取
注意
本文件特別著重於在 .NET Aspire中布建和部署 Redis 快取資源的 Azure 組態。 如需詳細資訊及深入瞭解完整的 .NET.NET Aspire 部署程式,請參閱 Azure Container Apps 部署 教學課程。
先決條件
若要使用 .NET.NET Aspire,您需要在本機上安裝下列項目:
- .NET 8.0 或 .NET 9.0
- 符合 OCI 規範的容器運行時間,例如:
- 整合式開發人員環境 (IDE) 或程式碼編輯器,例如:
- Visual Studio 2022 17.9 版或更高版本 (選用)
-
Visual Studio Code (選擇性)
- C# Dev Kit:擴充功能(選擇性)
- JetBrains Rider 與 .NET.NET Aspire 外掛程式 (選用)
如需詳細資訊,請參閱 .NET.NET Aspire 設定和工具和 .NET.NET Aspire SDK。
建立範例解決方案
遵循 教學課程:使用 .NET.NET Aspire 整合來實作快取,然後利用 建立範例專案。
將應用程式設定為 Redis 快取部署
.NET Aspire 提供兩個內建組態選項,可簡化 Redis上的 Azure 快取部署:
- 使用 Redis 佈建容器化 Azure Container Apps 快取
- 配置 AzureAzure Cache for Redis 實例
將 .NET.NET Aspire 整合新增至應用程式
將適當的 .NET.NET Aspire 整合到 AspireRedis.AppHost 專案,以支援您所需的主機服務。
新增 📦Aspire.Hosting.Azure.Redis NuGet 套件至 AspireRedis.AppHost 專案:
dotnet add package Aspire.Hosting.Azure.Redis
設定 AppHost 專案
為所需的 服務設定 Redis 專案。
以下列程式代碼取代 Program.cs 專案中 檔案的內容:
var builder = DistributedApplication.CreateBuilder(args);

var cache = builder.AddAzureRedis("cache");

var apiService = builder.AddProject<Projects.AspireRedis_ApiService>("apiservice")
                        .WithReference(cache);

builder.AddProject<Projects.AspireRedis_Web>("webfrontend")
    .WithExternalHttpEndpoints()
    .WithReference(cache)
    .WaitFor(cache)
    .WithReference(apiService)
    .WaitFor(apiService);

builder.Build().Run();
上述程式代碼會將 AzureAzure Cache for Redis 資源新增至您的應用程式,並設定名為 cache的連接。
AddAzureRedis 方法確保在部署過程中,能夠透過 Azure Developer CLI 或 Visual Studio 等工具創建 Azure Cache for Redis 資源。
部署應用程式
Azure Developer CLI(azd)等工具支援 .NET AspireRedis 整合設定,以簡化部署。
azd 會利用這些設定,為您提供正確配置的資源。
注意
您也可以使用 Azure CLI 或 Bicep 來布建和部署 .NET.NET Aspire 項目資源。 這些選項需要更多手動步驟,但可更細微地控制您的部署。 .NET Aspire 專案也可以透過手動設定連線到現有的 Redis 實例。
在 .NET.NET Aspire 專案的根目錄中開啟終端機視窗。
執行
azd init命令,以使用azd初始化專案。azd init當系統提示您輸入環境名稱時,請輸入 docs-aspireredis。
執行
azd up命令以開始部署程式:azd up選擇應該承載您應用程式資源的 Azure 訂用帳戶。
選取要使用的 Azure 位置。
Azure Developer CLI 會佈建和部署您的應用程式資源。 該過程可能需要幾分鐘的時間才能完成。
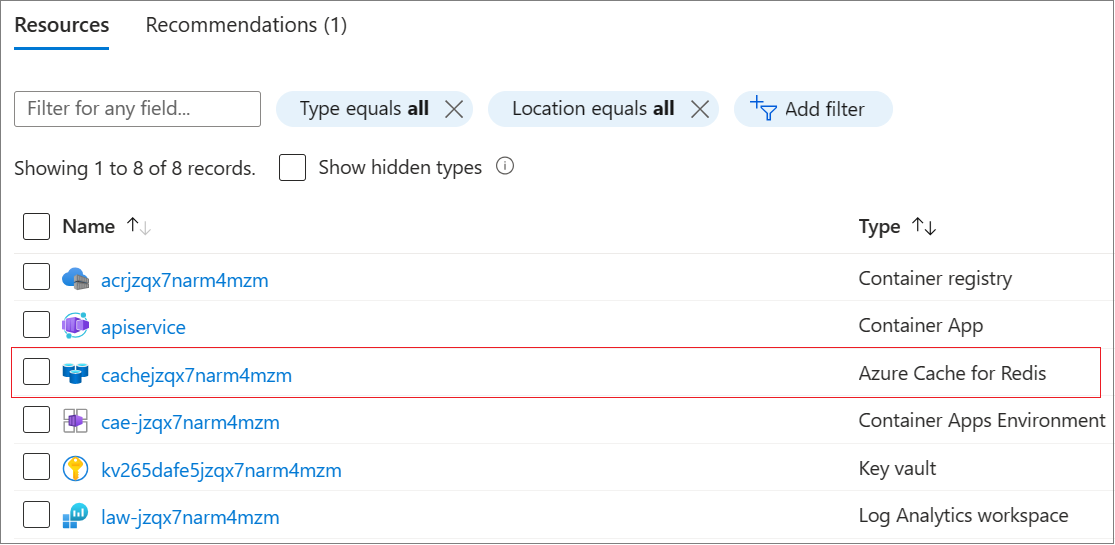
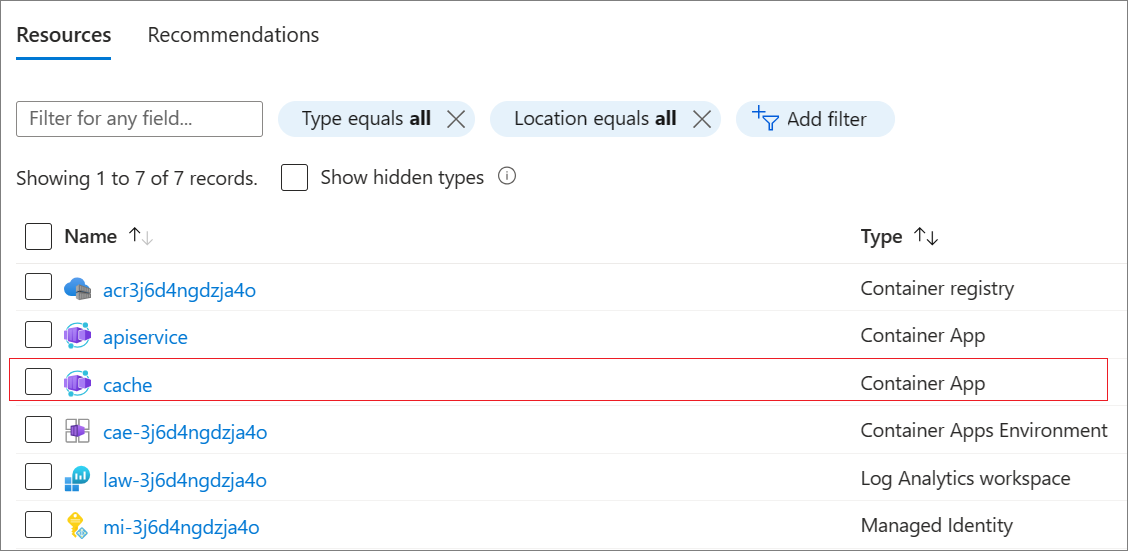
當部署完成時,按兩下輸出中的資源群組連結,即可在 Azure 入口網站中檢視已建立的資源。
由於您提供的 Azure 組態,部署程式布建了 Azure Cache for Redis 資源。

清除資源
當您不再需要您所建立 Azure 資源時,請執行下列 Azure CLI 命令來刪除資源群組。 刪除資源群組也會刪除其內含的資源。
az group delete --name <your-resource-group-name>
如需詳細資訊,請參閱
另請參閱
- 透過
部署 - .NET Aspire Azure Container Apps 部署深入探討
- GitHub 部署 專案

