Tutorial: tocar el piano en 3D
En el tutorial anterior, hemos creado correctamente un modelo de un teclado completo de 88 teclas. Ahora haremos que se pueda tocar en el espacio de XR.
En este tutorial, aprenderá a:
- Agregar características de piano interactivas mediante eventos de puntero
- Escalar las mallas a un tamaño diferente
- Habilitar el teletransporte y la compatibilidad con varios punteros en XR
Antes de comenzar
Asegúrese de que ha pasado por el tutorial anterior de la serie y está listo para continuar ampliando el código.
index.html
<html>
    <head>
        <title>Piano in BabylonJS</title>
        <script src="https://cdn.babylonjs.com/babylon.js"></script>
        <script src="scene.js"></script>
        <style>
            body,#renderCanvas { width: 100%; height: 100%;}
        </style>
    </head>
    <body>
        <canvas id="renderCanvas"></canvas>
        <script type="text/javascript">
            const canvas = document.getElementById("renderCanvas");
            const engine = new BABYLON.Engine(canvas, true);

            createScene(engine).then(sceneToRender => {
                engine.runRenderLoop(() => sceneToRender.render());
            });

            // Watch for browser/canvas resize events
            window.addEventListener("resize", function () {
                engine.resize();
            });
        </script>
    </body>
</html>
scene.js
const buildKey = function (scene, parent, props) {
    if (props.type === "white") {
        /*
        Props for building a white key should contain:
        note, topWidth, bottomWidth, topPositionX, wholePositionX, register, referencePositionX

        As an example, the props for building the middle C white key would be
        {type: "white", note: "C", topWidth: 1.4, bottomWidth: 2.3, topPositionX: -0.45, wholePositionX: -14.4, register: 4, referencePositionX: 0}
        */

        // Create bottom part
        const bottom = BABYLON.MeshBuilder.CreateBox("whiteKeyBottom", {width: props.bottomWidth, height: 1.5, depth: 4.5}, scene);

        // Create top part
        const top = BABYLON.MeshBuilder.CreateBox("whiteKeyTop", {width: props.topWidth, height: 1.5, depth: 5}, scene);
        top.position.z =  4.75;
        top.position.x += props.topPositionX;

        // Merge bottom and top parts
        // Parameters of BABYLON.Mesh.MergeMeshes: (arrayOfMeshes, disposeSource, allow32BitsIndices, meshSubclass, subdivideWithSubMeshes, multiMultiMaterials)
        const key = BABYLON.Mesh.MergeMeshes([bottom, top], true, false, null, false, false);
        key.position.x = props.referencePositionX + props.wholePositionX;
        key.name = props.note + props.register;
        key.parent = parent;

        return key;
    }
    else if (props.type === "black") {
        /*
        Props for building a black key should contain:
        note, wholePositionX, register, referencePositionX

        As an example, the props for building the C#4 black key would be
        {type: "black", note: "C#", wholePositionX: -13.45, register: 4, referencePositionX: 0}
        */

        // Create black color material
        const blackMat = new BABYLON.StandardMaterial("black");
        blackMat.diffuseColor = new BABYLON.Color3(0, 0, 0);

        // Create black key
        const key = BABYLON.MeshBuilder.CreateBox(props.note + props.register, {width: 1.4, height: 2, depth: 5}, scene);
        key.position.z += 4.75;
        key.position.y += 0.25;
        key.position.x = props.referencePositionX + props.wholePositionX;
        key.material = blackMat;
        key.parent = parent;

        return key;
    }
}

const createScene = async function(engine) {
    const scene = new BABYLON.Scene(engine);

    const alpha =  3*Math.PI/2;
    const beta = Math.PI/50;
    const radius = 220;
    const target = new BABYLON.Vector3(0, 0, 0);

    const camera = new BABYLON.ArcRotateCamera("Camera", alpha, beta, radius, target, scene);
    camera.attachControl(canvas, true);

    const light = new BABYLON.HemisphericLight("light", new BABYLON.Vector3(0, 1, 0), scene);
    light.intensity = 0.6;

    const keyParams = [
        {type: "white", note: "C", topWidth: 1.4, bottomWidth: 2.3, topPositionX: -0.45, wholePositionX: -14.4},
        {type: "black", note: "C#", wholePositionX: -13.45},
        {type: "white", note: "D", topWidth: 1.4, bottomWidth: 2.4, topPositionX: 0, wholePositionX: -12},
        {type: "black", note: "D#", wholePositionX: -10.6},
        {type: "white", note: "E", topWidth: 1.4, bottomWidth: 2.3, topPositionX: 0.45, wholePositionX: -9.6},
        {type: "white", note: "F", topWidth: 1.3, bottomWidth: 2.4, topPositionX: -0.55, wholePositionX: -7.2},
        {type: "black", note: "F#", wholePositionX: -6.35},
        {type: "white", note: "G", topWidth: 1.3, bottomWidth: 2.3, topPositionX: -0.2, wholePositionX: -4.8},
        {type: "black", note: "G#", wholePositionX: -3.6},
        {type: "white", note: "A", topWidth: 1.3, bottomWidth: 2.3, topPositionX: 0.2, wholePositionX: -2.4},
        {type: "black", note: "A#", wholePositionX: -0.85},
        {type: "white", note: "B", topWidth: 1.3, bottomWidth: 2.4, topPositionX: 0.55, wholePositionX: 0},
    ]

    // Transform Node that acts as the parent of all piano keys
    const keyboard = new BABYLON.TransformNode("keyboard");

    // Register 1 through 7
    var referencePositionX = -2.4*14;
    for (let register = 1; register <= 7; register++) {
        keyParams.forEach(key => {
            buildKey(scene, keyboard, Object.assign({register: register, referencePositionX: referencePositionX}, key));
        })
        referencePositionX += 2.4*7;
    }

    // Register 0
    buildKey(scene, keyboard, {type: "white", note: "A", topWidth: 1.9, bottomWidth: 2.3, topPositionX: -0.20, wholePositionX: -2.4, register: 0, referencePositionX: -2.4*21});
    keyParams.slice(10, 12).forEach(key => {
        buildKey(scene, keyboard, Object.assign({register: 0, referencePositionX: -2.4*21}, key));
    })

    // Register 8
    buildKey(scene, keyboard, {type: "white", note: "C", topWidth: 2.3, bottomWidth: 2.3, topPositionX: 0, wholePositionX: -2.4*6, register: 8, referencePositionX: 84});

    // Transform node that acts as the parent of all piano components
    const piano = new BABYLON.TransformNode("piano");
    keyboard.parent = piano;

    // Import and scale piano frame
    BABYLON.SceneLoader.ImportMesh("frame", "https://raw.githubusercontent.com/MicrosoftDocs/mixed-reality/docs/mixed-reality-docs/mr-dev-docs/develop/javascript/tutorials/babylonjs-webxr-piano/files/", "pianoFrame.babylon", scene, function(meshes) {
        const frame = meshes[0];
        frame.parent = piano;
    });

    // Lift the piano keyboard
    keyboard.position.y += 80;

    const xrHelper = await scene.createDefaultXRExperienceAsync();

    return scene;
}
Hacer que el teclado del piano se pueda tocar
En este momento, el teclado de piano que hemos creado es un modelo estático que no responde a ninguna interacción del usuario. En esta sección, programaremos las teclas para que se muevan hacia abajo y reproduzcan un sonido cuando alguien las presione.
Babylon.js proporciona diferentes tipos de eventos, u observables, con los que podemos interactuar. En nuestro caso, trabajaremos con
onPointerObservable, ya que queremos programar las teclas para que realicen acciones cuando alguien las presione mediante un puntero, que puede ser un clic del mouse, un toque, un clic en el botón del mando de XR, etc.Esta es la estructura básica de cómo podemos agregar cualquier comportamiento a
onPointerObservable:scene.onPointerObservable.add((pointerInfo) => { // do something });Aunque Babylon.js proporciona muchos tipos diferentes de eventos de puntero, solo usaremos los eventos
POINTERDOWNyPOINTERUPpara programar el comportamiento de las teclas del piano, con la estructura siguiente:scene.onPointerObservable.add((pointerInfo) => { switch (pointerInfo.type) { case BABYLON.PointerEventTypes.POINTERDOWN: // When the pointer is down on a piano key, // move the piano key downward (to show that it is pressed) // and play the sound of the note break; case BABYLON.PointerEventTypes.POINTERUP: // When the pointer is released, // move the piano key upward to its original position // and stop the sound of the note of the key that is released break; } });En primer lugar, vamos a trabajar para mover la tecla del piano hacia abajo y hacia arriba al presionarla y soltarla.
Al presionar el puntero, tenemos que detectar la malla en la que se hace clic, asegurarnos de que se trata de una tecla del piano y cambiar la coordenada y de la malla en una pequeña cantidad negativa para que parezca que la tecla se ha presionado.
El evento de levantar el puntero es un poco más complicado porque es posible que el puntero que presiona la tecla no se levante en esta. Por ejemplo, alguien puede hacer clic en la tecla C4, arrastrar el mouse a E4 y, allí, soltar el clic. En este caso, todavía queremos soltar la tecla que se presionó (C4) en lugar de la tecla dónde se produce el evento
pointerUp(E4).Veamos cómo conseguimos lo que queremos con el código siguiente:
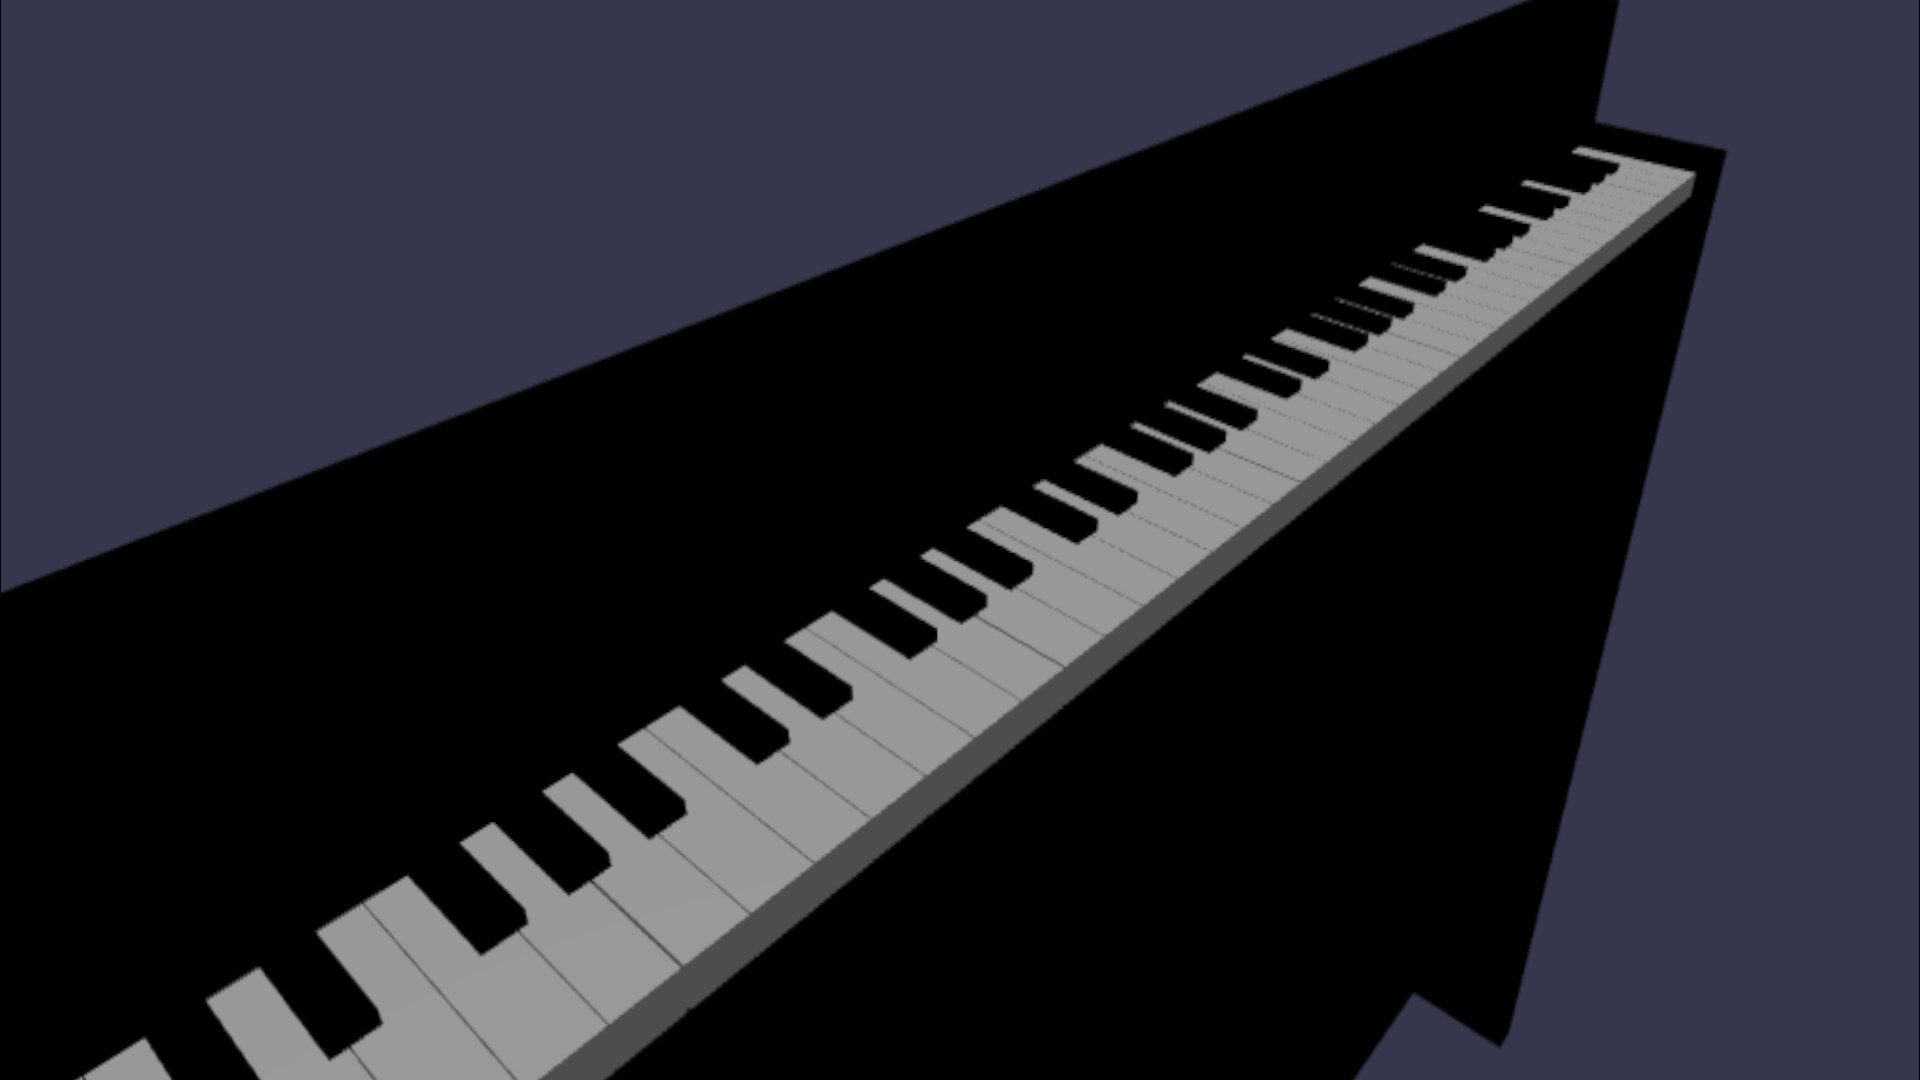
const pointerToKey = new Map(); scene.onPointerObservable.add((pointerInfo) => { switch (pointerInfo.type) { case BABYLON.PointerEventTypes.POINTERDOWN: if(pointerInfo.pickInfo.hit) { const pickedMesh = pointerInfo.pickInfo.pickedMesh; const pointerId = pointerInfo.event.pointerId; if (pickedMesh.parent === keyboard) { pickedMesh.position.y -= 0.5; // play the sound of the note pointerToKey.set(pointerId, { mesh: pickedMesh }); } } break; case BABYLON.PointerEventTypes.POINTERUP: const pointerId = pointerInfo.event.pointerId; if (pointerToKey.has(pointerId)) { pointerToKey.get(pointerId).mesh.position.y += 0.5; // stop the sound of the note of the key that is released pointerToKey.delete(pointerId); } break; } });pointerIdes único para cada puntero y puede ayudarnos a identificar un puntero cuando tenemos varios mandos o si usamos una pantalla táctil. Aquí inicializamos un objetoMapdenominadopointerToKeypara almacenar la relación de qué puntero presionó en qué tecla, de modo que sepamos qué tecla se va a levantar cuando se suelte el puntero, independientemente del sitio en que se suelte.Este es el aspecto de la interacción con el código anterior:
Ahora vamos a trabajar en la reproducción y detención de un sonido al presionar y soltar una tecla. Para ello, usaremos una biblioteca JavaScript denominada soundfont-player, que nos permite reproducir fácilmente los sonidos MIDI de un instrumento que elijamos.
Descargue el código minimizado de la biblioteca, guárdelo en la misma carpeta que index.html e inclúyalo en la etiqueta
<header>en index.html:<head> <title>Babylon Template</title> <script src="https://cdn.babylonjs.com/babylon.js"></script> <script src="scene.js"></script> <script src="soundfont-player.min.js"></script> <style> body,#renderCanvas { width: 100%; height: 100%;} </style> </head>Una vez importada la biblioteca, aquí se muestra cómo se puede inicializar un instrumento y reproducir o detener sonidos MIDI mediante la biblioteca:
const pianoSound = await Soundfont.instrument(new AudioContext(), 'acoustic_grand_piano'); const C4 = piano.play("C4"); // Play note C4 C4.stop(); // Stop note C4Ahora vamos a incorporar esto a los eventos de puntero y a finalizar el código de esta sección:
const pointerToKey = new Map() const piano = await Soundfont.instrument(new AudioContext(), 'acoustic_grand_piano'); scene.onPointerObservable.add((pointerInfo) => { switch (pointerInfo.type) { case BABYLON.PointerEventTypes.POINTERDOWN: if(pointerInfo.pickInfo.hit) { let pickedMesh = pointerInfo.pickInfo.pickedMesh; let pointerId = pointerInfo.event.pointerId; if (keys.has(pickedMesh)) { pickedMesh.position.y -= 0.5; // Move the key downward pointerToKey.set(pointerId, { mesh: pickedMesh, note: pianoSound.play(pointerInfo.pickInfo.pickedMesh.name) // Play the sound of the note }); } } break; case BABYLON.PointerEventTypes.POINTERUP: let pointerId = pointerInfo.event.pointerId; if (pointerToKey.has(pointerId)) { pointerToKey.get(pointerId).mesh.position.y += 0.5; // Move the key upward pointerToKey.get(pointerId).note.stop(); // Stop the sound of the note pointerToKey.delete(pointerId); } break; } });Puesto que hemos asignado a la malla de cada tecla el nombre de la nota que representa, podemos indicar fácilmente qué nota debemos reproducir al pasar el nombre de la malla a la función
pianoSound.play(). Tenga en cuenta también que almacenamos el sonido en el mapapointerToKeypara saber qué sonido se debe detener al soltar una tecla.
Escalado del piano para el modo de VR envolvente.
Seguramente, a estas alturas, ya habrá tocado el piano con el mouse (o incluso con una pantalla táctil) al agregar las funcionalidades interactivas. En esta sección, pasaremos al espacio de VR envolvente.
Para abrir la página en el casco de realidad virtual envolvente, primero debe conectar el casco a la máquina para desarrolladores y asegurarse de que está configurado para su uso en la aplicación Windows Mixed Reality. Si usa el simulador de Windows Mixed Reality, asegúrese de que está habilitado.
Ahora verá un botón de VR envolvente en la parte inferior derecha de la página web. Haga clic en él y podrá ver el piano en el dispositivo de XR al que esté conectado.

Una vez en el espacio virtual, es posible que observe que el piano que hemos creado es extremadamente grande. En el mundo de la VR, solo podemos estar en la parte inferior de este y tocarlo señalando con el puntero las teclas a distancia.
Vamos a reducir verticalmente el piano para que su tamaño sea más parecido al de un piano real. Para ello, necesitamos usar una función de utilidad que nos permita escalar una malla con respecto a un punto del espacio. Agregue esta función a scene.js (fuera de
createScene()):const scaleFromPivot = function(transformNode, pivotPoint, scale) { const _sx = scale / transformNode.scaling.x; const _sy = scale / transformNode.scaling.y; const _sz = scale / transformNode.scaling.z; transformNode.scaling = new BABYLON.Vector3(_sx, _sy, _sz); transformNode.position = new BABYLON.Vector3(pivotPoint.x + _sx * (transformNode.position.x - pivotPoint.x), pivotPoint.y + _sy * (transformNode.position.y - pivotPoint.y), pivotPoint.z + _sz * (transformNode.position.z - pivotPoint.z)); }Esta función toma 3 parámetros:
-
transformNode: el objeto
TransformNodeque se va a escalar -
pivotPoint: un objeto
Vector3que indica el punto al que se refiere el escalado - scale: el factor de escala
-
transformNode: el objeto
Usaremos esta función para escalar el marco y las teclas del piano con un factor de 0,015, con un punto dinámico en el origen. Anexe la llamada de función a la función
createScene()colocándola después dekeyboard.position.y += 80;:// Put this line at the beginning of createScene() const scale = 0.015;// Put this function call after keyboard.position.y += 80; // Scale the entire piano scaleFromPivot(piano, new BABYLON.Vector3(0, 0, 0), scale);No olvidemos escalar también la posición de la cámara:
const alpha = 3*Math.PI/2; const beta = Math.PI/50; const radius = 220*scale; // scale the radius const target = new BABYLON.Vector3(0, 0, 0); const camera = new BABYLON.ArcRotateCamera("Camera", alpha, beta, radius, target, scene); camera.attachControl(canvas, true);Ahora, cuando volvamos al espacio de VR, el piano tendrá el tamaño de cualquier piano normal.
Habilitación de características de WebXR
Ahora que hemos escalado el piano al tamaño correcto en el espacio de VR, vamos a habilitar algunas características interesantes de WebXR para mejorar nuestra experiencia al tocar el piano en el espacio.
Si ha estado tocando el piano con los mandos de VR envolvente, es posible que haya observado que solo puede usar un mando a la vez. Vamos a habilitar la compatibilidad con varios punteros en el espacio de XR mediante el administrador de características de WebXR de Babylon.js.
Agregue el código siguiente a la función
createScene()después de la línea de inicializaciónxrHelper:const featuresManager = xrHelper.baseExperience.featuresManager; const pointerSelection = featuresManager.enableFeature(BABYLON.WebXRFeatureName.POINTER_SELECTION, "stable", { xrInput: xrHelper.input, enablePointerSelectionOnAllControllers: true });Además, dependiendo de dónde se encuentre el punto de partida, puede que le resulte un poco difícil colocarse delante del piano. Si está familiarizado con el entorno de VR envolvente, es posible que ya conozca el teletransporte, que es una característica que le permite moverse a otro lugar del espacio al instante al señalarlo.
Para usar la característica de teletransporte de Babylon.js, primero necesitamos tener una malla de base sobre la que podamos situar el espacio de VR. Agregue el código siguiente a la función
createScene()para crearla:const ground = BABYLON.MeshBuilder.CreateGround("ground", {width: 400, height: 400});La compatibilidad con el teletransporte también incluye una característica muy útil denominada posiciones de ajuste. En resumen, las posiciones de ajuste son posiciones específicas en las que queremos que se sitúen los usuarios.
Por ejemplo, podemos establecer una posición de ajuste delante del piano para que los usuarios puedan teletransportarse fácilmente a esa ubicación al situar sus punteros cerca del piano.
Anexe el código siguiente para habilitar la característica de teletransporte y especificar un punto de ajuste:
const teleportation = featuresManager.enableFeature(BABYLON.WebXRFeatureName.TELEPORTATION, "stable", { xrInput: xrHelper.input, floorMeshes: [ground], snapPositions: [new BABYLON.Vector3(2.4*3.5*scale, 0, -10*scale)], });Ahora debería ser capaz de colocarse fácilmente delante del piano teletransportándose al punto de ajuste situado delante del piano. También debería poder tocar dos teclas a la vez con los dos mandos.
Resumen
¡Enhorabuena! Ha completado nuestra serie de tutoriales de piano de Babylon.js y ha aprendido a:
- Crear, colocar y combinar mallas para crear un modelo de teclado de piano
- Importar un modelo de Babylon.js de un marco de piano levantado
- Agregar interacciones de puntero a cada tecla del piano
- Escalar el tamaño de las mallas a partir de un punto dinámico
- Habilitar características clave de WebXR, como el teletransporte y la compatibilidad con varios punteros
Este es el código final para scene.js e index.html:
scene.js
const buildKey = function (scene, parent, props) {
if (props.type === "white") {
/*
Props for building a white key should contain:
note, topWidth, bottomWidth, topPositionX, wholePositionX, register, referencePositionX
As an example, the props for building the middle C white key would be
{type: "white", note: "C", topWidth: 1.4, bottomWidth: 2.3, topPositionX: -0.45, wholePositionX: -14.4, register: 4, referencePositionX: 0}
*/
// Create bottom part
const bottom = BABYLON.MeshBuilder.CreateBox("whiteKeyBottom", {width: props.bottomWidth, height: 1.5, depth: 4.5}, scene);
// Create top part
const top = BABYLON.MeshBuilder.CreateBox("whiteKeyTop", {width: props.topWidth, height: 1.5, depth: 5}, scene);
top.position.z = 4.75;
top.position.x += props.topPositionX;
// Merge bottom and top parts
// Parameters of BABYLON.Mesh.MergeMeshes: (arrayOfMeshes, disposeSource, allow32BitsIndices, meshSubclass, subdivideWithSubMeshes, multiMultiMaterials)
const key = BABYLON.Mesh.MergeMeshes([bottom, top], true, false, null, false, false);
key.position.x = props.referencePositionX + props.wholePositionX;
key.name = props.note + props.register;
key.parent = parent;
return key;
}
else if (props.type === "black") {
/*
Props for building a black key should contain:
note, wholePositionX, register, referencePositionX
As an example, the props for building the C#4 black key would be
{type: "black", note: "C#", wholePositionX: -13.45, register: 4, referencePositionX: 0}
*/
// Create black color material
const blackMat = new BABYLON.StandardMaterial("black");
blackMat.diffuseColor = new BABYLON.Color3(0, 0, 0);
// Create black key
const key = BABYLON.MeshBuilder.CreateBox(props.note + props.register, {width: 1.4, height: 2, depth: 5}, scene);
key.position.z += 4.75;
key.position.y += 0.25;
key.position.x = props.referencePositionX + props.wholePositionX;
key.material = blackMat;
key.parent = parent;
return key;
}
}
const scaleFromPivot = function(transformNode, pivotPoint, scale) {
const _sx = scale / transformNode.scaling.x;
const _sy = scale / transformNode.scaling.y;
const _sz = scale / transformNode.scaling.z;
transformNode.scaling = new BABYLON.Vector3(_sx, _sy, _sz);
transformNode.position = new BABYLON.Vector3(pivotPoint.x + _sx * (transformNode.position.x - pivotPoint.x), pivotPoint.y + _sy * (transformNode.position.y - pivotPoint.y), pivotPoint.z + _sz * (transformNode.position.z - pivotPoint.z));
}
const createScene = async function(engine) {
const scale = 0.015;
const scene = new BABYLON.Scene(engine);
const alpha = 3*Math.PI/2;
const beta = Math.PI/50;
const radius = 220*scale;
const target = new BABYLON.Vector3(0, 0, 0);
const camera = new BABYLON.ArcRotateCamera("Camera", alpha, beta, radius, target, scene);
camera.attachControl(canvas, true);
const light = new BABYLON.HemisphericLight("light", new BABYLON.Vector3(0, 1, 0), scene);
light.intensity = 0.6;
const keyParams = [
{type: "white", note: "C", topWidth: 1.4, bottomWidth: 2.3, topPositionX: -0.45, wholePositionX: -14.4},
{type: "black", note: "C#", wholePositionX: -13.45},
{type: "white", note: "D", topWidth: 1.4, bottomWidth: 2.4, topPositionX: 0, wholePositionX: -12},
{type: "black", note: "D#", wholePositionX: -10.6},
{type: "white", note: "E", topWidth: 1.4, bottomWidth: 2.3, topPositionX: 0.45, wholePositionX: -9.6},
{type: "white", note: "F", topWidth: 1.3, bottomWidth: 2.4, topPositionX: -0.55, wholePositionX: -7.2},
{type: "black", note: "F#", wholePositionX: -6.35},
{type: "white", note: "G", topWidth: 1.3, bottomWidth: 2.3, topPositionX: -0.2, wholePositionX: -4.8},
{type: "black", note: "G#", wholePositionX: -3.6},
{type: "white", note: "A", topWidth: 1.3, bottomWidth: 2.3, topPositionX: 0.2, wholePositionX: -2.4},
{type: "black", note: "A#", wholePositionX: -0.85},
{type: "white", note: "B", topWidth: 1.3, bottomWidth: 2.4, topPositionX: 0.55, wholePositionX: 0},
]
// Transform Node that acts as the parent of all piano keys
const keyboard = new BABYLON.TransformNode("keyboard");
// Register 1 through 7
var referencePositionX = -2.4*14;
for (let register = 1; register <= 7; register++) {
keyParams.forEach(key => {
buildKey(scene, keyboard, Object.assign({register: register, referencePositionX: referencePositionX}, key));
})
referencePositionX += 2.4*7;
}
// Register 0
buildKey(scene, keyboard, {type: "white", note: "A", topWidth: 1.9, bottomWidth: 2.3, topPositionX: -0.20, wholePositionX: -2.4, register: 0, referencePositionX: -2.4*21});
keyParams.slice(10, 12).forEach(key => {
buildKey(scene, keyboard, Object.assign({register: 0, referencePositionX: -2.4*21}, key));
})
// Register 8
buildKey(scene, keyboard, {type: "white", note: "C", topWidth: 2.3, bottomWidth: 2.3, topPositionX: 0, wholePositionX: -2.4*6, register: 8, referencePositionX: 84});
// Transform node that acts as the parent of all piano components
const piano = new BABYLON.TransformNode("piano");
keyboard.parent = piano;
// Import and scale piano frame
BABYLON.SceneLoader.ImportMesh("frame", "https://raw.githubusercontent.com/MicrosoftDocs/mixed-reality/docs/mixed-reality-docs/mr-dev-docs/develop/javascript/tutorials/babylonjs-webxr-piano/files/", "pianoFrame.babylon", scene, function(meshes) {
const frame = meshes[0];
frame.parent = piano;
});
// Lift the piano keyboard
keyboard.position.y += 80;
// Scale the entire piano
scaleFromPivot(piano, new BABYLON.Vector3(0, 0, 0), scale);
const pointerToKey = new Map()
const pianoSound = await Soundfont.instrument(new AudioContext(), 'acoustic_grand_piano');
scene.onPointerObservable.add((pointerInfo) => {
switch (pointerInfo.type) {
case BABYLON.PointerEventTypes.POINTERDOWN:
// Only take action if the pointer is down on a mesh
if(pointerInfo.pickInfo.hit) {
let pickedMesh = pointerInfo.pickInfo.pickedMesh;
let pointerId = pointerInfo.event.pointerId;
if (pickedMesh.parent === keyboard) {
pickedMesh.position.y -= 0.5; // Move the key downward
pointerToKey.set(pointerId, {
mesh: pickedMesh,
note: pianoSound.play(pointerInfo.pickInfo.pickedMesh.name) // Play the sound of the note
});
}
}
break;
case BABYLON.PointerEventTypes.POINTERUP:
let pointerId = pointerInfo.event.pointerId;
// Only take action if the released pointer was recorded in pointerToKey
if (pointerToKey.has(pointerId)) {
pointerToKey.get(pointerId).mesh.position.y += 0.5; // Move the key upward
pointerToKey.get(pointerId).note.stop(); // Stop the sound of the note
pointerToKey.delete(pointerId);
}
break;
}
});
const xrHelper = await scene.createDefaultXRExperienceAsync();
const featuresManager = xrHelper.baseExperience.featuresManager;
featuresManager.enableFeature(BABYLON.WebXRFeatureName.POINTER_SELECTION, "stable", {
xrInput: xrHelper.input,
enablePointerSelectionOnAllControllers: true
});
const ground = BABYLON.MeshBuilder.CreateGround("ground", {width: 400, height: 400});
featuresManager.enableFeature(BABYLON.WebXRFeatureName.TELEPORTATION, "stable", {
xrInput: xrHelper.input,
floorMeshes: [ground],
snapPositions: [new BABYLON.Vector3(2.4*3.5*scale, 0, -10*scale)],
});
return scene;
}
index.html
<html>
<head>
    <title>Babylon Template</title>
    <script src="https://cdn.babylonjs.com/babylon.js"></script>
    <script src="scene.js"></script>
    <script src="soundfont-player.min.js"></script>
    <style>
            body,#renderCanvas { width: 100%; height: 100%;}
    </style>
</head>
<body>
<canvas id="renderCanvas"></canvas>
<script>
const canvas = document.getElementById("renderCanvas"); // Get the canvas element
const engine = new BABYLON.Engine(canvas, true); // Generate the BABYLON 3D engine
// Register a render loop to repeatedly render the scene
createScene(engine).then(sceneToRender => {
engine.runRenderLoop(() => sceneToRender.render());
});
// Watch for browser/canvas resize events
window.addEventListener("resize", function () {
engine.resize();
});
</script>
</body>
</html>
Pasos siguientes
Para más información sobre el desarrollo de realidad mixta en JavaScript, consulte Introducción al desarrollo con JavaScript.