Packaging a Win32 app isolation application with Visual Studio
This page will cover everything needed to package an application to leverage Win32 app isolation.
Important
This feature is in preview: Some information relates to a prerelease product which may be substantially modified before it's commercially released. Microsoft makes no warranties, express or implied, with respect to the information provided here.
Prerequisites
The following are required to package an application into an isolated Win32 app:
- Visual Studio version 17.10.2 or higher
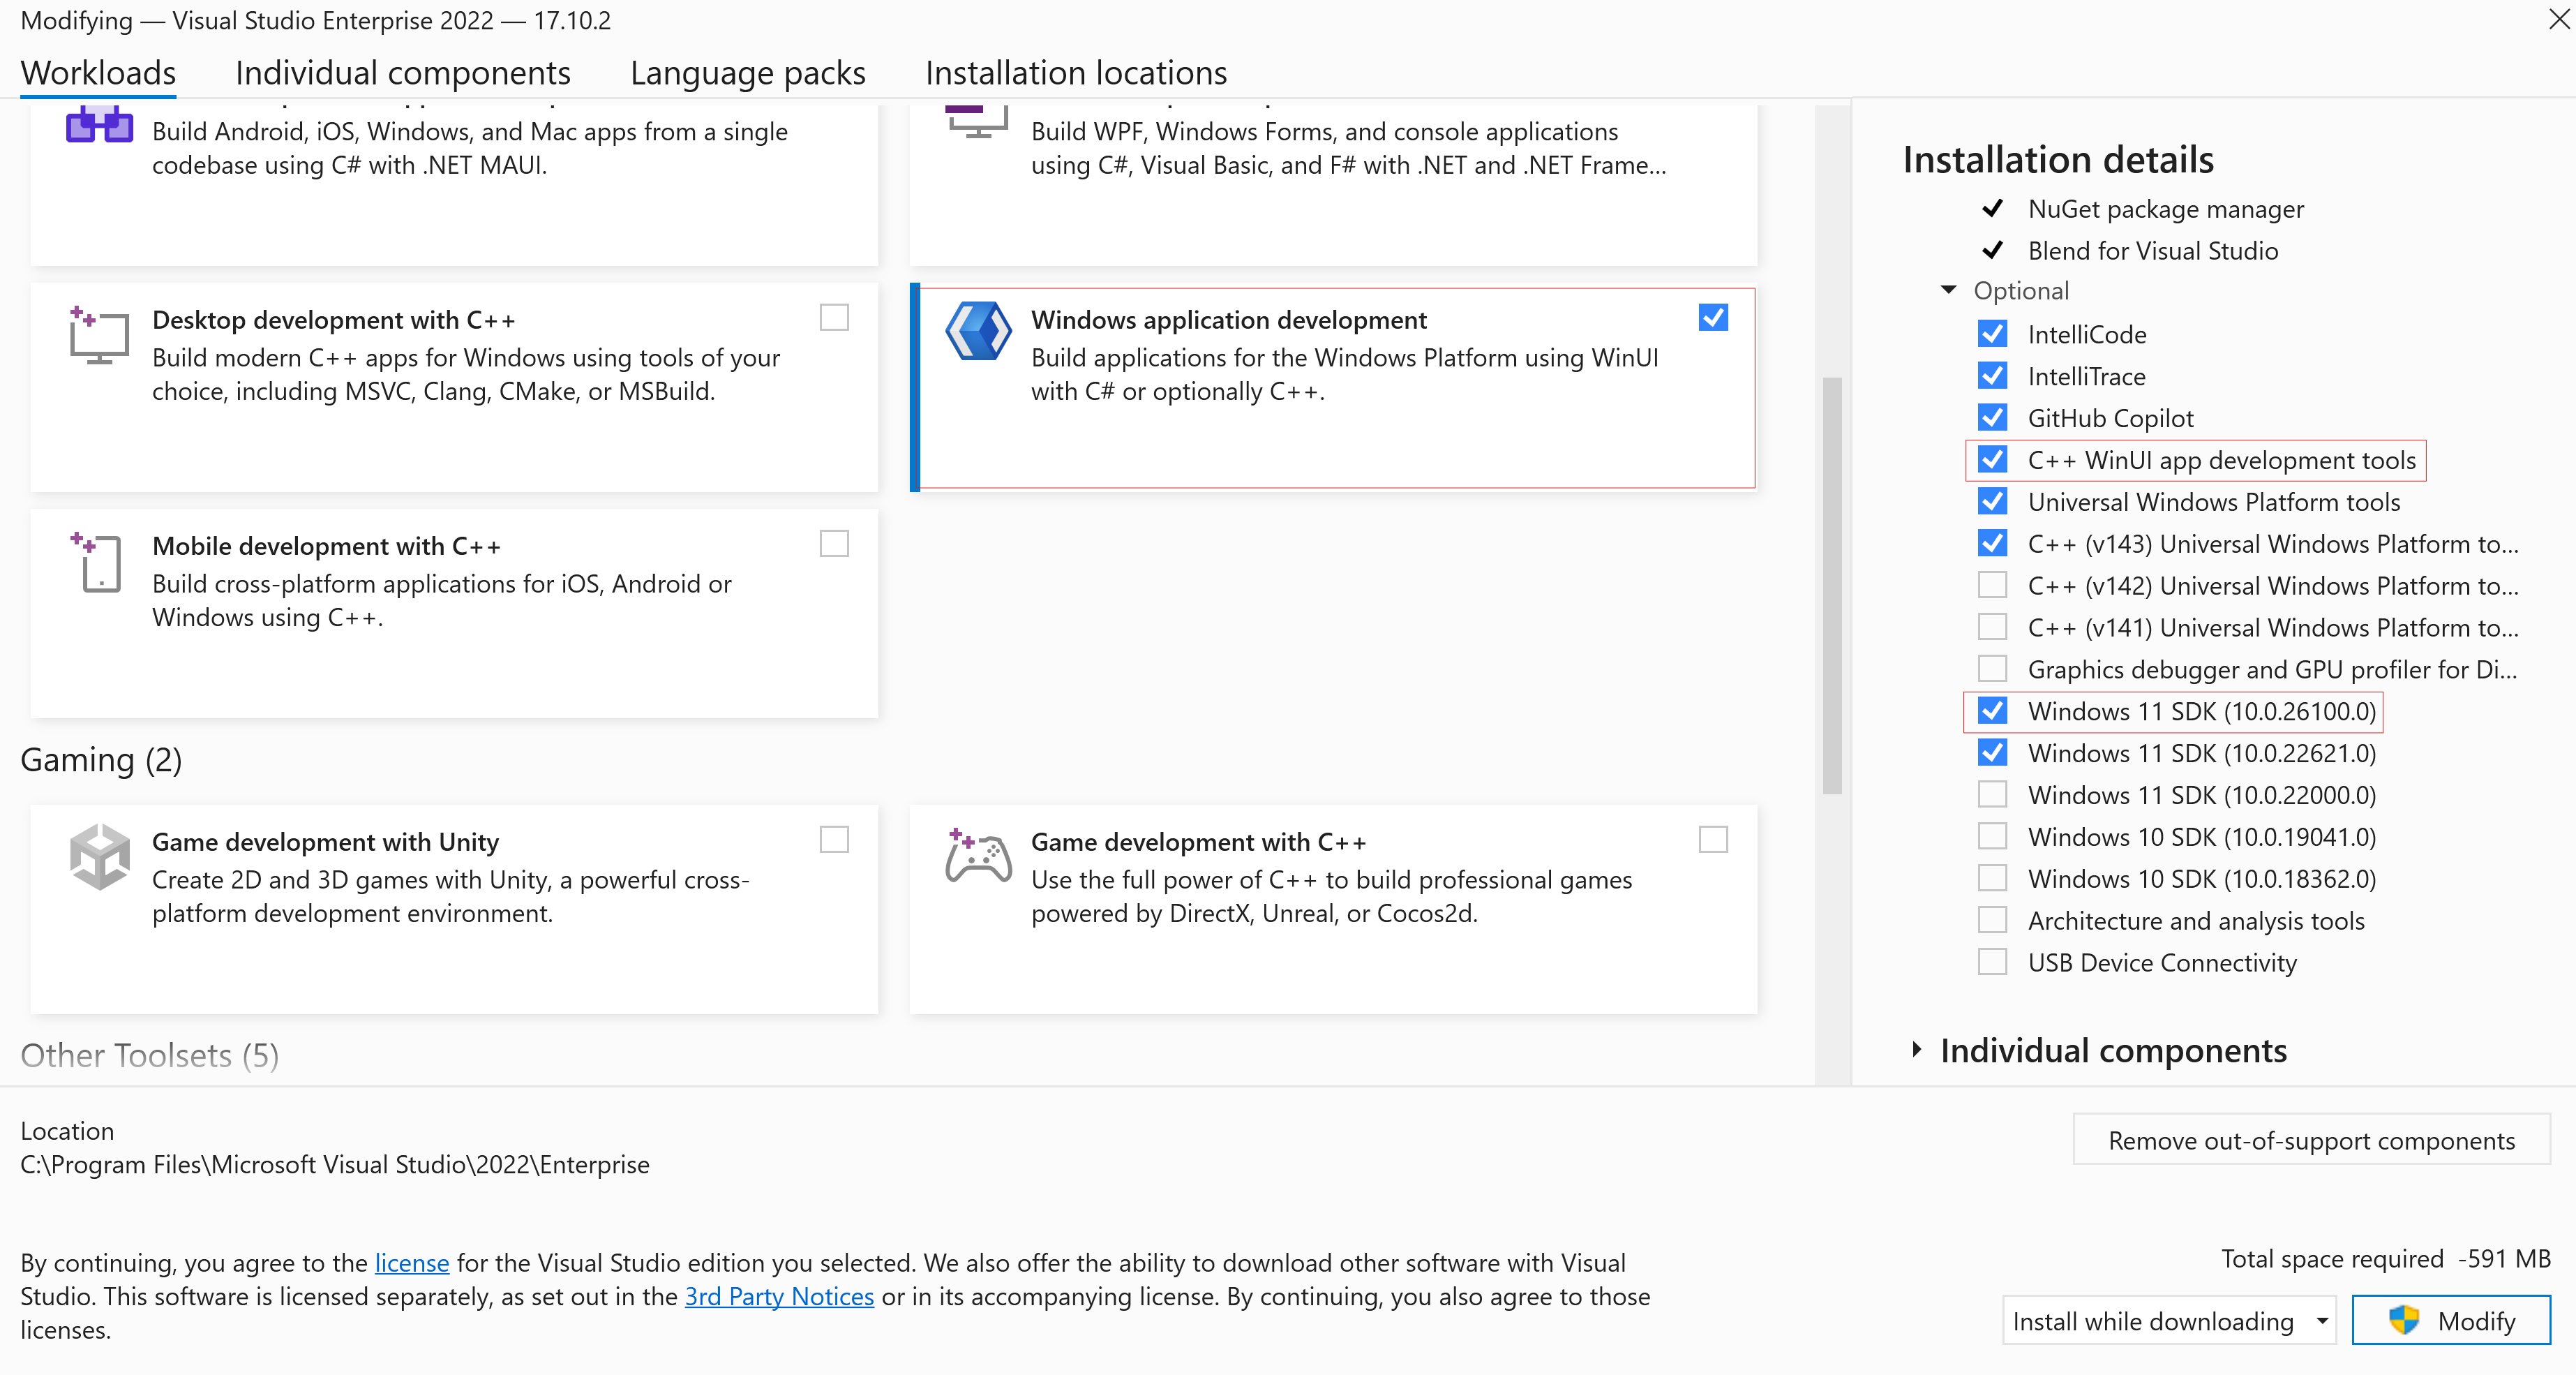
Step 1 - Install the required workloads in Visual Studio including Windows 11 SDK 10.0.26100.0 (or greater)
Open the Visual Studio Installer and Modify the existing installation. On the Workloads tab check the Windows application development box (and optionally check the C++ WinUI app development tools box for development in C++). The Windows 11 SDK 10.0.26100.0 (or greater) is also required.
Step 2 - Create your app project
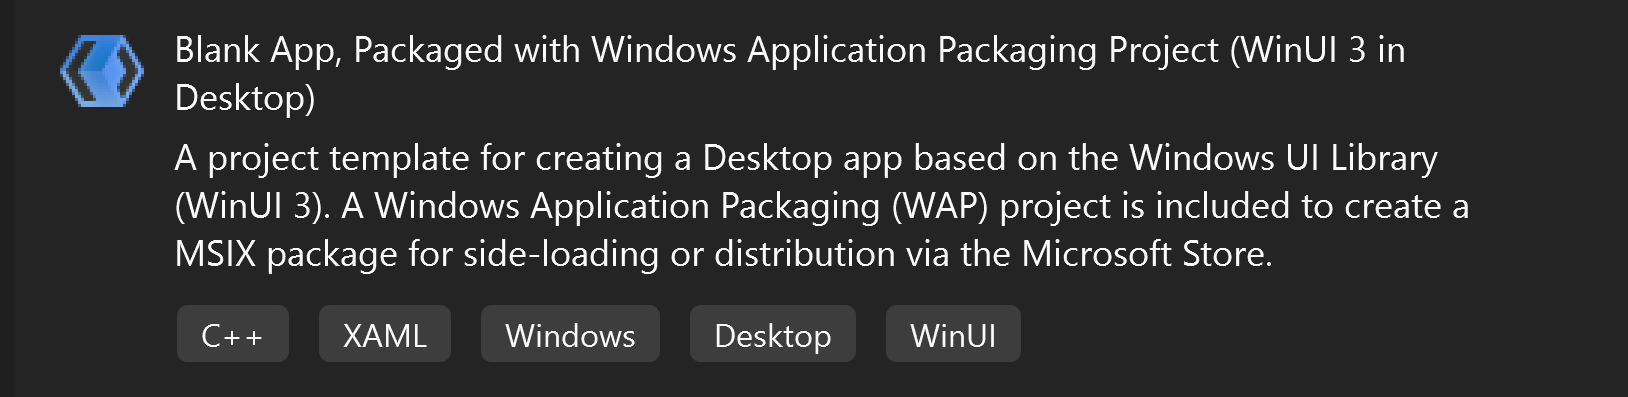
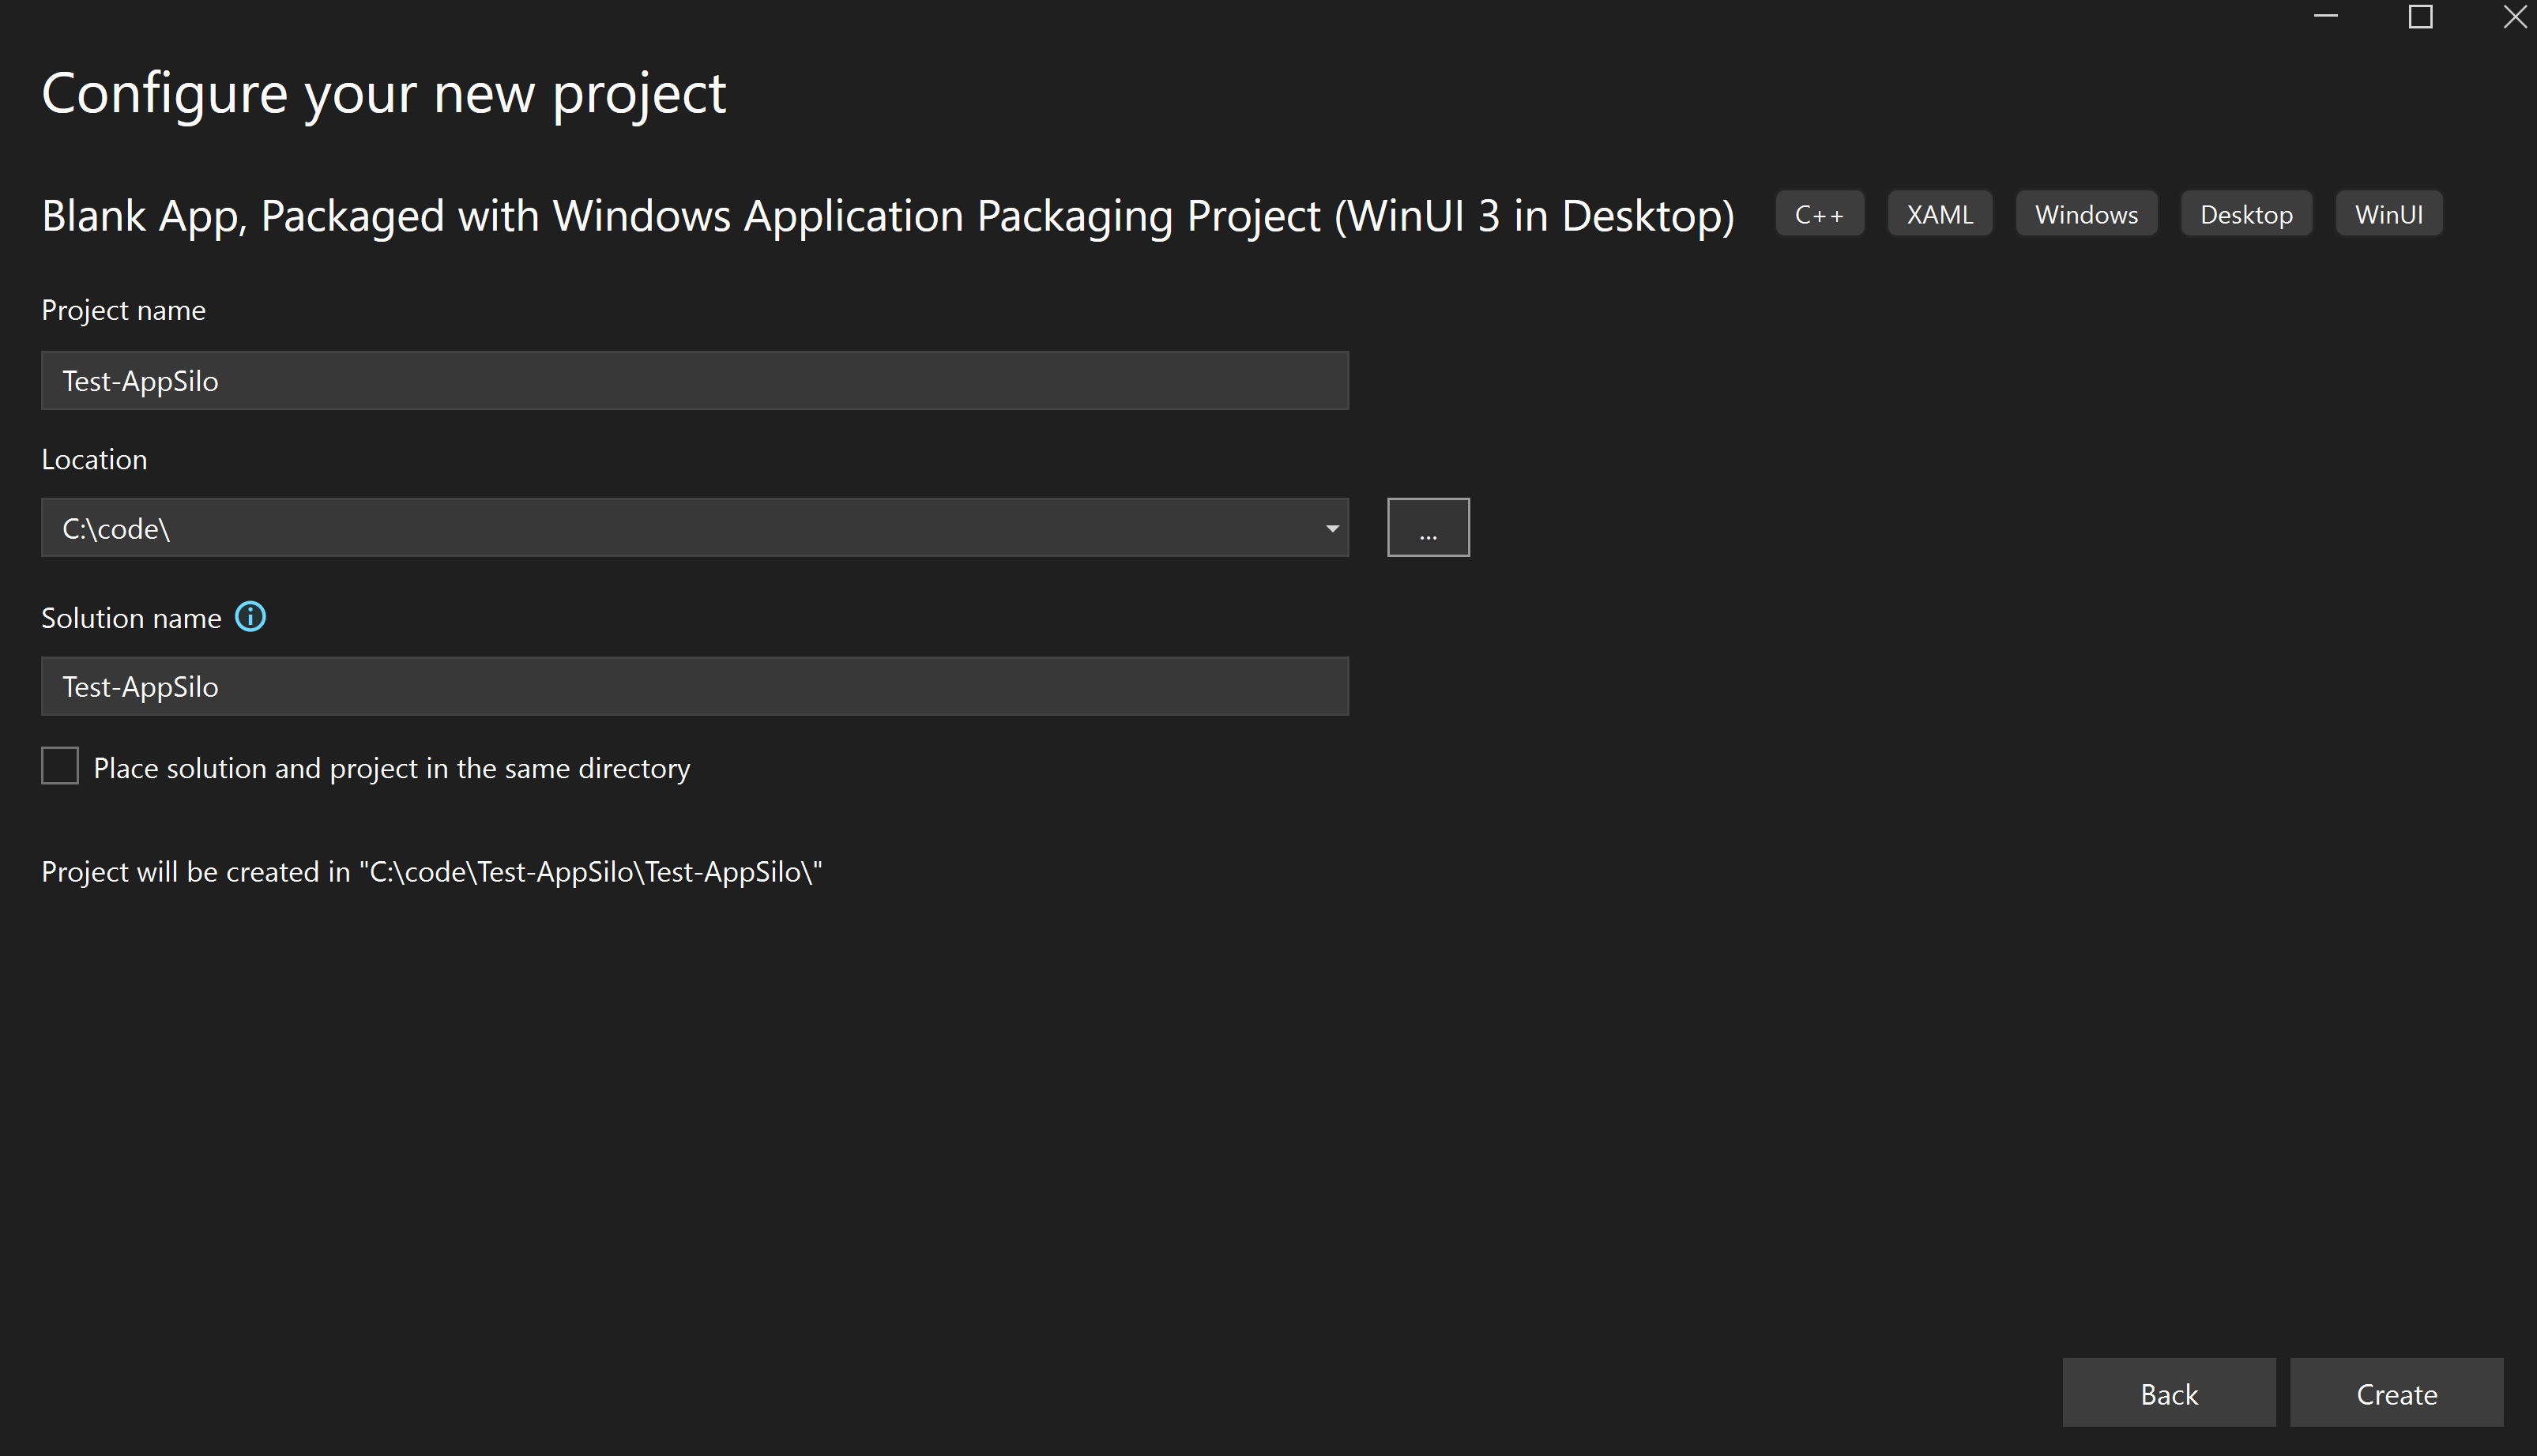
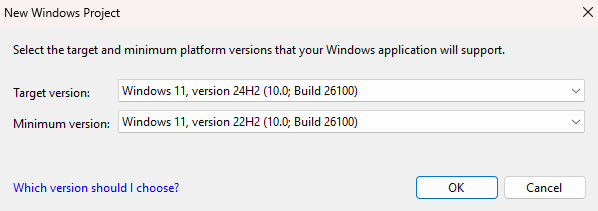
In Visual Studio, create a new C# or C++ project using the template Blank App, Packaged with Windows Application Packaging Project (WinUI 3 in Desktop). Click Create and then select 10.0.26100.0 (or later) for Target Platform Version (TPV) and Target Platform Minimum Version (TPMinV).
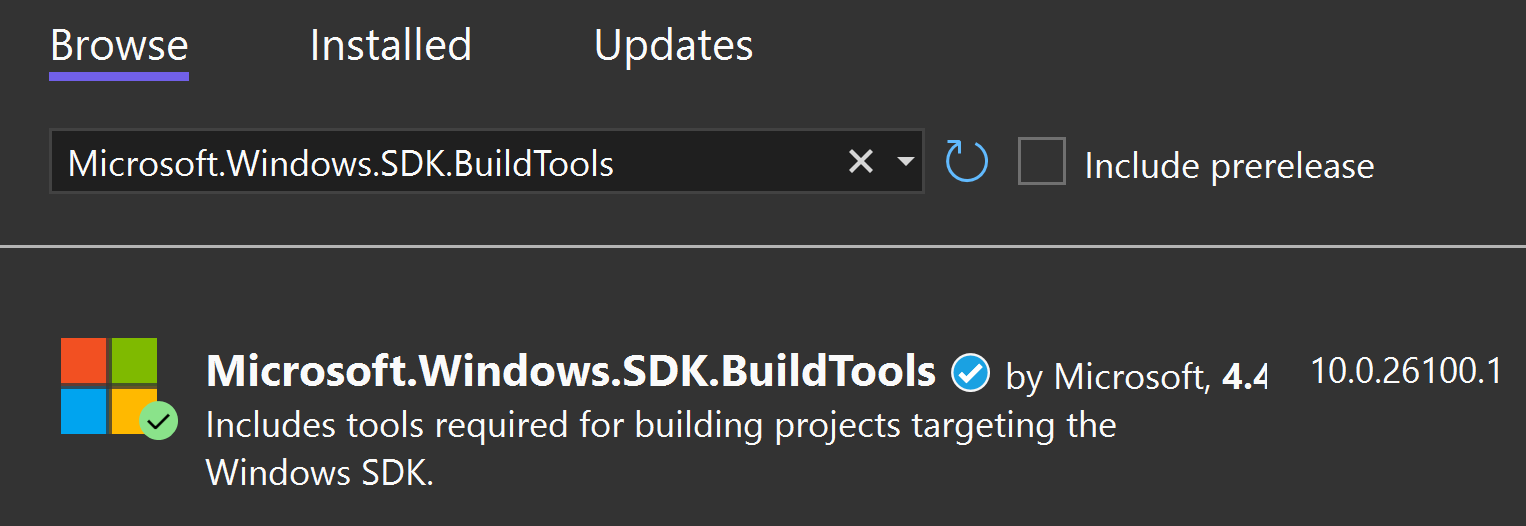
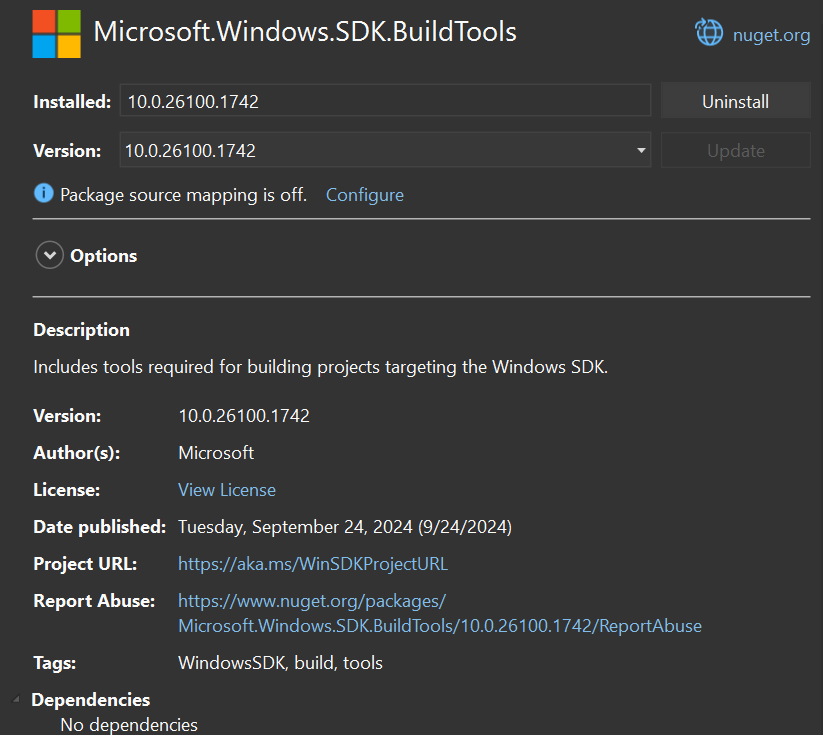
Step 3 - Install Microsoft.Windows.SDK.BuildTools version 10.0.26100.1742 or later with NuGet
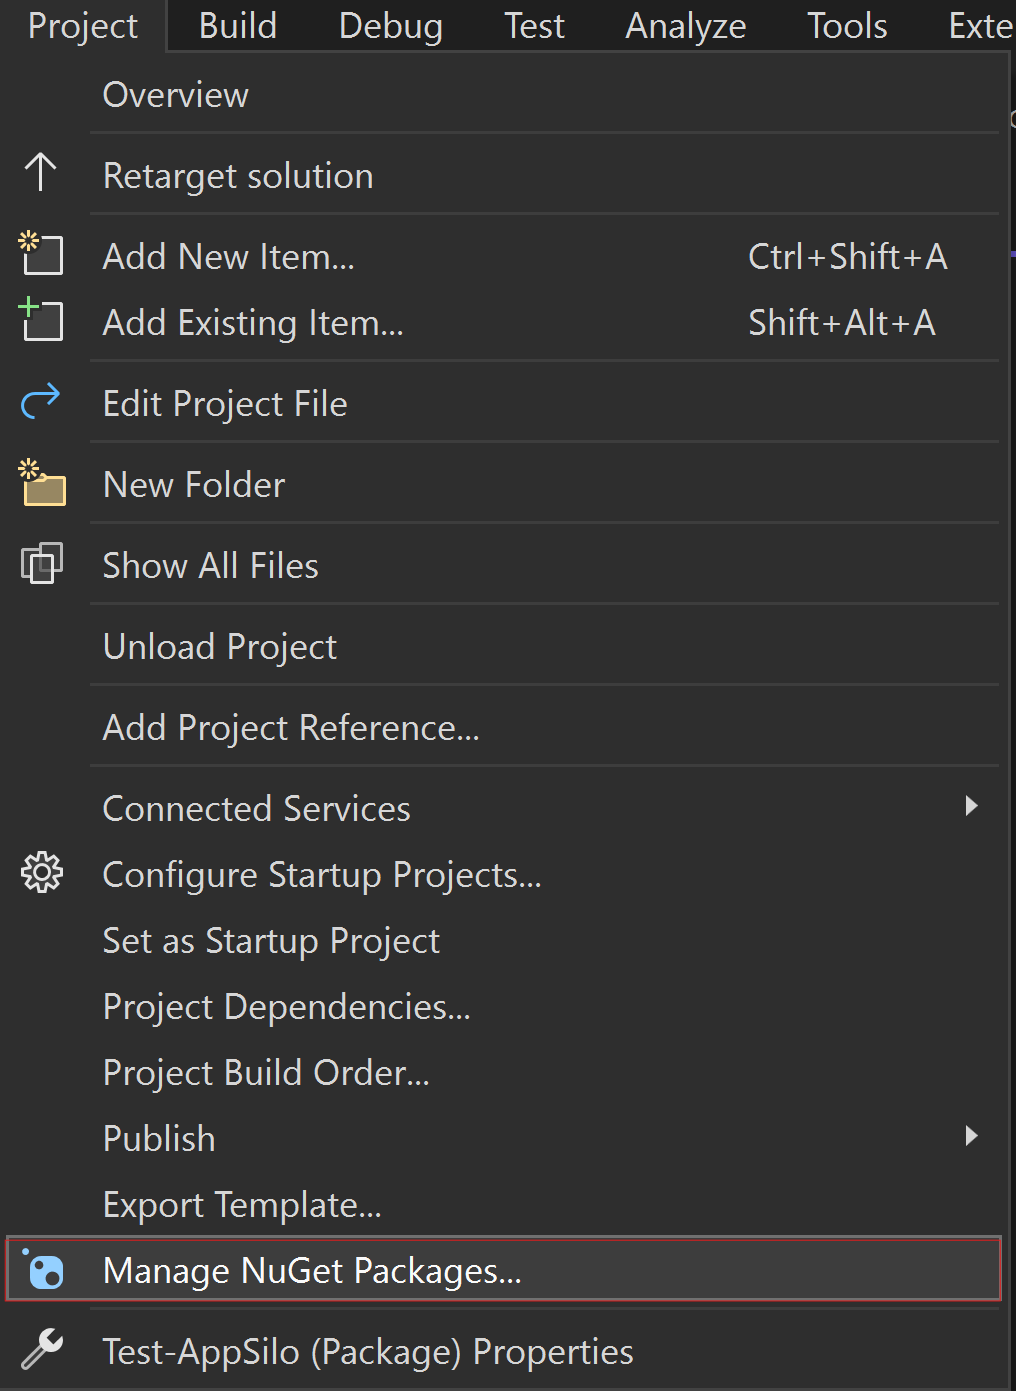
Go to Project -> Manage NuGet Packages to install Microsoft.Windows.SDK.BuildTools version 10.0.26100.1 (or later).
Step 4 - Edit the Packaging.appxmanifest and project files
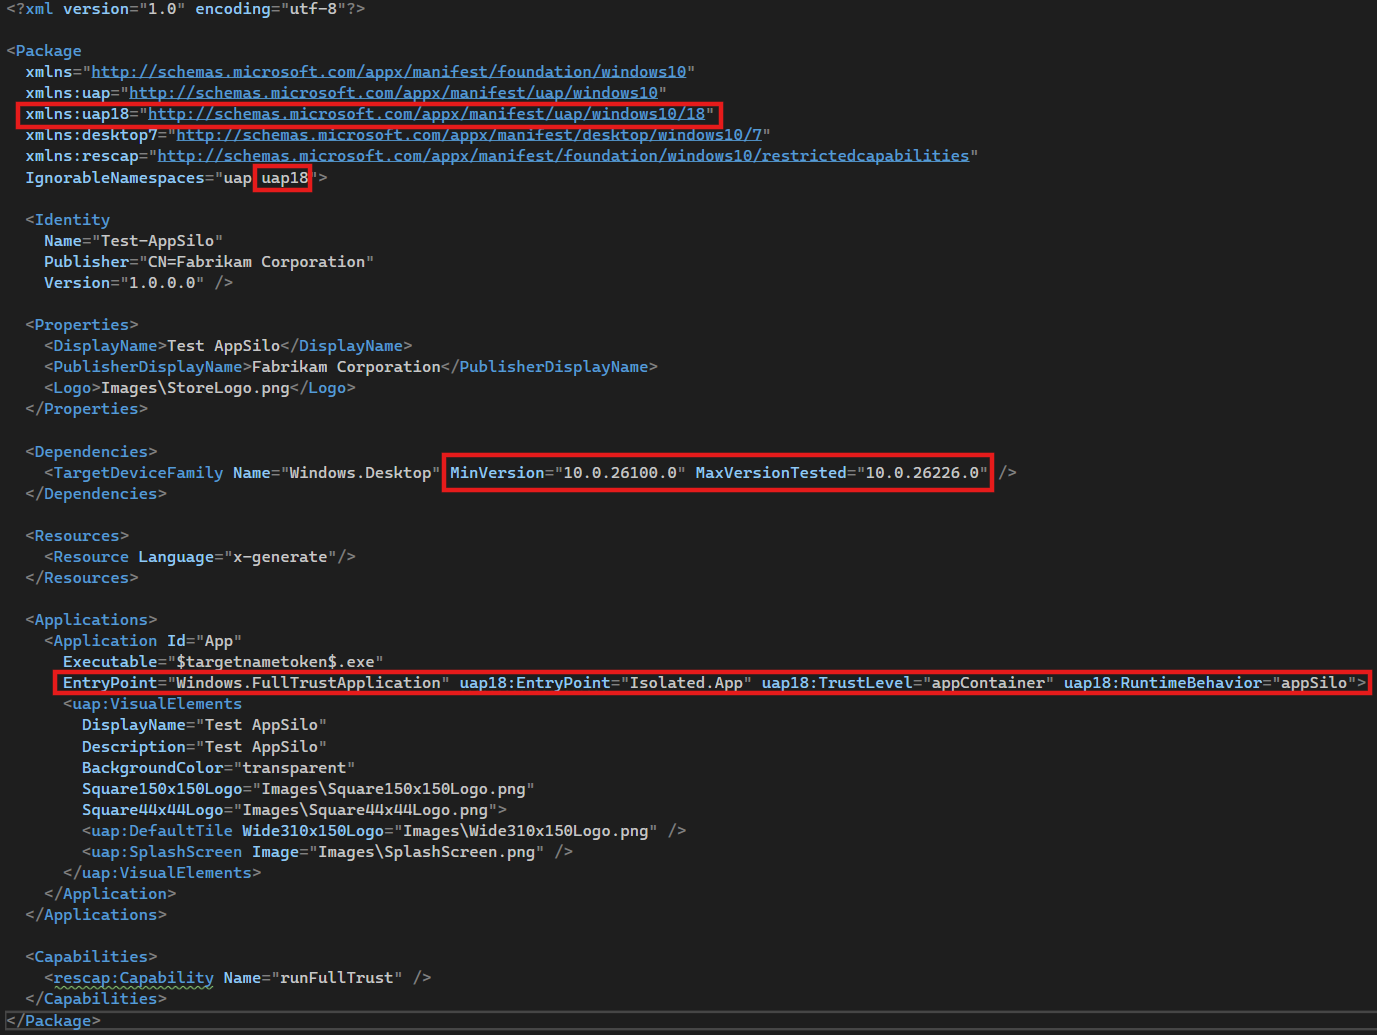
In the manifest file, the following changes will need to be made:
Note: Isolated win32 applications are not compatible with other application types within the same package.
Add
xmlns:uap18="http://schemas.microsoft.com/appx/manifest/uap/windows10/18"to the<Package>element if it's not there already.- Add
uap18toIgnorableNamespacesat the end of the<Package>element.
- Add
In
<Dependencies>changeTargetDeviceFamilyto<TargetDeviceFamily Name="Windows.Desktop" MinVersion="10.0.26100.0" MaxVersionTested="10.0.26226.0" />.Note
Not all features are available in the minimum build, check out the release notes for more detailed information. In addition, the following manifest changes enable the app to become an isolated app, but it can continue to run as a Win32 app in operating systems where Win32 app isolation isn't supported.
In
<Application>replace any existing entrypoint/trustlevel/runtimebehavior withEntryPoint="Windows.FullTrustApplication"uap18:EntryPoint="Isolated.App"uap18:TrustLevel="appContainer" uap18:RuntimeBehavior="appSilo".In
<Application>extensions, remove anyEntryPoints=*orExecutable=*as those are inherited from the parent<Application>Add
desktop7:Scope="user"to the extension element forwindows.protocol.Note
By default, Visual Studio will automatically add
<rescap:Capability name="runFullTrust">to<Capabilities>due to the app being a packaged Win32. This should be removed unless the app has other manifested extensions which can affect the user global state, such ascomServerorFirewallRules, since those require therunFullTrustcapability.
- Add
<AppxOSMaxVersionTestedReplaceManifestVersion>false</AppxOSMaxVersionTestedReplaceManifestVersion>in the wapproj file, right after the target platform version lines
Step 5 - Build and Publish App Packages
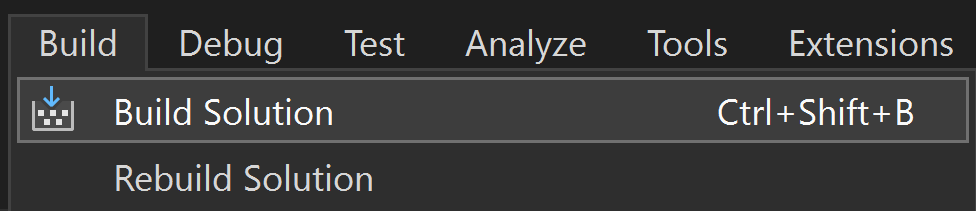
Build the Visual Studio solution.
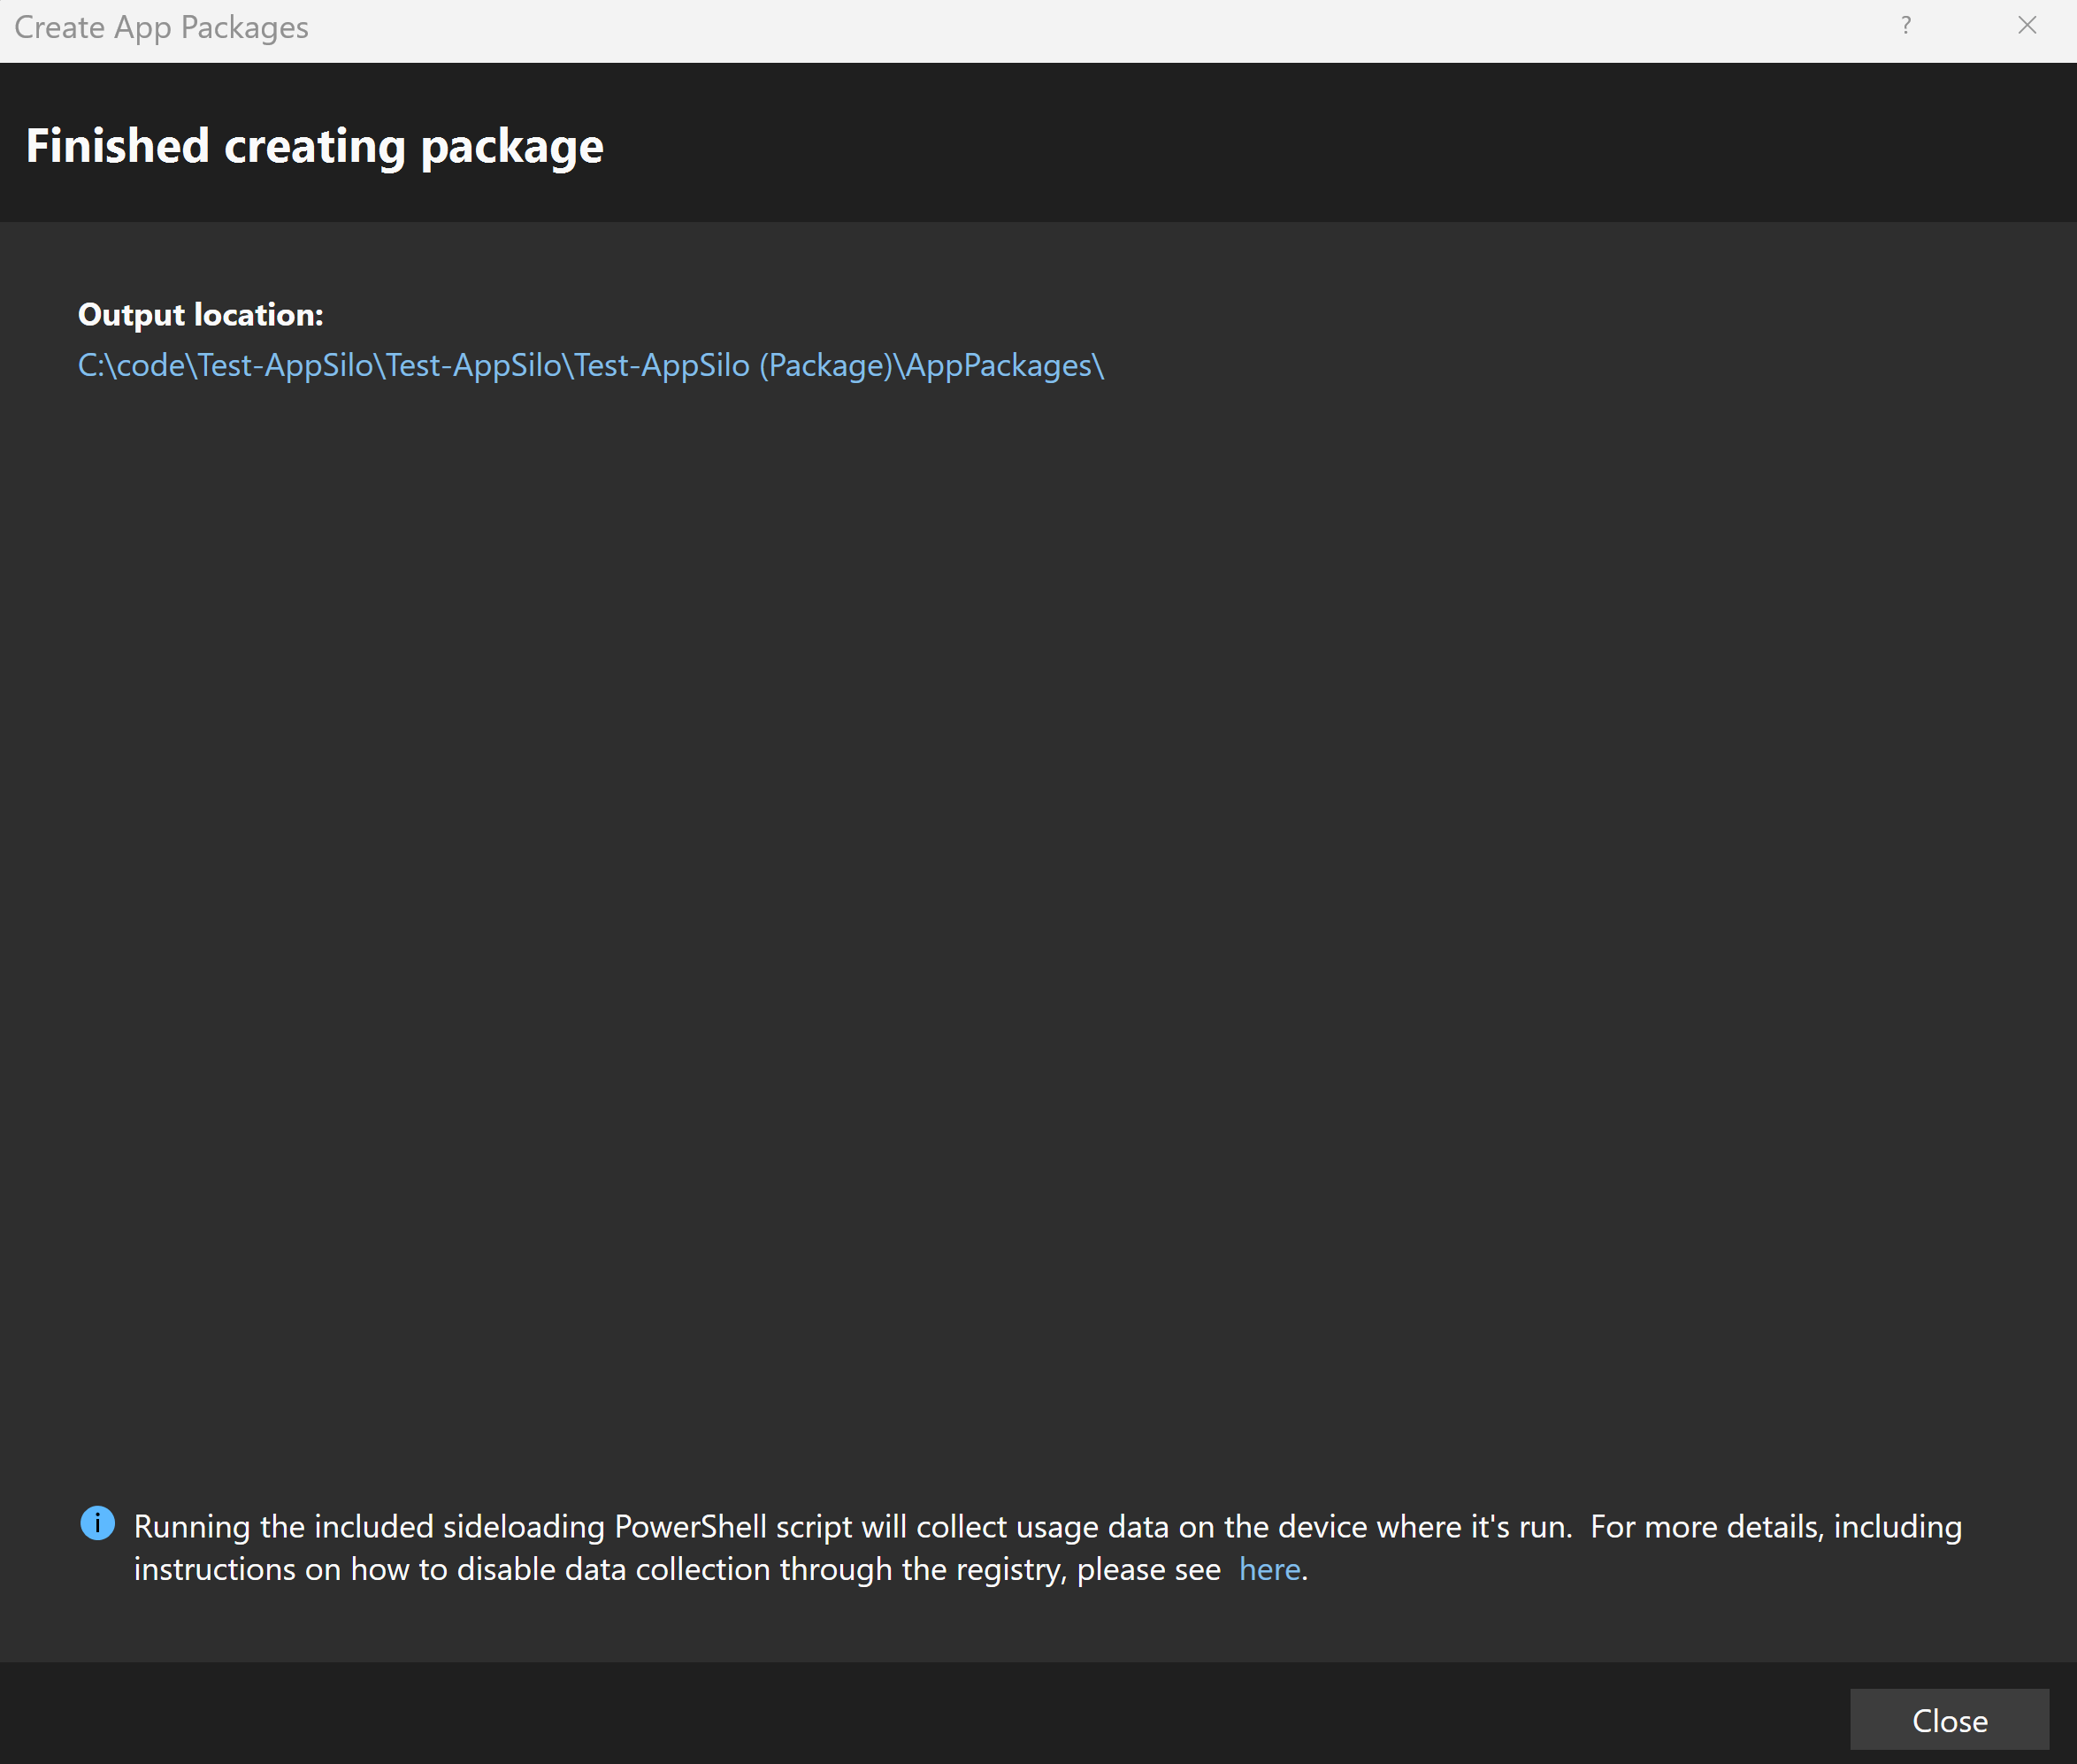
Publish the App Package by using the Create App Packages... wizard.

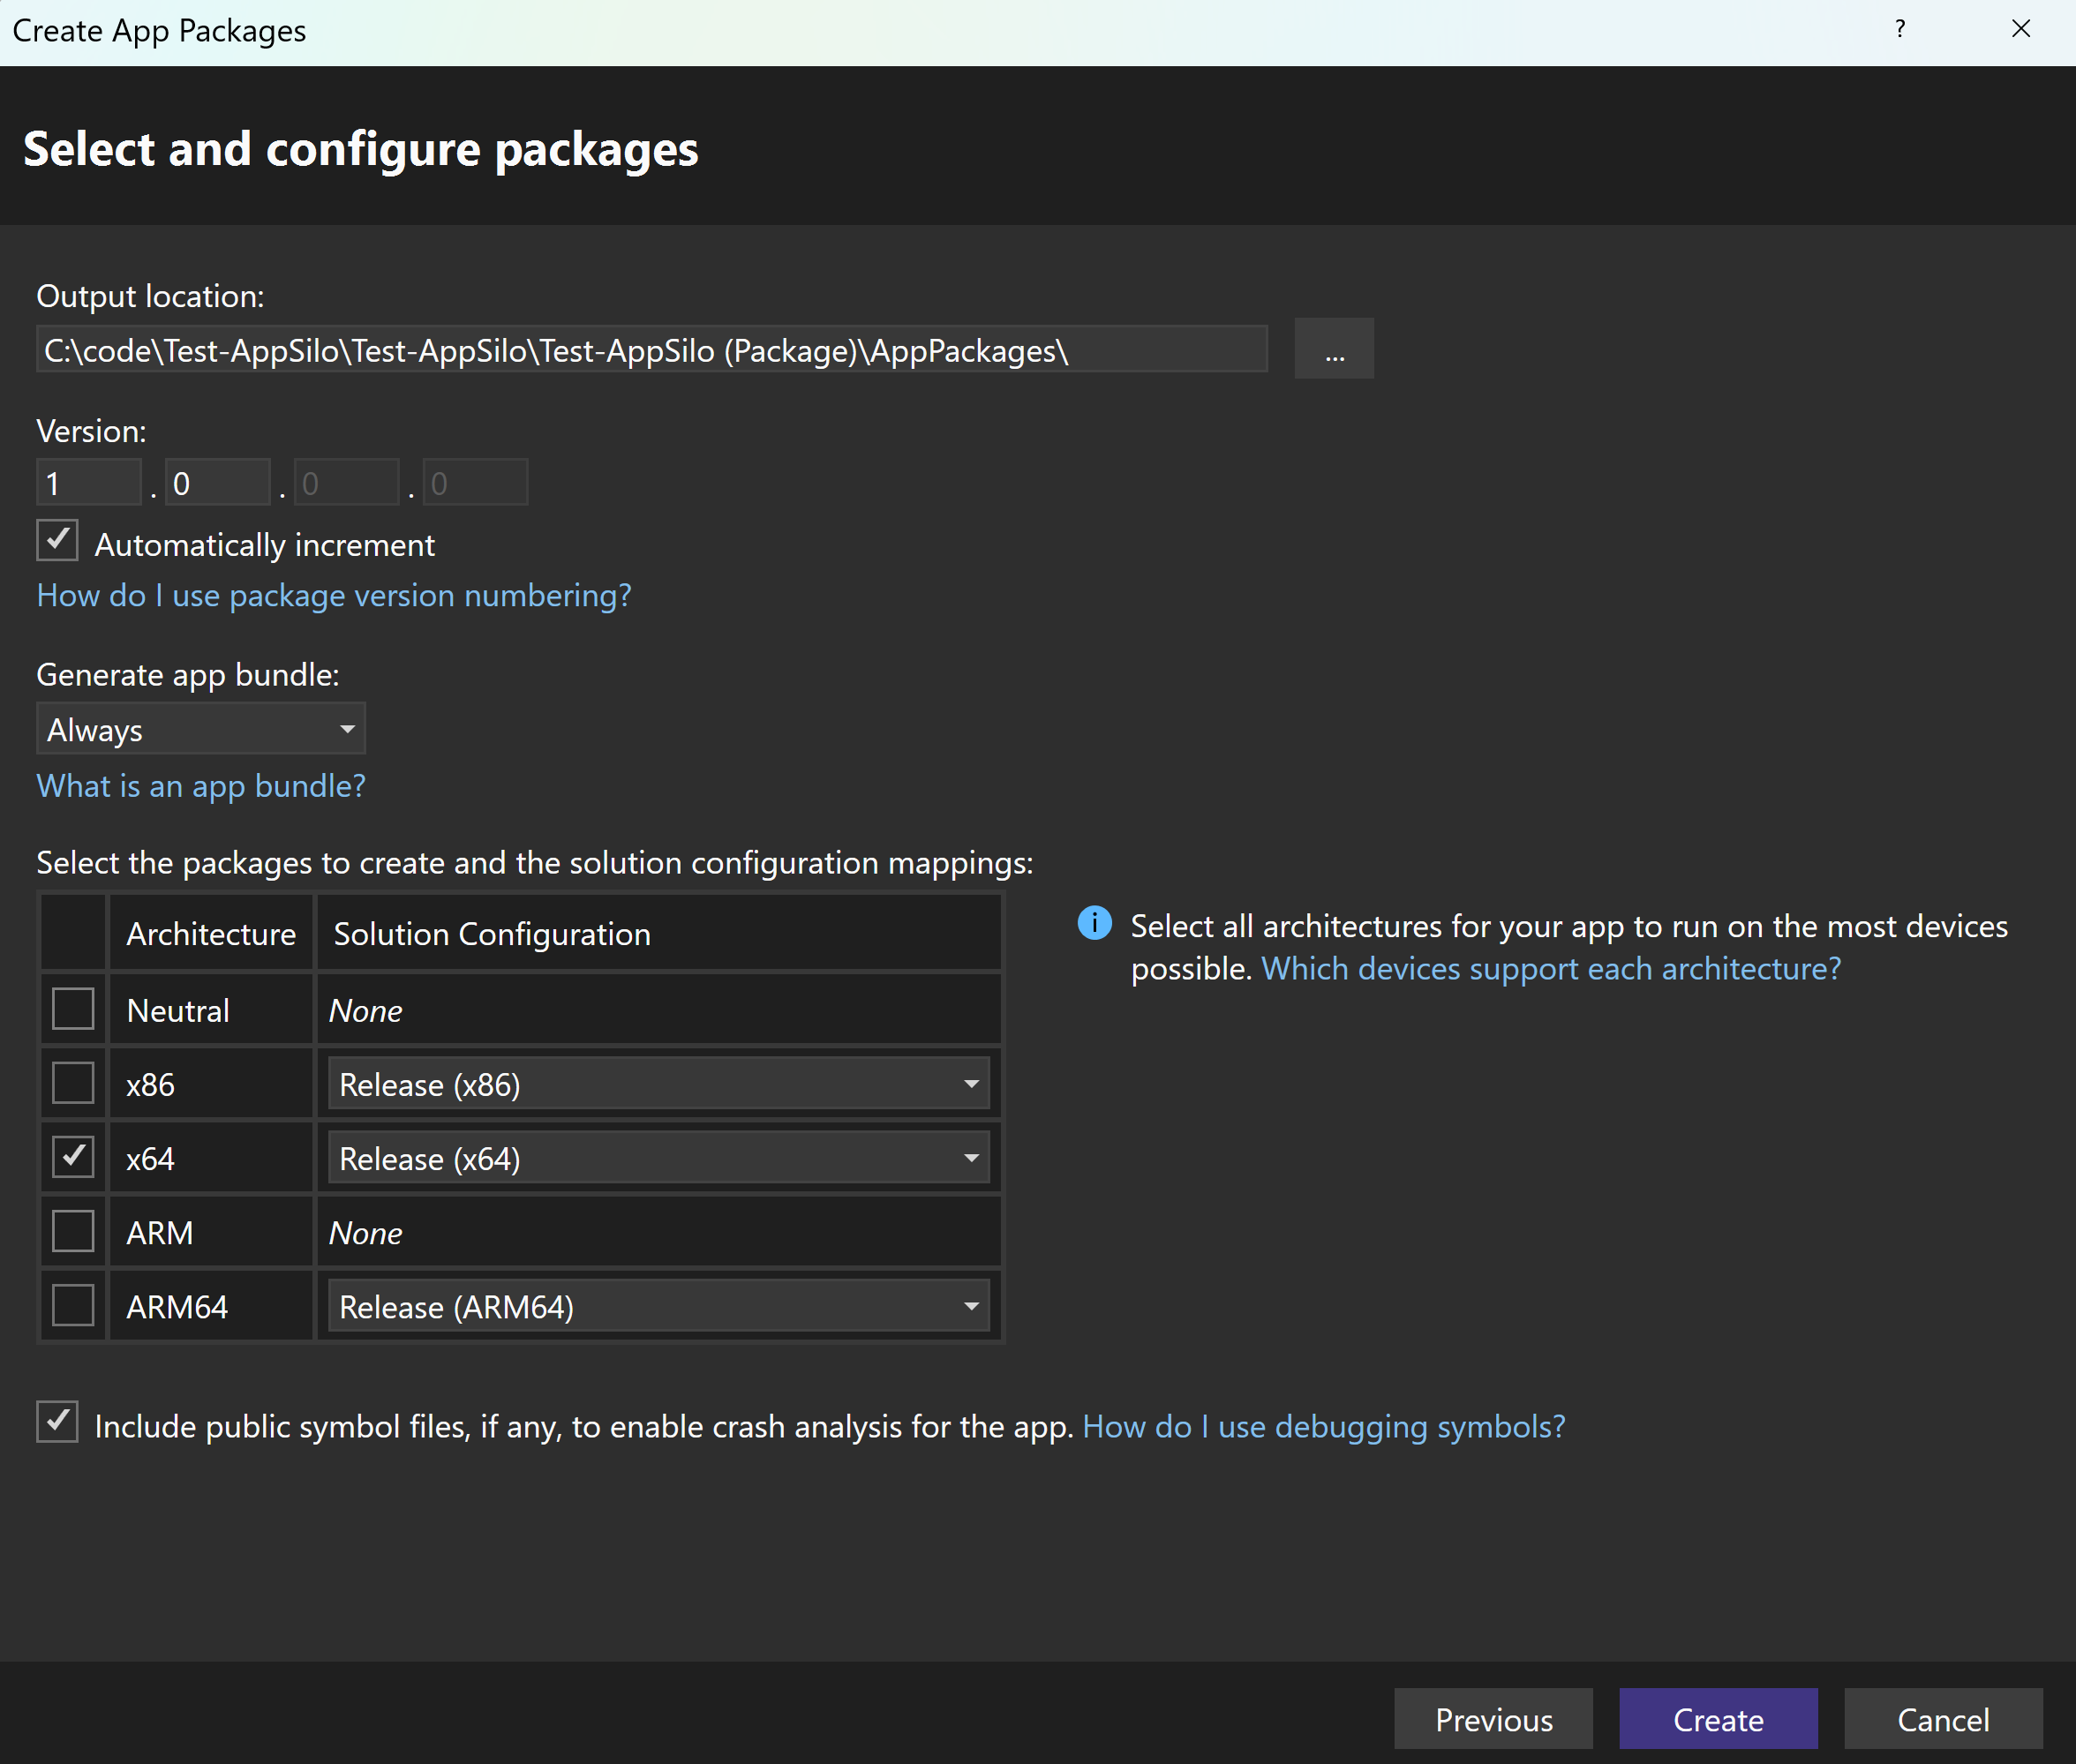
After publishing the App Packages, the Output location displayed shows the root directory where the MSIX package is published by version. Open on the version folder to find the Install.ps1 file for installing the app.