Get Job events in Real-Time hub (preview)
This article describes how to get Job events as an eventstream in Fabric Real-Time hub.
Real-Time hub allows you to discover and subscribe to changes produced when Fabric runs a job. For example, you can react to changes when refreshing a semantic model, running a scheduled pipeline, or running a notebook. Each of these activities can generate a corresponding job, which in turn generates a set of corresponding job events.
Job events allow you to monitor job results in time and set up alerts using Data Activator alerting capabilities. For example, when the scheduler triggers a new job, or a job fails, you can receive an email alert. This way, even if you aren't in front of the computer, you can still get the information you care about.
With Fabric event streams, you can capture these Job events, transform them, and route them to various destinations in Fabric for further analysis. This seamless integration of Job events within Fabric event streams gives you greater flexibility for monitoring and analyzing activities in your Job.
Event types
| Event type name | Description |
|---|---|
| Microsoft.Fabric.ItemJobCreated | Raised when the Fabric platform creates or triggers a job, manually or scheduled. |
| Microsoft.Fabric.ItemJobStatusChanged | Raised when the job status changes to another non-terminal state. This event isn't raised if the workload doesn't push when the status changes. The job status might change from created to completed soon. |
| Microsoft.Fabric.ItemJobSucceeded | Raised when the job completes. |
| Microsoft.Fabric.ItemJobFailed | Raised when the job fails, including job getting stuck or canceled. |
For more information, see Explore Job events.
Note
Consuming Fabric and Azure events via eventstream or Fabric Activator isn't supported if the capacity region of the eventstream or Activator is in the following regions: West India, Israel Central, Korea Central, Qatar Central, Singapore, UAE Central, Spain Central, Brazil Southeast, Central US, South Central US, West US 2, West US 3.
Prerequisites
- Access to a workspace in the Fabric capacity license mode (or) the Trial license mode with Contributor or higher permissions.
Create streams for Job events
You can create streams for Job events in Real-Time hub using one of the ways:
Data sources page
Sign in to Microsoft Fabric.
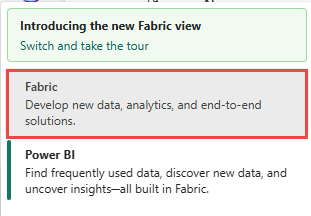
If you see Power BI at the bottom-left of the page, switch to the Fabric workload by selecting Power BI and then by selecting Fabric.
Select Real-Time on the left navigation bar.

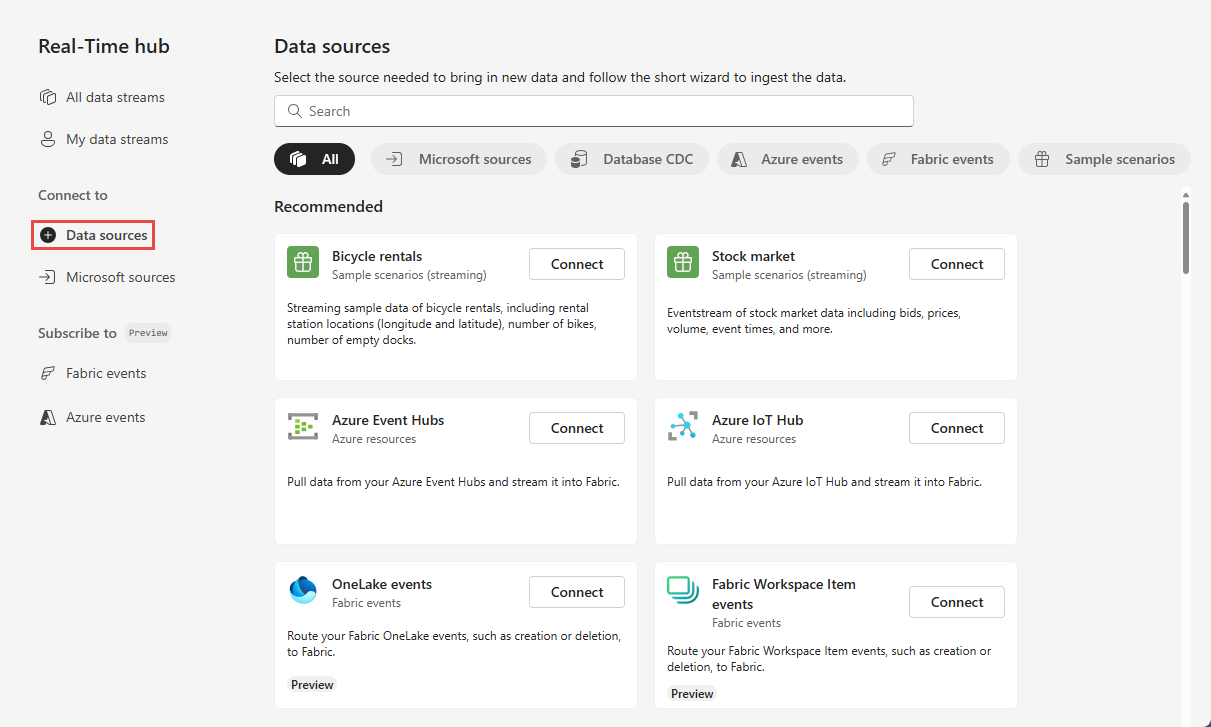
On the Real-Time hub page, select + Data sources under Connect to on the left navigation menu.
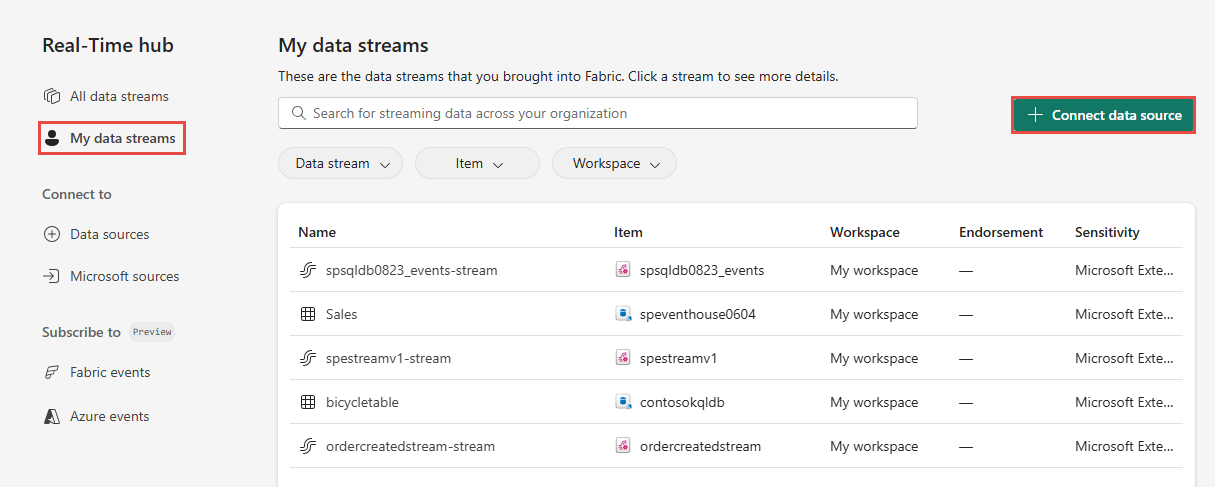
You can also get to the Data sources page from All data streams or My data streams pages by selecting the + Connect data source button in the top-right corner.
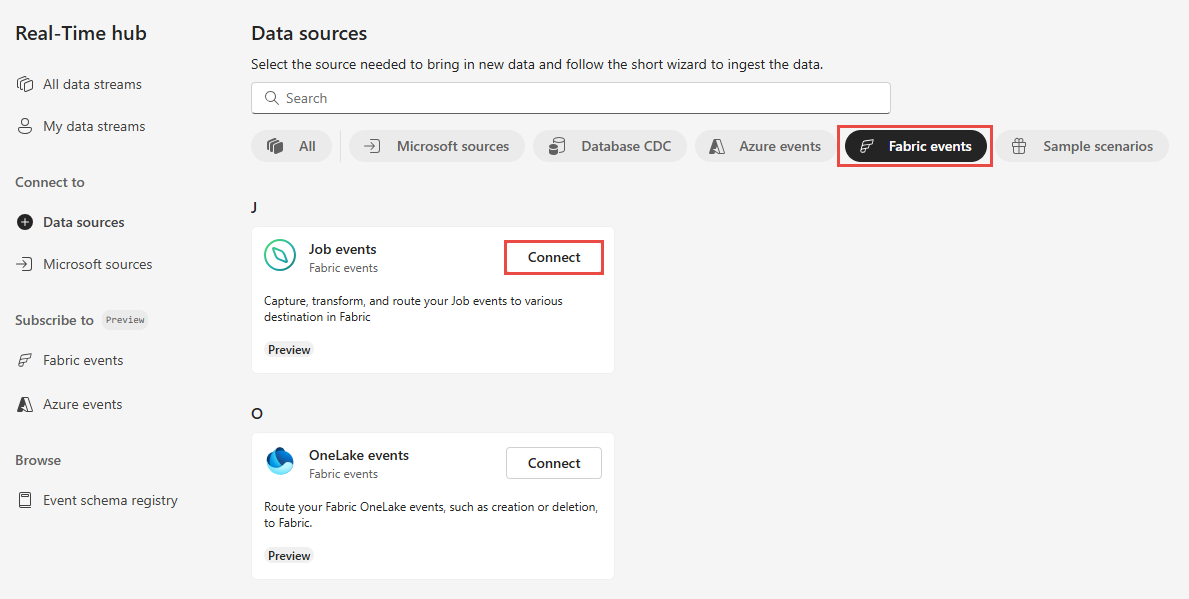
On the Data sources page, select Job events category at the top, and then select Connect on the Job events tile. You can also use the search bar to search for Job events.
Now, use instructions from the Configure and create an eventstream section.
Fabric events page
In Real-Time hub, select Fabric events on the left menu. You can use either the list view of Fabric events or the detail view of Job events to create an eventstream for Job events.
Using the list view
Move the mouse over Job events, and select the Create Eventstream link or select ... (Ellipsis) and then select Create Eventstream.
Using the detail view
On the Fabric events page, select Job events from the list of Fabric events supported.
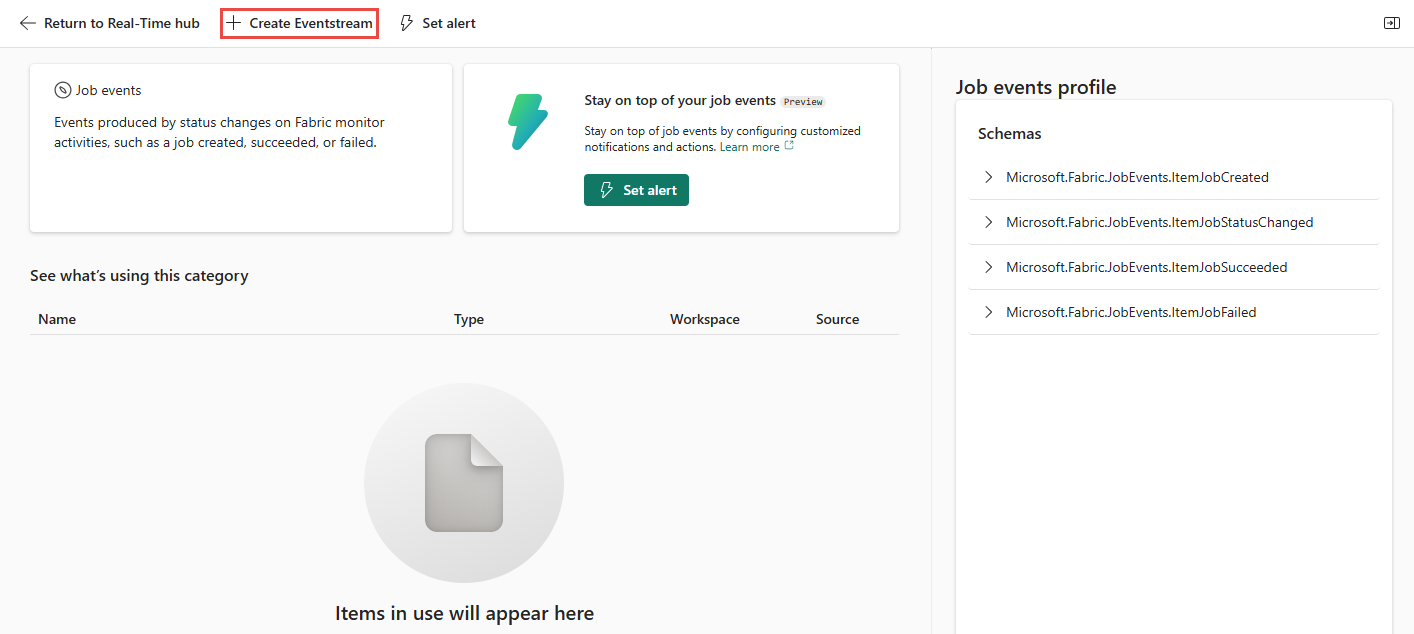
On the Detail page, select + Create eventstream from the menu.
Now, use instructions from the Configure and create an eventstream section, but skip the first step of using the Add source page.
Configure and create an eventstream
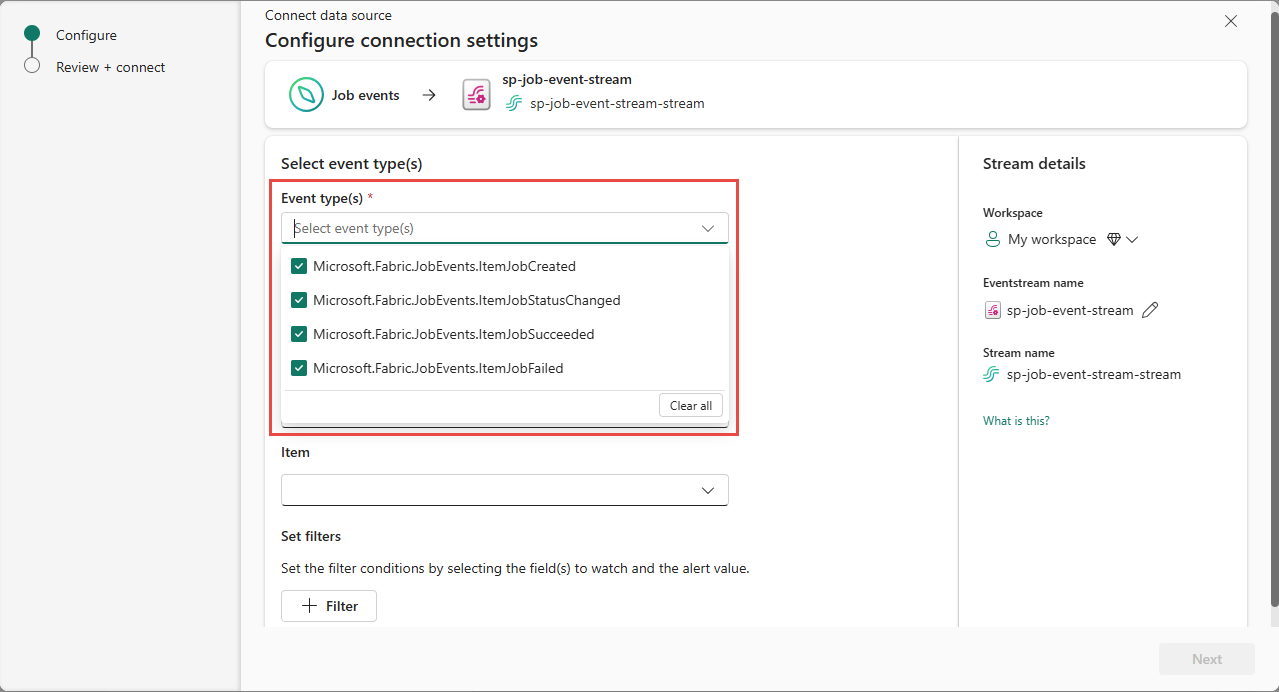
On the Connect page, for Event types, select the event types that you want to monitor.
This step is optional. To see the schemas for event types, select View selected event type schemas. If you select it, browse through schemas for the events, and then navigate back to previous page by selecting the backward arrow button at the top.
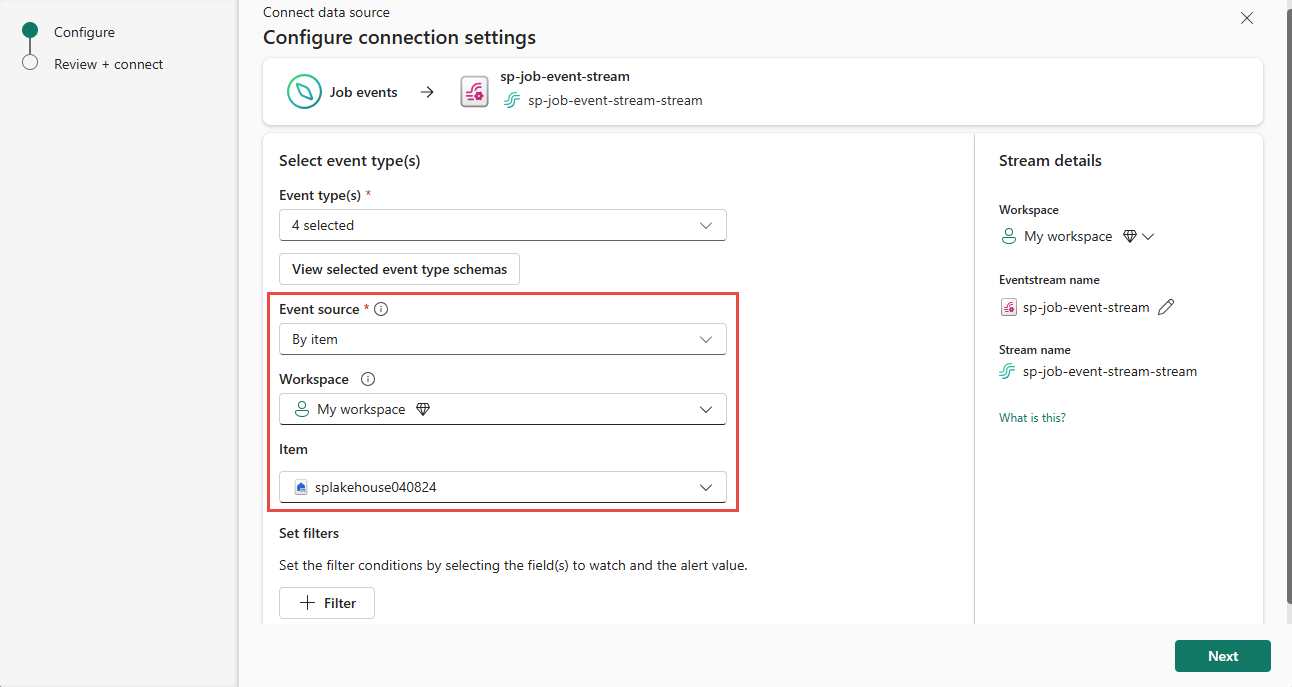
For Event source, confirm that By item is selected.
For Workspace, select a workspace where the Fabric item is.
For Item, select the Fabric item.
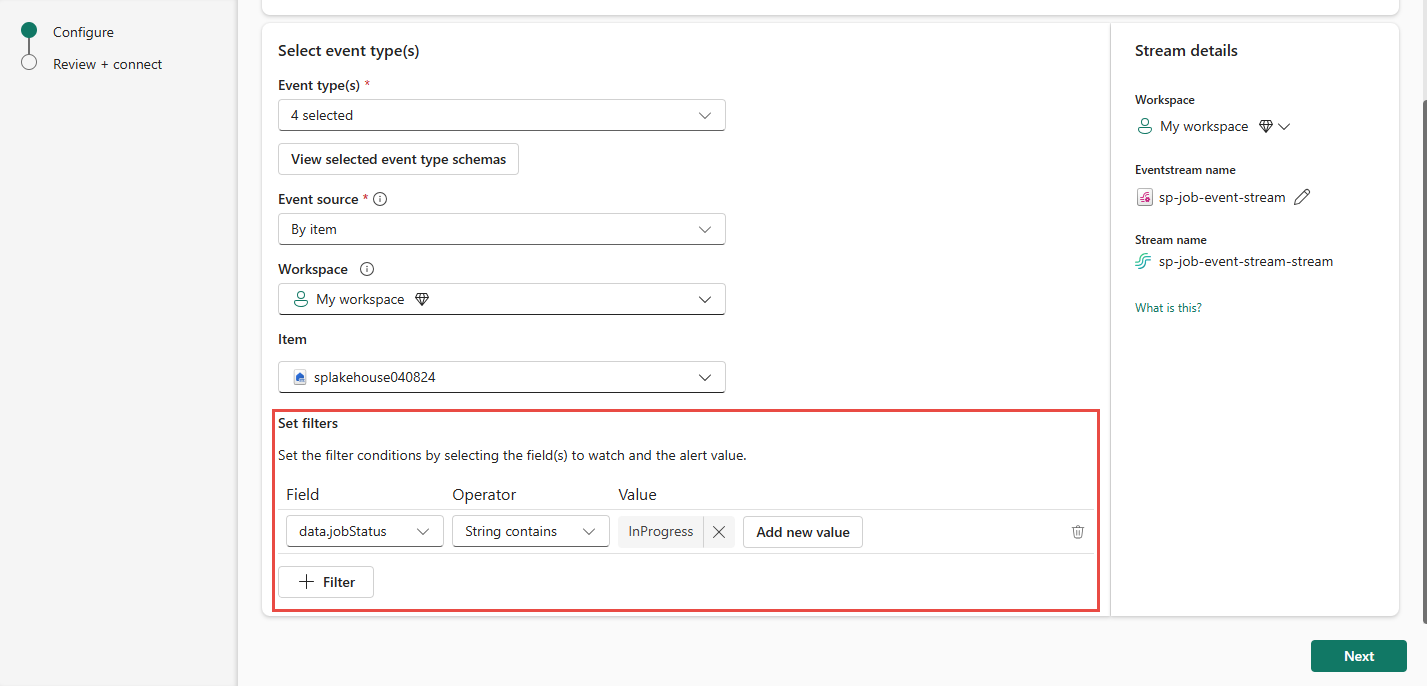
Now, on the Configure connection settings page, you can add filters to set the filter conditions by selecting fields to watch and the alert value. To add a filter:
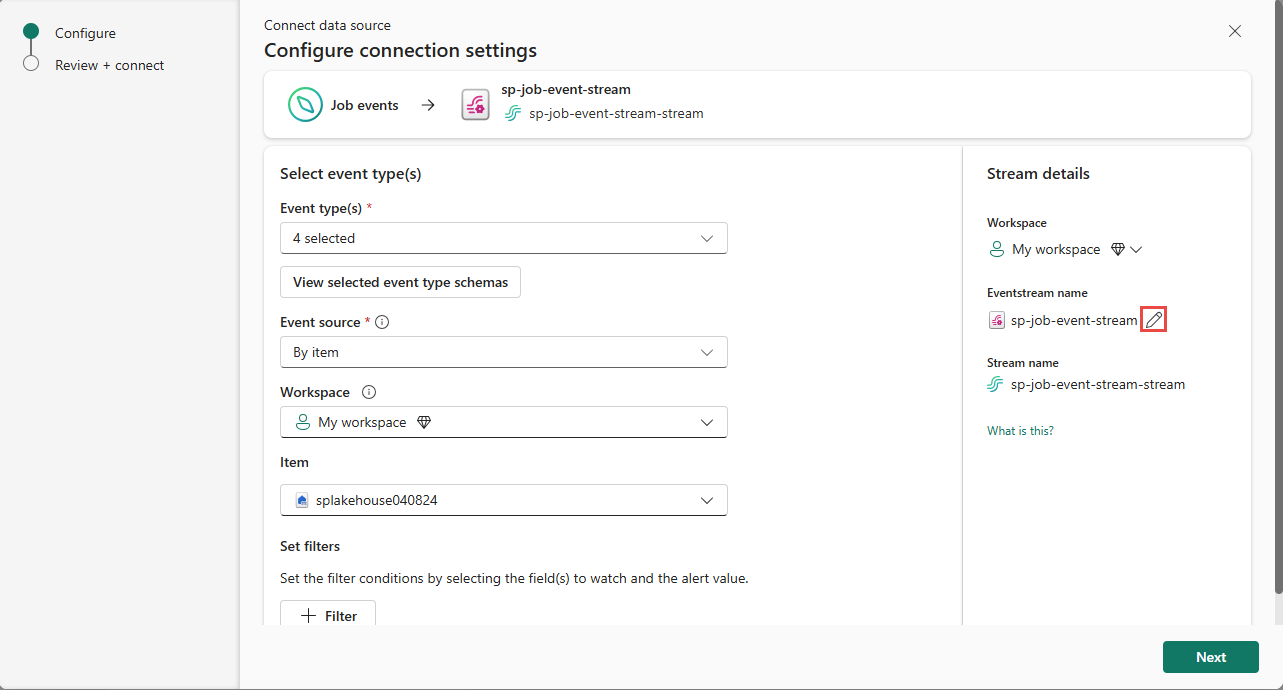
In the Stream details section to the right, follow these steps.
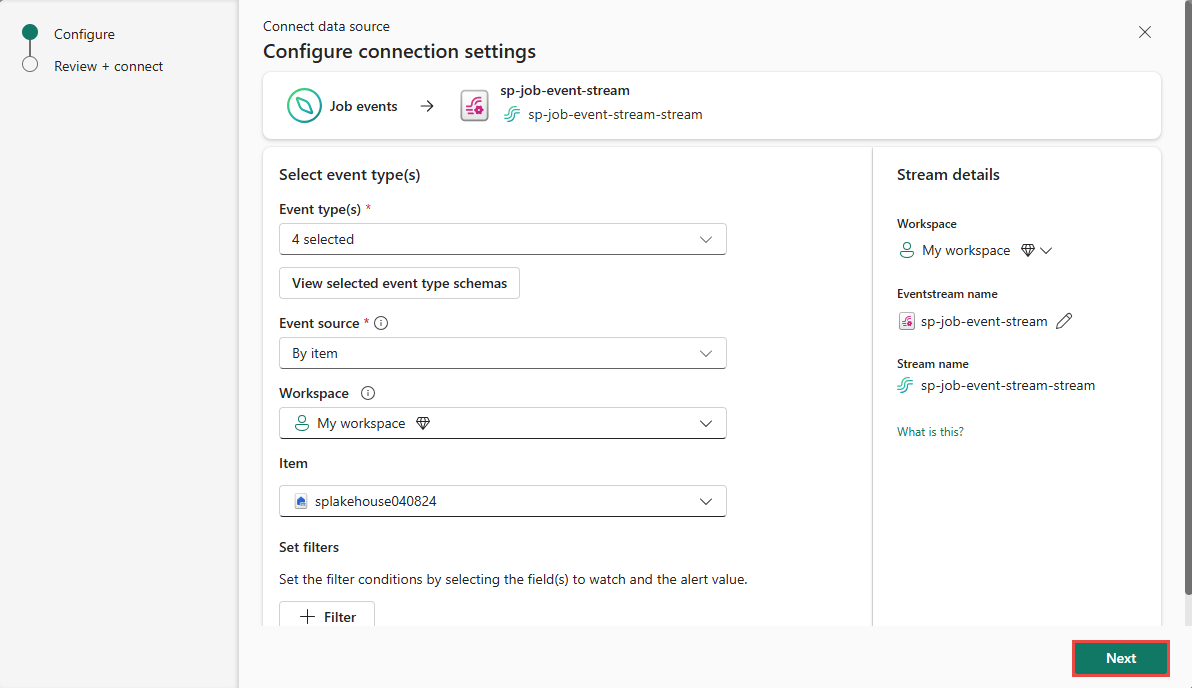
Then, select Next at the bottom of the page.
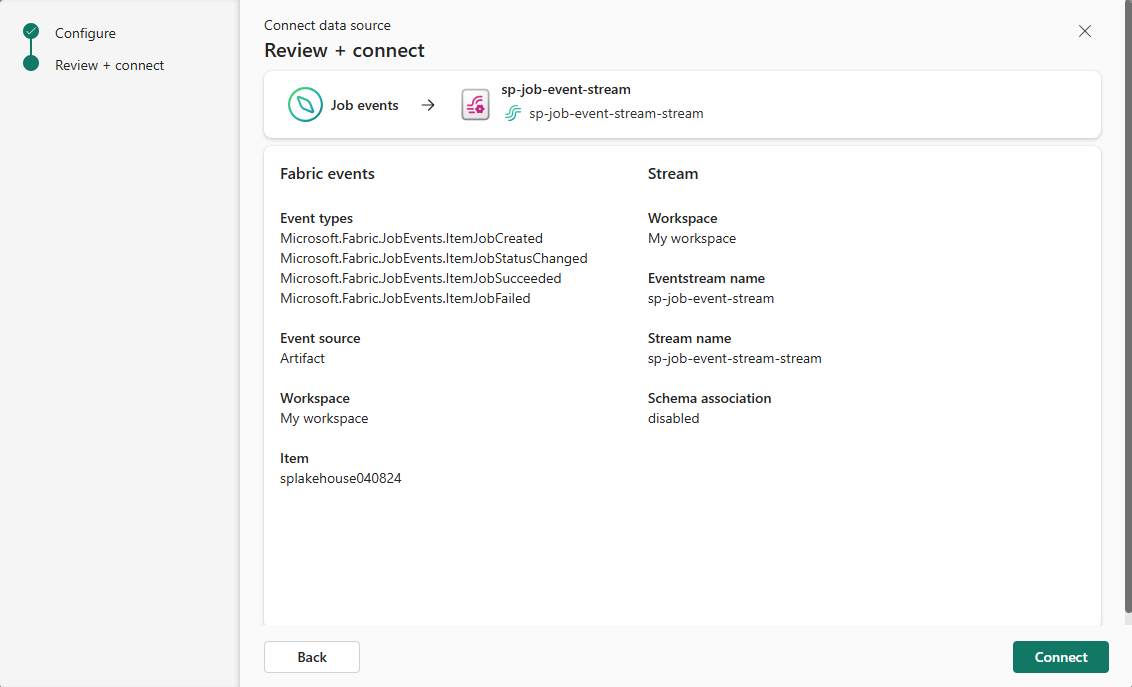
On the Review + connect page, review settings, and select Connect.
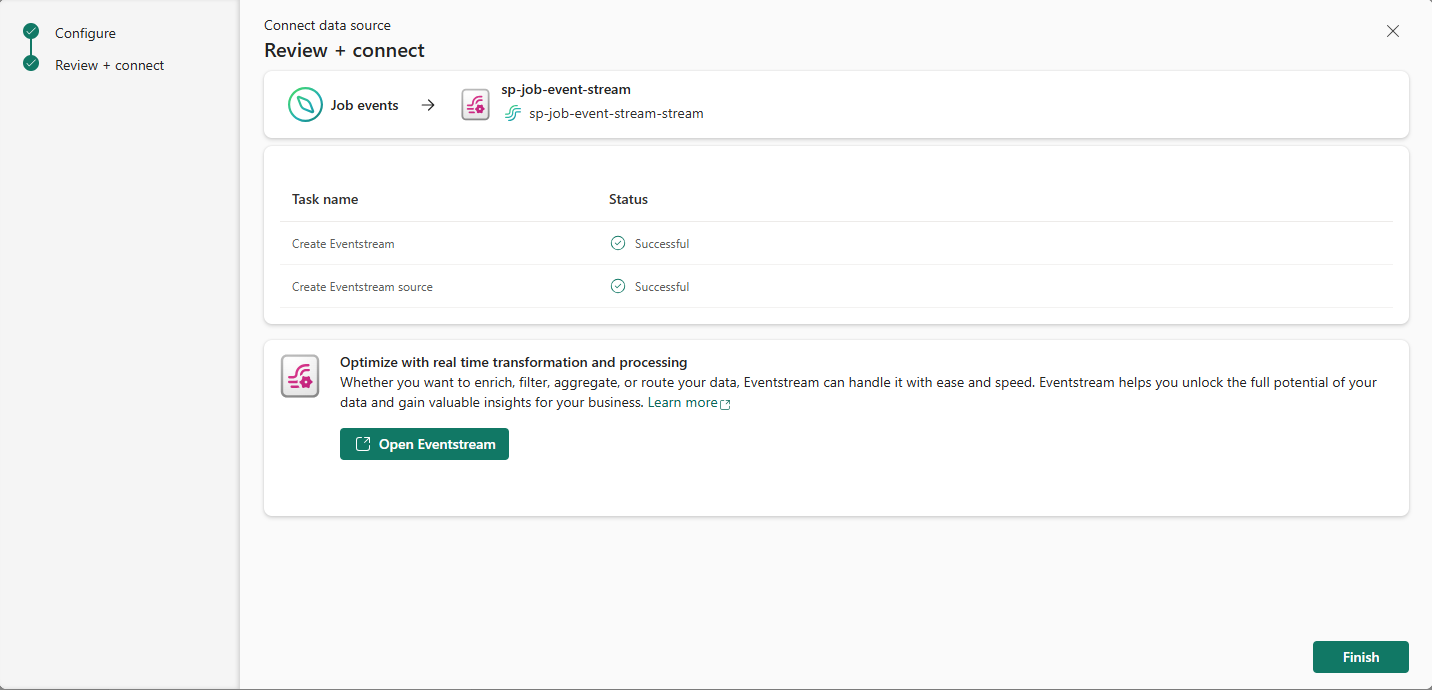
When the wizard succeeds in creating a stream, use Open eventstream link to open the eventstream that was created for you. Select Finish to close the wizard.
View stream from the All data streams page
In Real-Time hub, select My data streams or All data streams.
Confirm that you see the stream you created.
Related content
To learn about consuming data streams, see the following articles:
