Microsoft.Testing.Platform architecture
Welcome to our new test platform! To help you get acquainted with its capabilities, we'll start with a simple example that demonstrates how to register and run a test. This foundational example will give you a solid understanding of the core functionality and how to get started quickly.
Note
All of the concepts in this article are exemplified in the Microsoft Test Framework repository as a complete sample. For more information, see the Sample code.
Step 1: Register and Run a simple test application
In this initial example, you walk through the basic steps to declare and run a test application. This straightforward approach ensures that you can immediately start using the platform with minimal setup.
Step 2: Extending the Platform
After you've discovered how to create your first test application, you explore an example of extension to cover partially the concepts surrounding the test application extensions.
Step 3: Comprehensive Overview of Extension Points
Once you're comfortable with the basics, you delve into the various extension points. This will include:
Platform and Test Framework Capabilities: Understanding the full range of capabilities provided by the platform and the test framework, allowing you to leverage them effectively.
Custom Test Framework: How to write and register your custom test framework, enabling you to tailor the testing environment to your specific requirements.
In-Process and Out-of-Process Extensions: Detailed instructions on how to write and register both in-process and out-of-process extensions, offering flexibility in how you extend the platform.
Order of Execution: Clarifying the order of execution for the various extension points to ensure seamless integration and operation of your custom extensions.
Step 4: Available Services and Helpers
Finally, you review an exhaustive list of the available services and helper functions within the platform. This section will serve as a reference to help you leverage all the tools at your disposal for creating robust and efficient test extensions.
By following this structured approach, you will gain a comprehensive understanding of our test platform, from basic usage to advanced customization. Let's get started and explore the full potential of what our platform can offer!
Step 1: Register and Run a simple test application
To introduce the architecture of the testing platform, this document will use the classic console application (for Windows) as the host. The samples in this document are written in C#, but you can use the testing platform with any language that supports the .NET Ecma specification, and run on any OS supported by .NET. To use the platform, simply reference the Microsoft.Testing.Platform.dll assembly, which can be consumed through the official NuGet package available at https://www.nuget.org/packages/Microsoft.Testing.Platform.
In a console project Contoso.UnitTests.exe, the following Main method defines the entry point:
public static async Task<int> Main(string[] args)
{
    ITestApplicationBuilder builder = await TestApplication.CreateBuilderAsync(args);

    builder.RegisterTestFramework();

    using ITestApplication testApp = await builder.BuildAsync();

    return await testApp.RunAsync();
}
This code includes everything needed to execute a test session, except for registering a test framework such as MSTest through RegisterTestFramework. This code is shown and explained in later sections.
Note
The default behavior is to have the entry point automatically generated by the testing platform MSBuild task. This is done by adding the Microsoft.Testing.Platform.MSBuild package to your project.
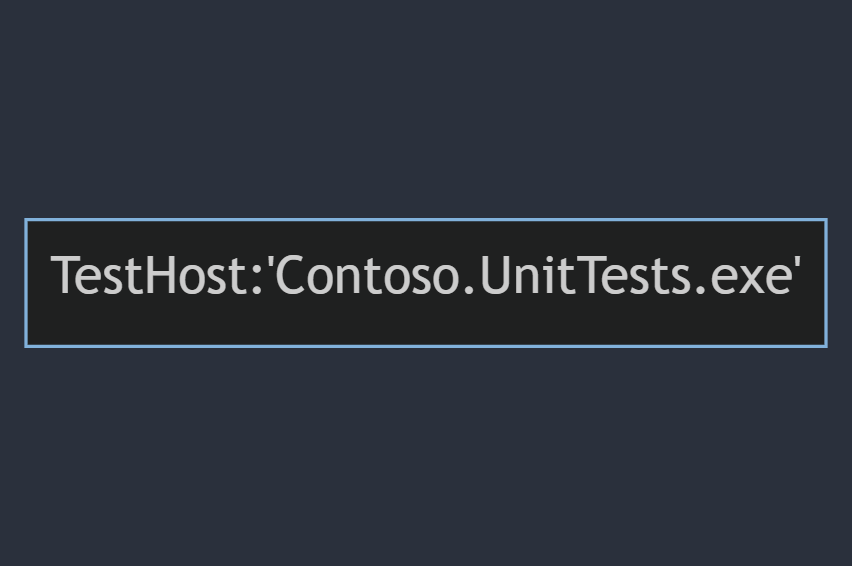
When Contoso.UnitTests.exe application is started a standard Windows process is created, and the testing platform interacts with the registered testing framework to execute the testing session.
A single process is created to carry out this work:
The testing platform includes a built-in display device that writes the testing session information in the terminal, similar to:
Microsoft(R) Testing Platform Execution Command Line Tool
Version: 1.1.0+8c0a8fd8e (UTC 2024/04/03)
RuntimeInformation: win-x64 - .NET 9.0.0-preview.1.24080.9
Copyright(c) Microsoft Corporation.  All rights reserved.
Passed! - Failed: 0, Passed: 1, Skipped: 0, Total: 1, Duration: 5ms - Contoso.UnitTests.dll (win-x64 - .NET 9.0.0-preview.1.24080.9)
Note
The known exit codes returned by the ITestApplication.RunAsync() call are detailed in platform exit codes.
Step 2: Extending the platform
Test runs commonly collect code coverage information, or similar information to evaluate code quality. Such workloads may require configuration before the test host process starts, for example setting environment variables.
The testing platform accommodates this by having out-of-process extensions. When running with an out-of-process extensions, the testing platform will start multiple processes and it will manage them appropriately.
The following example demonstrates how to register a code coverage feature using a TestHostController extension.
ITestApplicationBuilder builder = await TestApplication.CreateBuilderAsync(args);

builder.RegisterTestFramework();
builder.AddCodeCoverage();

using ITestApplication testApp = await builder.BuildAsync();

return await testApp.RunAsync();
The builder.AddCodeCoverage(); internally uses the TestHostController extensibility point, which is an out-of-process extensibility point.
public static class TestApplicationBuilderExtensions
{
    public static ITestApplicationBuilder AddCodeCoverage(
        this ITestApplicationBuilder builder)
    {
        builder.TestHostControllers
               .AddEnvironmentVariableProvider(/* ... */);

        // ...

        return builder;
    }
}
The parameters for the api AddEnvironmentVariableProvider will be explained in later sections.
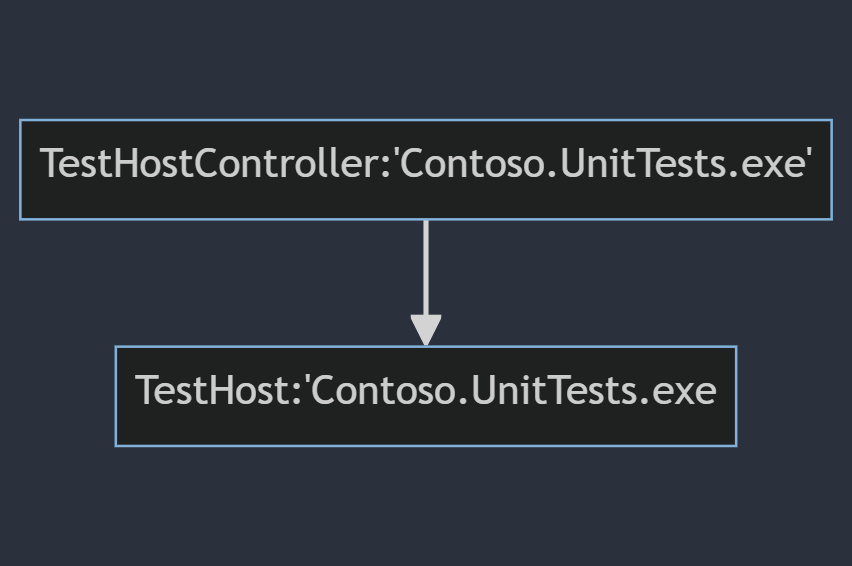
When running Contoso.UnitTests.exe this time, the testing platform detects that a TestHostController extension is registered. As a result, it starts another instance of the Contoso.UnitTests.exe process as a child process. This is done to properly set the environment variables as required by the extension registered with the AddEnvironmentVariableProvider API.
The process layout looks like this:
Note
The provided example assumes a console application layout, which handles the start process correctly and propagates all command line arguments to the child process. If you are using a different host, you need to ensure that the entry point code correctly forwards the process entry point (the "Main") to the appropriate code block. The runtime simply starts itself with the same command line arguments.
The above section provides a brief introduction to the architecture of the testing platform. The current extensibility points are divided into two categories:
In process extensions can be accessed through the
TestHostproperty of the test application builder. In process means that they will run in the same process as the test framework.ITestApplicationBuilder builder = await TestApplication.CreateBuilderAsync(args); builder.RegisterTestFramework(); builder.TestHost.AddXXX(/* ... */);As observed, the most crucial extension point is the in-process testing framework (
RegisterTestFramework), which is the only mandatory one.Out of process extensions can be accessed through the
TestHostControllersproperty of the test application builder. These extensions run in a separate process from the test framework to "observe" it.ITestApplicationBuilder builder = await TestApplication.CreateBuilderAsync(args); builder.TestHostControllers.AddXXX(/* ... */);
Step 3: Comprehensive Overview of Extension points
Let's start by getting familiar with the concept of capabilities before diving into the various extensions points.
Step 4: Available services
The testing platform offers valuable services to both the testing framework and extension points. These services cater to common needs such as accessing the configuration, parsing and retrieving command-line arguments, obtaining the logging factory, and accessing the logging system, among others. IServiceProvider implements the service locator pattern for the testing platform.
All the services, helpers, and technical information about how to access and use these services is listed in Microsoft.Testing.Platform Services documentation.


