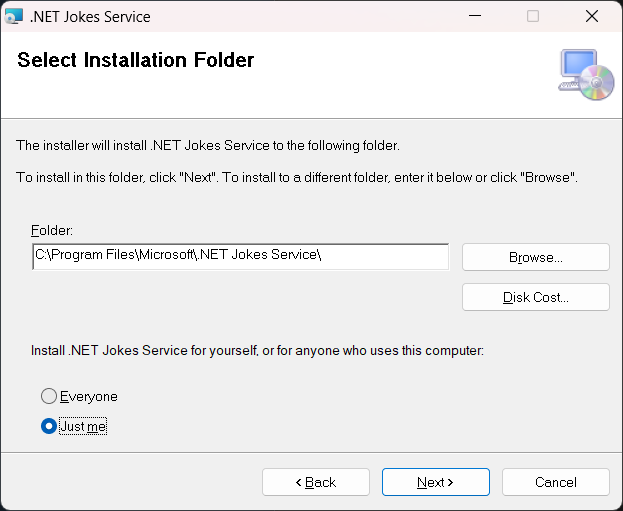
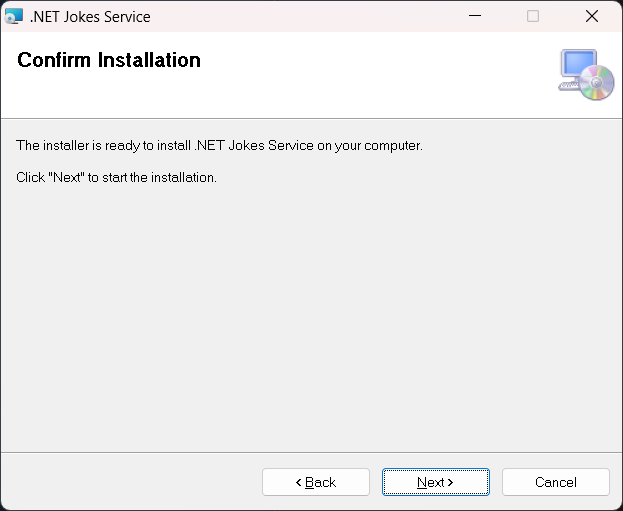
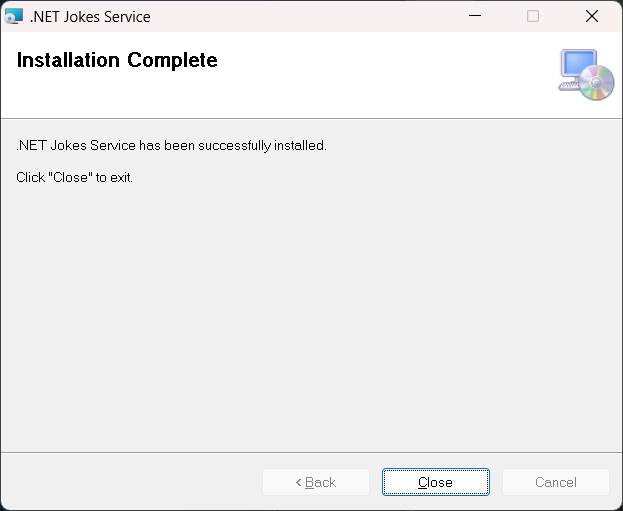
建立 Windows 服務安裝程式
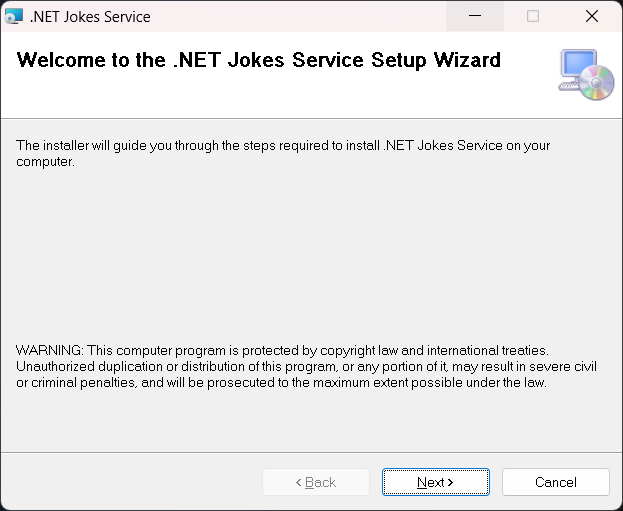
當您建立 .NET Windows 服務 (請勿誤認為 .NET Framework Windows 服務) 時,您可能會想要為服務建立安裝程式。 如果沒有安裝程式,則使用者必須知道如何安裝和設定您的服務。 安裝程式會組合應用程式的可執行檔,並公開可自訂的安裝使用者體驗。 本教學課程是 建立 Windows 服務 教學課程的接續。 它會示範如何為您的 .NET Windows 服務建立安裝程式。
在本教學課程中,您將了解如何:
- 安裝 Visual Studio Installer 專案擴充功能。
- 建立安裝專案。
- 更新現有的 .NET 背景工作角色專案以支援安裝。
- 使用 Windows 服務控制管理員自動安裝與解除安裝。
必要條件
- 預期您已完成 建立 Windows 服務 教學課程,或已準備就緒來複製範例存放庫。
- .NET 8.0 SDK 或更新版本
- Windows 作業系統
- .NET 整合式開發環境 (IDE)
- 歡迎使用 Visual Studio
- 現有的 .NET Windows 服務
安裝工具相依性
從安裝 Wix 工具組開始。 Wix 工具組是一組工具,可從 XML 組建 Windows 安裝套件。
dotnet tool install --global wix
接下來,安裝 適用於 VS2022 擴充功能的 HeatWave。 安裝之後,請重新啟動 Visual Studio,您會看到可用的新專案範本。
取得現有專案
本教學課程是以 使用 BackgroundService 建立 Windows 服務 教學課程內容中建立的應用程式為基礎。 您可以複製範例存放庫,或使用您在上一個教學課程中建置的應用程式。
提示
所有「.NET 中的背景工作角色」範例原始程式碼都可在 [範例瀏覽器] 中下載。 如需詳細資訊,請參閱 瀏覽程式碼範例: .NET 中的背景工作角色。
在 Visual Studio 中開啟方案,然後選取 F5 以確保應用程式會如預期般建置和執行。 按 Ctrl+C 來停止應用程式。
新增安裝專案
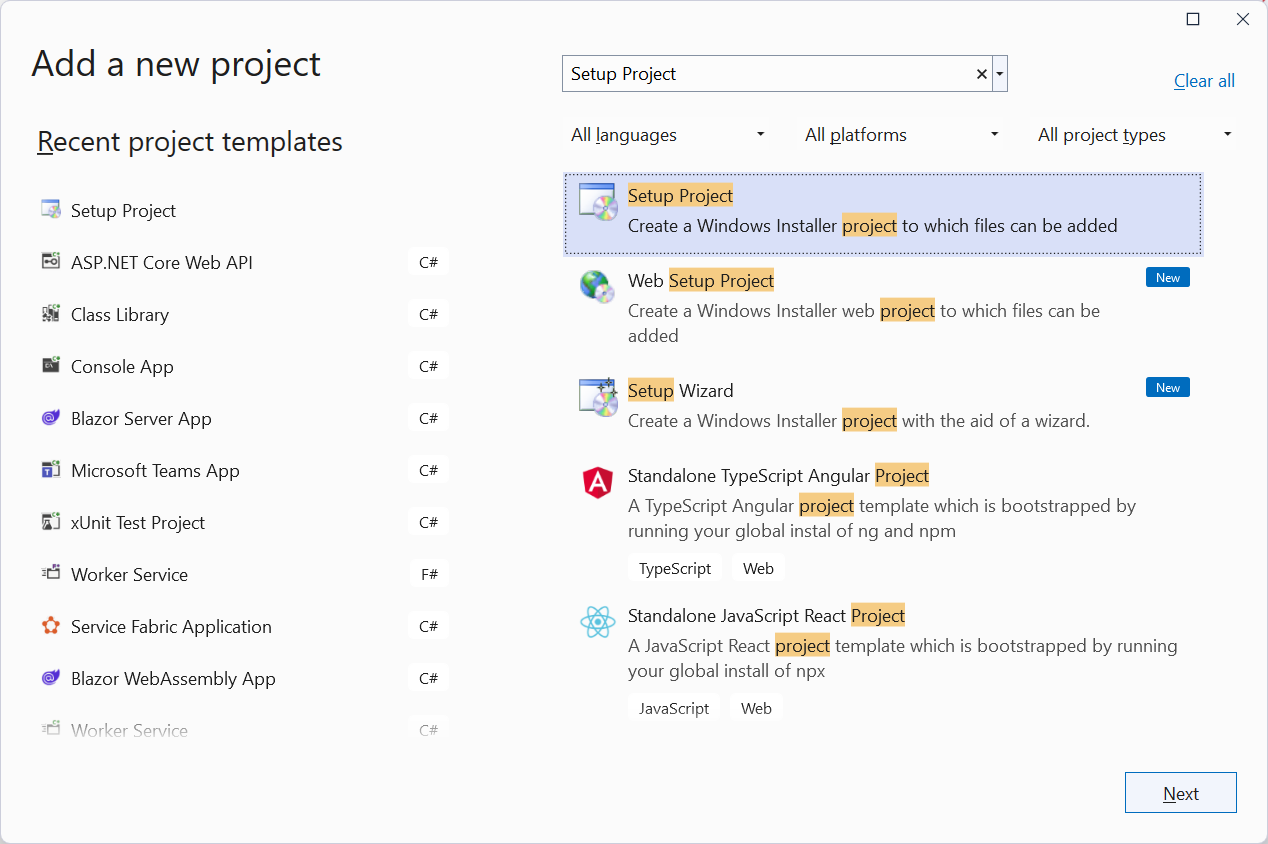
若要新增 Wix 設定專案,請以滑鼠右鍵按一下 [方案總管] 中的解決方案,然後選取 [新增] > [新專案]:
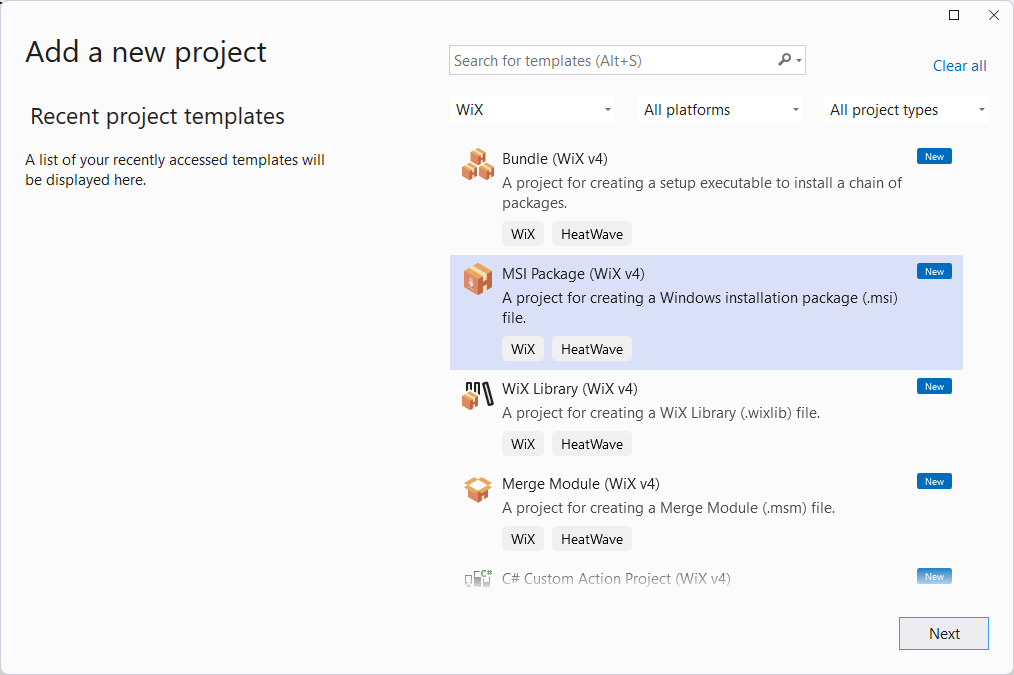
從可用的範本中選取 [MSI 套件 (Wix v4)], 然後選取 [下一步]。 提供所需的 [名稱] 和 [位置],然後選取 [建立]。
設定安裝程式專案
若要設定安裝專案,您必須先新增 App.WindowsService 專案的參考。 以滑鼠右鍵按一下 [方案總管],然後選取 [新增]>[專案參考]。
範本包含元件和當地語系化檔案的範例。 刪除這些檔案,只保留 Package.wxs 檔案。 您的專案現在應該包含 ProjectReference 元素,類似下方所示:
<Project Sdk="WixToolset.Sdk/4.0.0">
  <ItemGroup>
    <ProjectReference Include="..\App.WindowsService.csproj" />
  </ItemGroup>
</Project>
新增項目參考之後,請設定 Package.wxs 檔案。 在編輯器開啟檔案,並以下列內容取代:
<?xml version="1.0" encoding="UTF-8"?>

<!-- Define the variables in "$(var.*) expressions" -->
<?define Name = ".NET Joke Service" ?>
<?define Manufacturer = "Microsoft" ?>
<?define Version = "1.0.0.0" ?>
<?define UpgradeCode = "9ED3FF33-8718-444E-B44B-69A2344B7E98" ?>

<Wix xmlns="http://wixtoolset.org/schemas/v4/wxs">
    <Package Name="$(Name)"
             Manufacturer="$(Manufacturer)"
             Version="$(Version)"
             UpgradeCode="$(var.UpgradeCode)"
             Compressed="true">

        <!-- Allow upgrades and prevent downgrades -->
        <MajorUpgrade DowngradeErrorMessage="A later version of [ProductName] is already installed. Setup will now exit." />

        <!-- Define the directory structure -->
        <Directory Id="TARGETDIR" Name="SourceDir">
            <Directory Id="ProgramFiles64Folder">

                <!-- Create a folder inside program files -->
                <Directory Id="ROOTDIRECTORY" Name="$(var.Manufacturer)">

                    <!-- Create a folder within the parent folder given the name -->
                    <Directory Id="INSTALLFOLDER" Name="$(Name)" />
                </Directory>
            </Directory>
        </Directory>

        <!-- The files inside this DirectoryRef are linked to
             the App.WindowsService directory via INSTALLFOLDER -->
        <DirectoryRef Id="INSTALLFOLDER">

            <!-- Create a single component which is the App.WindowsService.exe file -->
            <Component Id="ServiceExecutable" Bitness="always64">

                <!-- Copies the App.WindowsService.exe file using the
                     project reference preprocessor variables -->
                <File Id="App.WindowsService.exe"
                      Source="$(var.App.WindowsService.TargetDir)publish\App.WindowsService.exe"
                      KeyPath="true" />

                <!-- Remove all files from the INSTALLFOLDER on uninstall -->
                <RemoveFile Id="ALLFILES" Name="*.*" On="both" />

                <!-- Tell WiX to install the Service -->
                <ServiceInstall Id="ServiceInstaller"
                                Type="ownProcess"
                                Name="App.WindowsService"
                                DisplayName="$(Name)"
                                Description="A joke service that periodically logs nerdy humor."
                                Start="auto"
                                ErrorControl="normal" />

                <!-- Tell WiX to start the Service -->
                <ServiceControl Id="StartService"
                                Start="install"
                                Stop="both"
                                Remove="uninstall"
                                Name="App.WindowsService"
                                Wait="true" />
            </Component>
        </DirectoryRef>

        <!-- Tell WiX to install the files -->
        <Feature Id="Service" Title="App.WindowsService Setup" Level="1">
            <ComponentRef Id="ServiceExecutable" />
        </Feature>

    </Package>
</Wix>
當您組建專案時,輸出是 MSI 檔案,可用來安裝和解除安裝服務。
測試安裝
若要測試安裝程式,請發佈 App.WindowsService 專案。 以滑鼠右鍵按一下 [方案總管] 中的專案,然後選取 [發佈]。 一旦以您在上一個教學課程中建立的設定檔發行之後,可執行檔將會位於發佈目錄中。 接下來,您會 組建 設定專案並執行安裝程式。
您必須以系統管理員身分執行安裝。 若要這麼做,請在 MSI 檔案上按一下滑鼠右鍵,然後選取 [以系統管理員身分執行]。
安裝服務之後,您可以開啟 [服務] 來查看執行中的服務。 若要解除安裝服務,請使用 [Windows 新增或移除程式] 功能來呼叫安裝程式。
