教程:使用 Microsoft Graph SDK 创建 .NET MAUI 应用
通过在 Windows 上构建一款跨平台应用,亲身体验.NET MAUI,该应用将利用 Microsoft Graph SDK 来展示用户数据。
本教程介绍如何:
- 为 .NET MAUI 开发设置环境并创建 .NET MAUI 项目
- 在 Azure 中注册客户端应用
- 与 Azure 标识和 Microsoft Graph SDK 集成
- 更新用户界面以显示来自 Microsoft Graph 的用户信息
先决条件
- 具有活动订阅的 Azure 帐户。 免费创建帐户。
- .NET MAUI 安装要求。
- 如果你不熟悉 Windows 上的 .NET MAUI,则应从 生成适用于 Windows 的第一个 .NET MAUI 应用教程开始。
设置环境
如果你尚未设置 .NET MAUI 开发环境,请按照在 Windows 上开始使用 .NET MAUI 的步骤进行操作。
创建 .NET MAUI 项目
注意
如果你已熟悉如何设置 .NET MAUI 项目,可以跳到在 Azure 中注册客户端部分。
启动 Visual Studio,在开始窗口中单击 创建新项目 创建新项目:
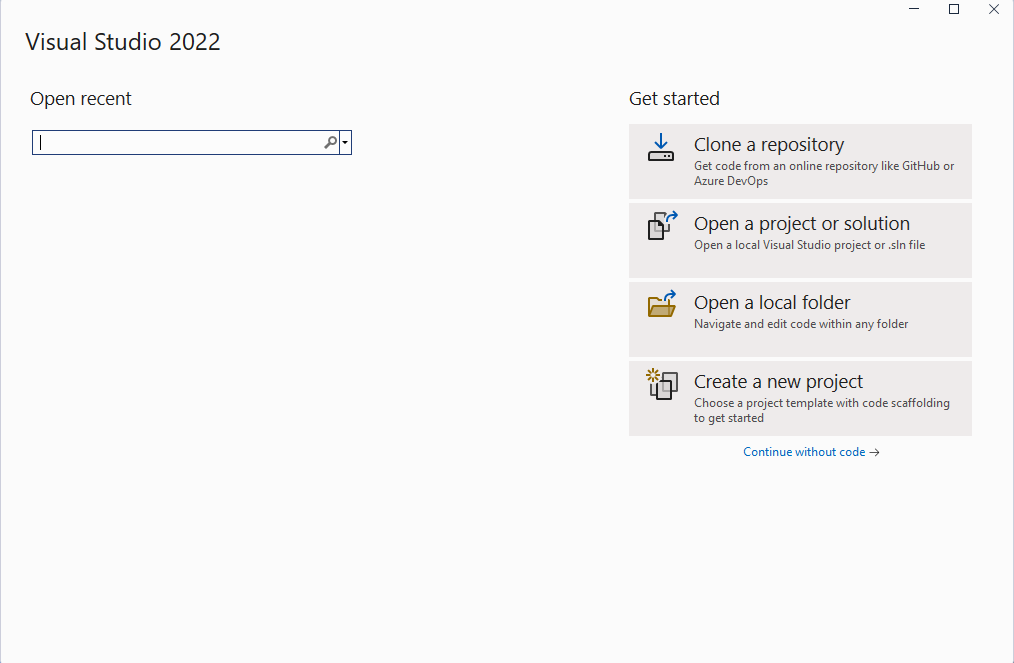
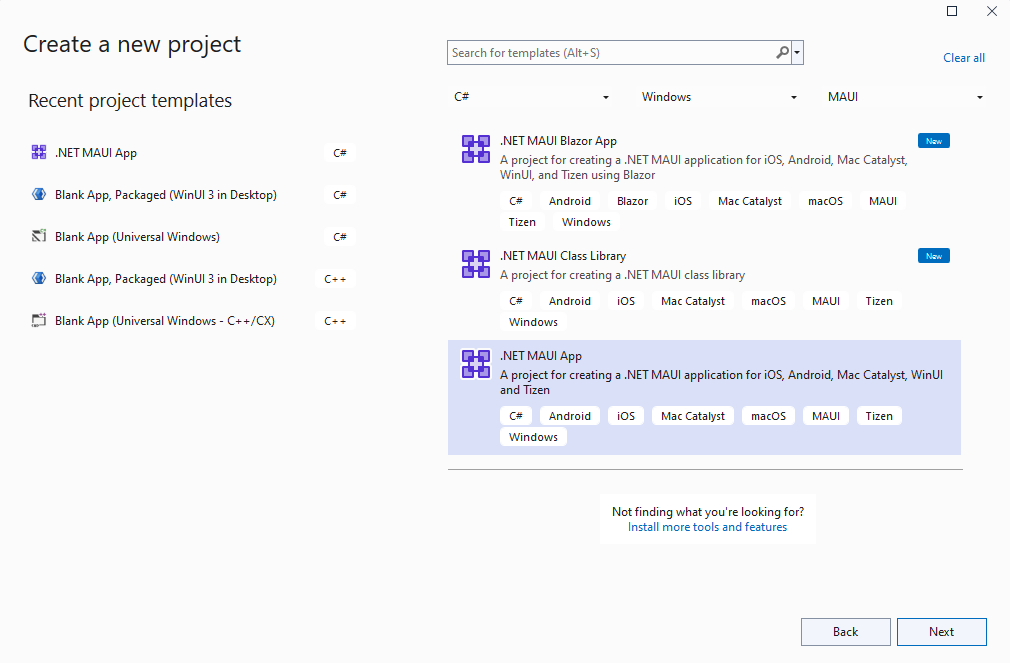
在 创建新项目 窗口中,在“所有项目类型”下拉列表中选择 MAUI,选择 .NET MAUI 应用 模板,然后单击“下一步 ”按钮:
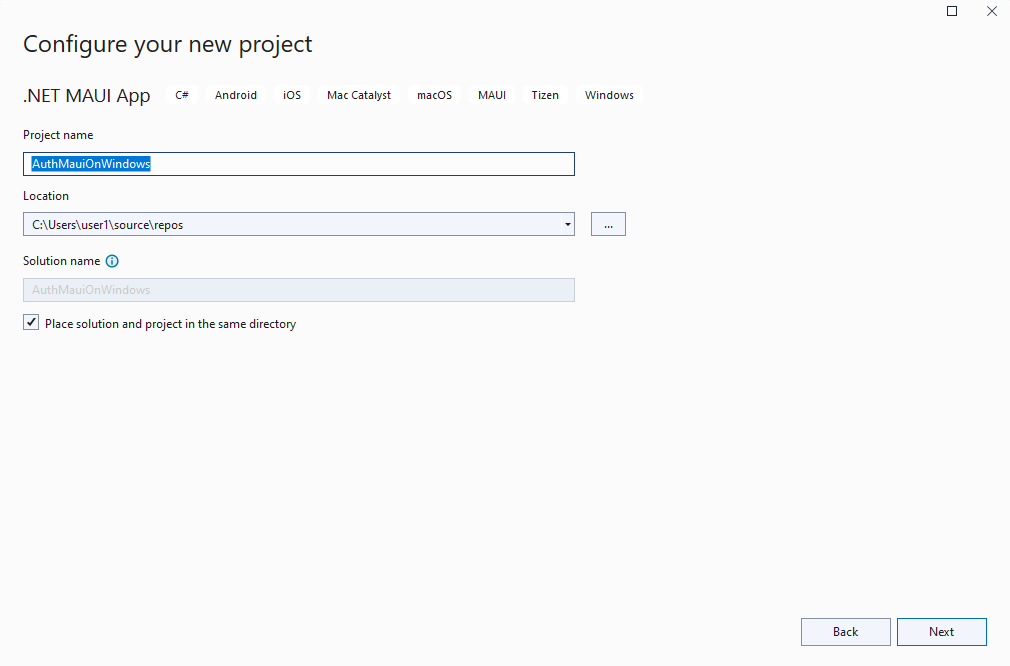
在 配置新项目 窗口中,为项目指定名称,为其选择位置,然后单击“下一步 ”按钮:
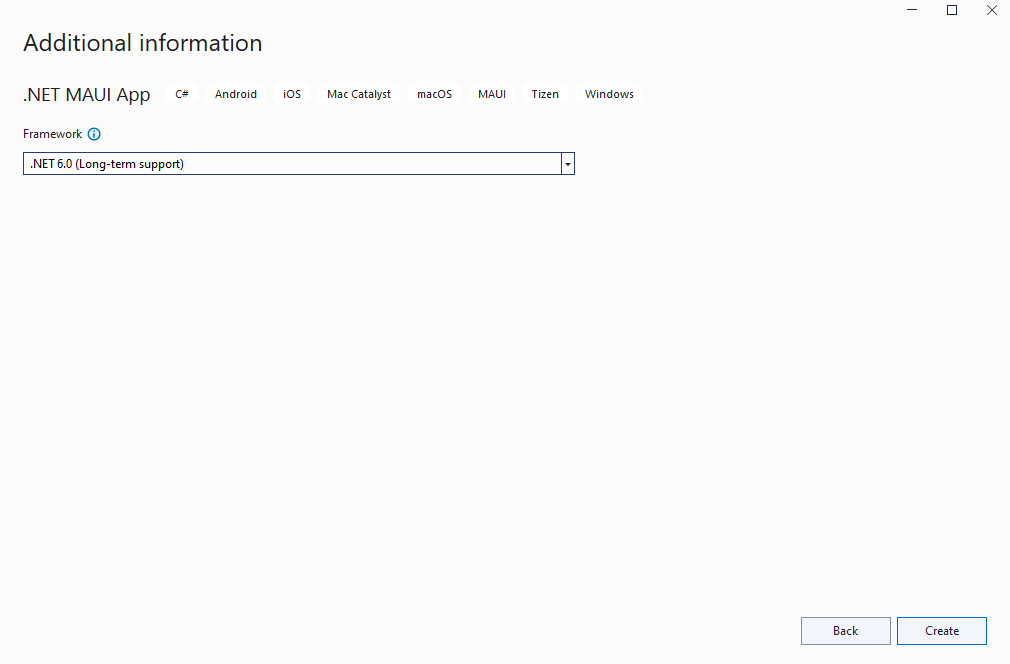
在“其他信息”窗口中,单击“创建”按钮:
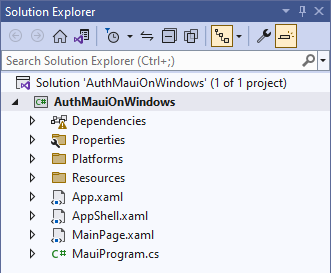
等待项目被创建以及还原其依赖项:
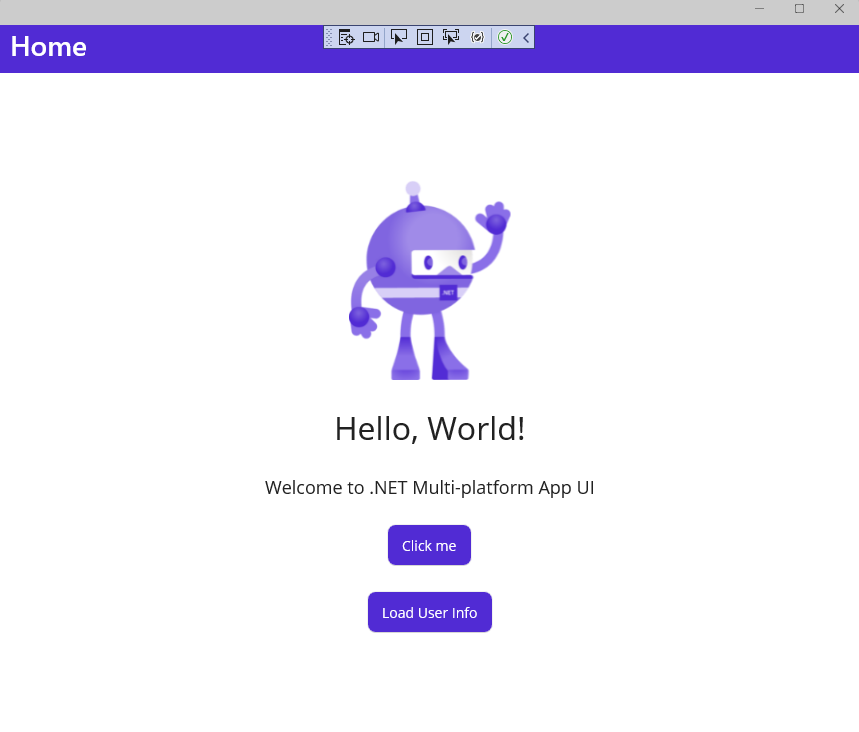
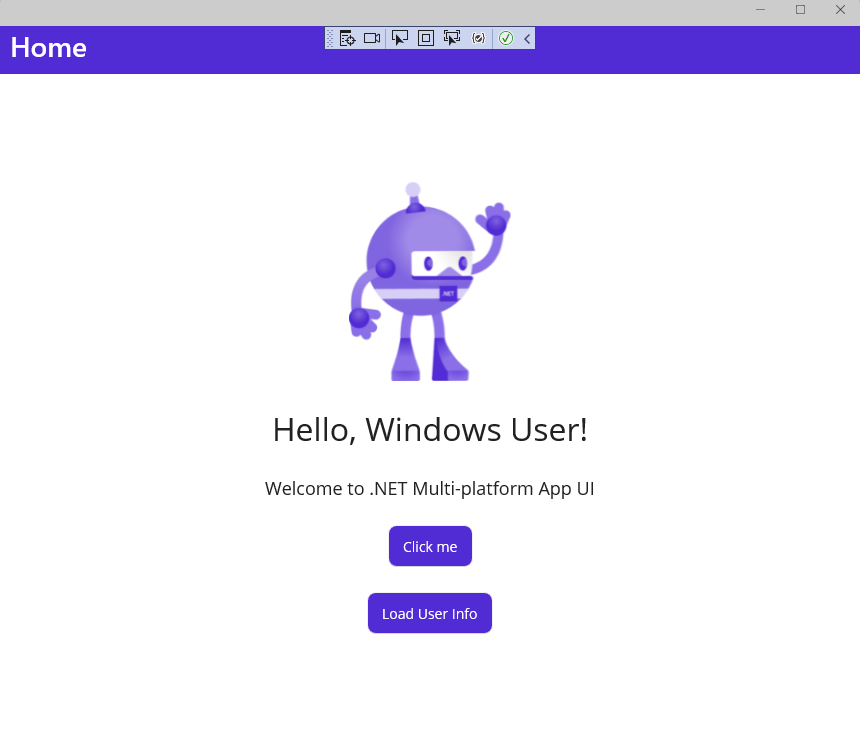
在 Visual Studio 工具栏中,按 Windows 计算机 按钮生成并运行应用。 单击“单击我”按钮,并验证按钮内容是否随单击次数而更新。
现在,你已验证 Windows 上的 .NET MAUI 应用是否按预期工作,我们可以集成 Graph SDK。 在下一部分中,你将添加对 Microsoft Graph 进行身份验证和调用所需的包。
在 Azure 中注册客户端
要从 Microsoft Graph 读取用户数据,需要在 Azure 中注册应用,并向该应用授予 User.Read 权限范围。 若要注册应用程序,请执行以下步骤:
登录 Azure 门户。
如果有权访问多个租户,请使用顶部菜单中的 目录 + 订阅 筛选器切换到要在其中注册应用程序的租户。
搜索并选择“Azure Active Directory”。
在“管理”下,选择“应用注册”>“新建注册”。
输入应用程序的 名称,例如 Win-App-calling-MsGraph。 应用的用户可能会看到此名称,稍后可以对其进行更改。
在“支持的帐户类型”部分中,选择任何组织目录中的帐户和个人Microsoft帐户(例如 Skype、Xbox、Outlook.com)。
选择“注册”以创建应用程序。
复制并保存 应用程序(客户端)ID 和 目录(租户)ID 值供以后使用。 我们将在下一部分的 GraphService 类中存储这些值。
在 管理下,选择 身份验证。
选择“添加平台 > 移动和桌面应用程序。
在 重定向 URI 部分中,选择 https://login.microsoftonline.com/common/oauth2/nativeclient 并在 自定义重定向 URI 添加 http://localhost。
选择 配置。
在“管理”下,选择 API 权限。
如果 Microsoft Graph User.Read 权限未出现在 配置的权限中,请选择 添加权限。 在 请求 API 权限 页面中,选择 Microsoft Graph > 应用程序权限 并搜索 User.Read。 展开“用户”,选择“User.Read”,然后单击“添加权限”。
集成 Graph SDK 和 Azure 标识
在 Windows 上运行 .NET MAUI 应用并在 Azure 中配置应用注册后,我们可以向项目添加几个 NuGet 包,以便与 Azure 标识和 Microsoft Graph 集成。
右键单击 解决方案资源管理器 中的项目,然后从上下文菜单中选择 管理 NuGet 包...。
在“NuGet 包管理器”窗口中,选择“浏览”选项卡,然后搜索 Azure.Identity。

单击 安装,将 Azure.Identity 包的最新稳定版本添加到项目中。
接下来,搜索 Microsoft.Graph:

单击 安装,将 Microsoft.Graph 包的最新稳定版本添加到项目中。
在新包完成安装后,关闭 NuGet 包管理器 窗口。
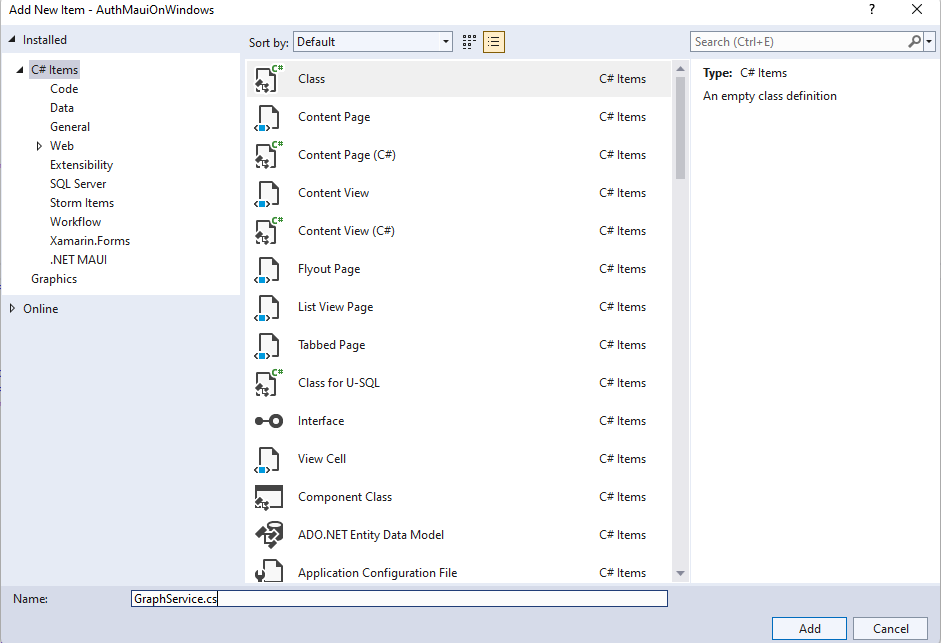
再次右击项目,并从上下文菜单中选择 添加 | 类。
在出现的“添加新项”窗口中,将类命名为 GraphService,然后单击“添加”:
将四个私有成员添加到 GraphService 类,并将占位符文本替换为你自己的客户端 ID 和租户 ID 值。
private readonly string[] _scopes = new[] { "User.Read" };
private const string TenantId = "<add your tenant id here>";
private const string ClientId = "<add your client id here>";
private GraphServiceClient _client;
将 Initialize() 方法添加到 GraphService,该方法将从构造函数调用。 初始化代码将使用 InteractiveBrowserCredential 类进行身份验证。 身份验证成功后,凭据类会将身份验证令牌以及请求的范围 (User.Read)提供给 GraphServiceClient。
public GraphService()
{
    Initialize();
}

private void Initialize()
{
    // assume Windows for this sample
    if (OperatingSystem.IsWindows())
    {
        var options = new InteractiveBrowserCredentialOptions
        {
            TenantId = TenantId,
            ClientId = ClientId,
            AuthorityHost = AzureAuthorityHosts.AzurePublicCloud,
            RedirectUri = new Uri("http://localhost"),
        };

        InteractiveBrowserCredential interactiveCredential = new(options);
        _client = new GraphServiceClient(interactiveCredential, _scopes);
    }
    else
    {
        // TODO: Add iOS/Android support
    }
}
注意
“Initialize()”方法目前仅支持 Windows。 在 iOS 和 Android 上进行身份验证需要不同的 NuGet 包(Microsoft.Identity.Client)和一些其他步骤。 若要详细了解移动身份验证,请参阅 配置本机客户端应用程序。
添加名为 GetMyDetailsAsync() 的公共异步方法,以返回经过身份验证的用户的 User 对象:
public async Task<User> GetMyDetailsAsync()
{
    try
    {
        return await _client.Me.GetAsync();
    }
    catch (Exception ex)
    {
        Console.WriteLine($"Error loading user details: {ex}");
        return null;
    }
}
编译添加到 GraphService的新代码需要两个 using 语句:
using Azure.Identity;
using Microsoft.Graph;
using Microsoft.Graph.Models;
在 MainPage.xaml中,向 Hello, World! 标签 添加 x:Name。
<Label
    x:Name="HelloLabel"
    Text="Hello, World!"
    SemanticProperties.HeadingLevel="Level1"
    FontSize="32"
    HorizontalOptions="Center" />
在现有 CounterBtn 之后向页面添加新按钮,以便从 Graph 获取用户信息:
<Button
    x:Name="GetUserInfoBtn"
    Text="Load User Info"
    SemanticProperties.Hint="Loads user information from Microsoft Graph"
    Clicked="GetUserInfoBtn_Clicked"
    HorizontalOptions="Center" />
在 MainPage.xaml.cs中,添加私有变量用于 GraphService 和 User:
private GraphService graphService;
private User user;
在 MainPage.xaml 上为添加到 GetUserInfoButton 的 Clicked 事件添加事件处理程序。 如果 GraphService 实例为 null,事件处理程序将创建该实例并调用提取用户数据的操作。 HelloLabel的文本将更新为向用户打招呼,显示来自 Microsoft Graph 的 DisplayName 属性:
private async void GetUserInfoBtn_Clicked(object sender, EventArgs e)
{
    if (graphService == null)
    {
        graphService = new GraphService();
    }
    user = await graphService.GetMyDetailsAsync();
    HelloLabel.Text = $"Hello, {user.DisplayName}!";
}
运行应用并单击 加载用户信息 按钮:
出现 登录帐户 窗口时,选择现有帐户或单击“使用其他帐户:
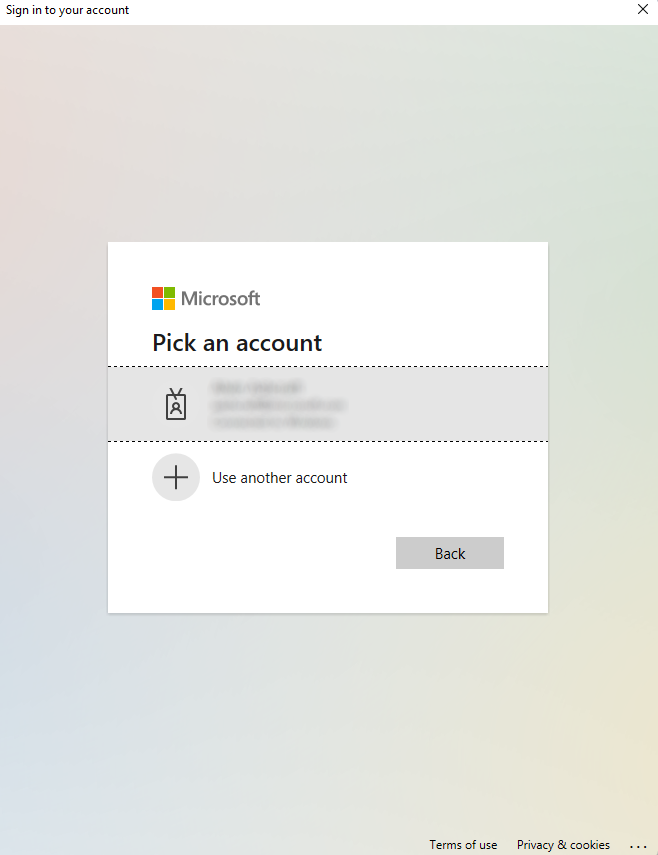
如果选择了其他帐户,请输入帐户的电子邮件地址和密码并登录。
身份验证完成后,你将在应用中看到用户的 DisplayName:
更新用户界面以显示用户信息
现在,GraphService 返回用户信息,接下来更新用户界面以显示一些其他用户资料信息。
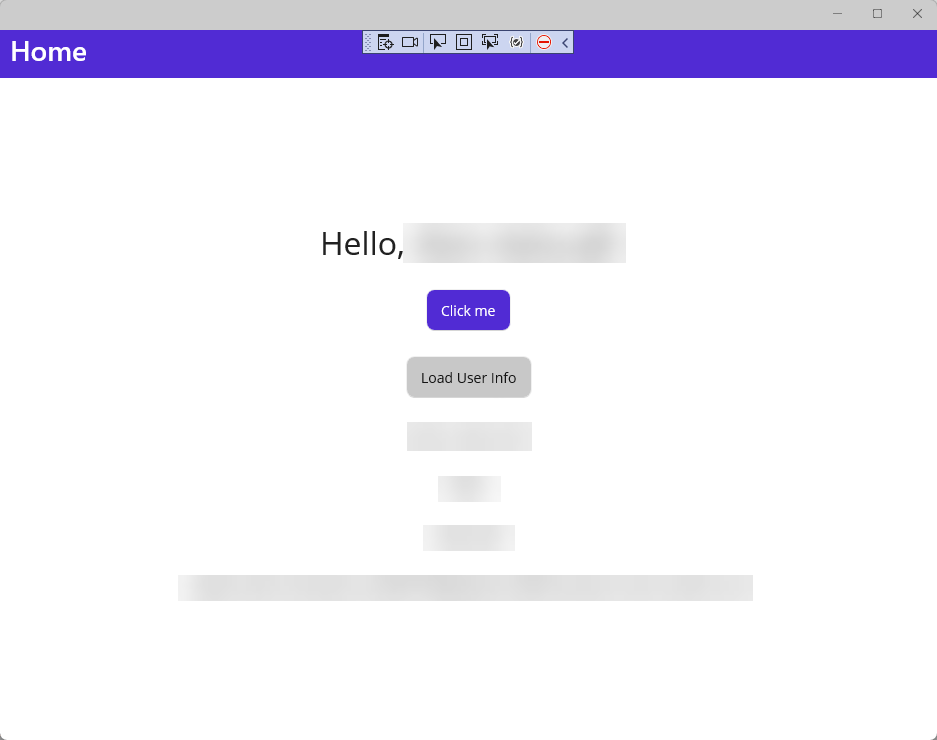
在 MainPage.xaml 中,首先更新 VerticalStackLayout的内容,删除现有的欢迎标签并 Image 控件并添加四个新标签以显示用户信息。 每个需要更新的标签都已命名,并且在从 Graph 查询加载数据之前,我们提供了一些占位符文本。 VerticalStackLayout 的内容现在应如下所示:
<VerticalStackLayout
    Spacing="25"
    Padding="30,0"
    VerticalOptions="Center">

    <Label
        x:Name="HelloLabel"
        Text="Hello, World!"
        SemanticProperties.Description="Displays a welcome message for the user"
        SemanticProperties.HeadingLevel="Level1"
        FontSize="32"
        HorizontalOptions="Center" />

    <Button
        x:Name="CounterBtn"
        Text="Click me"
        SemanticProperties.Hint="Counts the number of times you click"
        Clicked="CounterBtn_Clicked"
        HorizontalOptions="Center" />

    <Button
        Text="Load User Info"
        SemanticProperties.Hint="Loads user information from Microsoft Graph"
        Clicked="GetUserInfoBtn_Clicked"
        HorizontalOptions="Center" />

    <Label
        x:Name="DisplayNameLabel"
        Text="Display name"
        SemanticProperties.Description="Displays the user's display name from Microsoft Graph."
        SemanticProperties.HeadingLevel="Level2"
        FontSize="18"
        HorizontalOptions="Center" />

    <Label
        x:Name="UserFirstNameLabel"
        Text="First name"
        SemanticProperties.Description="Displays the user's first name info from Microsoft Graph"
        SemanticProperties.HeadingLevel="Level2"
        FontSize="18"
        HorizontalOptions="Center" />

    <Label
        x:Name="UserLastNameLabel"
        Text="Last name"
        SemanticProperties.Description="Displays the user's last name from Microsoft Graph"
        SemanticProperties.HeadingLevel="Level2"
        FontSize="18"
        HorizontalOptions="Center" />

    <Label
        x:Name="UserPrincipalNameLabel"
        Text="User Principal Name"
        SemanticProperties.Description="Displays the user principal name from Microsoft Graph"
        SemanticProperties.HeadingLevel="Level2"
        FontSize="18"
        HorizontalOptions="Center" />

</VerticalStackLayout>
最后,在 MainPage.xaml.cs 中,使用 GetUserInfoBtn_Clicked 事件处理程序中的新属性值更新 UI 元素,这些属性来源于 Graph User 对象的属性:
private async void GetUserInfoBtn_Clicked(object sender, EventArgs e)
{
    if (graphService == null)
    {
        graphService = new GraphService();
    }
    user = await graphService.GetMyDetailsAsync();
    HelloLabel.Text = $"Hello, {user.DisplayName}!";

    DisplayNameLabel.Text = user.DisplayName;
    UserFirstNameLabel.Text = user.GivenName;
    UserLastNameLabel.Text = user.Surname;
    UserPrincipalNameLabel.Text = user.UserPrincipalName;
}
再次运行应用,然后单击 加载用户信息 按钮。 身份验证后,应会看到应用中显示的用户信息:
若要了解如何在 .NET MAUI 应用中安装和开始使用 Microsoft Graph SDK,请参阅 安装 Microsoft Graph .NET SDK。
后续步骤
请继续学习下一篇文章,了解如何...
使用 .NET MAUI 和 ChatGPT 创建建议应用
