Quickstart: Create and access an environment in Azure Deployment Environments
This quickstart shows you how to create and access an environment in Azure Deployment Environments by using the developer portal.
As a developer, you can create environments associated with a project in Azure Deployment Environments. An environment has all Azure resource preconfigured for deploying your application.
Prerequisites
- Your organization must configure Azure Deployment Environments with a dev center and at least one project before you can create a deployment environment.
- Platform engineers can follow these steps to configure Quickstart: Configure Azure Deployment Environments.
- You must have permissions as a Deployment Environments User for a project. If you don't have permissions to a project, contact your administrator.
Create an environment
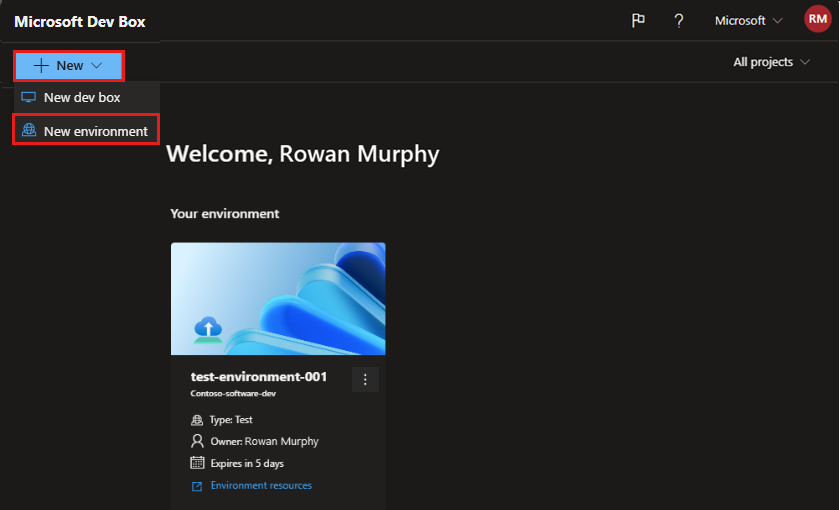
An environment in Azure Deployment Environments is a collection of Azure resources on which your application is deployed. You can create an environment from the developer portal.
Note
Only users who have the Deployment Environments User role, the DevCenter Project Admin role, or a built-in role that has appropriate permissions can create an environment. Users who have the Deployment Environments Reader role can view their own environments, and environments created by others.
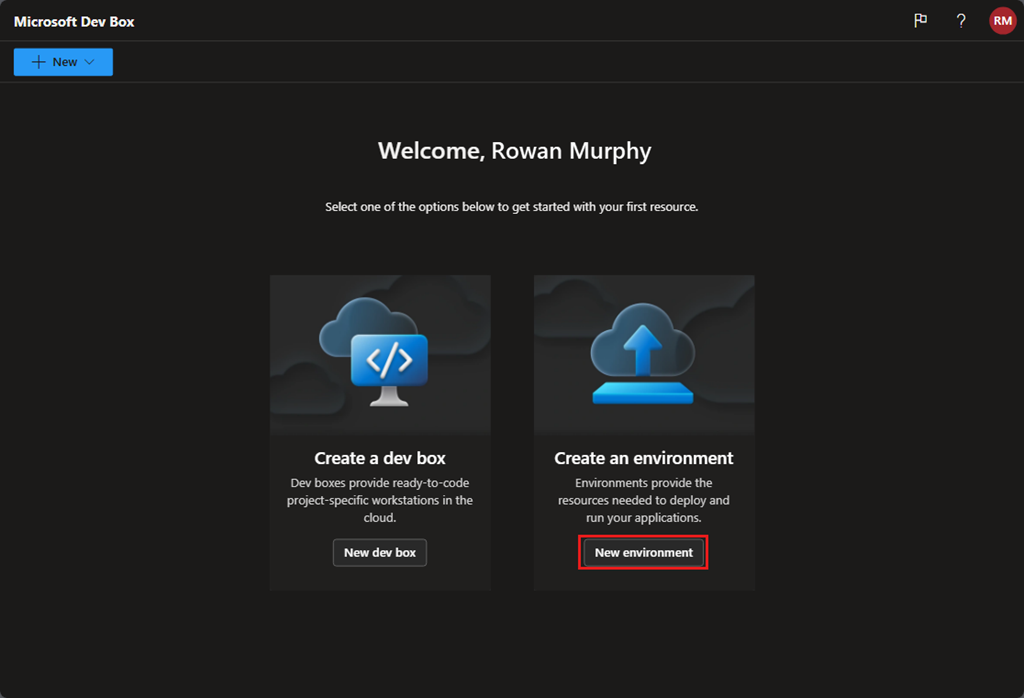
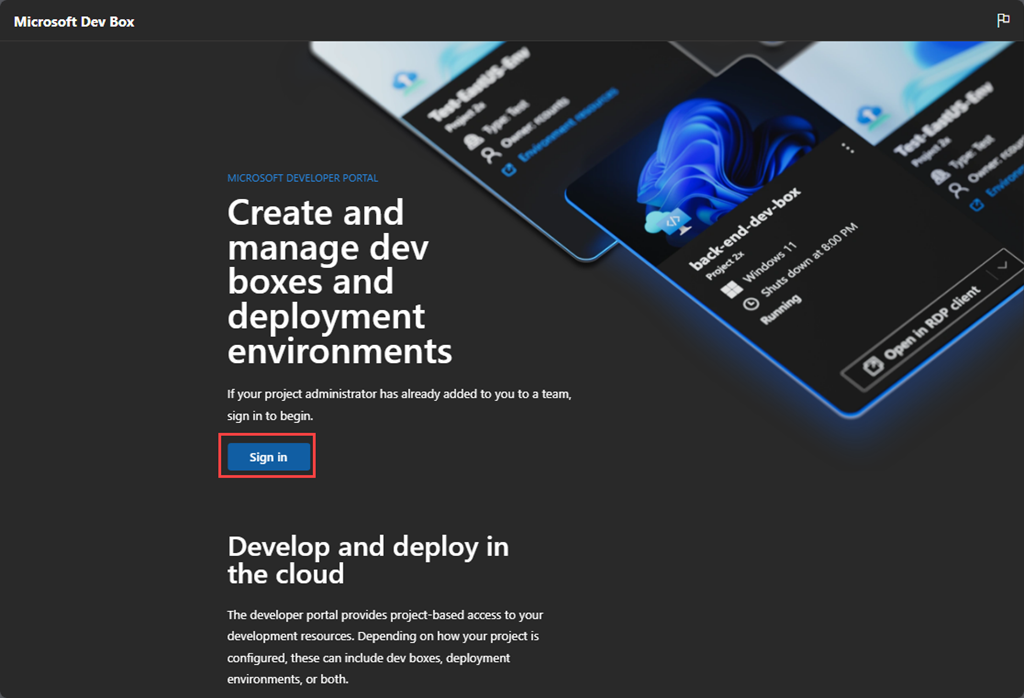
Go to the developer portal. The landing page contains useful information and links. When you're ready, select Sign in.
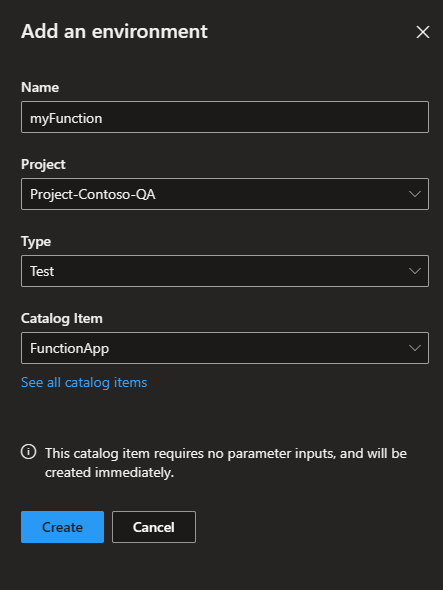
In the Add an environment pane, select the following information:
Field Value Name Enter a descriptive name for your environment. Project Select the project you want to create the environment in. If you have access to more than one project, you see a list of available projects. Type Select the environment type you want to create. If you have access to more than one environment type, you see a list of available types. Environment definitions Select the environment definition you want to use to create the environment. You see a list of the environment definitions available from the catalogs associated with your dev center. If your environment is configured to accept parameters, you can enter them on a separate pane. In this example, you don't need to specify any parameters.
Select Create. You see your environment in the developer portal immediately, with an indicator that shows creation in progress.
Access an environment
You can access and manage your environments in the Azure Deployment Environments developer portal.
Sign in to the developer portal.
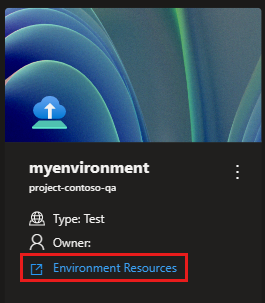
You can view all of your existing environments. To access the specific resources created as part of an environment, select the Environment Resources link.
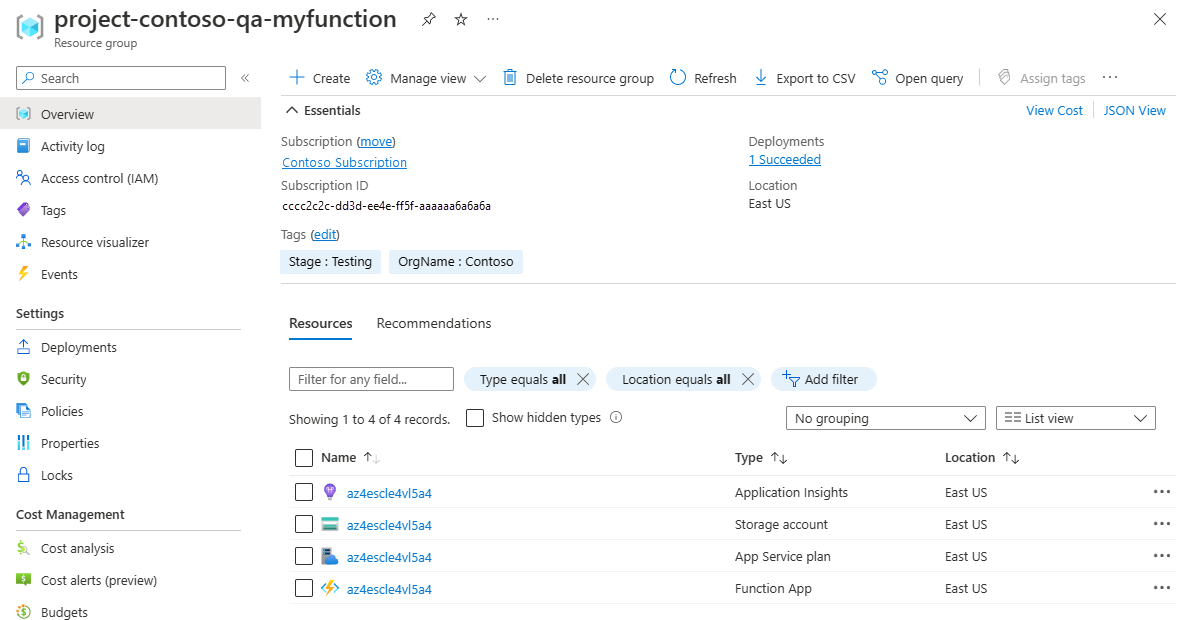
You can view the resources in your environment listed in the Azure portal.
Creating an environment automatically creates a resource group that stores the environment's resources. The resource group name follows the pattern
{projectName}-{environmentName}. You can view the resource group in the Azure portal.
