Setup Geographic Redundancy with SQL Server Replication
Important
If you want to create an AD FS farm and use SQL Server to store your configuration data, you can use SQL Server 2008 or higher.
If you are using SQL Server as your AD FS configuration database, you can set up geo-redundancy for your AD FS farm using SQL Server replication. Geo-redundancy replicates data between two geographically distant sites so that applications can switch from one site to another. This way, in case of the failure of one site, you can still have all the configuration data available at the second site. For more information, see the "SQL Server geographic redundancy section" in Federation Server Farm Using SQL Server.
Prerequisites
Install and configure a SQL server farm. For more information, see https://technet.microsoft.com/evalcenter/hh225126.aspx. On the initial SQL Server, make sure that the SQL Server Agent service is running and set to automatic start.
Create the second (replica) SQL Server for geo-redundancy
Install SQL Server (for more information, see https://technet.microsoft.com/evalcenter/hh225126.aspx. Copy the resulting CreateDB.sql and SetPermissions.sql script files to the replica SQL server.
Ensure SQL Server Agent service is running and set to automatic start
Run Export-AdfsDeploymentSQLScript on the primary AD FS node to create CreateDB.sql and SetPermissions.sql files. For example:
PS:\>Export-AdfsDeploymentSQLScript -DestinationFolder . –ServiceAccountName CONTOSO\gmsa1$.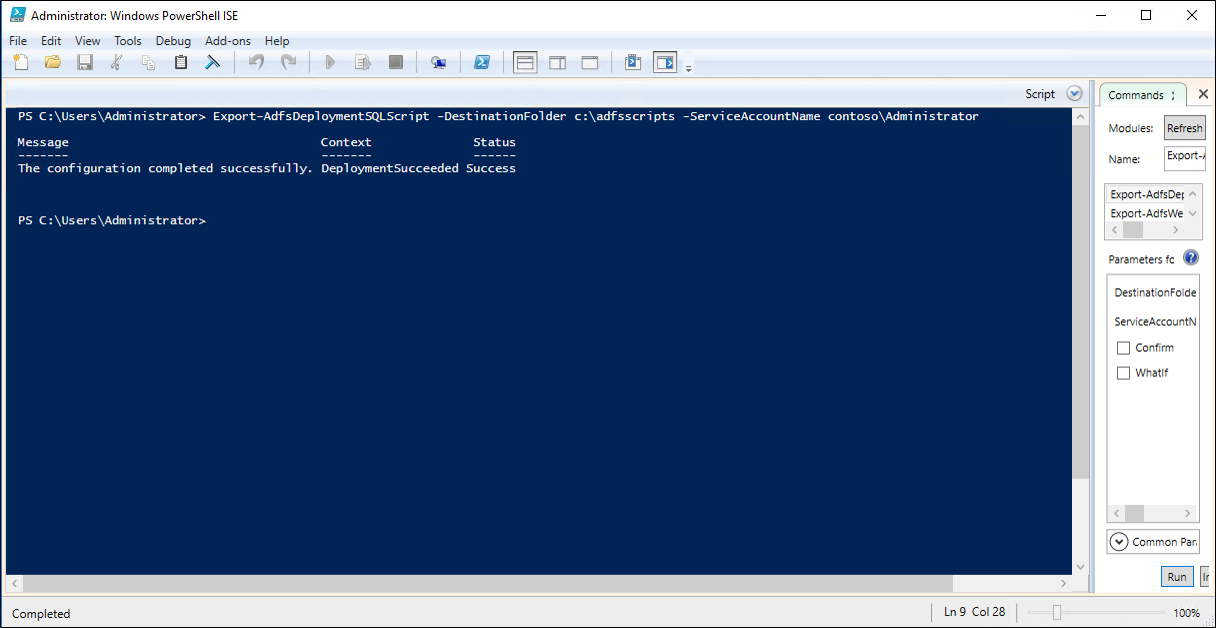
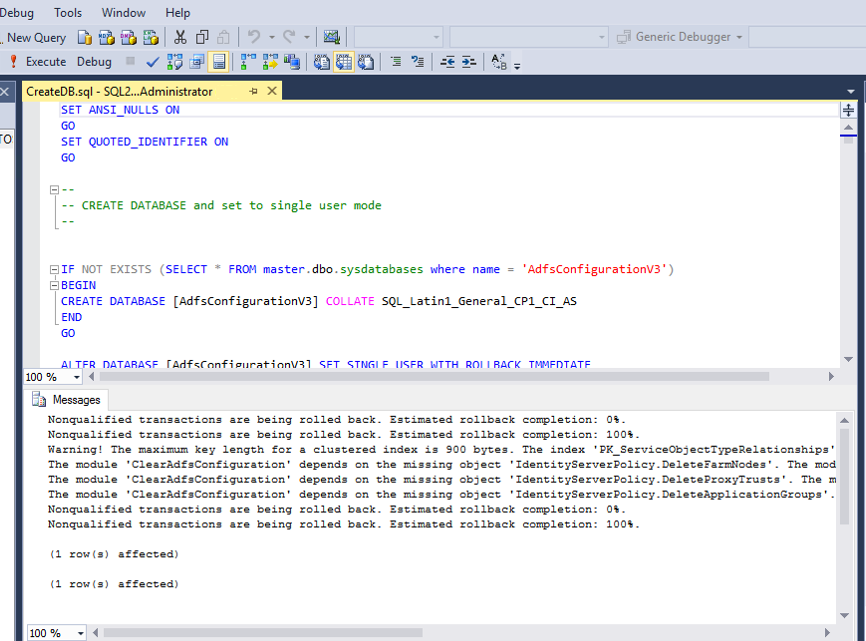
Copy the scripts to your secondary server. Open the CreateDB.sql script in SQL Management Studio and click Execute.
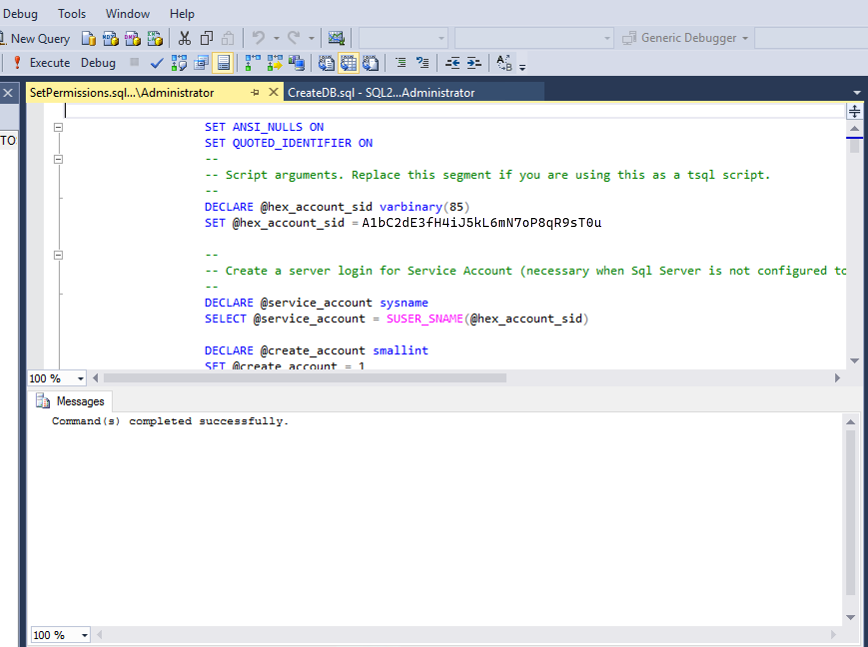
Open the SetPermissions.sql script in SQL Management Studio and click Execute.
Note
You can also use the following from the command line.
c:\>sqlcmd –i CreateDB.sql
c:\>sqlcmd –i SetPermissions.sql
Create publisher settings on the initial SQL Server
From the SQL Server Management studio, under Replication, right click Local Publications and choose New Publication...
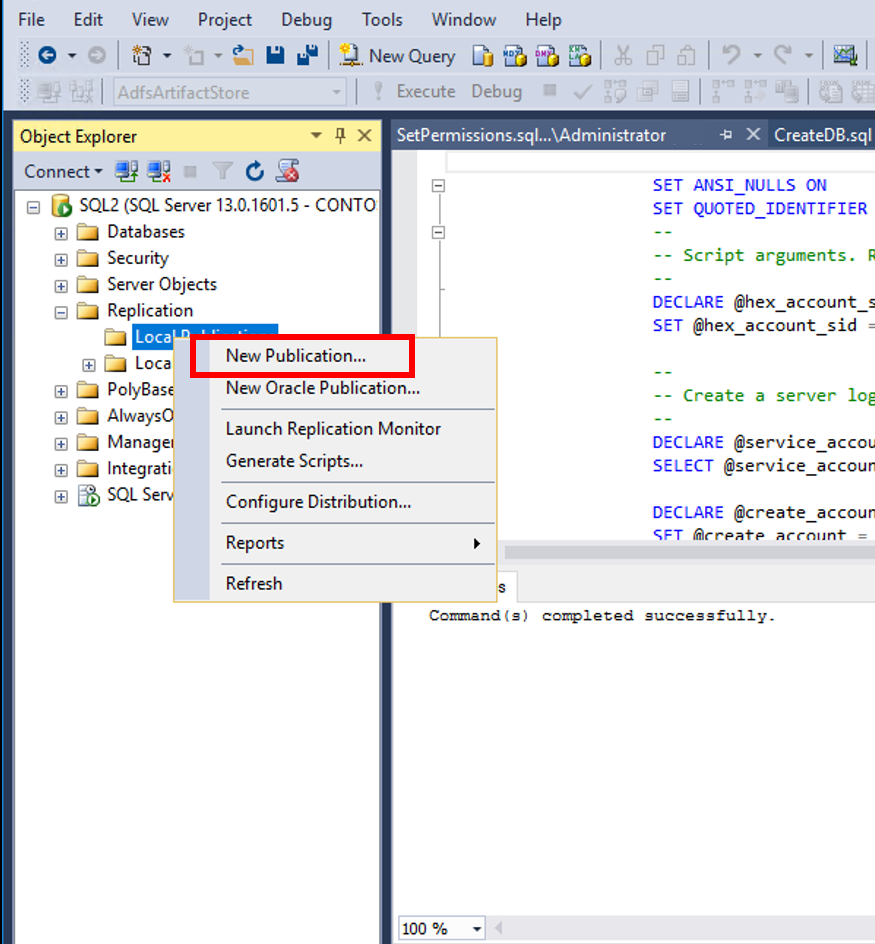
On the New Publication Wizard screen click Next.
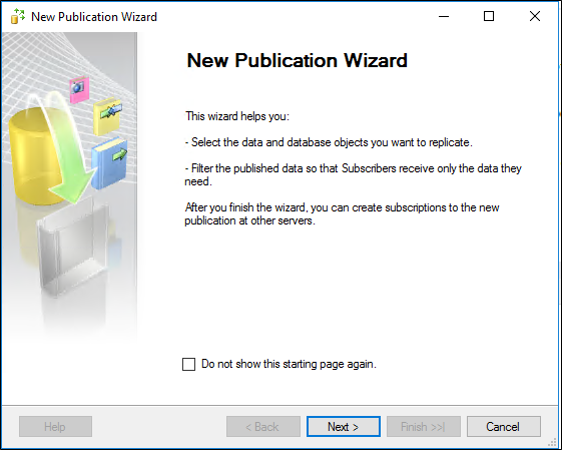
On Distributor page, choose local server as distributor and click Next.
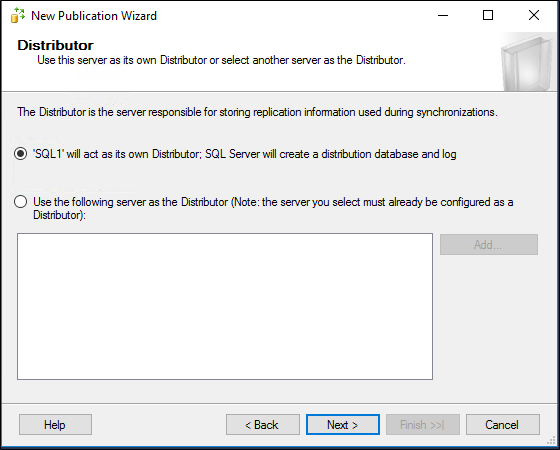
On the Snapshot folder page, enter \\SQL1\repldata in place of default folder. (NOTE: You may have to create this share yourself).
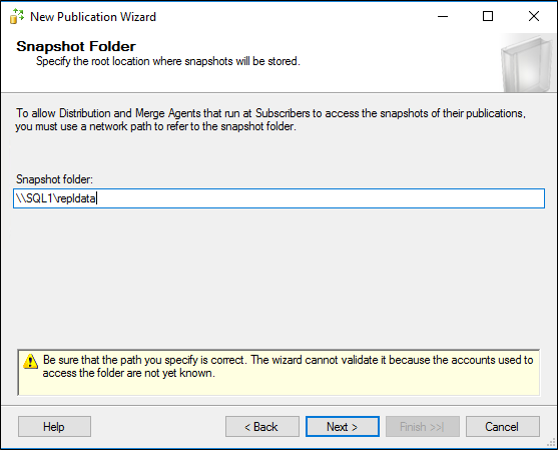
Choose AdfsConfigurationV3 as the publication database and click Next.
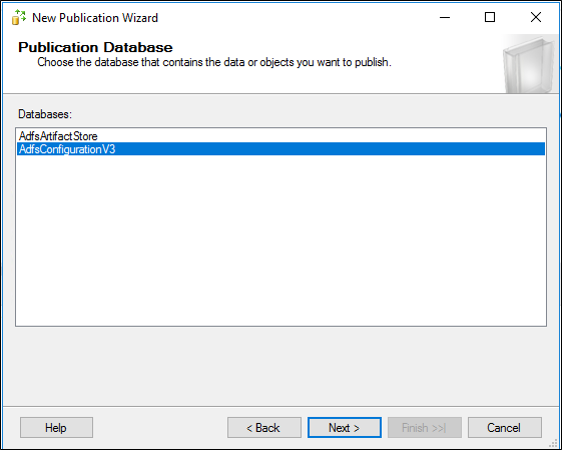
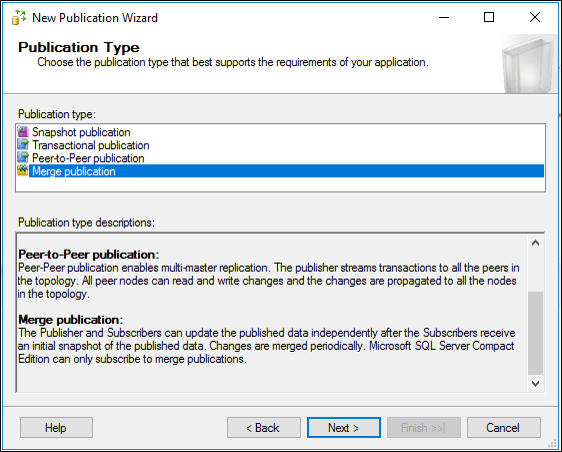
On Publication Type, choose Merge publication and click Next.
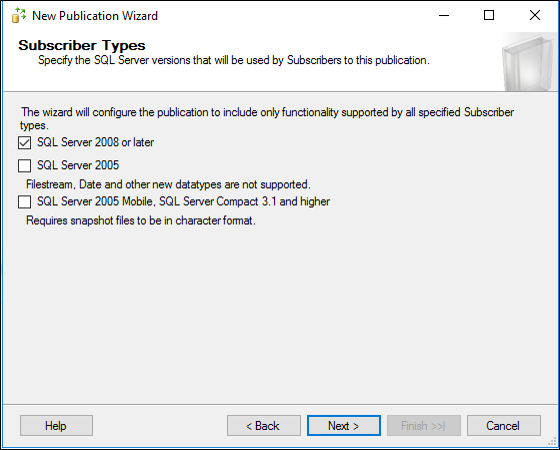
On Subscriber Types, choose SQL Server 2008 or later and click Next.
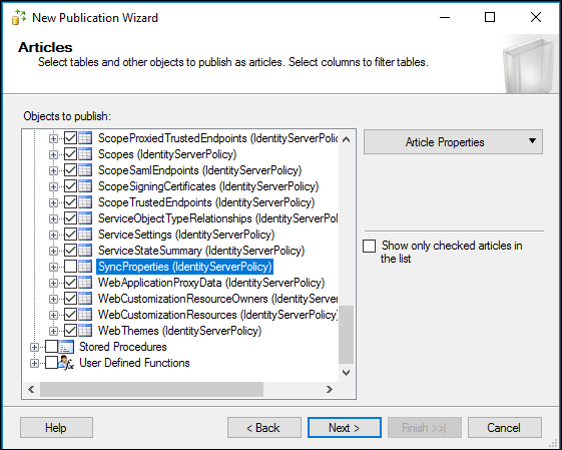
On the Articles page select Tables node to select all tables, then un-check SyncProperties table (this one should not be replicated)
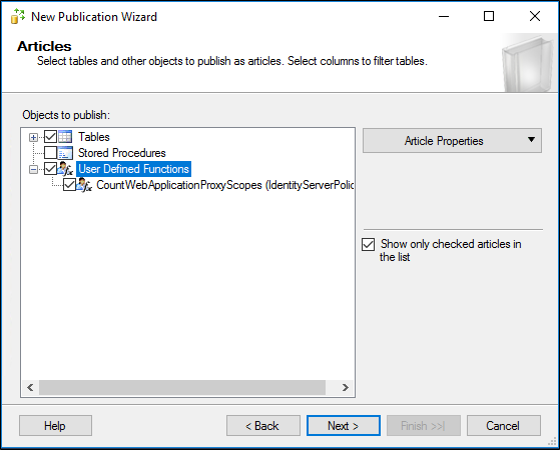
On the Articles page, select User Defined Functions node to select all User Defined Functions and click Next..
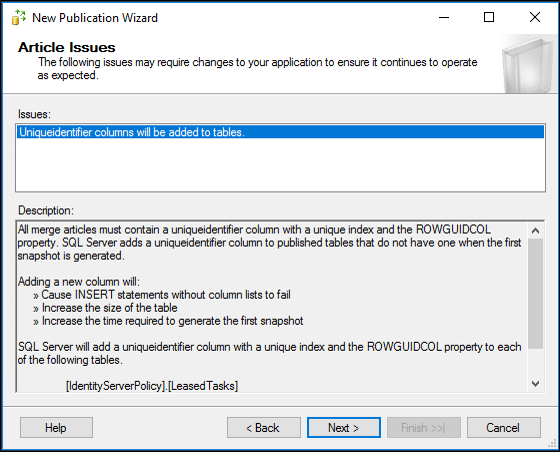
On the Article issues page click Next.
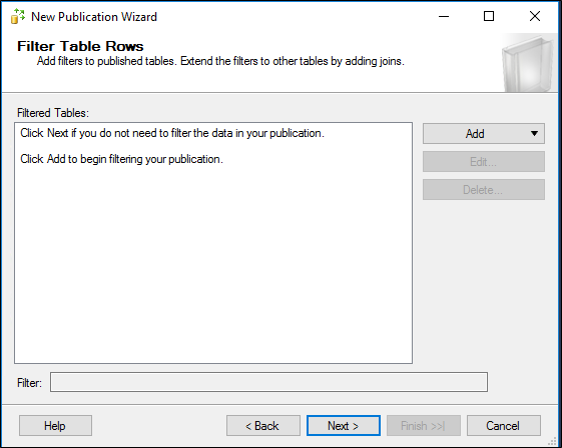
On the Filter Table Rows page, click Next.
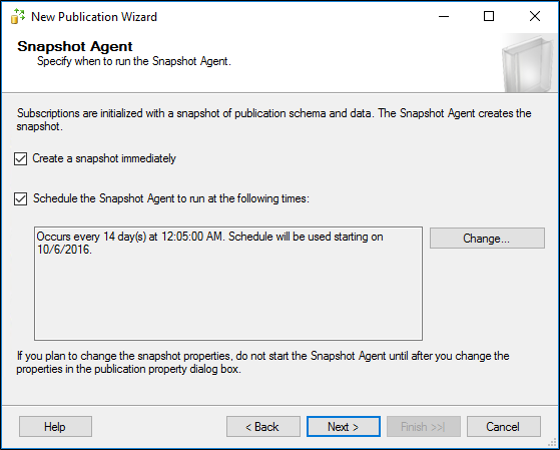
On the Snapshot Agent page, choose defaults of Immediate and 14 days, click Next.
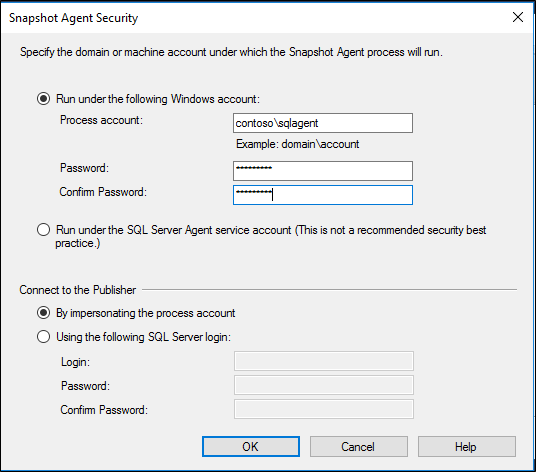
You may need to create a domain account for the SQL agent. Use the steps in Configure SQL login for the domain account CONTOSO\sqlagent to create SQL login for this new AD user and assign specific permissions.On the Agent Security page, click Security Settings and enter the username/password of a domain account (not a GMSA) created for the SQL agent and click OK. Click Next.
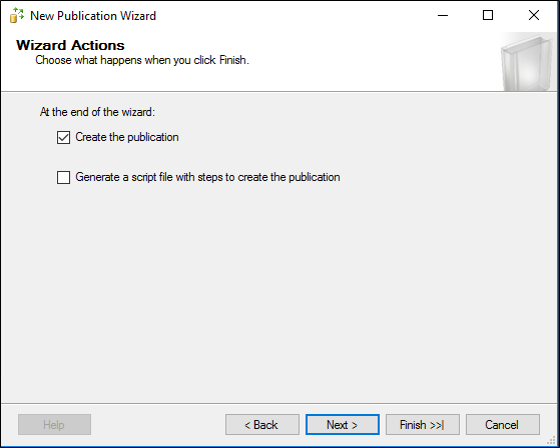
On the Wizard Actions page, click Next.
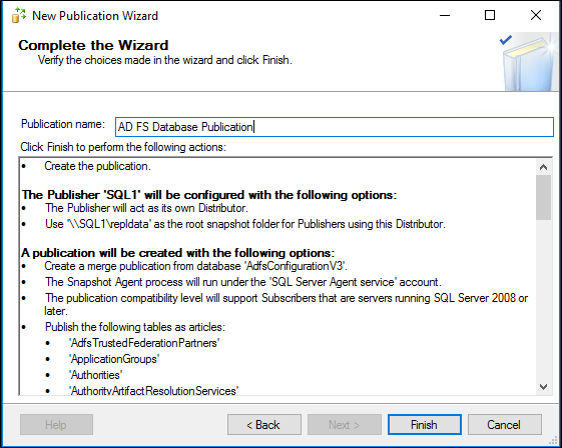
On the Complete the Wizard page, enter a name for your publication and click Finish.
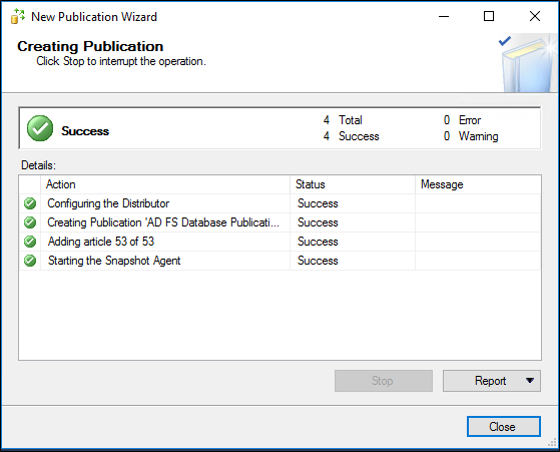
Once the publication is created you should see the status of success. Click Close.
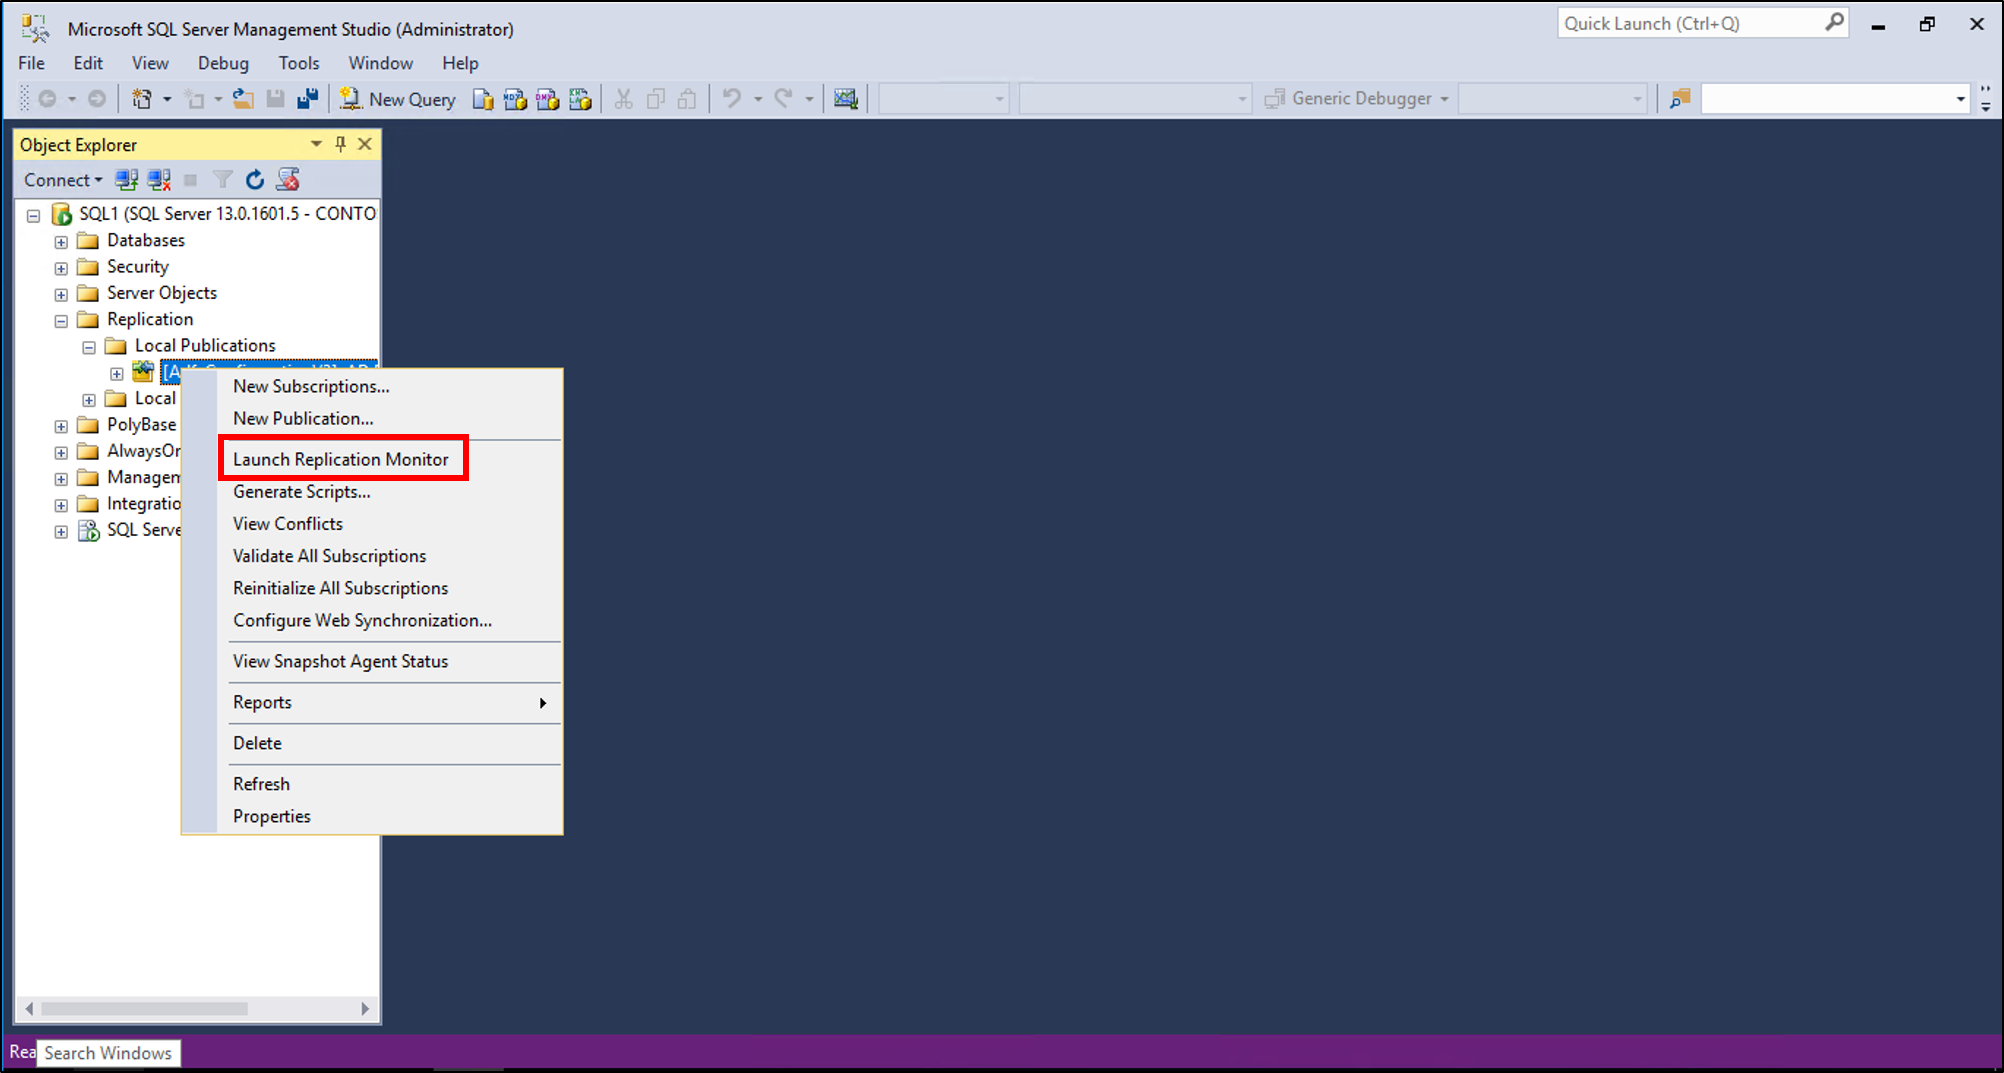
Back in SQL Server Management Studio, right-click the new Publication and click Launch Replication Monitor.
Create subscription settings on the replica SQL Server
Make sure that you created the publisher settings on the initial SQL Server as described above and then complete the following procedure:
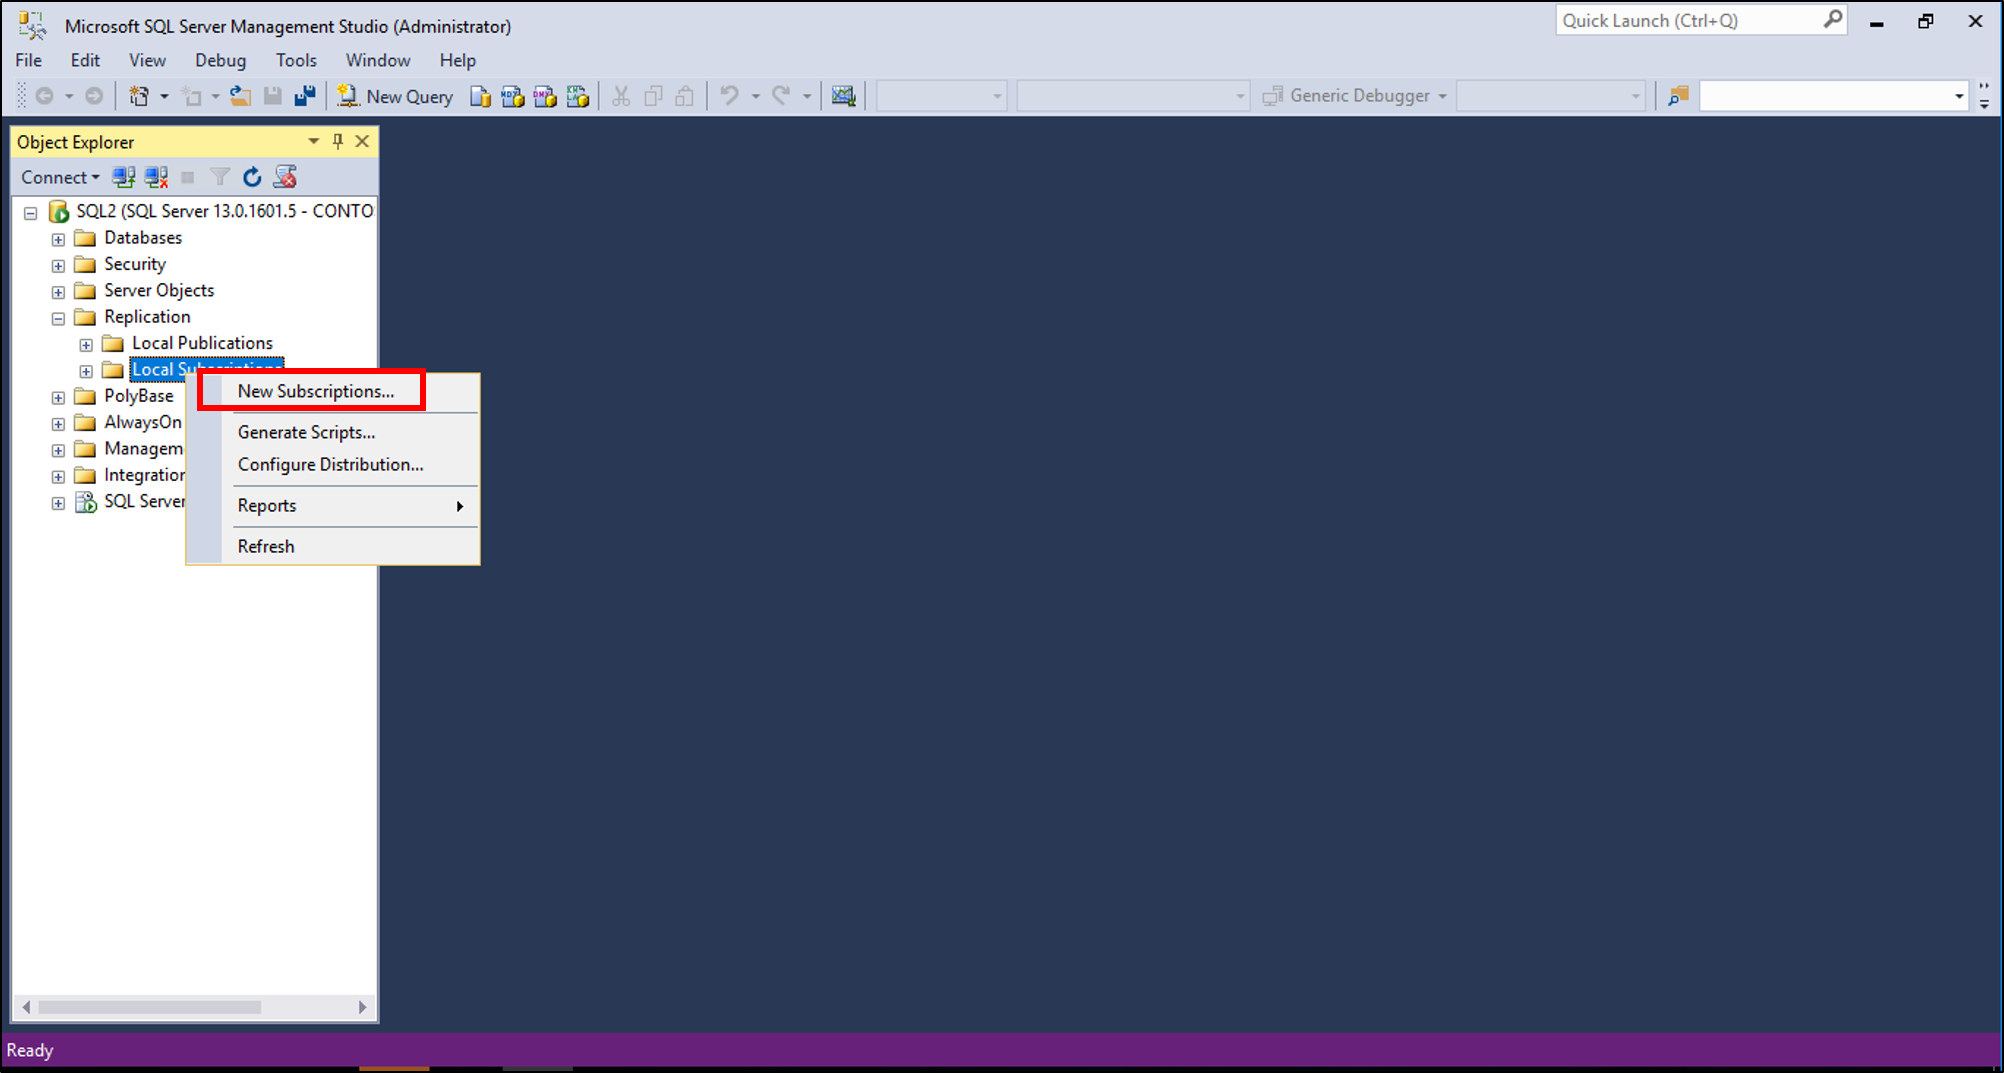
On the replica SQL Server, from SQL Server Management studio, under Replication, right click Local Subscriptions and choose New Subscription....
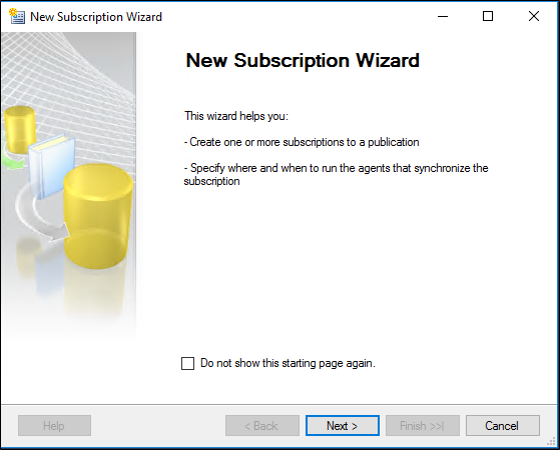
On the New Subscription Wizard page, click Next.
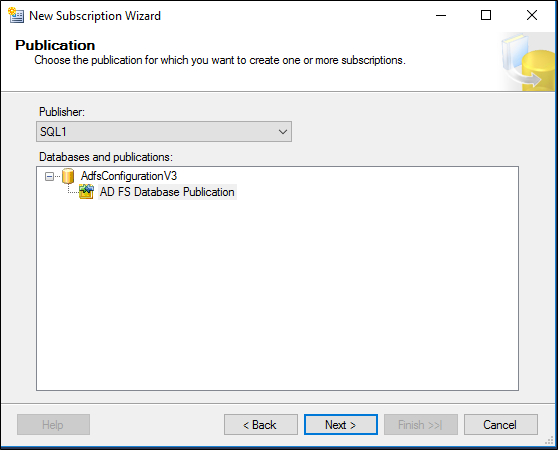
On the Publication page, select the publisher from the drop-down. Expand AdfsConfigurationV3 and select the name of the publication created above and click Next.
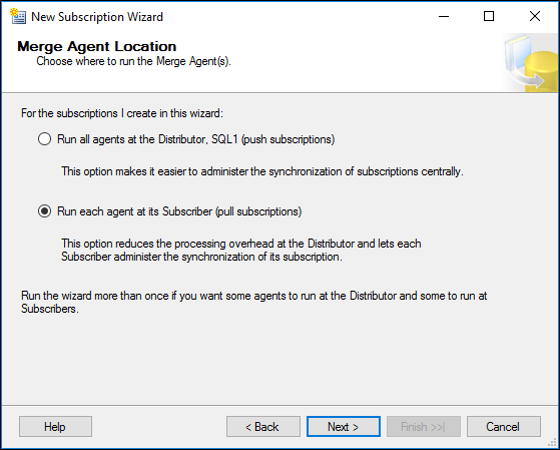
On the Merge Agent Location page, select Run each agent at its Subscriber (pull subscriptions) (the default) and click Next.
This, along with Subscription Type below, determines the conflict resolution logic. (For more information, see Detect and Resolve Merge Replication Conflicts.On the Subscribers page, select AdfsConfigurationV3 as the subscriber database and click Next.
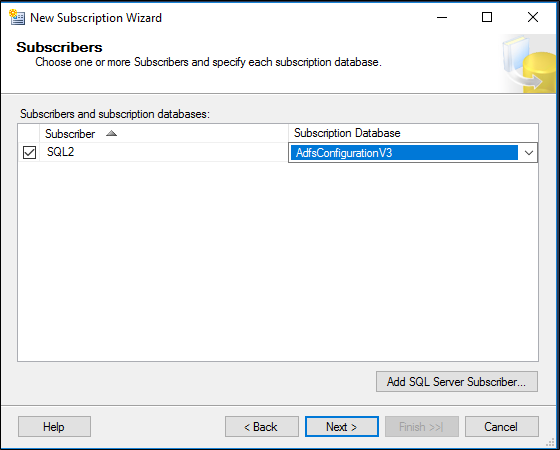
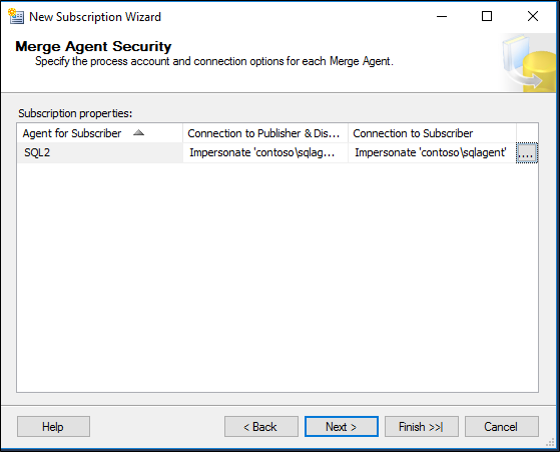
On the Merge Agent Security page, click ... and enter the username and password of a domain account (not a GMSA) created for the SQL agent by using the ellipses box and click Next.
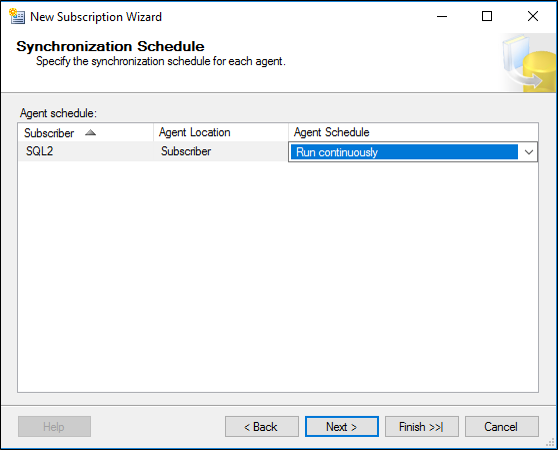
On Synchronization Schedule, choose Run Continuously and click Next.
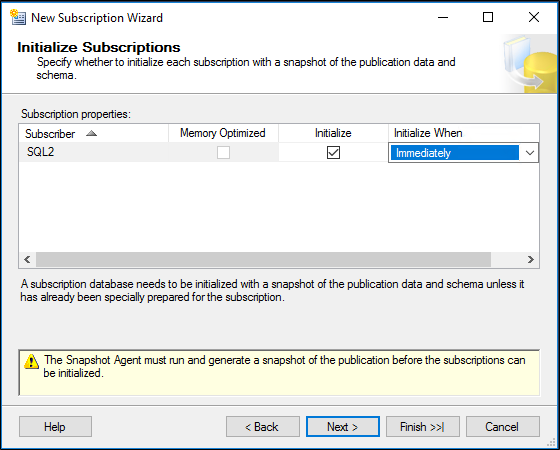
On Initialize Subscriptions, click Next.
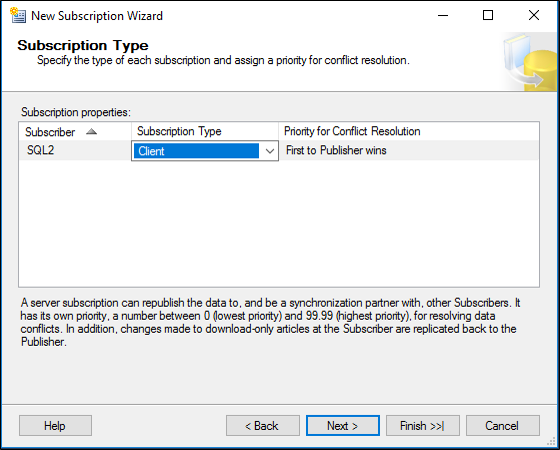
On Subscription Type, choose Client and click Next.
Implications of this are documented here and here. Essentially, we take the simple "first to publisher wins" conflict resolution and we do not need to republish to other subscribers.
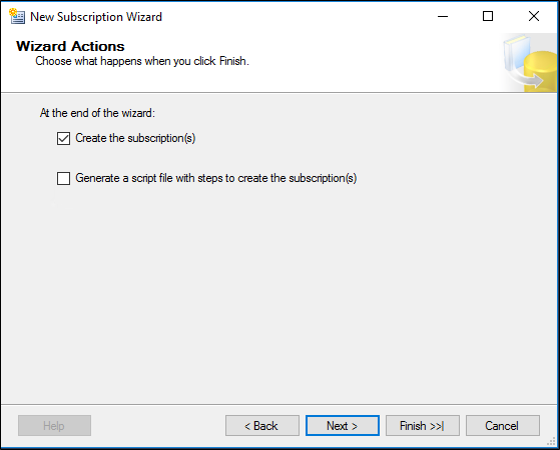
On the Wizard Actions page, ensure Create the subscription is checked and click Next.
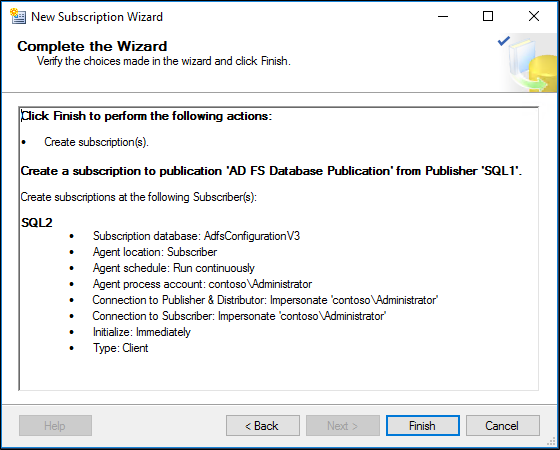
On the Complete the Wizard page, click Finish.
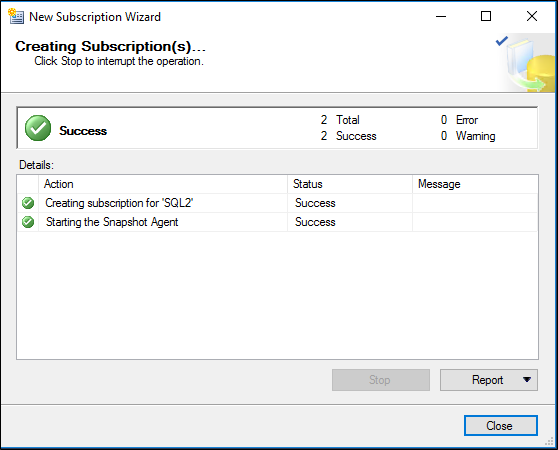
Once the subscription has finished the creation process, you should see success. Click Close.
Verify the process of initialization and replication
On the primary SQL server, right-click the Replication node and click Launch Replication Monitor.
In Replication Monitor, click the publication.
On the All Subscriptions tab, right click and View Details.
You should be able to see many entries under Actions for the initial replication.
Additionally, you can look under the SQL Server Agent\Jobs node to see the job(s) scheduled to execute the operations of the publication/subscription. Only local jobs are shown, so make sure to check on the publisher and the subscriber for troubleshooting. Right-click a job and select View History to view execution history and results.
Configure SQL login for the domain account CONTOSO\sqlagent
Create a new login on the primary and replica SQL Server called CONTOSO\sqlagent (the name of the new domain user created and configured on the Agent Security page in the procedures above.)
In SQL Server, right-click the login you created, and select Properties, then under the User Mapping tab, map this login to AdfsConfiguration and AdfsArtifact databases with public and db_genevaservice roles. Also map this login to distribution database and add db_owner role for both distribution and adfsconfiguration tables. Do this as applicable on both primary and replica SQL server. For more information, see Replication Agent Security Model.
Give the corresponding domain account read and write permissions on the share configured as distributor. Make sure that you set read and write permissions both on the share permissions and the local file permissions.
Configure AD FS node(s) to point to the SQL Server replica farm
Now that you have set up geo redundancy, the AD FS farm nodes can be configured to point to your replica SQL Server farm using the standard AD FS "join" farm capabilities, either from the AD FS Configuration Wizard UI or using Windows PowerShell.
If you use the AD FS Configuration Wizard UI, select Add a federation server to a federation server farm. Do NOT select Create the first federation server in a federation server farm.
If you use Windows PowerShell, run Add-AdfsFarmNode. Do NOT run Install-AdfsFarm.
When prompted, provide the host and instance name of the replica SQL Server, NOT the initial SQL server.