Debug in Teams desktop client
Microsoft Teams Toolkit helps you to debug and preview your Microsoft Teams app in desktop client. During the debug process, Teams Toolkit automatically starts app services, opens debuggers, and uploads Teams app. You can preview your Teams app in Teams desktop client after debugging.
The following are the advantages of Teams desktop client:
- Improves performance.
- Reduces time-to-F5.
- Improves coverage of debug targets.
Capabilities of Teams desktop client
Teams desktop client incorporates debugging capabilities in the following app templates scaffolded by the Teams Toolkit:
- Bot.
- Agent.
- Custom engine agent.
- Message extension.
Prerequisites
Ensure you install the following tools for building and deploying your app in Teams desktop client:
| Install | For using... | |
|---|---|---|
| Teams Toolkit | A Microsoft Visual Studio Code extension that creates a project scaffolding for your app. Use the latest prerelease version. | |
| Node.js | Back-end JavaScript runtime environment. For more information, see node.js version compatibility table for project type. | |
| Visual Studio Code | JavaScript, TypeScript, or SharePoint Framework (SPFx) build environments. Use the latest version. | |
| Microsoft 365 developer account | Access to Teams account with the appropriate permissions to install an app. |
Debug in Teams desktop client
To debug your custom engine agent app in Teams desktop client
Open Visual Studio Code (VS Code) and log into your Microsoft 365 account through Teams Toolkit.
Select the Teams Toolkit
 icon in the VS Code Activity Bar and then select Create a New App.
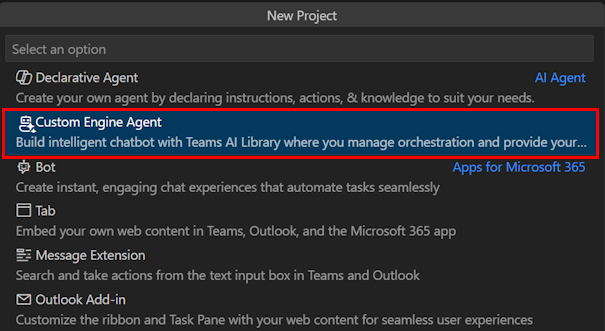
Select Custom Engine Agent.

Select Basic AI Chatbot.

Select JavaScript.

Select OpenAI.

Enter the OpenAI service key.

Select Default folder.

To change the default location, follow these steps:
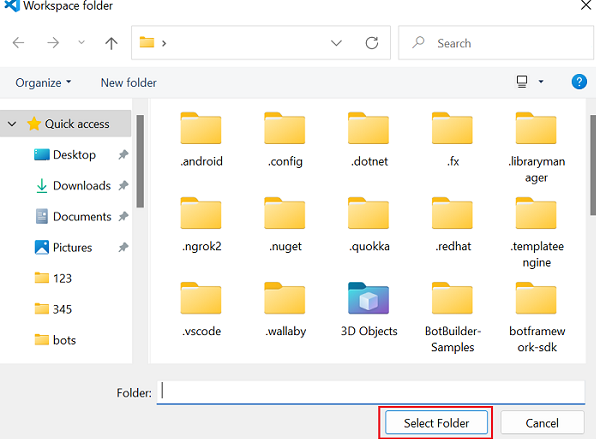
Select Browse.

Select the location for the project workspace.
Select Select Folder.

Enter a suitable name for your app and then select the Enter key.

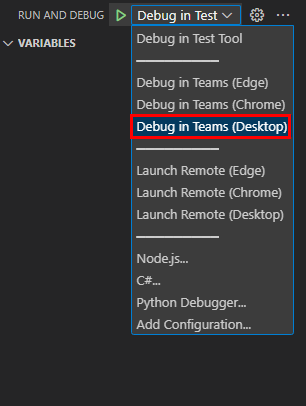
From the left pane, select Run and Debug (
Ctrl+Shift+D) and select Debug in Teams (Desktop) from the dropdown list.
Ensure your Teams desktop login matches your Microsoft 365 account used in Teams Toolkit and then select Continue.

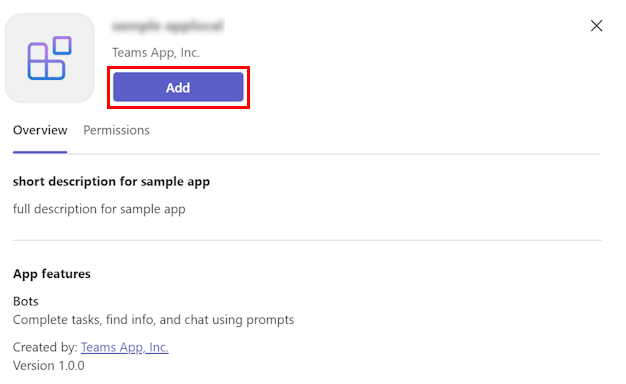
Teams desktop client requests to add your app.
Select Add.

A chat window opens.
From the message compose area, send a message to invoke the bot.

Note
The system level notification for account matching appears only once per project. In subsequent debug sessions, Teams Toolkit sends reminders about the account through VS Code notifications.

You can add breakpoints and hot reload your changes. In the following example, the breakpoint is highlighted with the red dot next to the row number.


You can continue to debug your custom engine agent app in Teams desktop client.
See also
Platform Docs