View the Reports for SAP
After you have created the report, you can view it either using Visual Studio or host it on the Report Server on Internet Information Services (IIS) and access over the network. This topic provides instructions on how to view reports both in Visual Studio and using IIS.
Prerequisites
Before performing the procedures provided in this topic, you must have generated a report as described in Use the Data Provider for SAP to Create a Report Server Project.
To view the reports in Visual Studio
In Visual Studio, right-click the project name in the Solution Explorer, and then click Properties.
In the report property pages dialog box, click Configuration Manager, and clear the check box under the Deploy column. Click Close.
In the report property pages dialog box, for the StartItem property, select the name of the report, and then click OK.
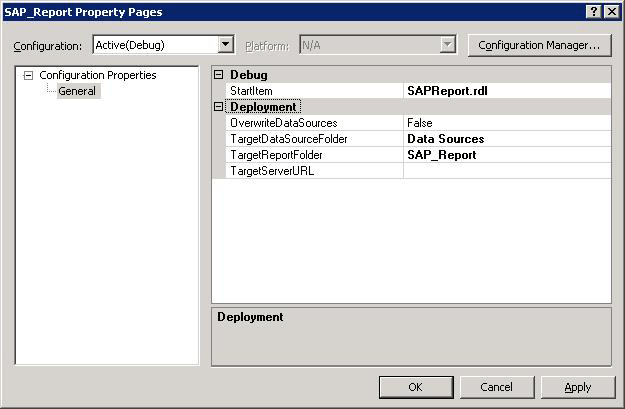
Right-click the project name in the Solution Explorer, and then click Build.
Press
F5to run the project to generate the report.Important
In Visual Studio 2013, you can see the report by clicking the Preview tab. In such a case, the subsequent dialog boxes will open within the preview tab.
A dialog box with the same name as you specified for the report opens up. While creating the data source, if you chose the Prompt for credentials option, enter the user name and password for the SAP system, and then click View Report.
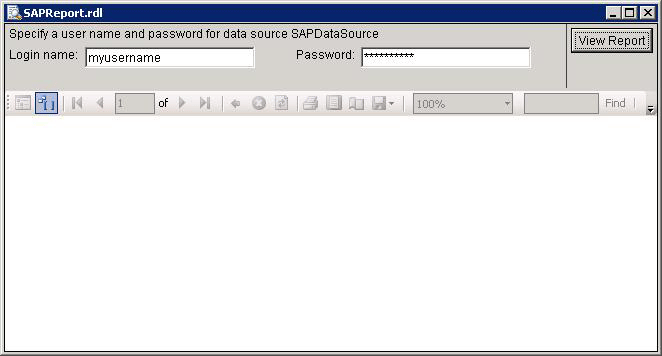
If the query you specified while creating the Report Server project requires a parameter, you must enter the value of the parameter. For example, for the query you specified in the Use the Data Provider for SAP to Create a Report Server Project topic, requires you to specify a value for the parameter, PARAM.
Specify the value of the parameter, if required, and click View Report.
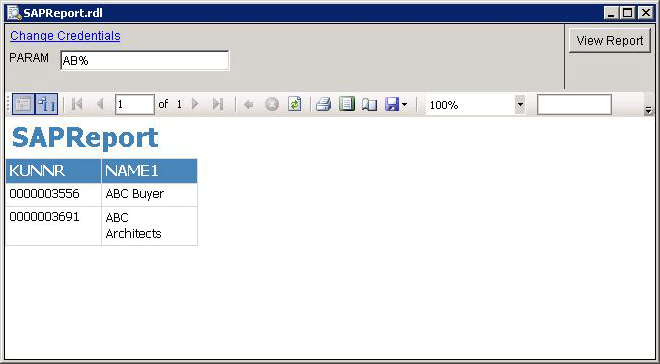
To host the reports on Report Server
In Visual Studio, right-click the project name in the Solution Explorer, and then click Properties.
In the report property pages dialog box, click Configuration Manager, and select the check box under the Deploy column. Click Close.
In the report property pages dialog box, for the StartItem property, select the name of the report.
In the report property pages dialog box, for the TargetServerURL property, specify a URL for the Report Server, and then click OK. For example:
http://localhost/reportserver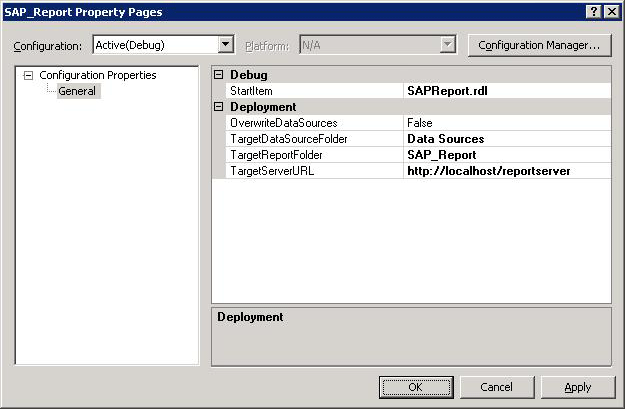
Right-click the project name in the Solution Explorer, and then click Build.
Right-click the project name in the Solution Explorer, and then click Deploy.
Start IIS. Click Start, click Run, type
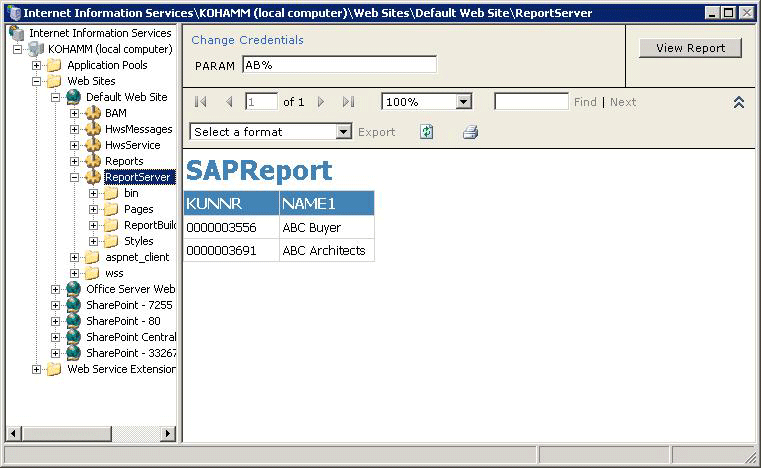
inetmgr, and pressEnter.In the Internet Information Services (IIS) Manager snap-in, expand the computer name, expand Web Sites, expand Default Web Site, right-click ReportServer, and then click Browse.
In the right pane, click the name of the project, and then click on the name of the report.
While creating the data source, if you chose the Prompt for credentials option, enter the user name and password for the SAP system and click View Report.
If the query you specified while creating the Report Server project requires a parameter, you must enter the value of the parameter. For example, for the query you specified in the Use the Data Provider for SAP to Create a Report Server Project topic, requires you to specify a value for the parameter, PARAM.
Specify the value of the parameter, if required, and click View Report.
Tip
You can also view directly from the web browser by giving the URL for the report. A typical URL for the report
is http://localhohost/reportserver/<report_name>.