Release your app to environments with deployment agents
| TFS 2015 | Previous version

Important
Release Management features have been integrated into Azure Pipelines and Team Foundation Server (TFS). For more information, see Build and Release in Azure Pipelines.
The newer web-based version is the recommended alternative to the server and client version described in this topic. If you do not already have Release Management installed, we encourage you to use the web-based version in TFS 2015 Update 2 and above or Azure Pipelines instead of the version described here. If you are already using an earlier server and client version, you should be aware that no new features will be added to these versions.
If you want to use PowerShell, DSC or Chef to deploy your app, you must use vNext environments; go here for instructions. Otherwise if you are using deployment agents, follow these steps.
If you haven't already done so, connect to release management and add stages for your release.
Set up servers and environments
Install and configure a deployment agent on any machine that will be part of the environment used to deploy your app.
Scan for new servers that already have deployment agents installed. If the server you want to use is not in the list, check that the service for the deployment agent (Microsoft Deployment Agent) is started on that machine.

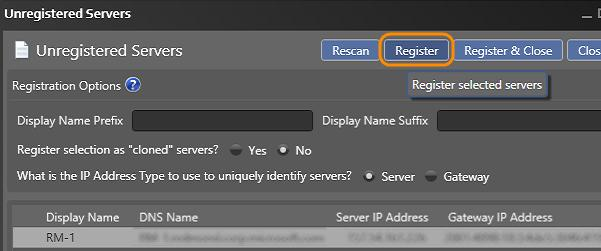
Register the servers to use for your environments. You will deploy your app to the servers in an environment as part of your release pipeline.
Create environments for each of your stages. Link the servers to your environments.
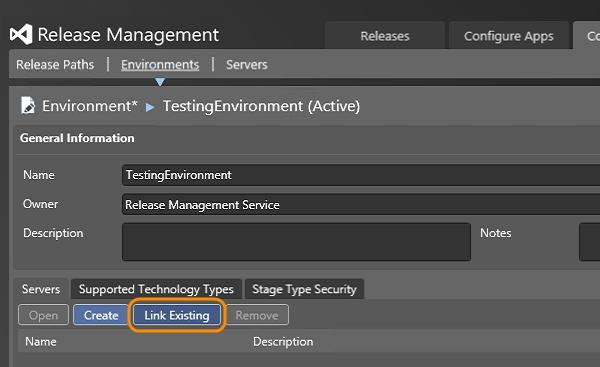
An environment can contain multiple servers.
Create a release template
Check the code for your app has been added to version control. You also need a build definition that builds your app.
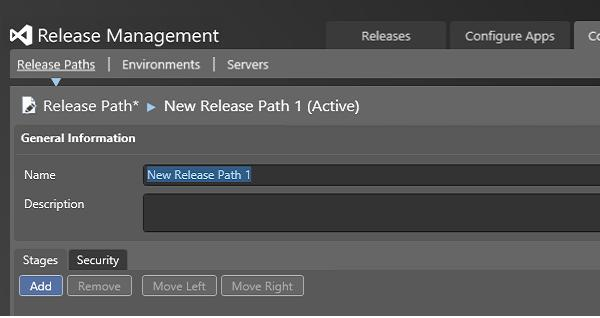
Create a release path to represent the stages that your release must go through.
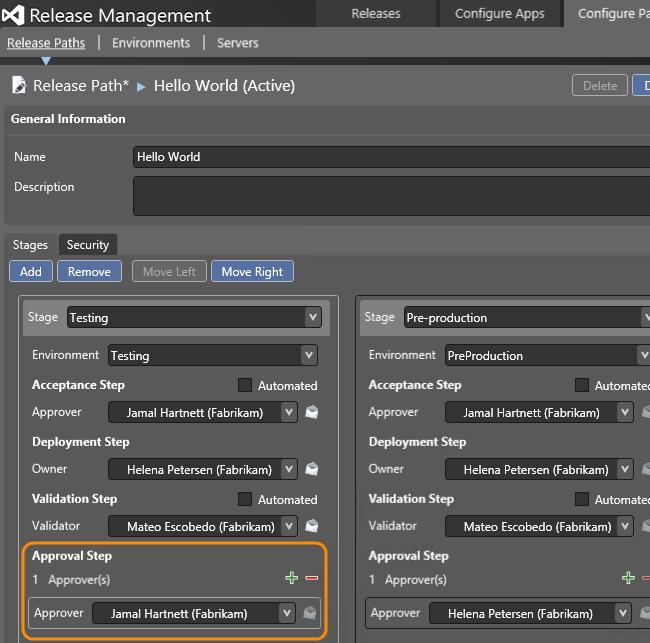
Choose the environment and approvers to use for each stage of your release. You can add multiple final approvers for each stage if you want to.
Create a release template and use the release path that you just added. Link your build definition to this release template to have access to the build.
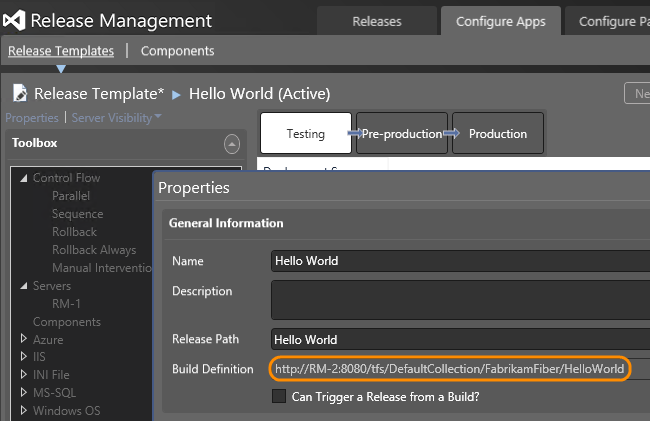
Next you define the sequence of actions that deploys your app for each stage.
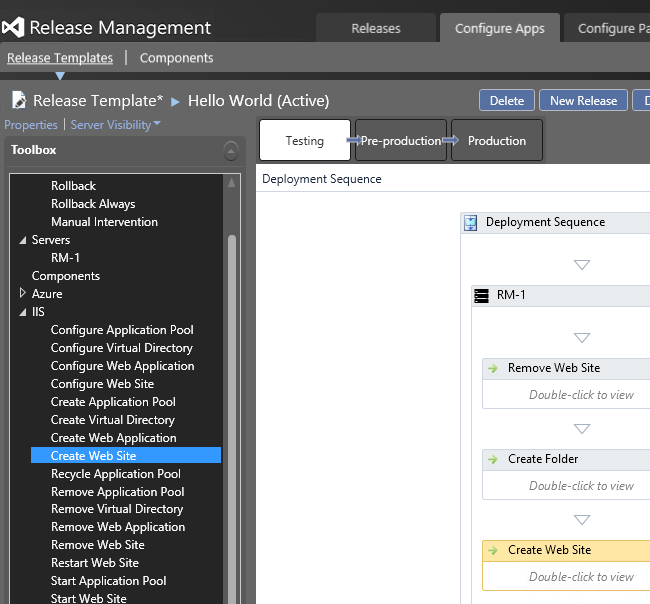
The deployment agent must have sufficient permissions to perform any of the actions in your sequence. For example, to remove a web site the deployment agent service must run as a local administrator on that machine.
Next steps
FAQ
Q: Can I deploy components of my multi-tiered app separately?
A: Yes, you can create components with separate deployment information.
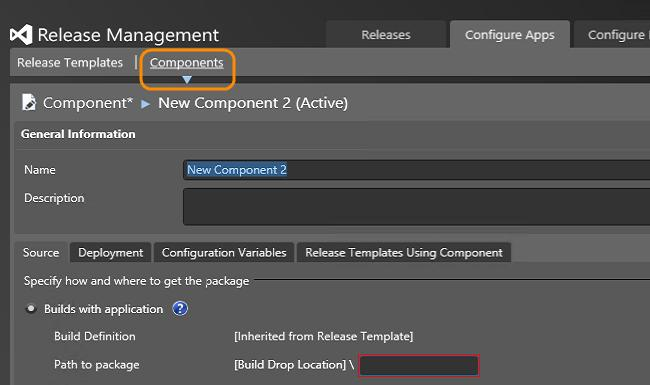
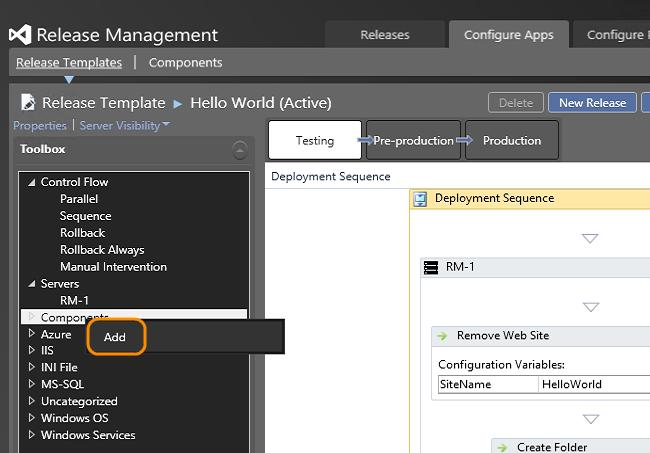
Add the component to the release template. Now you can add this component to any stage that needs it.
Q: What release actions can I add to the deployment sequence?
A: More details on actions are here.
Q: How do I copy a deployment sequence of one stage to another?
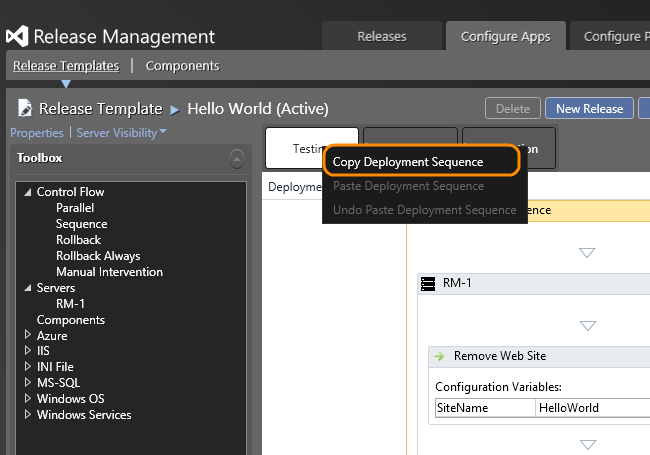
A: Use the shortcut menu of a sequence to copy it. Select the sequence where you want to paste it, and use its shortcut menu to Paste Deployment Sequence.
Related topics
- Overview of Release Management
- Install Release Management
- Manage your release
- Release without deployment agents
- Trigger a release from a build
- Deploy continuously to Azure
Help and support
Visit the Developer Community.
