Display seamless sync information on custom forms in Dynamics 365 Sales
With seamless sync, users who work on sales orders and sales quotations in Dynamics 365 Sales can view the results of calculations that the Supply Chain Management pricing engine does, without having to take any extra steps to get prices, discounts, and totals. As users work in Sales, all the necessary data and calculation results are seamlessly synced between systems as required.
When you install the supply chain solution for Dynamics 365 Sales, it makes several modifications to the standard forms in Sales, including modifications that add seamless sync information to the standard Order, Quote, Order Product, and Quote Products forms in Sales. However, if your company uses custom forms for one or more of these entities (which is common), then you must modify your custom forms to enable seamless sync information to display correctly on them. This article describes how.
Add seamless sync information to custom Order or Quote forms
To add seamless sync information to custom Order or Quote forms in Sales, follow these steps.
Open the Power Apps Maker portal.
Open your custom Order or Quote form.
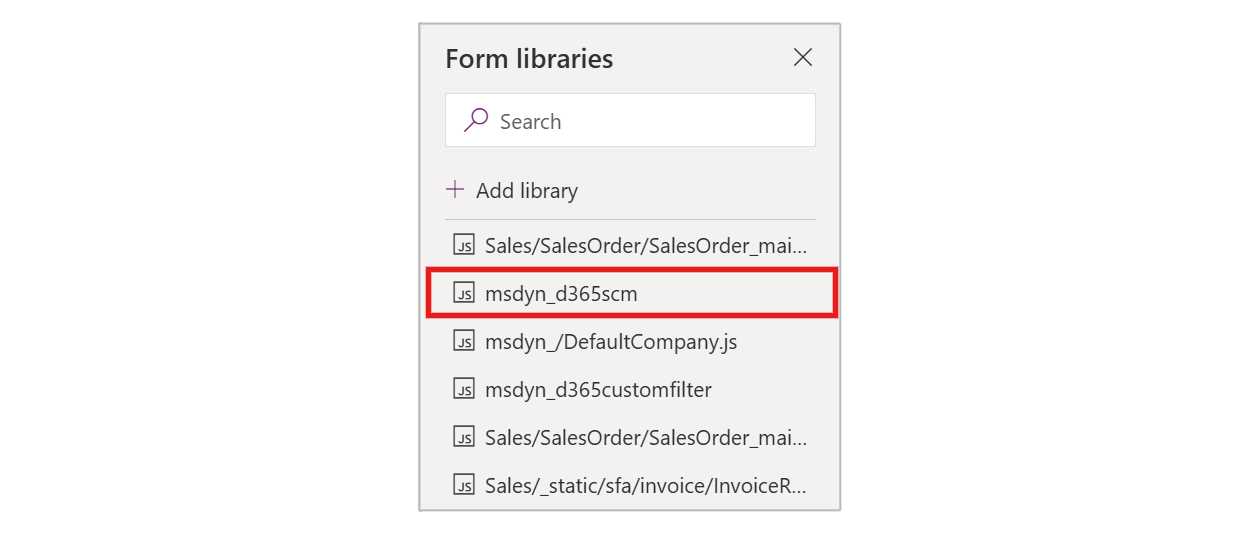
Select Form libraries and make sure that the library named
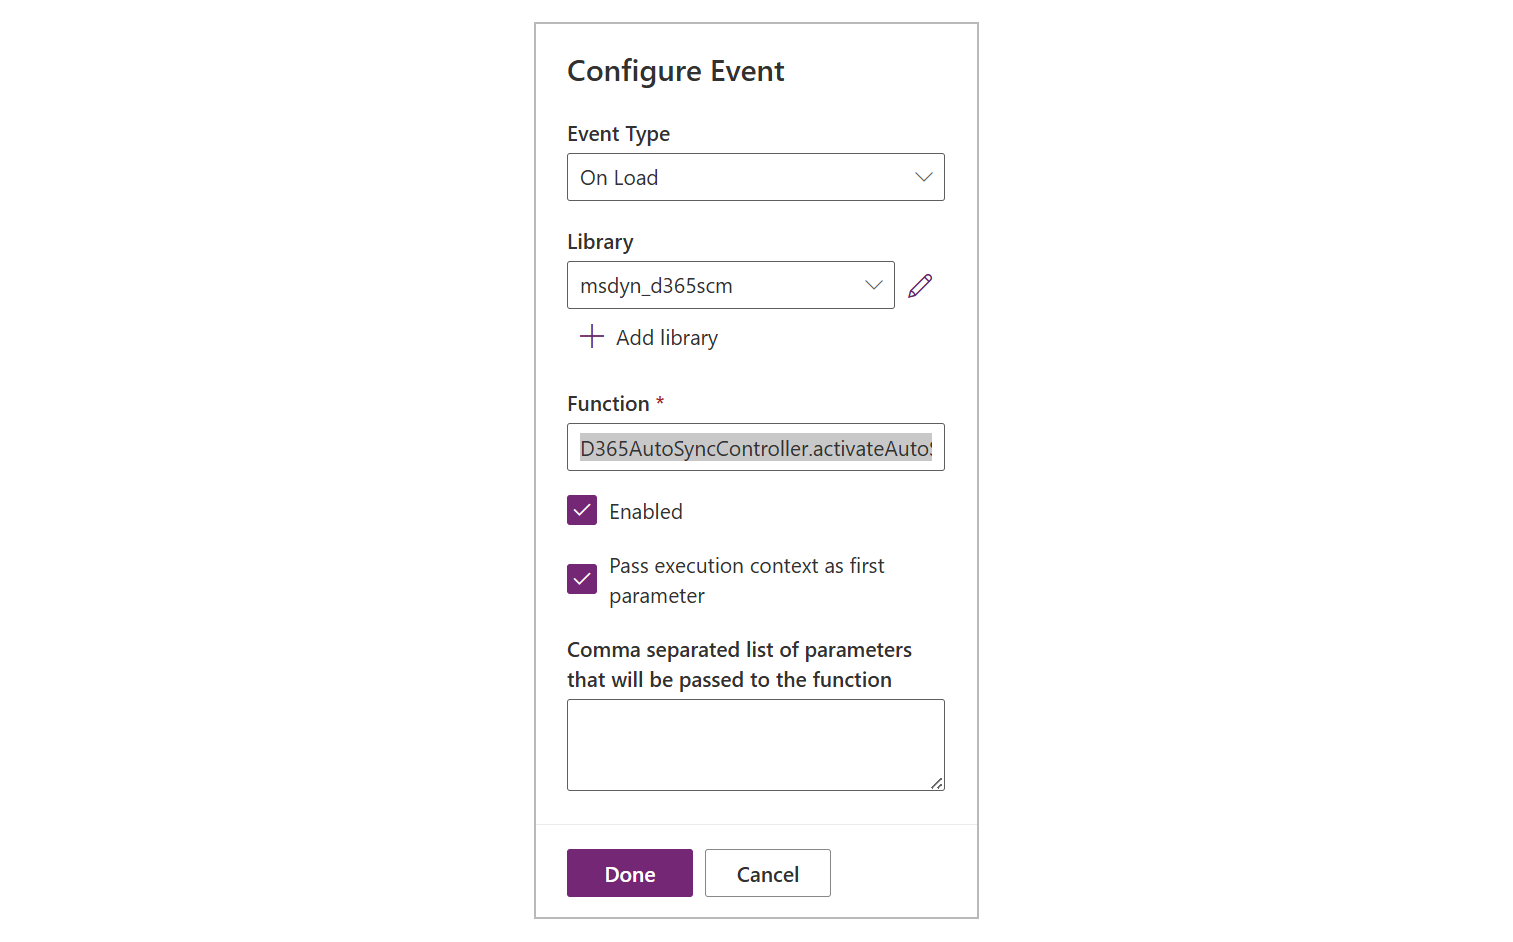
msdyn_d365scmis present. If it isn't, select Add library and add it.Open the On Load event for the custom form and add the handler function
D365AutoSyncController.activateAutoSync.If the grid on your custom form is editable, open the On Save event for the grid and add the handler function
D365AutoSyncController.onSaveDetailsGrid.
You can learn more about how to work with libraries and events for custom forms in Configure model-driven app form event handlers.
Add seamless sync information to custom Order Product or Quote Product forms
To add seamless sync information to custom Order Product or Quote Product forms in Sales, follow these steps.
- Open the Power Apps Maker portal.
- Open your custom Order Product or Quote Product form.
- Select Form libraries and make sure that the library named
msdyn_d365scmis present. If it isn't, select Add library and add it. - Open the On Load event for the custom form and add the handler function
D365AutoSyncController.activateAutoSync.

