Enable file sharing using UI Library in Teams Interoperability Chat
In a Teams Interoperability Chat ("Interop Chat"), we can enable file sharing between Azure Communication Services end users and Teams users. Note, Interop Chat is different from the Azure Communication Services Chat. If you want to enable file sharing in an Azure Communication Services Chat, refer to Add file sharing with UI Library in Azure Communication Services Chat. Currently, the Azure Communication Services end user is only able to receive file attachments from the Teams user. Refer to UI Library Use Cases to learn more.
Important
File sharing feature comes with the CallWithChat Composite without additional setups.
Download code
Access the code for this tutorial on GitHub.
Prerequisites
- An Azure account with an active subscription. For details, see Create an account for free.
- Visual Studio Code on one of the supported platforms.
- Node.js, Active LTS and Maintenance LTS versions. Use the
node --versioncommand to check your version. - An active Communication Services resource and connection string. Create a Communication Services resource.
- Using the UI library version 1.17.0 or the latest.
- Have a Teams meeting created and the meeting link ready.
- Be familiar with how ChatWithChat Composite works.
Background
First of all, we need to understand that Teams Interop Chat has to part of a Teams meeting currently. When the Teams user creates an online meeting, a chat thread would be created and associated with the meeting. To enable the Azure Communication Services end user joining the chat and starting to send/receive messages, a meeting participant (a Teams user) would need to admit them to the call first. Otherwise, they don't have access to the chat.
Once the Azure Communication Services end user is admitted to the call, they would be able to start to chat with other participants on the call. In this tutorial, we're checking out how inline image works in Interop chat.
Overview
Similar to how we're Adding Inline Image Support to the UI library, we need a CallWithChat Composite created.
Let's follow the basic example from the storybook page to create a ChatWithChat Composite.
From the sample code, it needs CallWithChatExampleProps, which is defined as the following code snippet:
export type CallWithChatExampleProps = {
  // Props needed for the construction of the CallWithChatAdapter
  userId: CommunicationUserIdentifier;
  token: string;
  displayName: string;
  endpointUrl: string;
  locator: TeamsMeetingLinkLocator | TeamsMeetingIdLocator | CallAndChatLocator;

  // Props to customize the CallWithChatComposite experience
  fluentTheme?: PartialTheme | Theme;
  compositeOptions?: CallWithChatCompositeOptions;
  callInvitationURL?: string;
};
To be able to start the Composite for meeting chat, we need to pass TeamsMeetingLinkLocator or TeamsMeetingIdLocator, which looks like this:
{ "meetingLink": "<TEAMS_MEETING_LINK>" }
Or
{ "meetingId": "<TEAMS_MEETING_ID>", "passcode": "<TEAMS_MEETING_PASSCODE>"}
This is all you need - and there's no other setup needed to enable the Azure Communication Services end user to receive file attachments from the Teams user!
Permissions
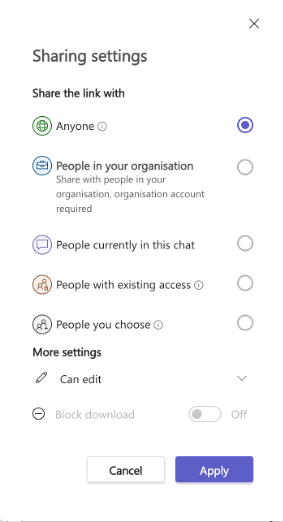
When file is shared from a Teams client, the Teams user has options to set the file permissions to be:
- "Anyone"
- "People in your organization"
- "People currently in this chat"
- "People with existing access"
- "People you choose"
Specifically, the UI library currently only supports "Anyone" and "People you choose" (with email address) and all other permissions aren't supported. If Teams user sent a file with unsupported permissions, the Azure Communication Services end user might be prompted to a login page or denied access when they click on the file attachment in the chat thread.
Moreover, the Teams user's tenant admin might impose restrictions on file sharing, including disabling some file permissions or disabling file sharing option all together.
Run the code
Let's run npm run start then you should be able to access our sample app via localhost:3000 like the following screenshot:
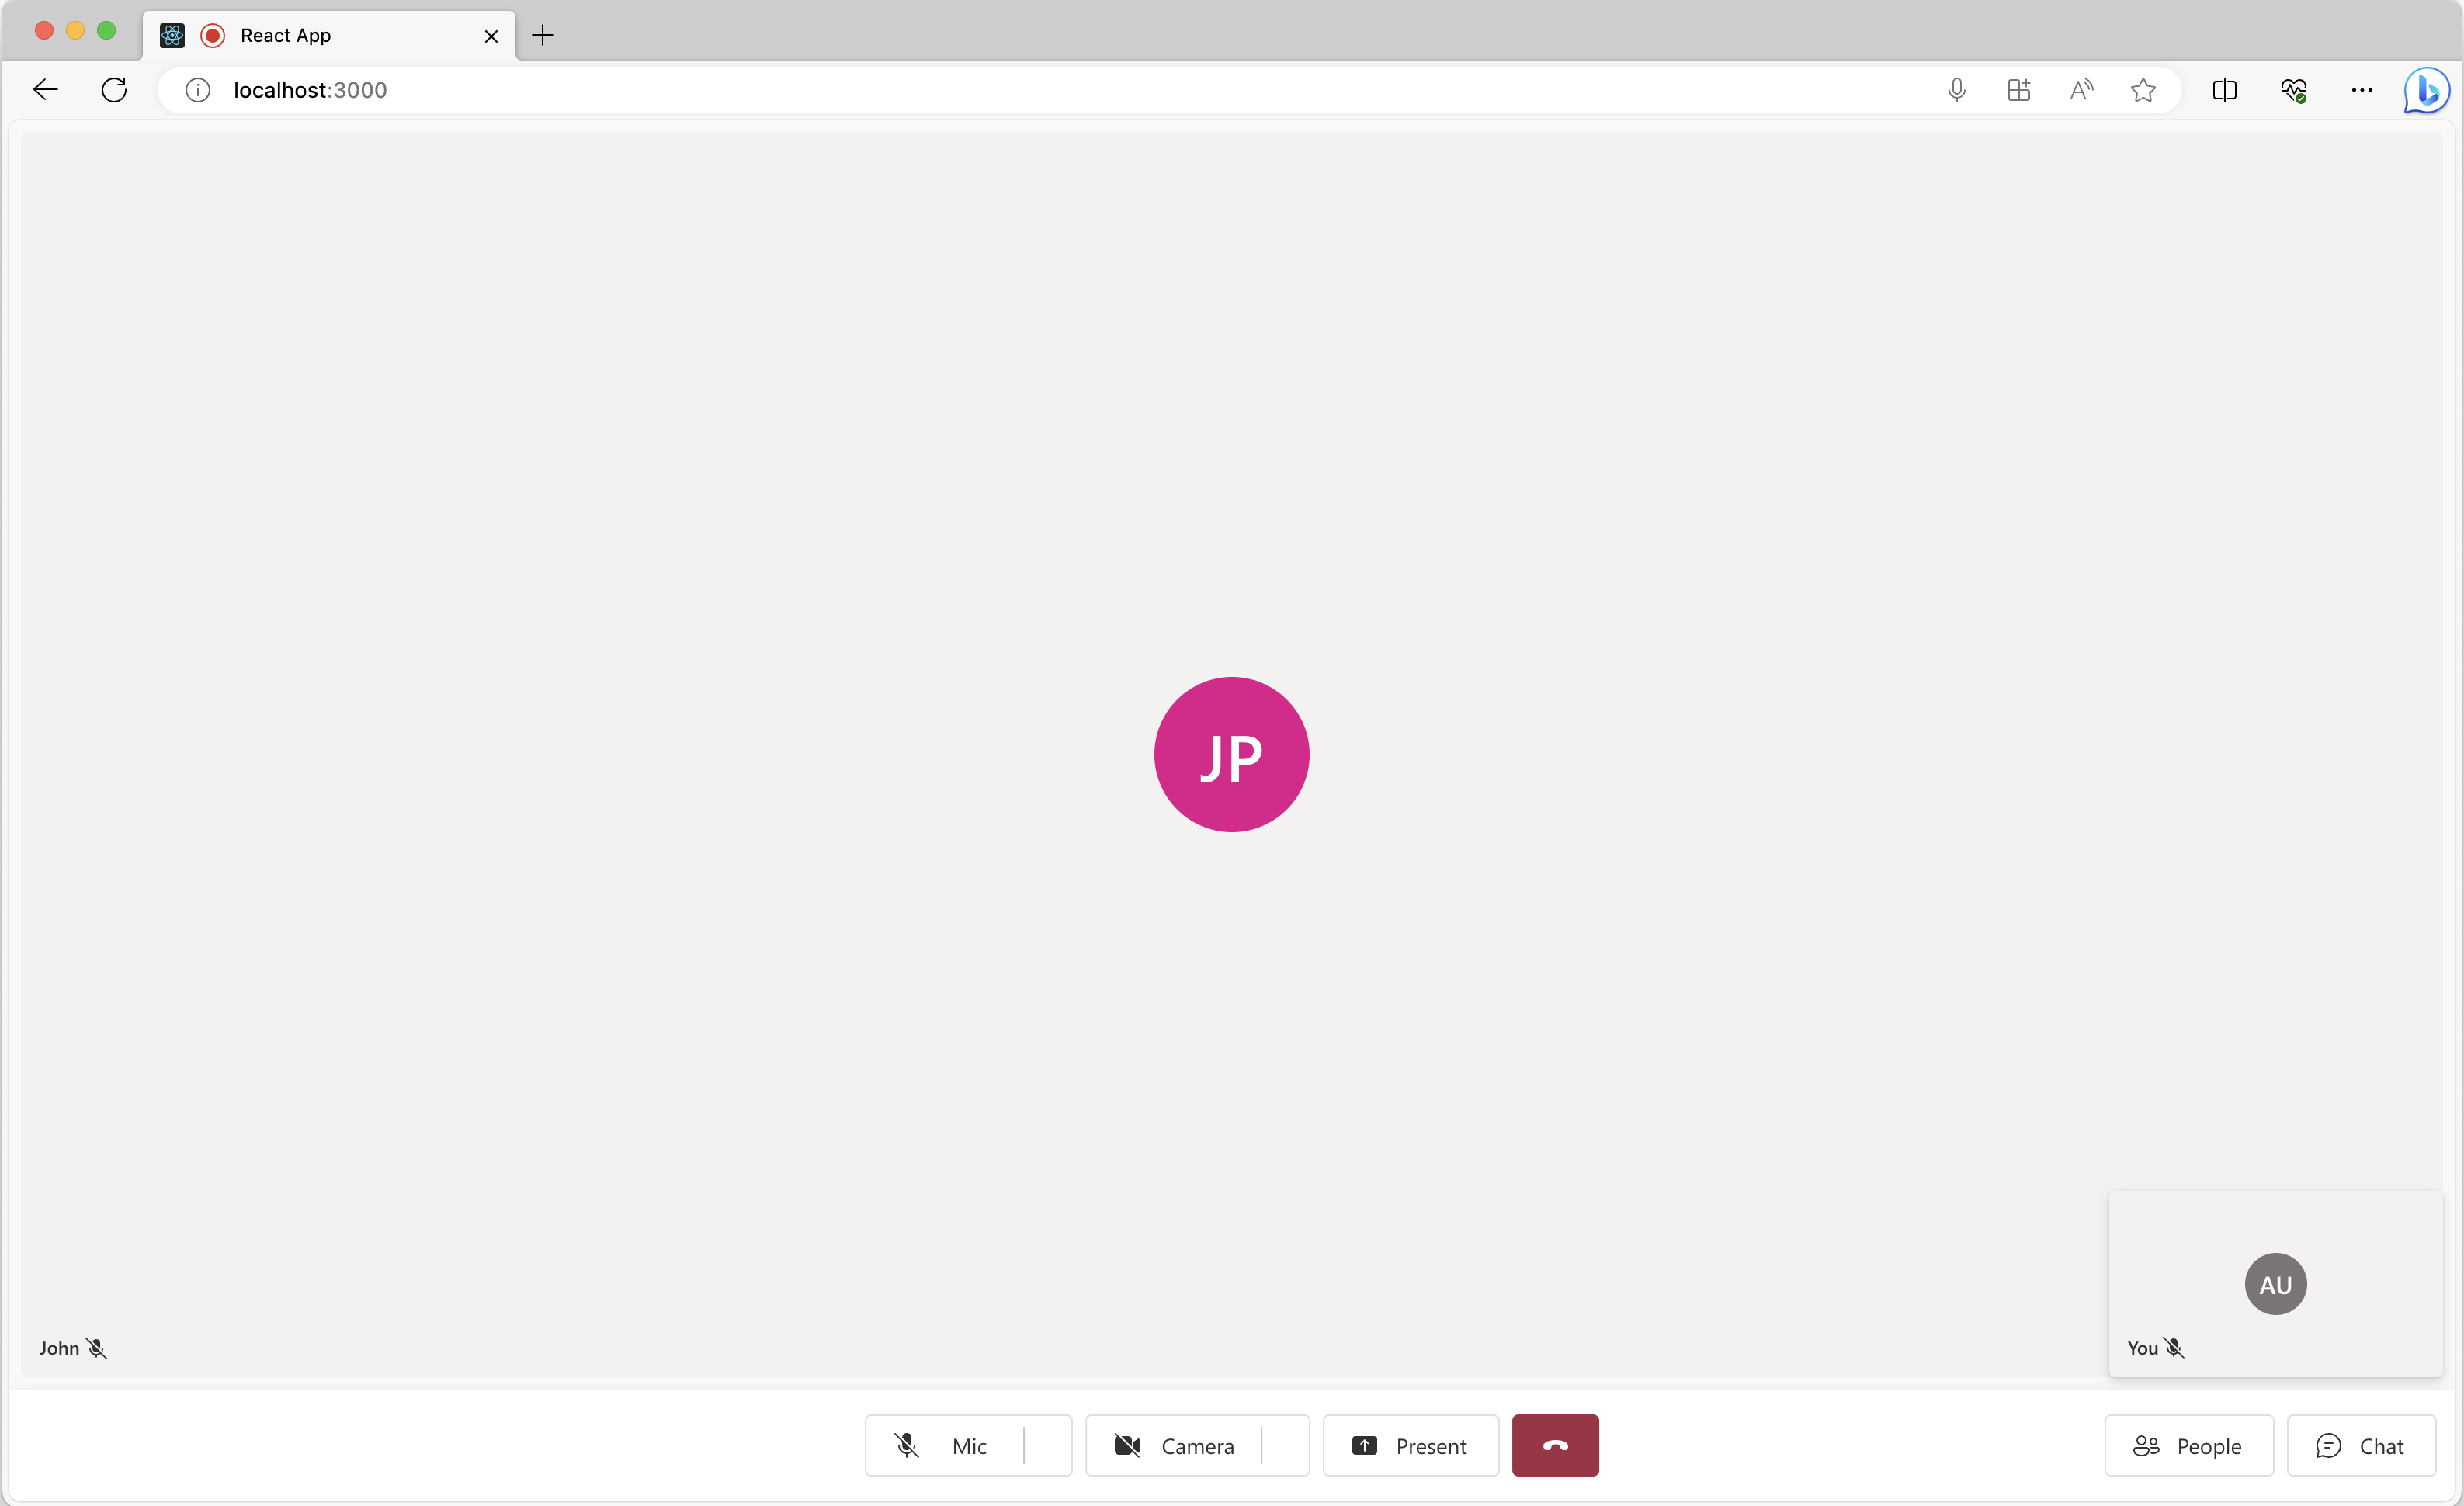
Simply click on the chat button located in the bottom to reveal the chat panel and now if Teams user sends some files, you should see something like the following screenshot:
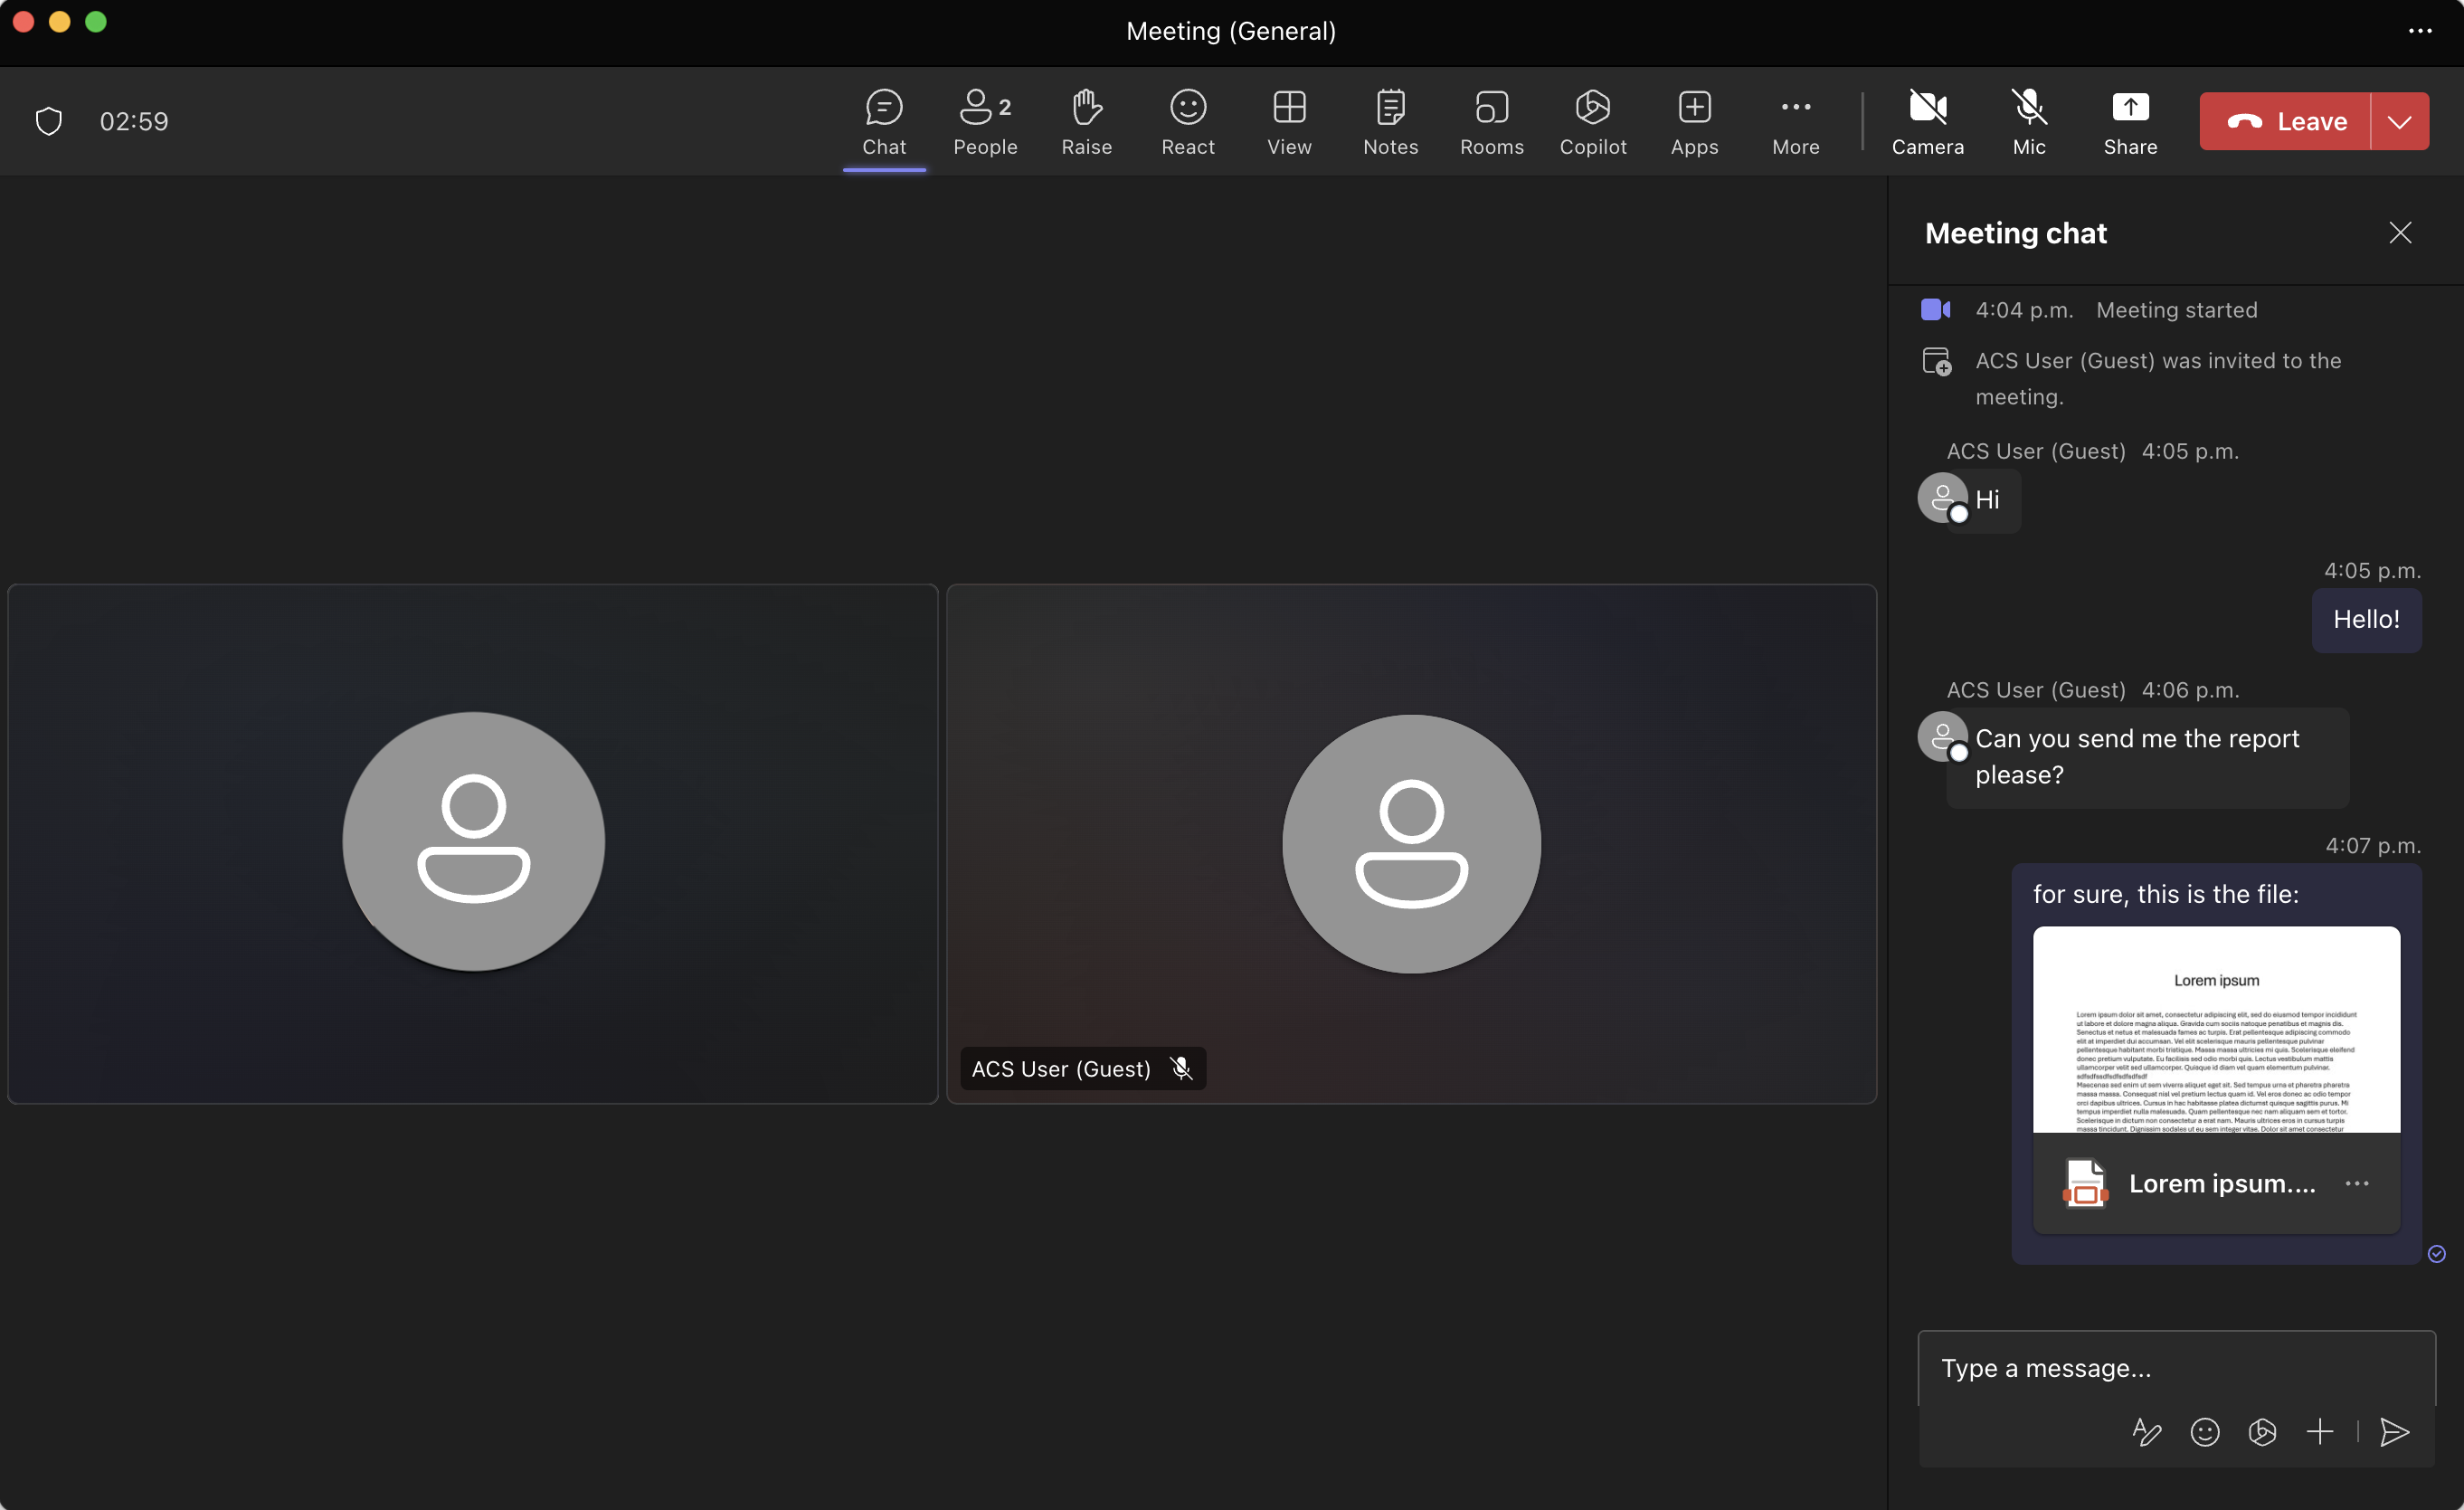
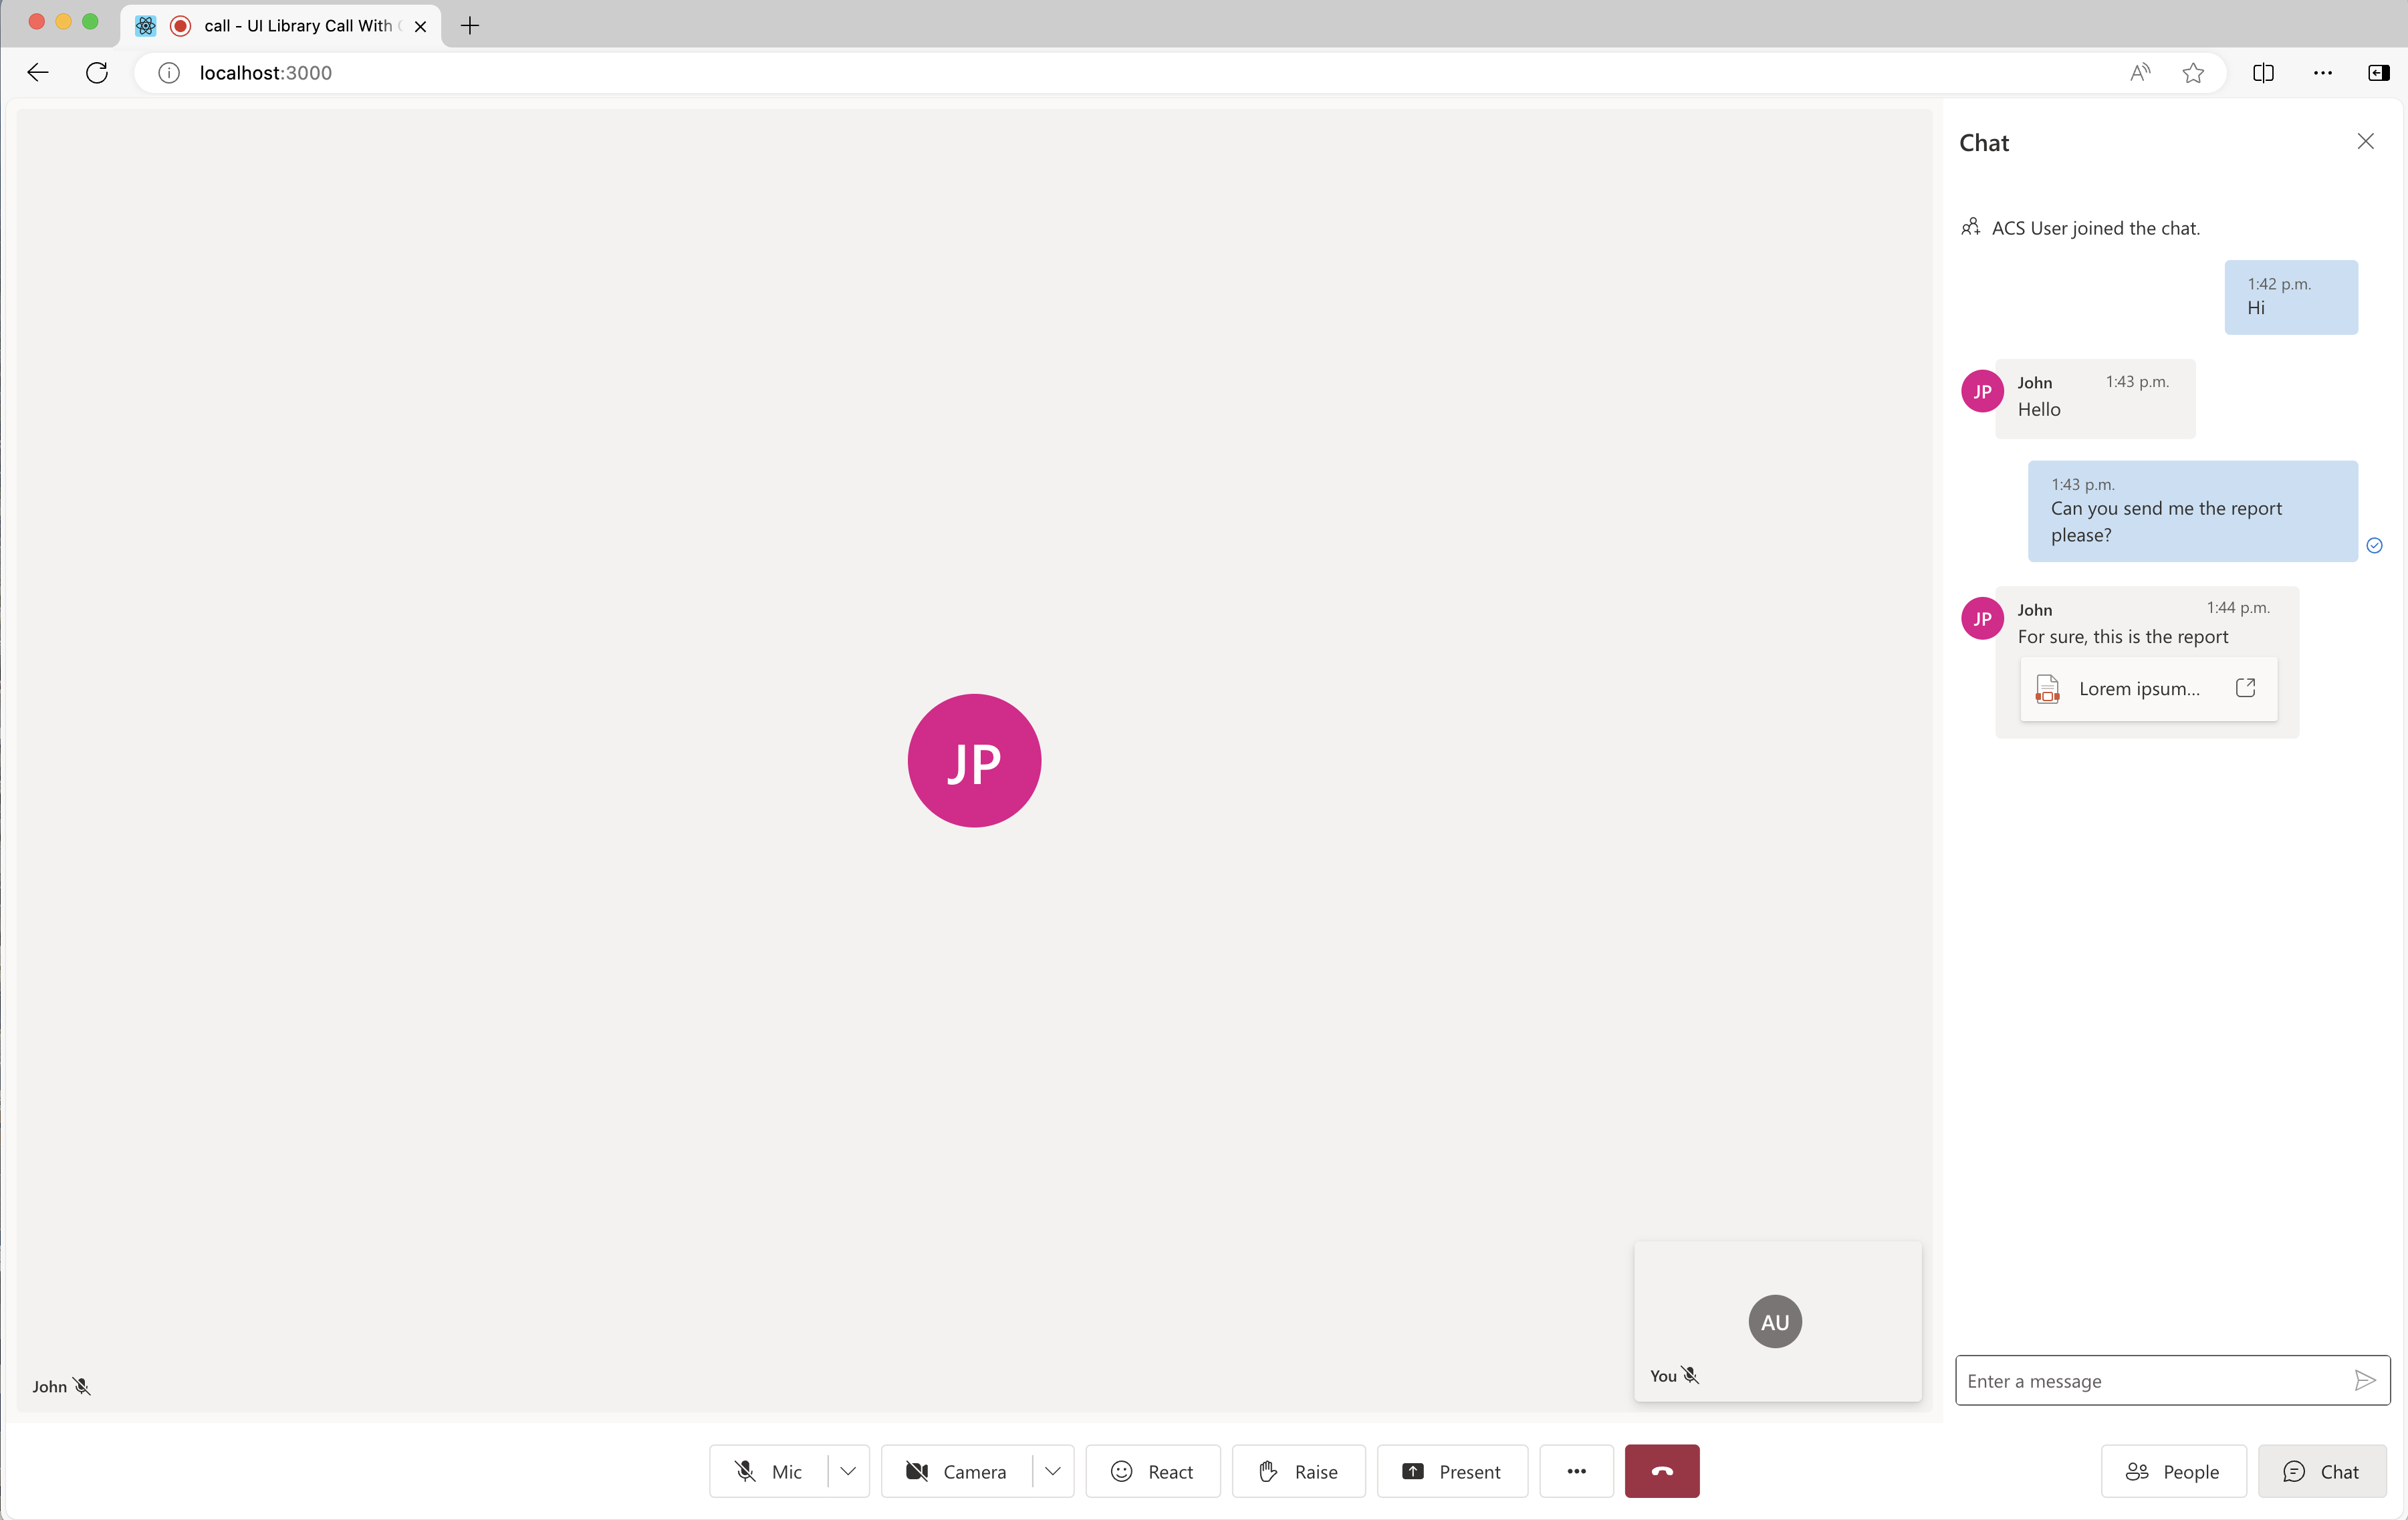
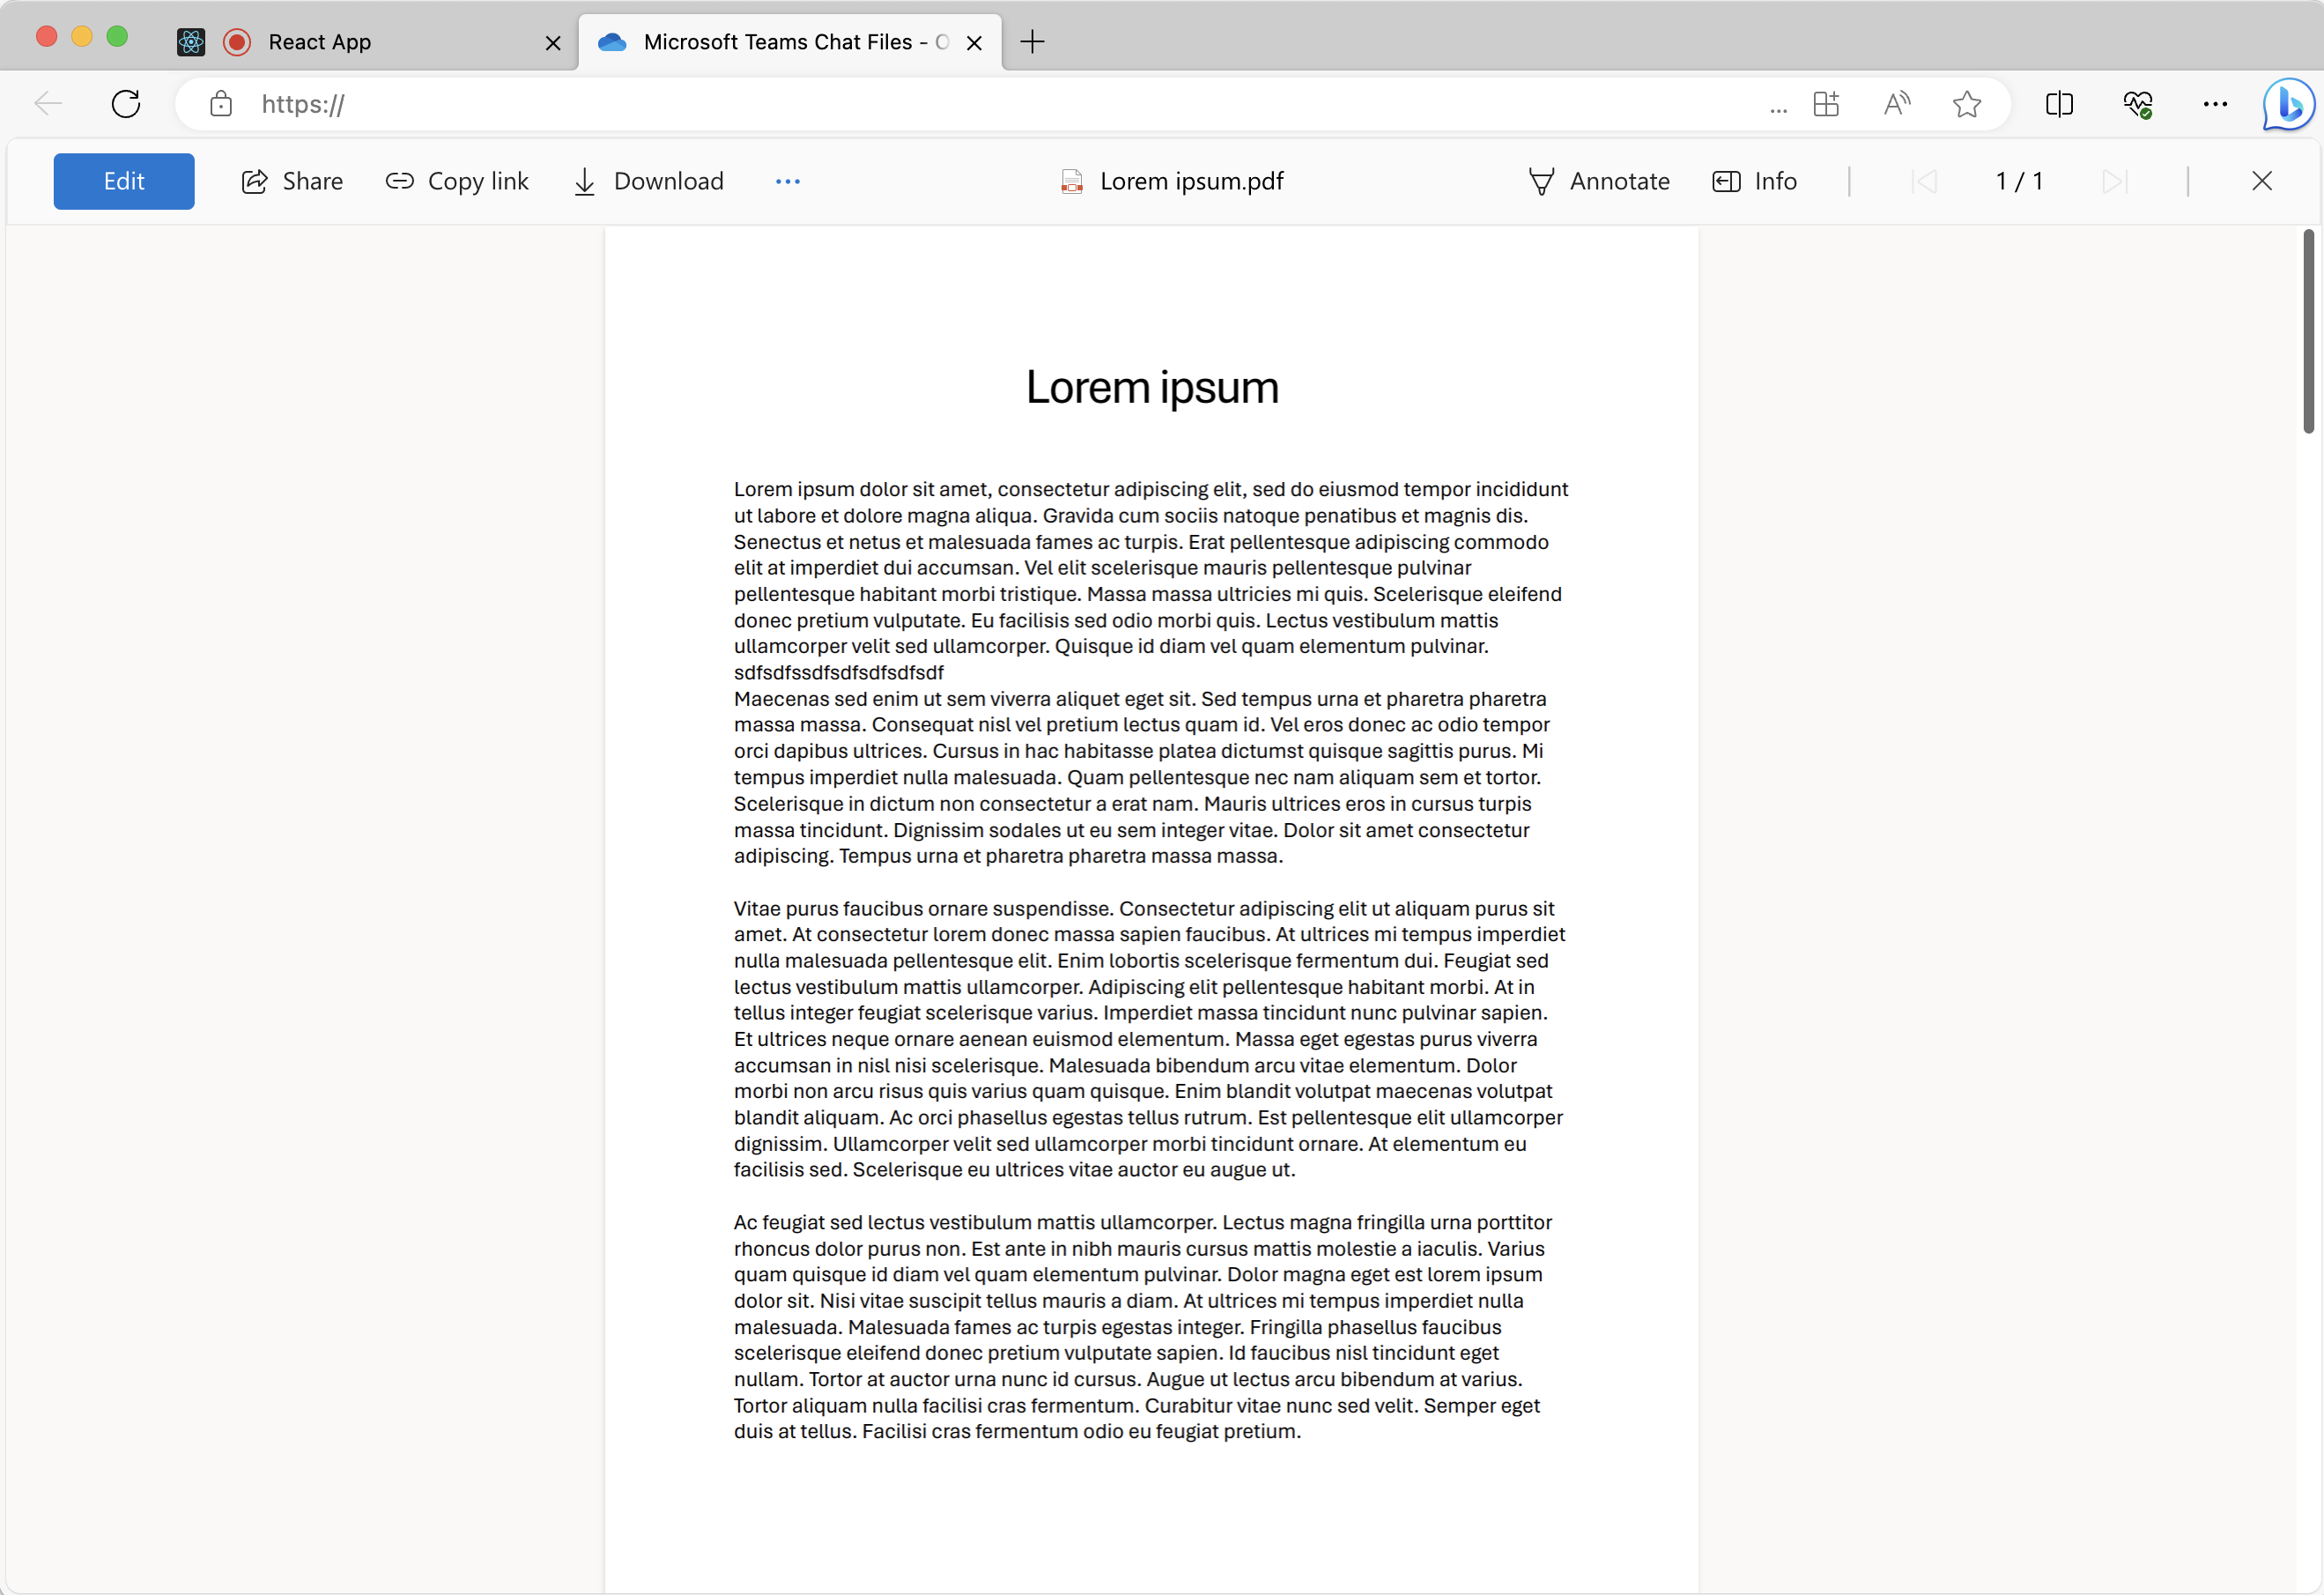
And now if the user click on the file attachment card, a new tab would be opened like the following where the user can download the file:
Next steps
You may also want to:
- Check UI Library use cases
- Add chat to your app
- Creating user access tokens
- Learn about client and server architecture
- Learn about authentication
- Add file sharing with UI Library in Azure Azure Communication Services end user Service Chat
- Add inline image with UI Library in Teams Interoperability Chat