Build API plugins from an existing API for Microsoft 365 Copilot
Important
API plugins are only supported as actions within declarative agents. They are not enabled in Microsoft 365 Copilot.
API plugins connect your existing REST API to Microsoft 365 Copilot. You can use the Teams Toolkit to generate a plugin from an existing REST API with an OpenAPI specification.
Prerequisites
- Requirements specified in Requirements for Copilot extensibility options
- An existing REST API with an OpenAPI specification (this walkthrough uses the Budget Tracker sample API)
- Visual Studio Code with Teams Toolkit version 5.9 or later
- Teams Toolkit
- Optional: Microsoft Kiota Visual Studio Code extension
Tip
For the best results, make sure that your OpenAPI specification follows the guidelines detailed in How to make an OpenAPI document effective in extending Copilot.
To follow along with this guide, download the Budget Tracker sample API and configure it to run on your local development machine. Build the sample at least once to generate the BudgetTracker.json file for the API.
Enable plugin development in Teams Toolkit
Open Visual Studio Code. If Teams Toolkit isn't already installed, see Install Teams Toolkit for installation instructions.
Select File -> Preferences -> Settings. In the Settings window, search for
copilotto locate the Fx-extension: Develop Copilot Plugin option. If not already enabled, enable the setting.In the Settings window, search for
kiotato locate the Fx-extension: Enable Microsoft Kiota option. If you want to enable Kiota, enable this option. Otherwise, disable it. For details, see Benefits of enabling Microsoft Kiota.If you made any changes to settings, restart Visual Studio Code before proceeding.
Benefits of enabling Microsoft Kiota
Enabling Microsoft Kiota in Teams Toolkit has the following benefits.
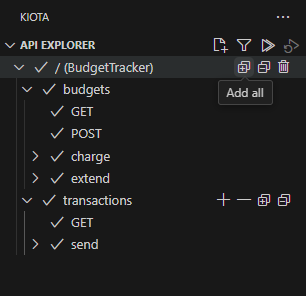
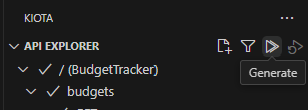
- The user interface for selecting operations from the OpenAPI document is replaced with an API explorer that is better suited for large OpenAPI documents.
- The developer is able to search for public OpenAPI descriptions using Kiota's search command.
Create the plugin
API plugins are a ZIP file that contains the following files.
- The OpenAPI specification for the REST API.
- An API plugin manifest that references the included OpenAPI specification and describes the available operations, authentication method, and response formats.
- A Microsoft 365 app manifest (for example,
manifest.json) with acopilotExtensionsproperty that references the API plugin manifest.
Open Visual Studio Code. If Teams Toolkit isn't already installed, see Install Teams Toolkit for installation instructions.
Select the Teams Toolkit icon in the left-hand Activity Bar.
Select Create a New App in the Teams Toolkit task pane.
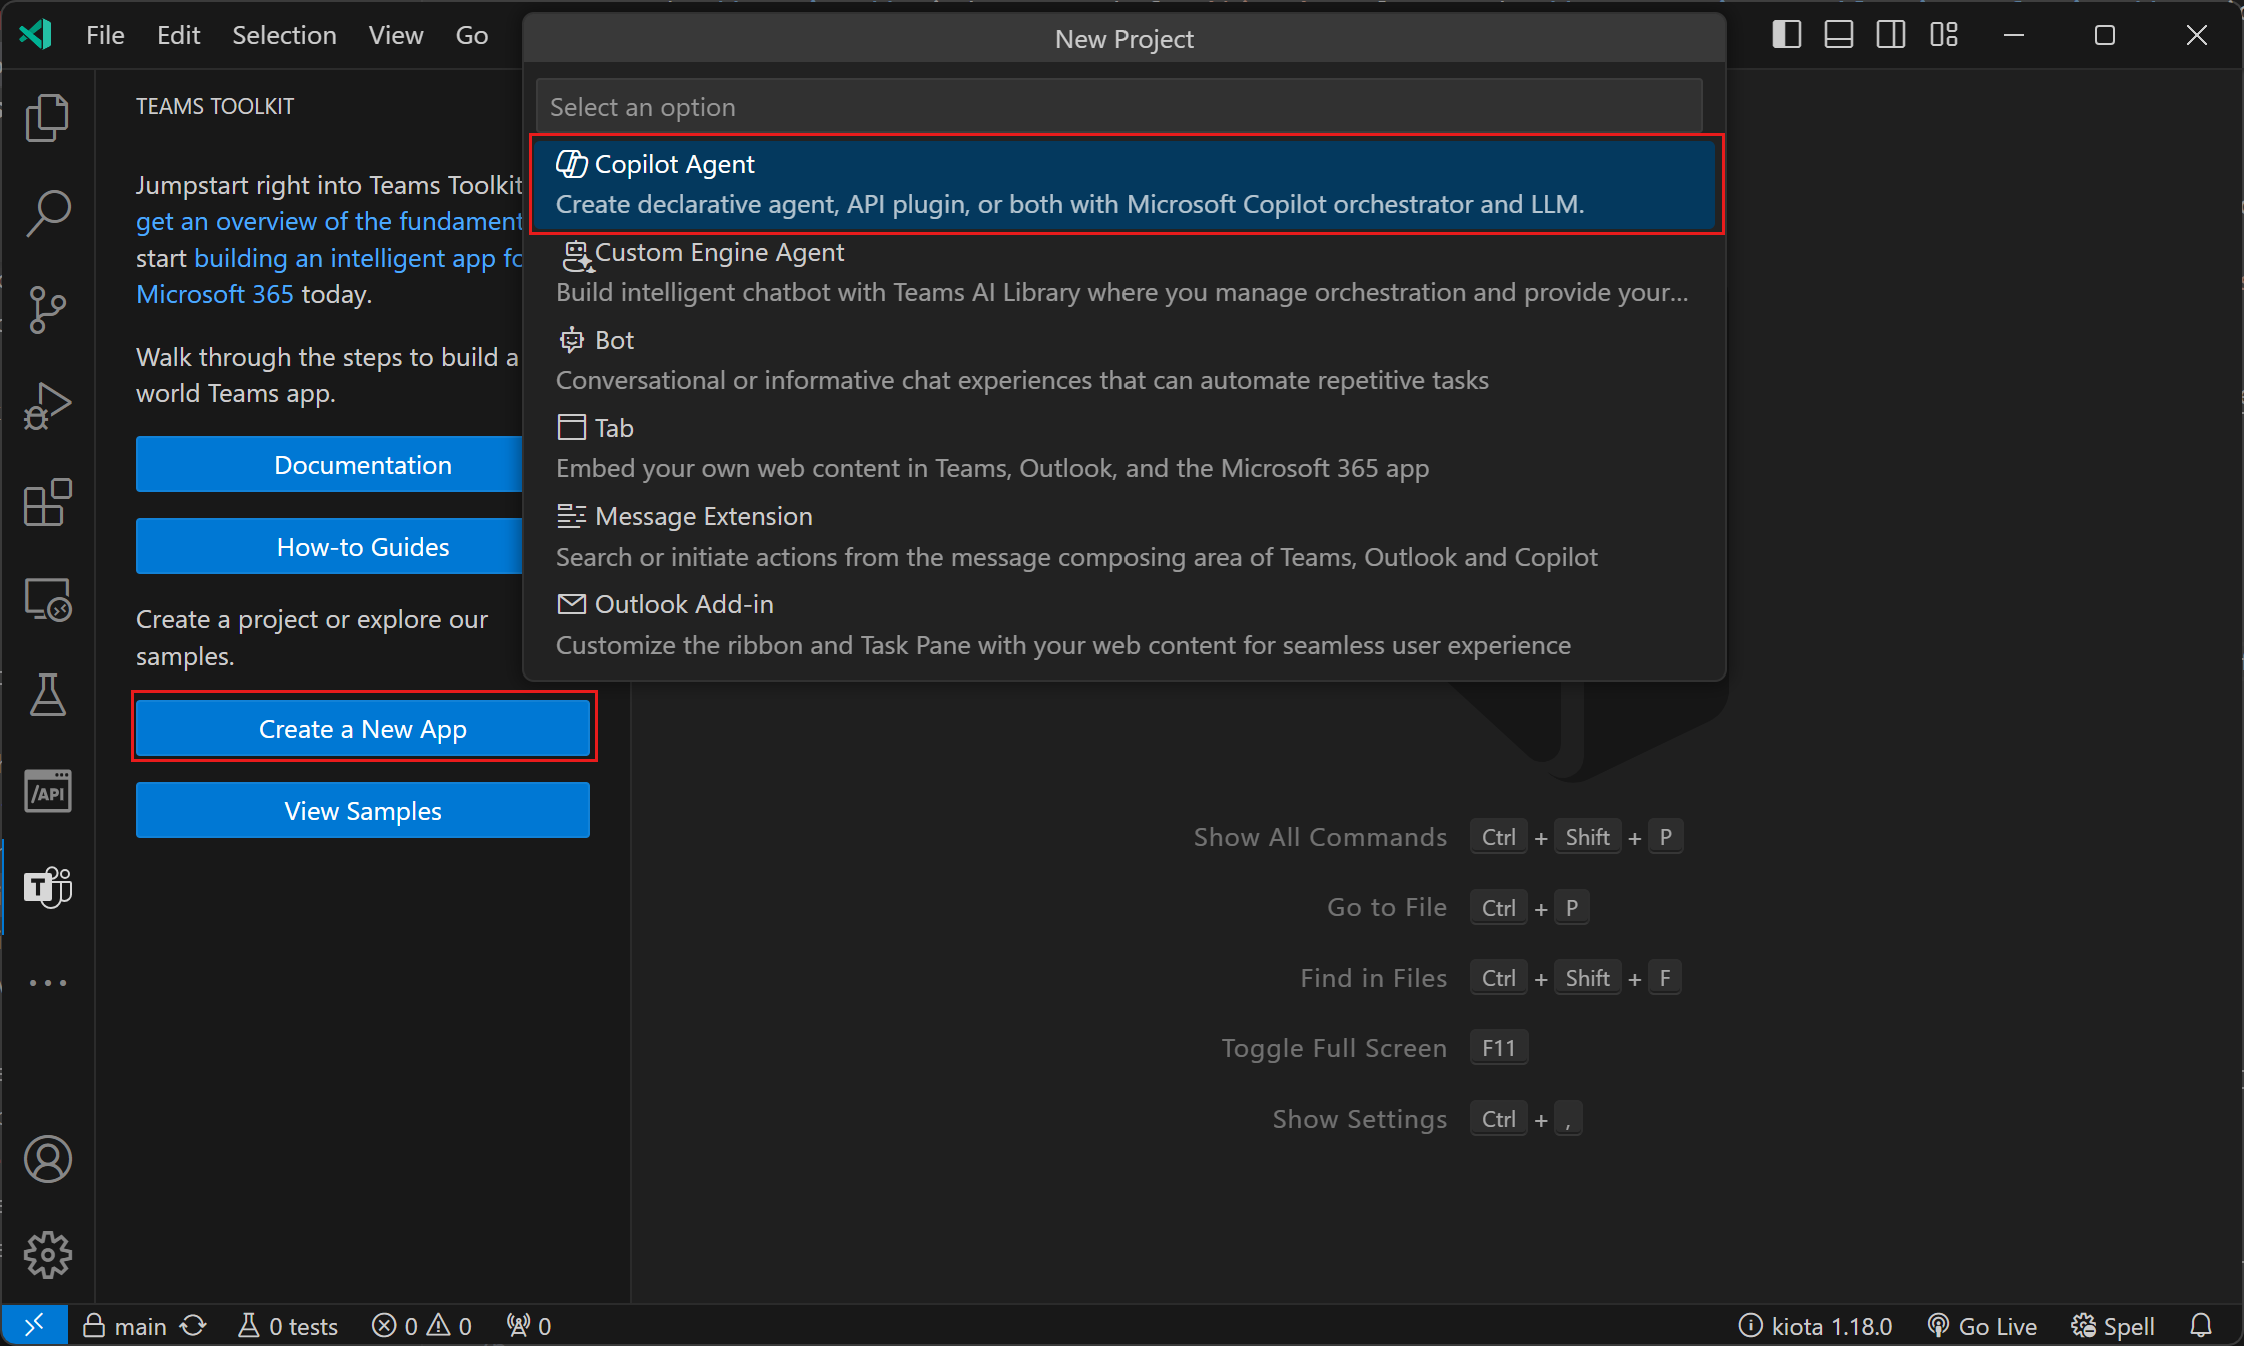
Select Agent, then select Declarative Agent.
Select Add plugin, then select Start with an OpenAPI Description Document.
The next steps differ depending on if you enabled Microsoft Kiota or not.
Select Browse and browse to the location of the OpenAPI specification from the Budget Tracker sample, located at ./openapi/BudgetTracker.json.
Select all the operations to enable for the plugin.
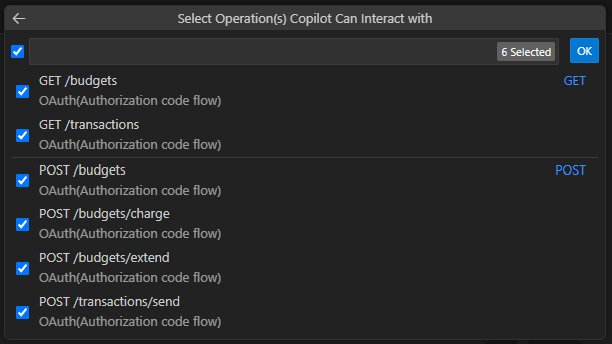
Choose a location for the API plugin project.
Enter
Budget Trackeras a name for the plugin.
Once you complete these steps, Teams Toolkit generates the required files for the plugin and opens a new Visual Studio Code window with the plugin project loaded.
Note
If your identity server requires Proof Key for Code Exchange (PKCE), uncomment the following line in teamsapp.yml in the API plugin project.
# isPKCEEnabled: true
Package and sideload the plugin
Open the plugin project in Visual Studio Code.
Select the Teams Toolkit icon in the left-hand Activity Bar.
In the Accounts pane, select Sign in to Microsoft 365. (If you're already signed in continue to the next step).
Confirm that both Custom App Upload Enabled and Copilot Access Enabled display under your Microsoft 365 account. If they don't, check with your organization admin. See Requirements for Copilot extensibility options for details.
In the Lifecycle pane, select Provision.
When asked to Enter client id for OAuth registration..., enter your Plugin client ID.
When asked to Enter client secret for OAuth registration..., enter your Plugin client secret.
Read the message in the dialog and select Confirm to continue.
Wait for the toolkit to report that is finished provisioning.

Your plugin is now available to test with your user account in Microsoft 365 Copilot in Microsoft Teams.
Use the plugin
Open Teams in your browser and sign in with the Microsoft 365 account you used to upload your plugin.
Select Chat in the left-hand Activity Bar.
Select Copilot in the Chat pane.
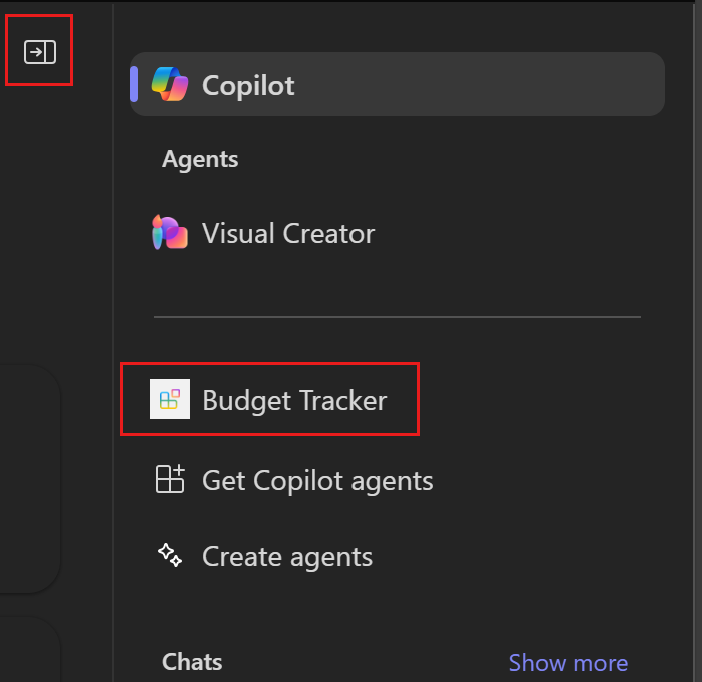
Select Budget Tracker in the Agents list on the right-hand side. If the list isn't available, select the Copilot chats and more icon in the top right corner.
Ask a question about budgets. For example, try
How much is left in the Fourth Coffee lobby renovation budget?. When prompted, choose Always allow or Allow once to proceed.When asked to sign in, select Sign in to Budget Tracker.
