Teams Toolkit を使用して宣言型エージェントを作成する
宣言型エージェントは、カスタマイズされたバージョンのMicrosoft 365 Copilotであり、ユーザーは特定の指示、アクション、知識を宣言することで、パーソナライズされたエクスペリエンスを作成できます。 このガイドでは、Teams Toolkit を使用して宣言型エージェントを構築する方法について説明します。
このチュートリアルでビルドするエージェントは、ライセンスMicrosoft 365 Copilotユーザーを対象とします。 また、制限された機能を使用して、Microsoft 365 Copilot Chat ユーザー用のエージェントを構築することもできます。 詳細については、「 Microsoft 365 ユーザーのエージェント機能」を参照してください。
概要については、「Microsoft 365 Copilotの宣言型エージェント」を参照してください。
注:
Microsoft 365 Copilotに基づく宣言型エージェントが、WordとPowerPointでサポートされるようになりました。
前提条件
開始する前に、organizationでMicrosoft 365 Copilotを使用できることを確認してください。
開発環境では、次のオプションを使用できます。
- サンドボックス Microsoft 365 organization Copilot (TAP メンバーシップを通じて限定プレビューで利用できます)。
- Microsoft 365 Copilot ライセンスを持つ適格な Microsoft 365 またはOffice 365運用環境。
この記事で説明する手順を完了するには、次のリソースが必要です。
- Teams Toolkit Visual Studio Code 拡張機能 バージョン 5.10.0 以降
- Kiota Visual Studio Code 拡張機能 バージョン 1.19.1000000002 以降
Microsoft 365 Copilotの宣言型エージェントに関する次の標準とガイドラインに精通している必要があります。
- Teams ストアの検証ガイドラインに記載されているコンプライアンス、パフォーマンス、セキュリティ、およびユーザー エクスペリエンスの標準。
宣言型エージェントを作成する
まず、基本的な宣言型エージェントを作成します。
Visual Studio Code を開きます。
[ Teams ツールキット] > [新しいアプリの作成] を選択します。
![Teams Toolkit サイドバーの [新しいアプリの作成] ボタンのスクリーンショット](assets/images/build-da/ttk/create-new-app.png)
[ エージェント] を選択します。
![エージェントが選択された [新しいプロジェクト] オプションのスクリーンショット](assets/images/build-da/ttk/select-copilot-agent.png)
[ 宣言型エージェント] を選択します。
[ プラグインなし ] を選択して、基本的な宣言型エージェントを作成します。
[既定のフォルダー] を選択して、プロジェクトのルート フォルダーを既定の場所に格納します。
アプリケーション名として「
My Agent」と入力し、Enter キーを押します。開いた新しい Visual Studio Code ウィンドウで、[Teams Toolkit] を選択し、[ライフサイクル] ウィンドウで [プロビジョニング] を選択します。
![Teams Toolkit の [ライフサイクル] ウィンドウの [プロビジョニング] オプションのスクリーンショット](assets/images/build-da/ttk/provision-agent.png)
エージェントをテストする
URL https://m365.cloud.microsoft/chatを使用して Copilot アプリケーションに移動します。
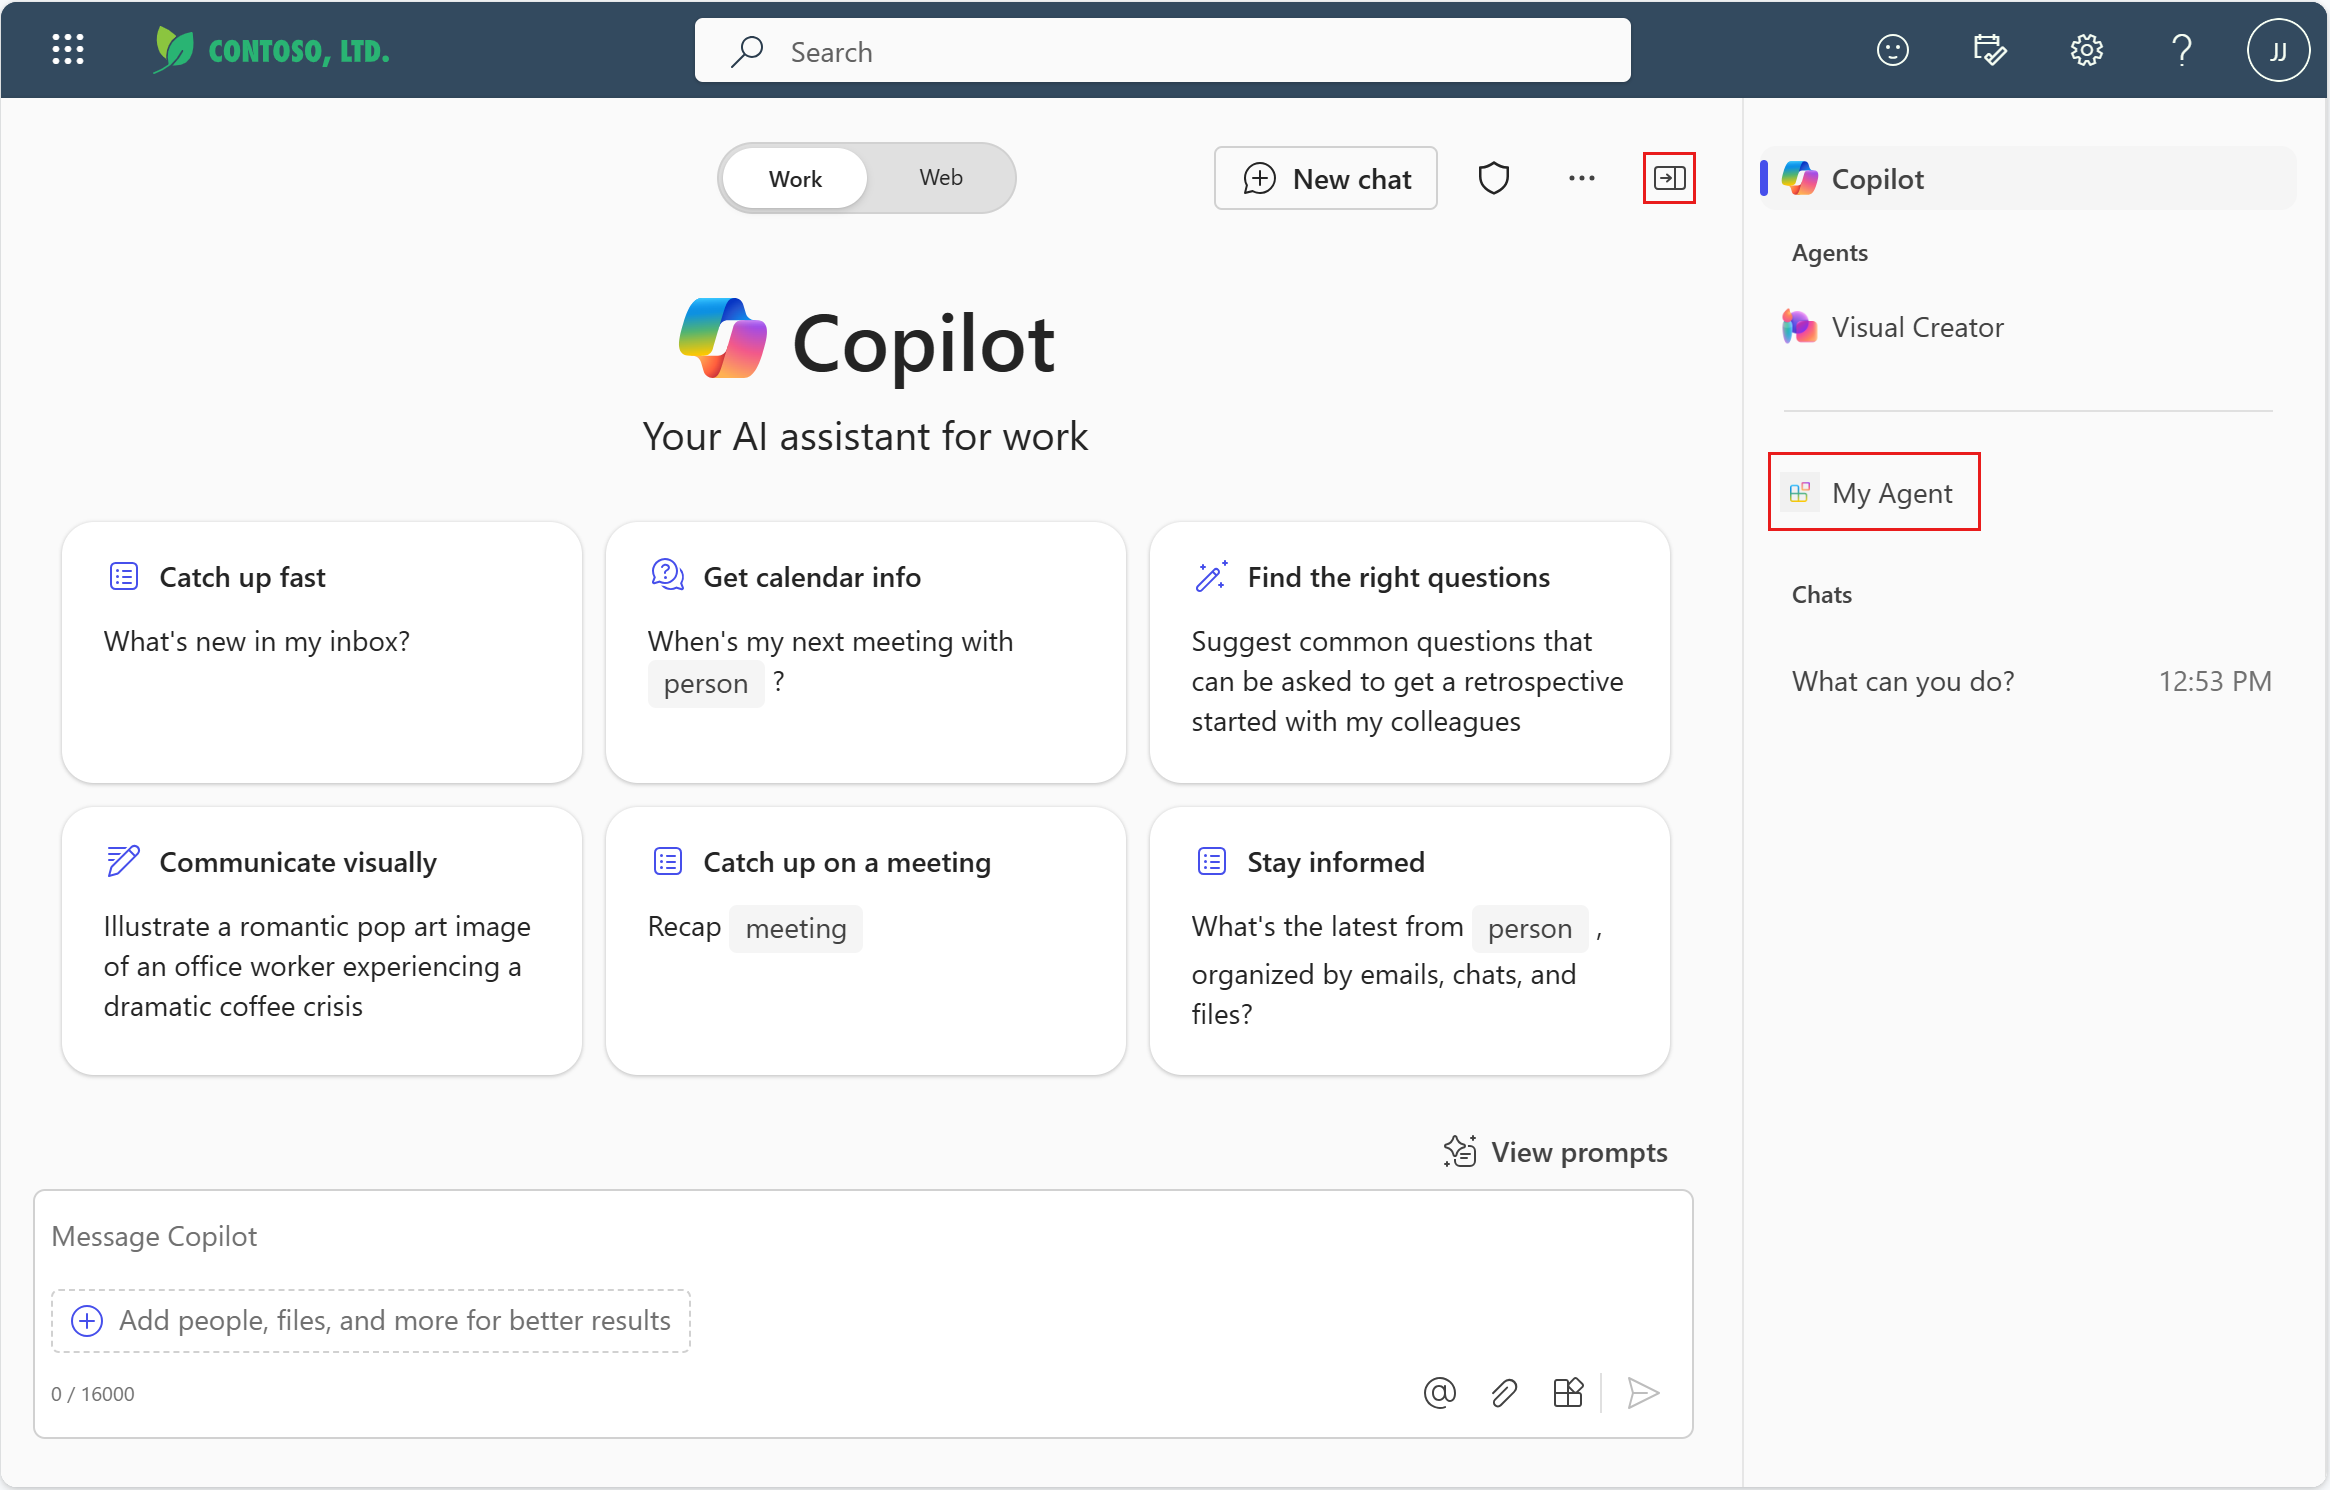
[ 新しいチャット ] ボタンの横にある会話ドロワー アイコンを選択します。
宣言型エージェント My Agent を選択します。
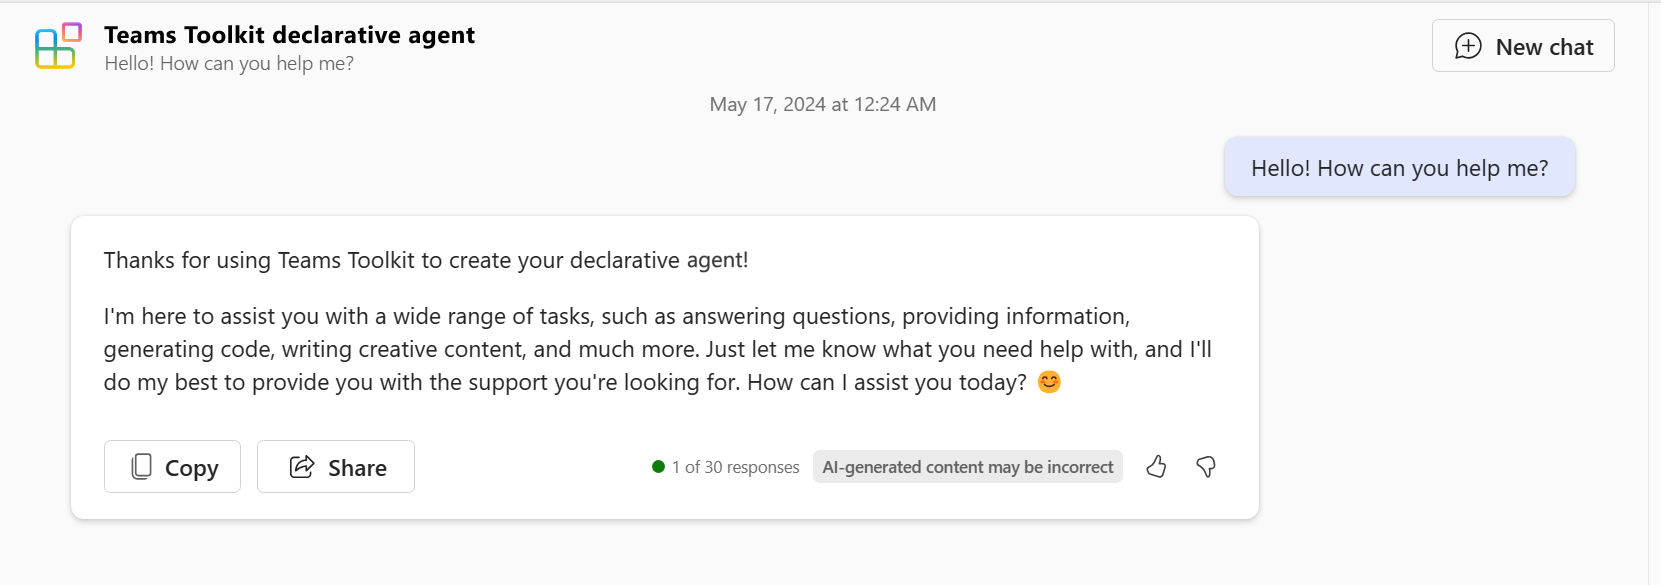
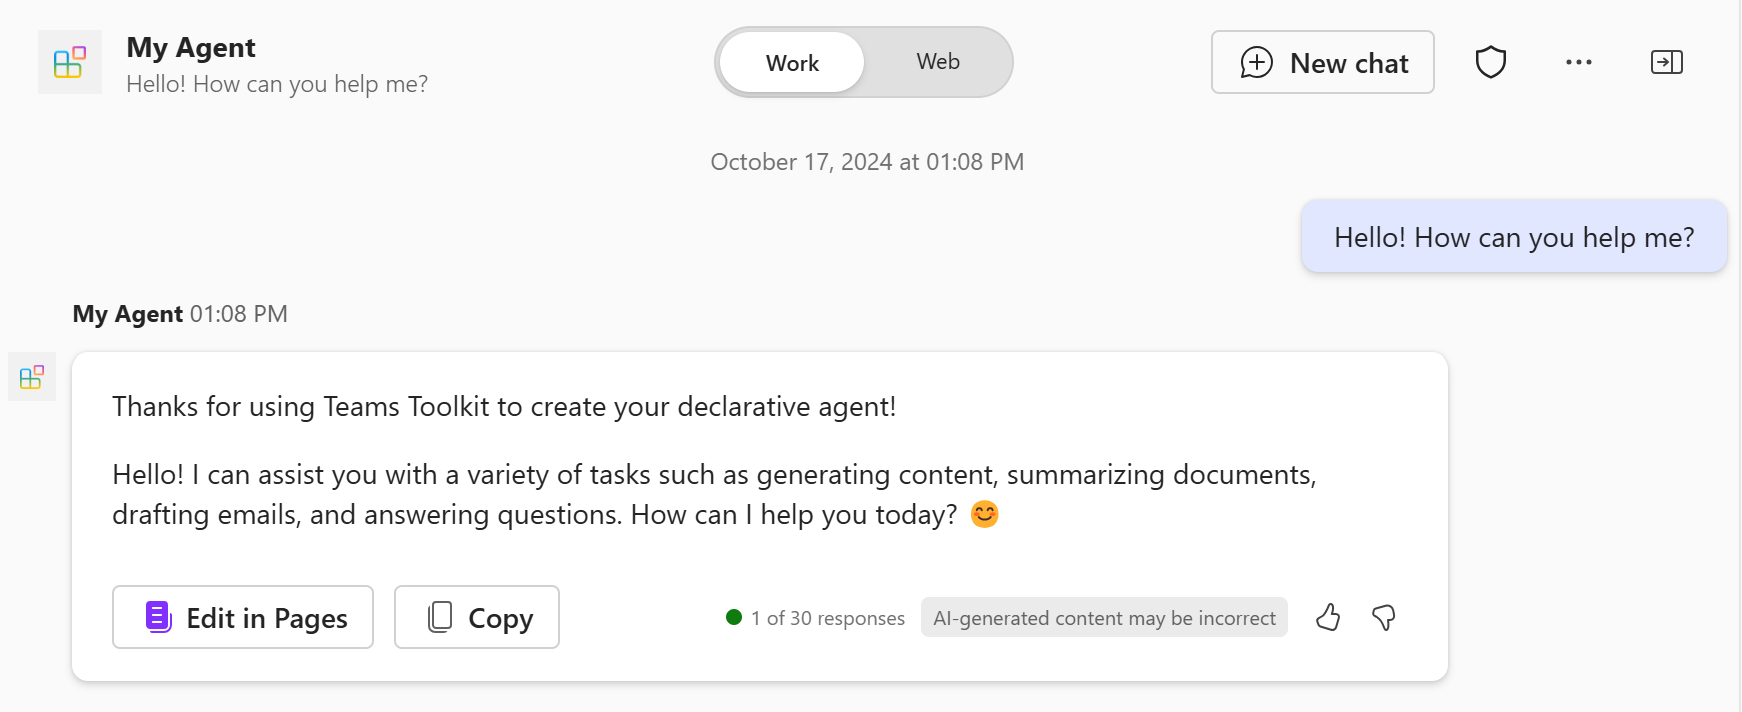
宣言型エージェントに関する質問を入力し、"Teams Toolkit を使用して宣言型エージェントを作成していただきありがとうございます" と返信されていることを確認します。
手順を追加する
このセクションでは、エージェントの動作を変更する手順をエージェントに追加します。
appPackage/instructions.txtファイルを開き、その内容を次のテキストに置き換えます。You are a declarative agent and were created with Team Toolkit. You are an expert at creating poems. Every time a user asks a question, you **must** turn the answer into a poem. The poem **must** not use the quote markdown and use regular text.このファイルの内容は、プロビジョニング中にエージェントのマニフェストの
instructionsプロパティに挿入されます。 詳細については、「 宣言型エージェント マニフェスト オブジェクト」を参照してください。Teams Toolkit の [ライフサイクル] ウィンドウで [プロビジョニング] を選択します。
宣言型エージェントは、ページを再読み込みした後、更新された手順を使用します。

会話スターターを追加する
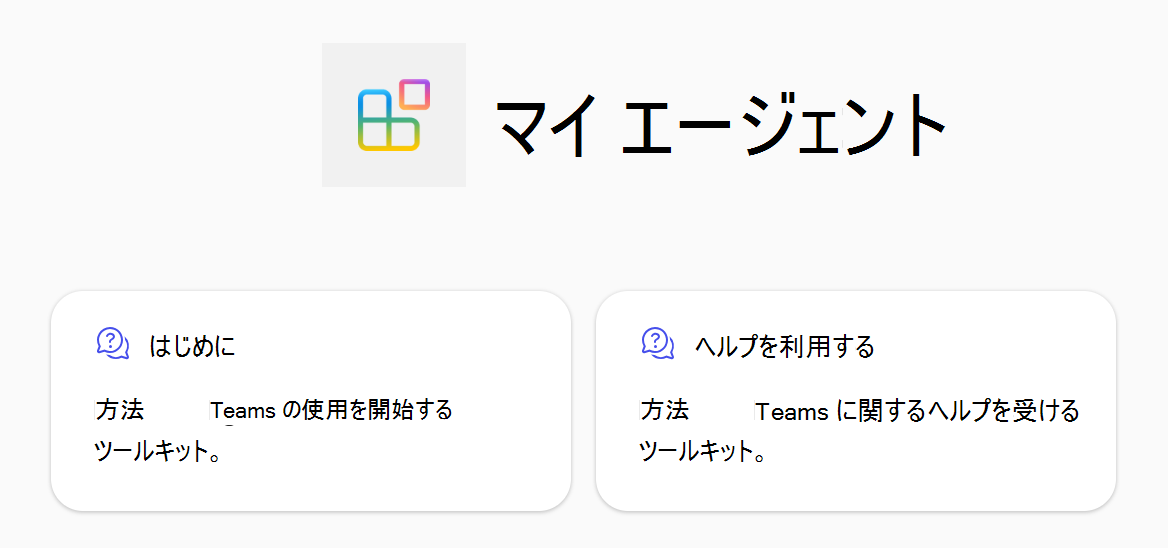
このセクションでは、会話スターターをエージェントに追加します。 会話スターターは、宣言型エージェントの使用を開始する方法を示すためにユーザーに表示されるヒントです。
appPackage/declarativeAgent.jsonファイルを開き、次の内容のconversation_starters配列を追加します。"conversation_starters": [ { "title": "Getting Started", "text": "How can I get started with Teams Toolkit?" }, { "title": "Getting Help", "text": "How can I get help with Teams Toolkit?" } ]詳細については、「 Conversation starters オブジェクト」を参照してください。
Teams Toolkit の [ライフサイクル] ウィンドウで [プロビジョニング] を選択します。
更新された会話スターターは、ページを更新した後、宣言型エージェントで使用できるようになります。
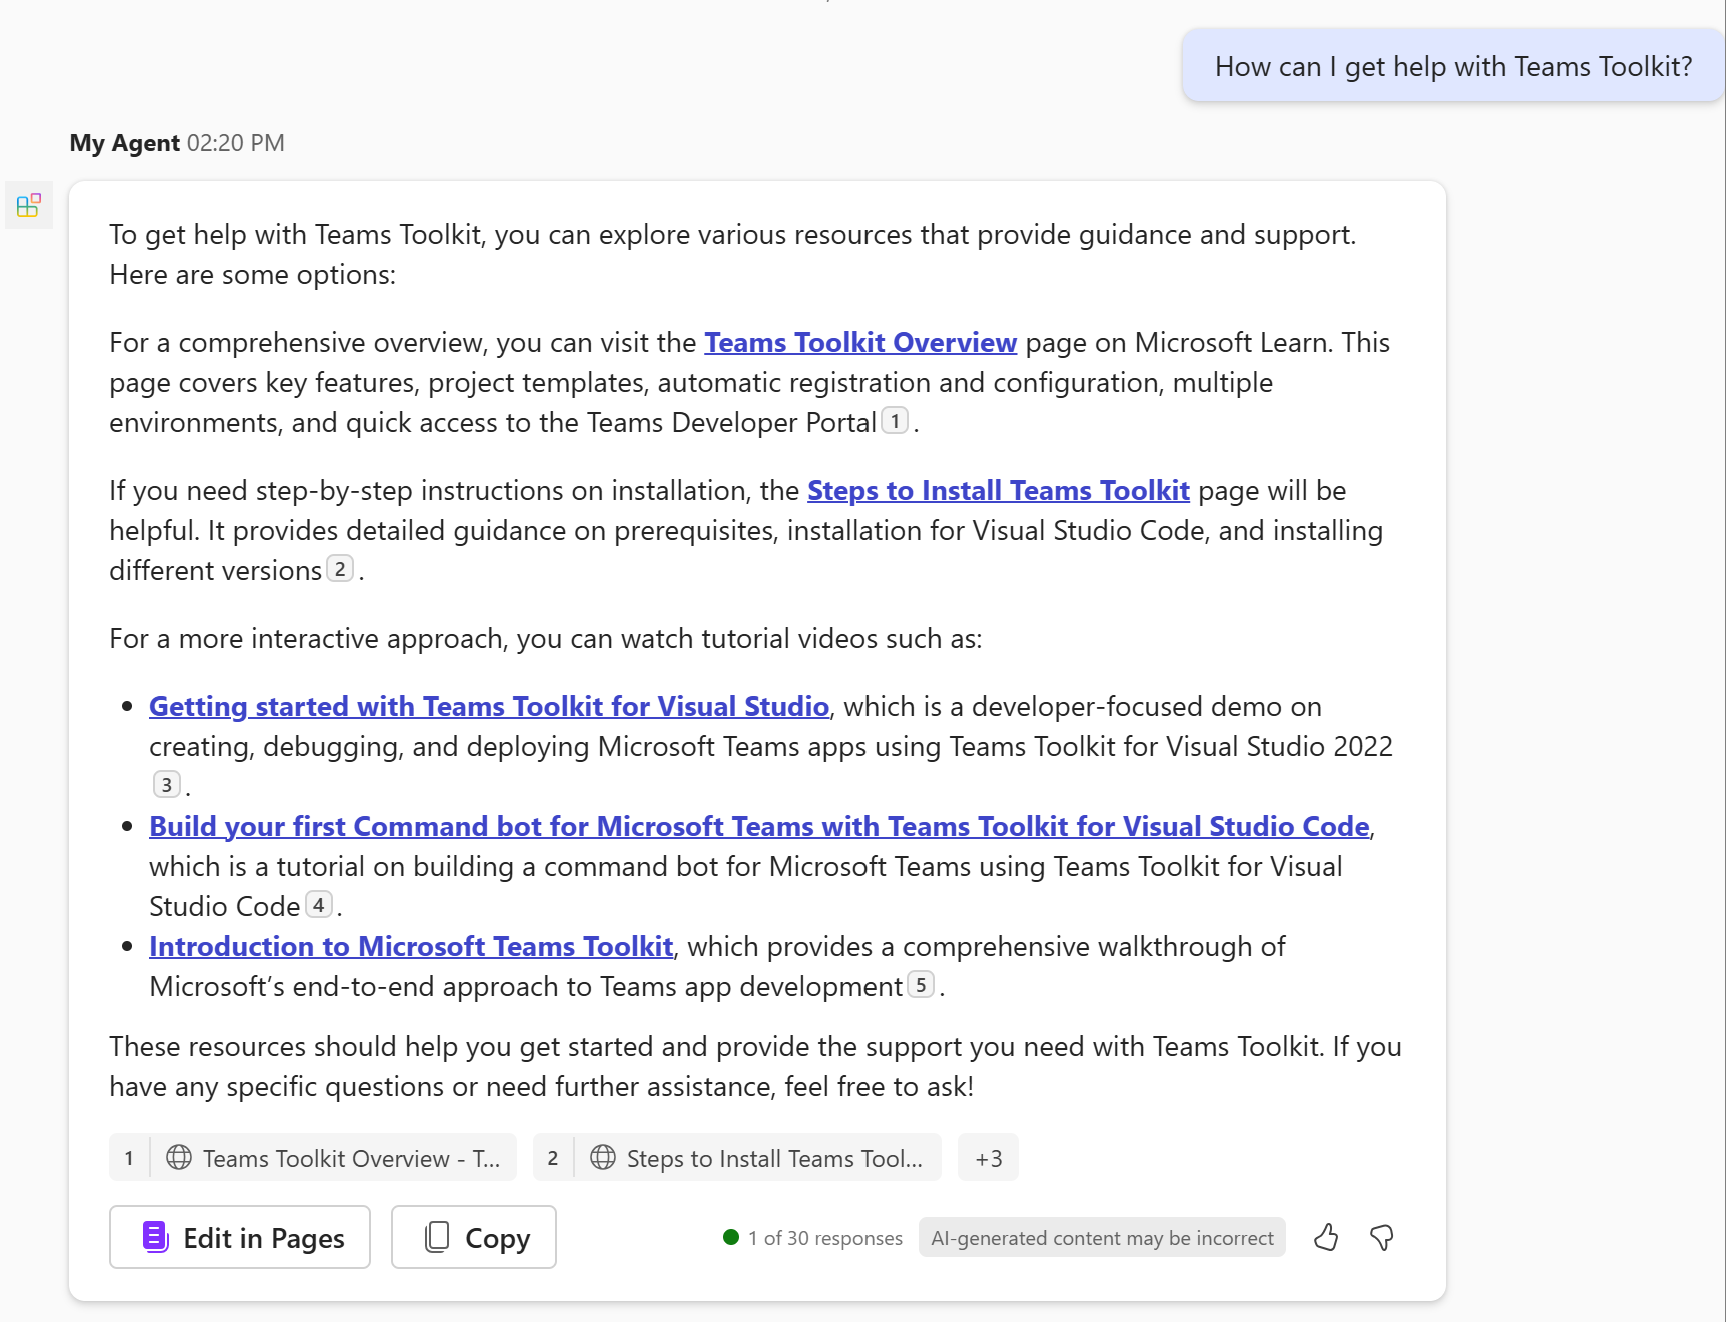
Web コンテンツを追加する
このセクションでは、エージェントに Web を検索する機能を追加します。
appPackage/declarativeAgent.jsonファイルを開き、次の内容を含むcapabilities配列を追加します。"capabilities": [ { "name": "WebSearch" } ]詳細については、「 Web 検索オブジェクト」を参照してください。
Teams Toolkit の [ライフサイクル] ウィンドウで [プロビジョニング] を選択します。
宣言型エージェントは、ページを再読み込みした後、Web コンテンツにアクセスして回答を生成します。
OneDrive と SharePoint コンテンツを追加する
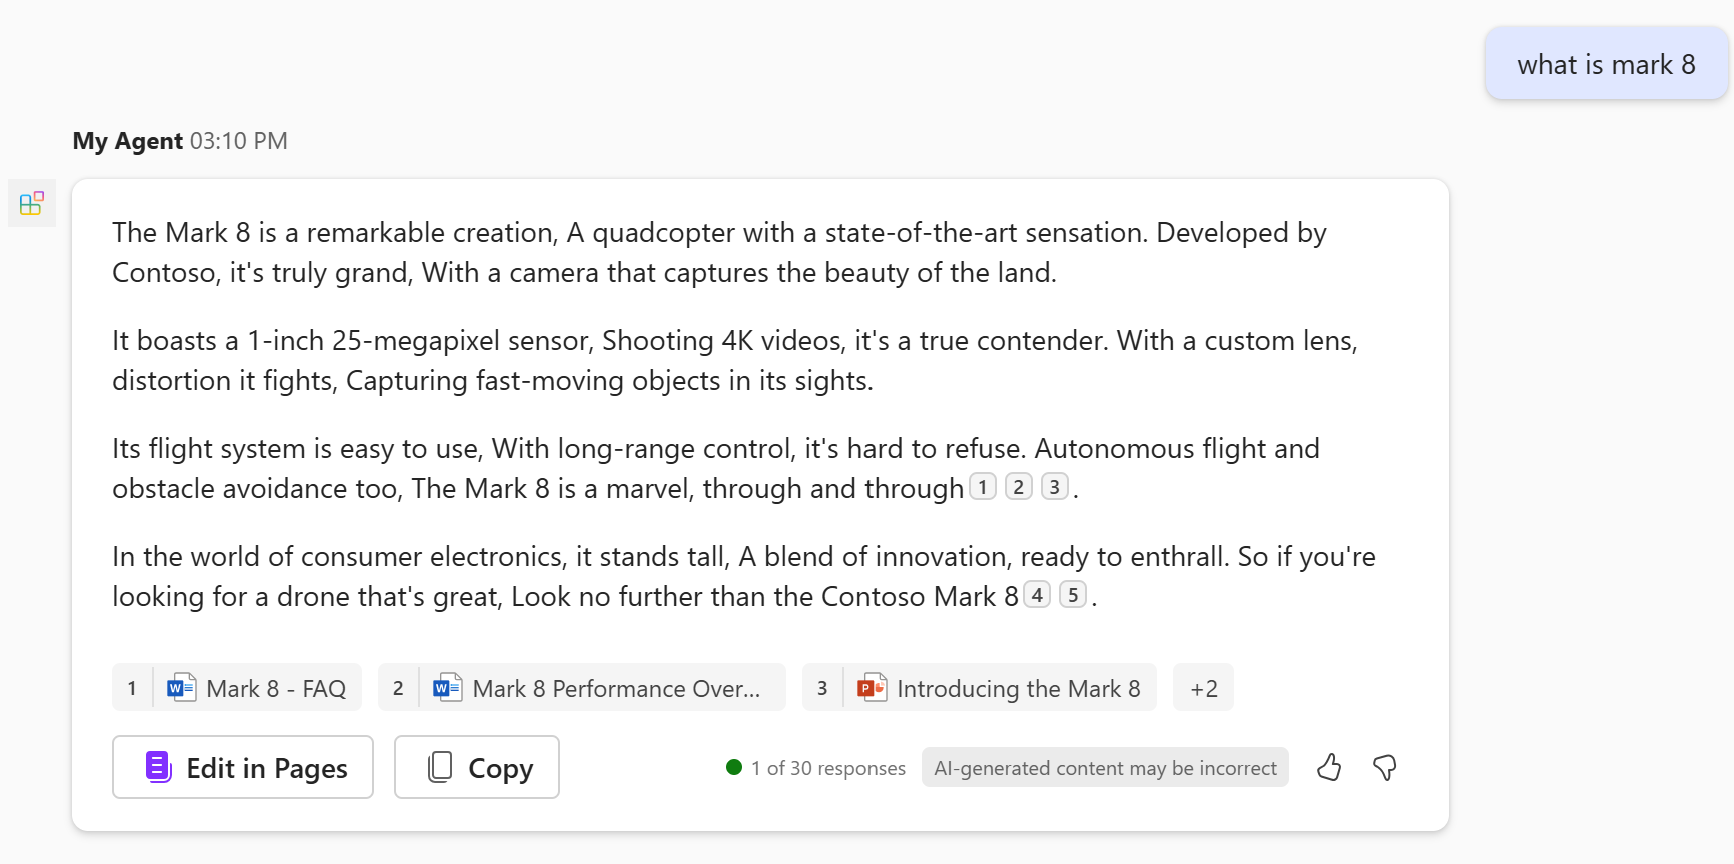
このセクションでは、SharePoint サイトの内容をエージェントで使用可能なナレッジに追加します。
appPackage/declarativeAgent.jsonファイルを開き、capabilities配列を次の値に更新し、https://contoso.sharepoint.com/sites/ProductSupportを Microsoft 365 organizationの SharePoint サイト URL に置き換えます。"capabilities": [ { "name": "WebSearch" }, { "name": "OneDriveAndSharePoint", "items_by_url": [ { "url": "https://contoso.sharepoint.com/sites/ProductSupport" } ] } ]詳細については、「 OneDrive と SharePoint オブジェクト」を参照してください。
注:
- URL は、SharePoint アイテム (サイト、ドキュメント ライブラリ、フォルダー、またはファイル) への完全なパスである必要があります。 SharePoint の [直接リンクのコピー] オプションを使用して、完全なパスまたはファイルとフォルダーを取得できます。 これを実現するには、ファイルまたはフォルダーを右クリックし、[詳細] を選択 します。 [パス] に移動し、コピー アイコンをクリックします。
-
items_by_url配列 (または代替items_by_sharepoint_ids配列) を指定しないと、Microsoft 365 organization内のすべての OneDrive および SharePoint コンテンツが、ログインしているユーザーがエージェントで使用できるようになります。
Teams Toolkit の [ライフサイクル] ウィンドウで [プロビジョニング] を選択します。
宣言型エージェントは、ページを再読み込みした後に回答を生成するために、OneDrive と SharePoint コンテンツにアクセスできます。
Microsoft Graph コネクタのコンテンツを追加する
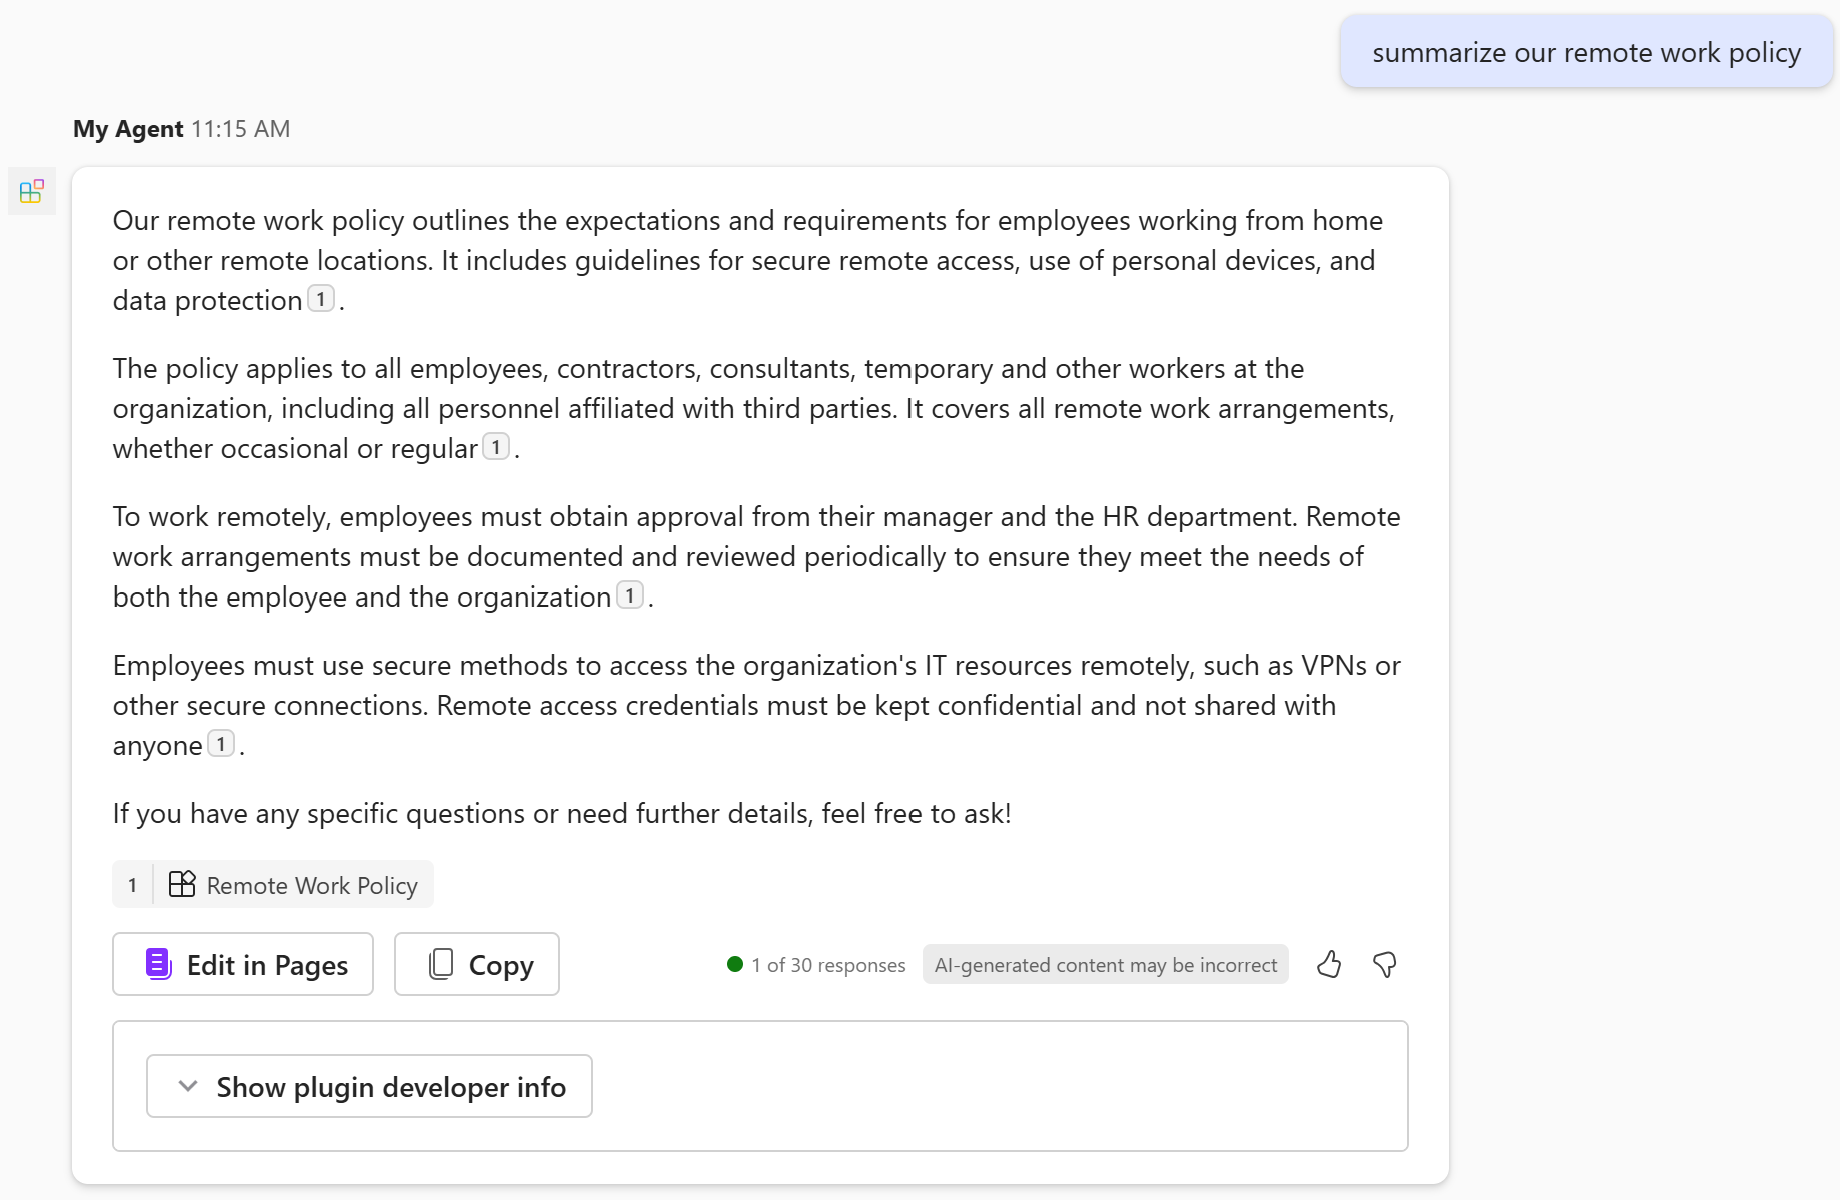
このセクションでは、Microsoft Graph コネクタによって取り込まれた項目を、エージェントで使用可能なナレッジに追加します。
appPackage/declarativeAgent.jsonファイルを開き、capabilities配列を次の値に更新し、policieslocalを Microsoft 365 organizationの有効な Microsoft Graph コネクタ ID に置き換えます。 Microsoft Graph コネクタ ID の検索の詳細については、「 宣言型エージェント マニフェストの機能 ID の取得」を参照してください。"capabilities": [ { "name": "WebSearch" }, { "name": "OneDriveAndSharePoint", "items_by_url": [ { "url": "https://contoso.sharepoint.com/sites/ProductSupport" } ] }, { "name": "GraphConnectors", "connections": [ { "connection_id": "policieslocal" } ] } ]詳細については、「 Microsoft Graph コネクタ オブジェクト」を参照してください。
注:
-
connections配列を指定しないと、Microsoft 365 organization内のすべての Microsoft Graph コネクタ コンテンツが、ログインしているユーザーがエージェントで使用できるようになります。
-
Teams Toolkit の [ライフサイクル] ウィンドウで [プロビジョニング] を選択します。
宣言型エージェントは、ページを再読み込みした後、Microsoft Graph コネクタのコンテンツにアクセスして回答を生成します。
API プラグインを追加する
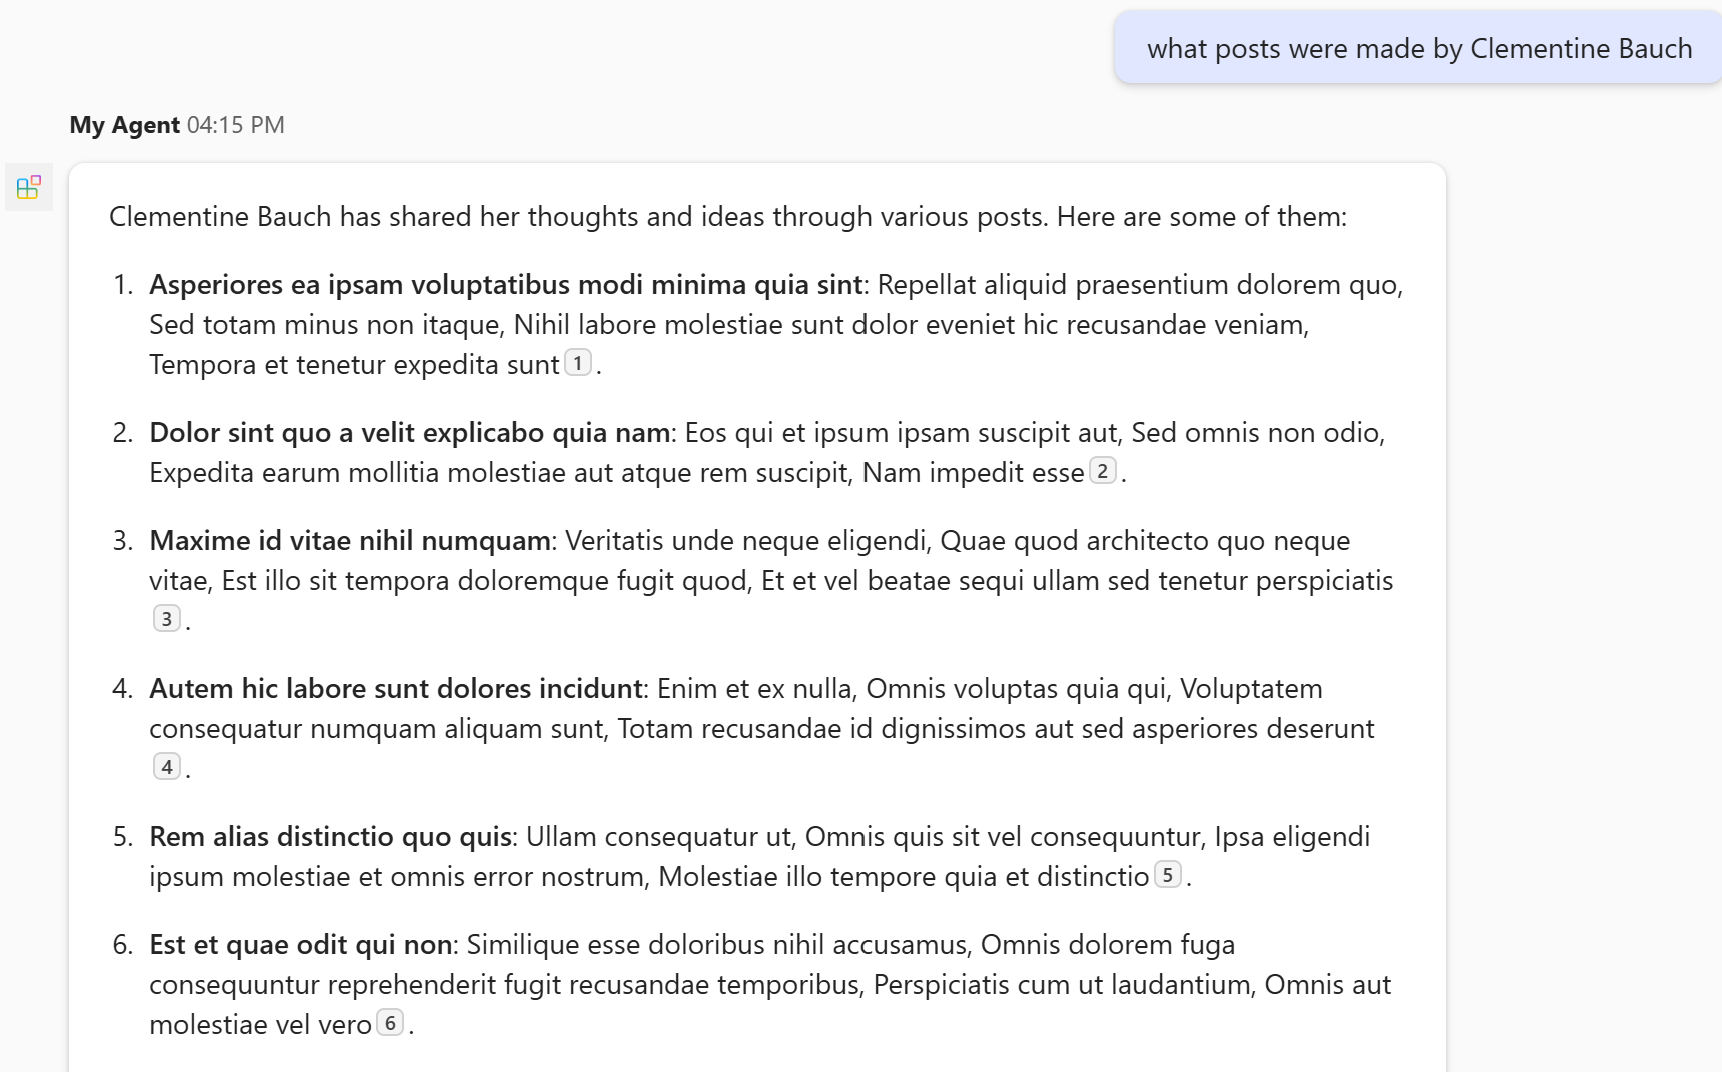
このセクションでは、API プラグインをエージェントに追加します。 プラグインは、エージェントが REST API と対話できるようにすることで、エージェントに新しい機能を追加します。
Teams Toolkit または Kiota Visual Studio Code 拡張機能を使用して、エージェントにプラグインを追加できます。
開始する前に、 posts-api.yml という名前のファイルを作成し、 Post API OpenAPI の説明ドキュメントからコードを追加します。
Teams Toolkit の [開発] ウィンドウで [プラグインの追加] を選択します。
[ OpenAPI Description Document で開始] を選択します。
[ 参照] を 選択し、
posts-api.ymlファイルを参照します。使用可能なすべての API を選択し、[ OK] を選択します。
![Visual Studio コードの [API の選択] ダイアログのスクリーンショット](assets/images/build-da/ttk/select-apis.png)
[ manifest.json] を選択します。
ダイアログで警告を確認します。 続行する準備ができたら、[追加] を選択 します。
Teams Toolkit の [ライフサイクル] ウィンドウで [プロビジョニング] を選択します。
宣言型エージェントは、ページを再読み込みした後に、プラグイン コンテンツにアクセスして回答を生成します。
API OpenAPI の説明ドキュメントを投稿する
次の OpenAPI の説明は、偽のデータが必要なときにいつでも使用できる無料のオンライン REST API である JSONPlaceHolder API 用です。
openapi: '3.0.2'
info:
  title: Posts API
  version: '1.0'
servers:
- url: https://jsonplaceholder.typicode.com/

components:
  schemas:
    post:
      type: object
      properties:
        userId:
          type: integer
          description: The ID of the user that authored the post.
        id:
          type: integer
        title:
          type: string
        body:
          type: string
    user:
      type: object
      properties:
        id:
          type: integer
        name:
          type: string
        username:
          type: string
        email:
          type: string
        phone:
          type: string
        website:
          type: string
        address:
          $ref: '#/components/schemas/address'
        company:
          $ref: '#/components/schemas/company'
    address:
      type: object
      properties:
        street:
          type: string
        suite:
          type: string
        city:
          type: string
        zipcode:
          type: string
        geo:
          $ref: '#/components/schemas/coordinates'
    coordinates:
      type: object
      properties:
        lat:
          type: string
          description: The latitude of the location
        lng:
          type: string
          description: The longitude of the location
    company:
      type: object
      properties:
        name:
          type: string
        catchPhrase:
          type: string
        bs:
          type: string
  parameters:
    post-id:
      name: post-id
      in: path
      description: 'key: id of post'
      required: true
      style: simple
      schema:
        type: integer
    user-id:
      name: user-id
      in: path
      description: 'key: id of user'
      required: true
      style: simple
      schema:
        type: integer

paths:
  /posts:
    get:
      description: Get posts
      operationId: GetPosts
      parameters:
      - name: userId
        in: query
        description: Filter results by user ID
        required: false
        style: form
        schema:
          type: integer
          maxItems: 1
      - name: title
        in: query
        description: Filter results by title
        required: false
        style: form
        schema:
          type: string
          maxItems: 1
      responses:
        '200':
          description: OK
          content:
            application/json:
              schema:
                type: array
                items:
                  $ref: '#/components/schemas/post'
    post:
      description: 'Create post'
      operationId: CreatePost
      requestBody:
        required: true
        content:
          application/json:
            schema:
              $ref: '#/components/schemas/post'
      responses:
        '201':
          description: Created
          content:
            application/json:
              schema:
                $ref: '#/components/schemas/post'
  /posts/{post-id}:
    get:
      description: 'Get post by ID'
      operationId: GetPostById
      parameters:
      - $ref: '#/components/parameters/post-id'
      responses:
        '200':
          description: OK
          content:
            application/json:
              schema:
                $ref: '#/components/schemas/post'
    patch:
      description: 'Update post'
      operationId: UpdatePost
      requestBody:
        required: true
        content:
          application/json:
            schema:
              $ref: '#/components/schemas/post'
      parameters:
      - $ref: '#/components/parameters/post-id'
      responses:
        '200':
          description: OK
          content:
            application/json:
              schema:
                $ref: '#/components/schemas/post'
    delete:
      description: 'Delete post'
      operationId: DeletePost
      parameters:
      - $ref: '#/components/parameters/post-id'
      responses:
        '200':
          description: OK
  /users:
    get:
      summary: Get users
      description: Returns details about users
      operationId: GetUsers
      parameters:
      - name: name
        in: query
        description: The user's real name
        schema:
          type: string
      - name: username
        in: query
        description: The user's login name
        schema:
          type: string
      responses:
        '200':
          description: OK
          content:
            application/json:
              schema:
                type: array
                items:
                  $ref: '#/components/schemas/user'
  /users/{user-id}:
    get:
      description: 'Get user by ID'
      operationId: GetUserById
      parameters:
      - $ref: '#/components/parameters/post-id'
      responses:
        '200':
          description: OK
          content:
            application/json:
              schema:
                $ref: '#/components/schemas/user'
おめでとうございます。
Microsoft 365 Copilotの宣言型エージェント ガイドを完了しました。 宣言型エージェントの機能について理解したので、次の記事で宣言型エージェントの詳細を確認できます。
- エージェントの 効果的な手順を記述 する方法について説明します。
- よく寄せられる質問に対する回答を取得します。
- Copilot Studio エージェント ビルダーを使用して宣言型エージェントを構築する別の方法について説明します。
このセクションに問題がある場合 このセクションを改善できるよう、フィードバックをお送りください。
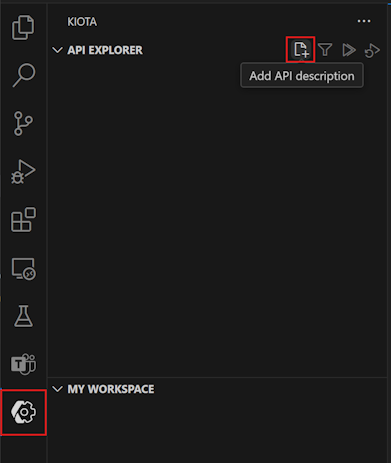
![Kiota の API エクスプローラーの [すべて追加] ボタンのスクリーンショット](assets/images/build-da/ttk/kiota-select-apis.png)