ASP.NET Core アプリケーションで対象ユーザーに対して機能をロールアウトする
このガイドでは、ターゲット フィルターを使用して、ASP.NET Core アプリケーションの対象ユーザーに機能をロールアウトします。 ターゲット フィルターの詳細については、「対象ユーザーに対して機能をロールアウトする」を参照してください。
前提条件
- アクティブなサブスクリプションが含まれる Azure アカウント。 無料で作成できます。
- App Configuration ストア。 ストアを作成する。
- ターゲット フィルターを含む機能フラグ。 機能フラグを使用する。
- .NET SDK 6.0 以降。
機能フラグを使用する Web アプリケーションを作成する
このセクションでは、ユーザーがサインインして、前に作成した Beta 機能フラグを使用できるようにする Web アプリケーションを作成します。
次のコマンドを使用して、ローカル データベースに対して認証を行う Web アプリケーションを作成します。
dotnet new webapp --auth Individual -o TestFeatureFlags新しく作成した TestFeatureFlags ディレクトリに移動して、次の NuGet パッケージへの参照を追加します。
dotnet add package Microsoft.Azure.AppConfiguration.AspNetCore dotnet add package Microsoft.FeatureManagement.AspNetCore dotnet add package Azure.Identity次のコマンドを実行して、アプリケーションのユーザー シークレットを作成します。
このコマンドでは、シークレット マネージャーを使用して、
Endpoints:AppConfigurationという名前のシークレットを格納します。このシークレットには、App Configuration ストアのエンドポイントが格納されます。<your-App-Configuration-endpoint>プレースホルダーを App Configuration ストアのエンドポイントに置き換えます。 このエンドポイントは、Azure portal 内の App Configuration ストアの [概要] ブレード内で確認できます。dotnet user-secrets init dotnet user-secrets set Endpoints:AppConfiguration "<your-App-Configuration-endpoint>"Azure App Configuration と機能管理をアプリケーションに追加します。
DefaultAzureCredentialを使って、App Configuration ストアに対する認証を行います。 手順に従って、資格情報に App Configuration データ閲覧者ロールを割り当てます。 アプリケーションを実行する前に、アクセス許可が伝わるのに十分な時間をおいてください。次のコードで Program.cs ファイルを更新します。
// Existing code in Program.cs
// ... ...

using Azure.Identity;

var builder = WebApplication.CreateBuilder(args);

// Retrieve the endpoint
string endpoint = builder.Configuration.GetValue<string>("Endpoints:AppConfiguration")
    ?? throw new InvalidOperationException("The setting `Endpoints:AppConfiguration` was not found.");

// Connect to Azure App Configuration and load all feature flags with no label
builder.Configuration.AddAzureAppConfiguration(options =>
{
    options.Connect(new Uri(endpoint), new DefaultAzureCredential())
           .UseFeatureFlags();
});

// Add Azure App Configuration middleware to the container of services
builder.Services.AddAzureAppConfiguration();

// Add feature management to the container of services
builder.Services.AddFeatureManagement();

// The rest of existing code in Program.cs
// ... ...
App Configuration ミドルウェアを使用して、Azure App Configuration からの構成と機能フラグ更新を有効にします。
次のコードを使用して Program.cs を更新します。
// Existing code in Program.cs
// ... ...

var app = builder.Build();

// Use Azure App Configuration middleware for dynamic configuration refresh
app.UseAzureAppConfiguration();

// The rest of existing code in Program.cs
// ... ...
Pages ディレクトリの下に Beta という名前の新しい空の Razor ページを追加します。 これには、"Beta.cshtml" と "Beta.cshtml.cs" の 2 つのファイルが含まれています。
@page
@model TestFeatureFlags.Pages.BetaModel
@{
    ViewData["Title"] = "Beta Page";
}

<h1>This is the beta website.</h1>
Beta.cshtml.cs を開き、
BetaModelクラスにFeatureGate属性を追加します。using Microsoft.AspNetCore.Mvc.RazorPages; using Microsoft.FeatureManagement.Mvc; namespace TestFeatureFlags.Pages { [FeatureGate("Beta")] public class BetaModel : PageModel { public void OnGet() { } } }Pages/_ViewImports.cshtml を開き、
@addTagHelperディレクティブを使用して機能マネージャーのタグ ヘルパーを登録します。@addTagHelper *, Microsoft.FeatureManagement.AspNetCorePages/Shared ディレクトリの _Layout.cshtml を開きます。 次の強調表示されている行に示すように、Home と Privacy navbar 項目の間に新しい
<feature>タグを挿入します。<nav class="navbar navbar-expand-sm navbar-toggleable-sm navbar-light bg-white border-bottom box-shadow mb-3"> <div class="container"> <a class="navbar-brand" asp-area="" asp-page="/Index">TestAppConfigNet3</a> <button class="navbar-toggler" type="button" data-toggle="collapse" data-target=".navbar-collapse" aria-controls="navbarSupportedContent" aria-expanded="false" aria-label="Toggle navigation"> <span class="navbar-toggler-icon"></span> </button> <div class="navbar-collapse collapse d-sm-inline-flex flex-sm-row-reverse"> <ul class="navbar-nav flex-grow-1"> <li class="nav-item"> <a class="nav-link text-dark" asp-area="" asp-page="/Index">Home</a> </li> <feature name="Beta"> <li class="nav-item"> <a class="nav-link text-dark" asp-area="" asp-page="/Beta">Beta</a> </li> </feature> <li class="nav-item"> <a class="nav-link text-dark" asp-area="" asp-page="/Privacy">Privacy</a> </li> </ul> </div> </div> </nav>
Web アプリケーションのターゲット設定を有効にする
ターゲット設定を使用した機能評価には、ターゲット設定コンテキストが必要です。
featureManager.IsEnabledAsync API へのパラメーターとして、それを明示的に指定できます。 ASP.NET Core では、ITargetingContextAccessor インターフェイスを実装すると、サービス コレクションを使って環境コンテキストとしてターゲット設定コンテキストを指定することもできます。
ターゲット設定コンテキスト アクセサー
ターゲット設定コンテキストを指定するには、ITargetingContextAccessor の実装型を WithTargeting<T> メソッドに渡します。 次のコード スニペットで示すように、型を指定しないと、既定の実装が使われます。 既定のターゲット設定コンテキスト アクセサーは、UserId として HttpContext.User.Identity.Name を利用し、Groups には Role 型の HttpContext.User.Claims を利用します。 カスタマイズが必要な場合は、DefaultHttpTargetingContextAccessor を参照して独自のものを実装できます。
ITargetingContextAccessor の実装について詳しくは、ターゲット設定の機能リファレンスに関する記事をご覧ください。
// Existing code in Program.cs
// ... ...

// Add feature management to the container of services
builder.Services.AddFeatureManagement()
                .WithTargeting();

// The rest of existing code in Program.cs
// ... ...
Note
Blazor アプリケーションの場合は、機能管理をスコープ付きサービスとして有効にする方法をご覧ください。
ターゲット フィルターの動作
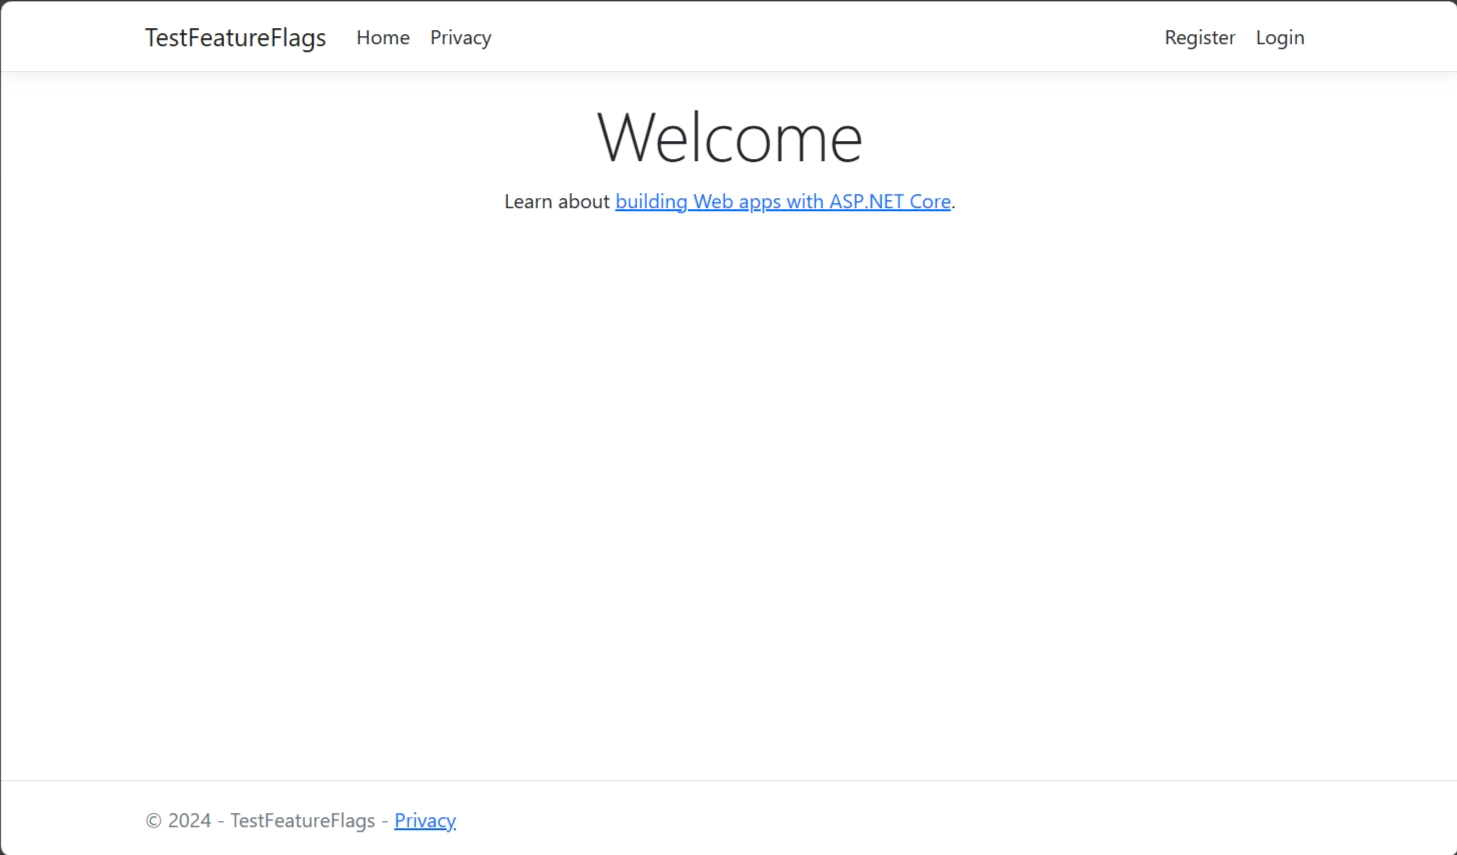
アプリケーションをビルドして実行します。 [既定のパーセンテージ] オプションが 0 に設定されているため、初期状態では [Beta] 項目はツールバーに表示されません。
右上隅にある [登録] リンクを選択して、新しいユーザー アカウントを作成します。
test@contoso.comのメール アドレスを使用します。 [Register Confirmation]\(登録の確認\) 画面で、 [Click here to confirm your account]\(ここをクリックしてアカウントを確認\) を選択します。アカウント登録時に設定したパスワードを使用して
test@contoso.comとしてサインインします。test@contoso.comがターゲット ユーザーとして指定されているため、 [Beta] 項目がツールバーに表示されるようになりました。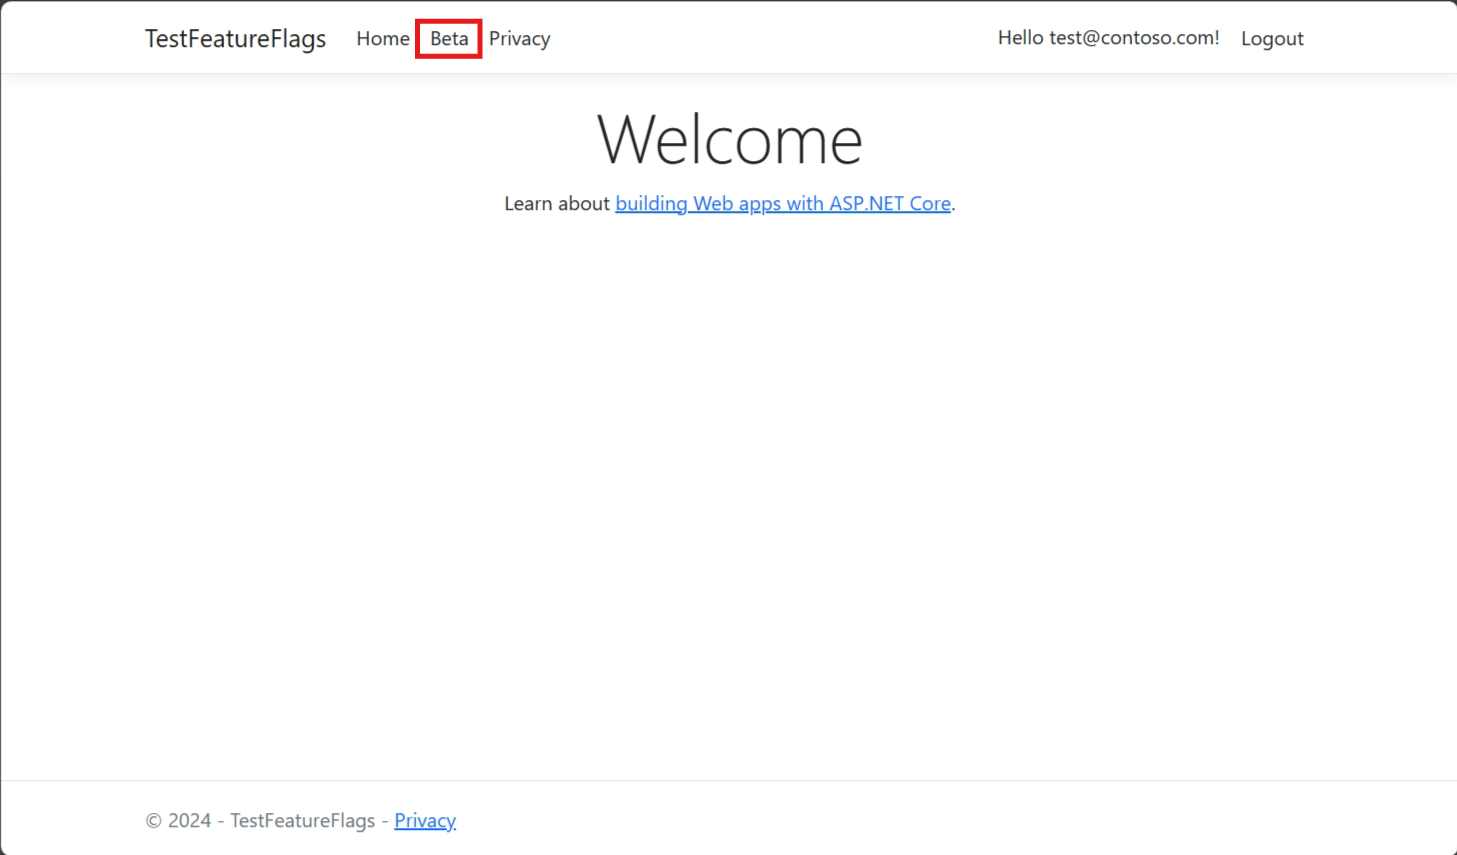
次に、アカウント登録時に設定したパスワードを使用して
testuser@contoso.comとしてサインインします。 "ベータ版" の項目は、ツール バーには表示されません。これは、testuser@contoso.comが除外ユーザーとして指定されているためです。
次のステップ
機能フィルターについてさらに学ぶには、次のドキュメントに進んでください。
.NET 機能管理ライブラリの完全な機能の概要については、次のドキュメントに進んでください。