Publish multiple Environments from one Unity project
Overview
There might be times when you can benefit by having a single Unity project that can generate multiple Experiences. Here's one example: Let's say you want to build a series of gaming Experiences that'll reuse a lot of the same assets. You can create a single Unity project that contains all your assets, then create each individual game room as a Scene, and then use the Mesh Uploader to turn the Scenes into Experiences and upload them to a Collection in Mesh on the web.
Using the scenario above as an example, here's what you would do:
Create a new Unity project named "GameRooms."
Create an individual Scene for each game room. Name each Scene as follows:
Darts Room
Billiards Room
Chess Room
Mesh Uploader versions
As explained in the article named Add the Mesh toolkit package, there are two versions of the Mesh toolkit: the stable build and the preview build. Note that from time to time you may see minor differences between the two versions.
Create your Environments
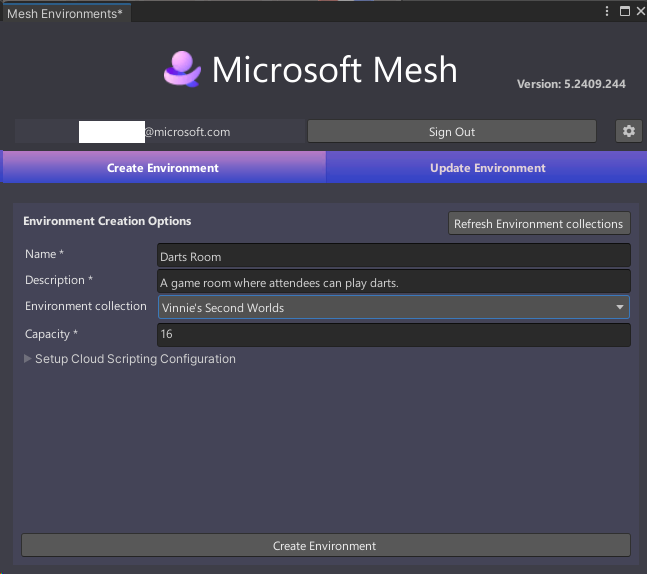
Follow the instructions detailed in the Build and publish your Environment article to open the Mesh Uploader and then create your first Asset, named "Darts Room":

Click the Create Environment button.
In the Mesh Environment Results window, confirm that the operation was successful and then click the Close button.
The Uploader automatically takes you to the Update Environment tab. If you were creating a single Environment, this would be the right place to continue the process. However, in this example, we're creating multiple Environments, which means we have more work to do in the Create Environment tab.
Select Create Environment to return to that tab.
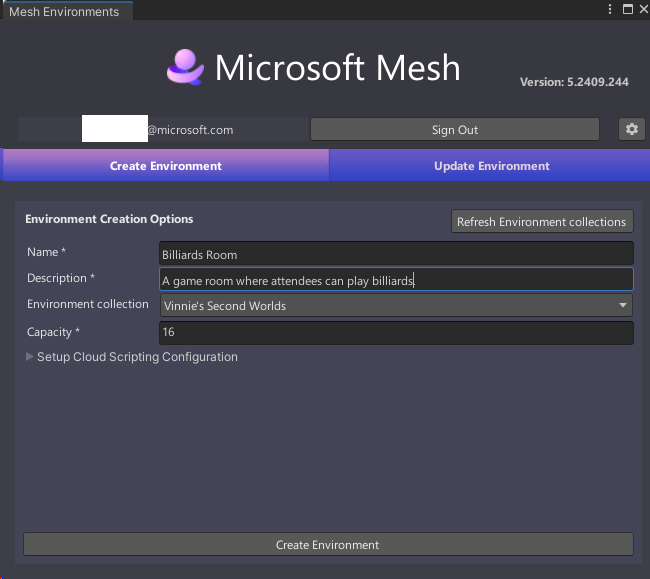
Replace the current information displayed in that tab with the information that applies to the Billiards Room Experience.

Select Create Environment.
In the Mesh Environment Results window, confirm that the operation was successful and then click the Close button.
Select Create Environment to return to that tab.
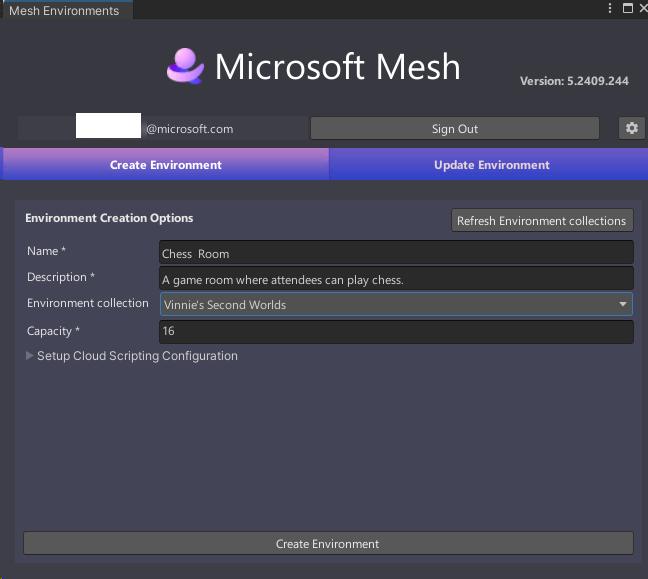
Replace the current information displayed in that tab with the information that applies to the Chess Room Experience.

Select Create Environment.
In the Create Results window, confirm that the operation was successful and then click the Close button.
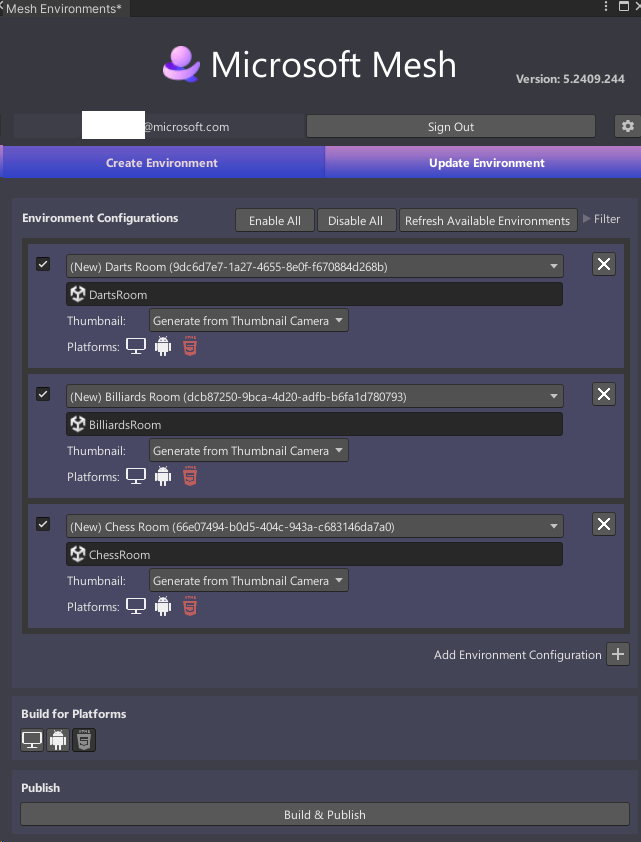
You've now created three Experiences--one for each game room. This finishes our work in the Create Environment tab. The Uploader moves us to the Update Environment tab; we can stay there because this is where we select the correct Scene for each Experience.
In the first Environment Configuration (the one that displays (New) Darts Room), click the field that displays Select a Scene and then, in the Select SceneAsset window, double-click DartsRoom.
Repeat the step above for the other two Environment Configurations, selecting BilliardsRoom for #2 and Chessroom for #3.

Tip: You might have to scroll down or make the Mesh Environments window taller to see all three Environment Configurations.
You're now set up to generate the three different Environments. For instructions on completing the build and publish process, see the Build and publish your Environment article.