Deploy and configure OMOP transformations in healthcare data solutions
Note
This content is currently being updated.
OMOP transformations enable data preparation for standardized analytics through Observational Medical Outcomes Partnership (OMOP) open community standards. You can use this capability after you deploy healthcare data solutions and the Healthcare data foundations capability to your Fabric workspace.
OMOP transformations is an optional capability under healthcare data solutions in Microsoft Fabric. You have the flexibility to decide whether or not to use it, depending on your specific needs or scenarios.
Prerequisites
- Deploy healthcare data solutions in Microsoft Fabric.
- Install the foundational notebooks and pipelines in Deploy healthcare data foundations.
Deploy OMOP transformations
You can deploy the capability using the setup module explained in Healthcare data solutions: Deploy healthcare data foundations. However, the sample data selection step in this module doesn't deploy sample data for this capability. The OMOP transformations sample data installs exclusively in your healthcare data solutions environment after you finish deploying the capability.
If you didn't use the setup module to deploy the capability and want to use the capability tile instead, follow these steps:
Go to the healthcare data solutions home page on Fabric.
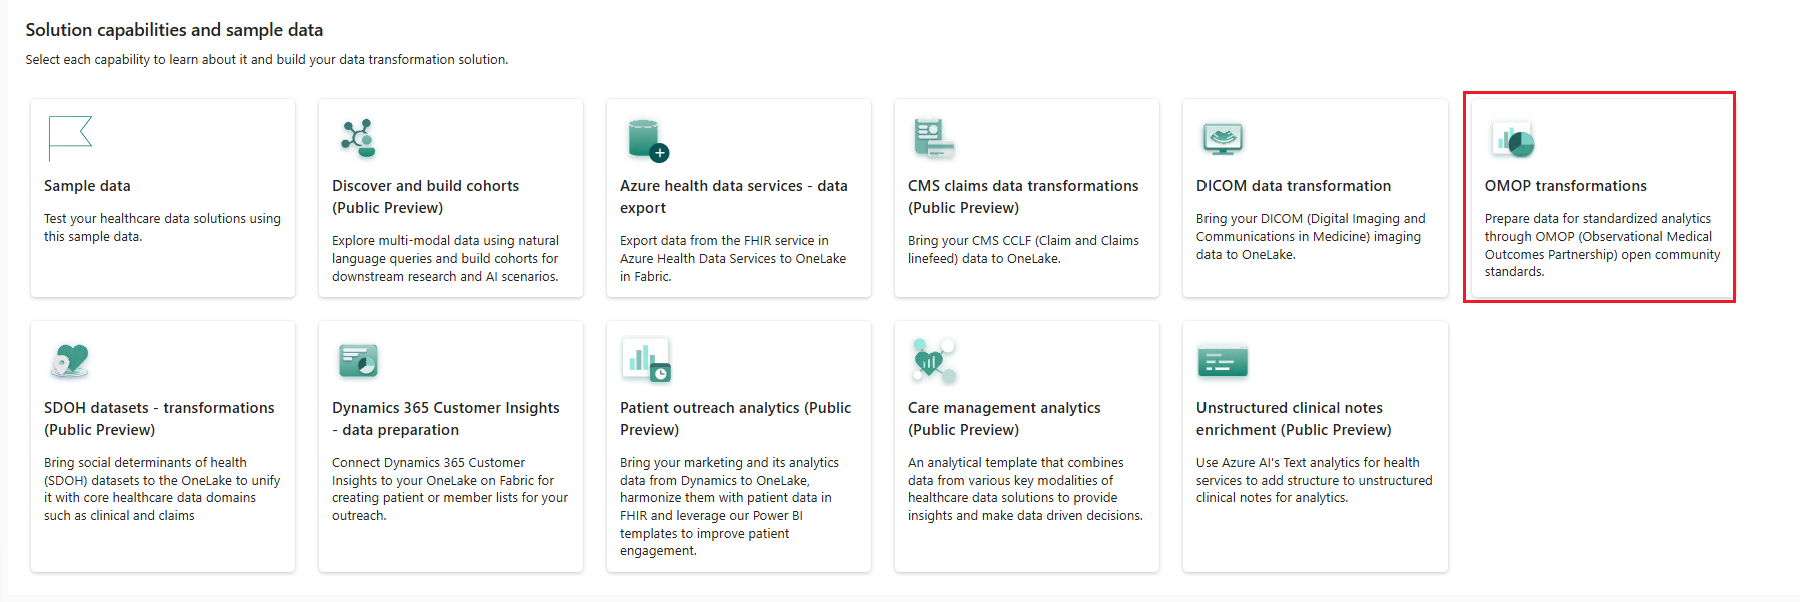
Select the OMOP transformations tile.
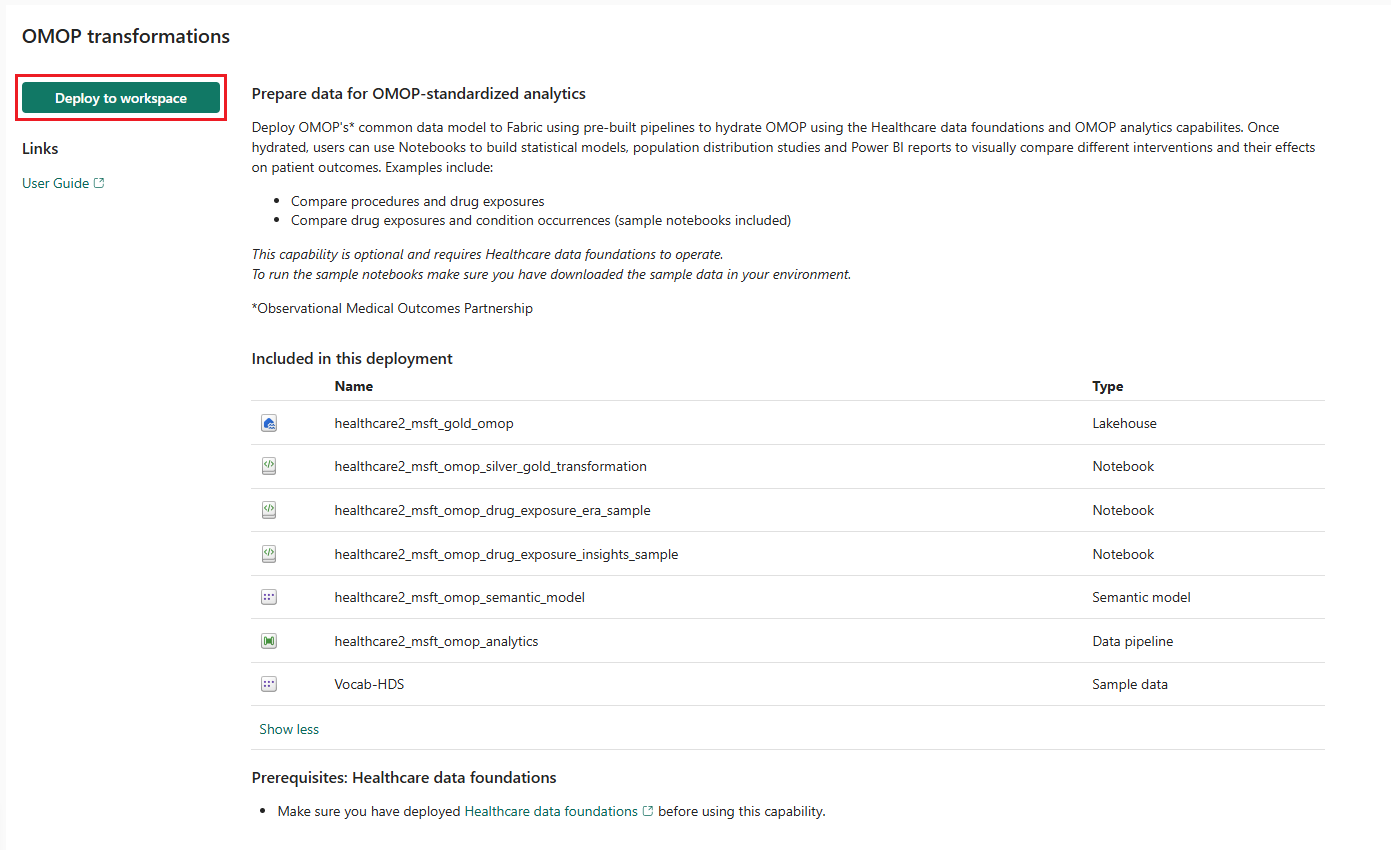
On the capability page, select Deploy to workspace.
The deployment can take a few minutes to complete. Don't close the tab or the browser while deployment is in progress. While you wait, you can work in another tab.
After the deployment completes, you can see a notification on the message bar.
Select Manage capability from the message bar to go to the Capability management page.
Here, you can view, configure, and manage the artifacts deployed with the capability.
Artifacts
The capability installs the following artifacts in your healthcare data solutions environment:
| Artifact | Type |
|---|---|
| healthcare#_msft_gold_omop | Lakehouse |
| healthcare#_msft_omop_silver_gold_transformation | Notebook |
| healthcare#_msft_omop_drug_exposure_era_sample | Notebook |
| healthcare#_msft_omop_drug_exposure_insights_sample | Notebook |
| healthcare#_msft_omop_analytics | Data pipeline |
| healthcare#_msft_omop_semantic_model | Semantic model |
| Vocab-HDS | Sample data |
Review the OMOP silver notebook
The healthcare#_msft_omop_silver_gold_transformation notebook uses the OMOP APIs shipped as part of the healthcare data solutions library for data transformation. The notebook transforms resources in the healthcare#_msft_silver lakehouse into OMOP common data model. The transformed data is then inserted into the OMOP lakehouse.
The notebook deploys with preconfigured values required to run the OMOP transformations data pipeline. Some configuration parameters inherit from the global configuration and can be overridden at the notebook level. By default, you aren't expected to make any changes to the notebook configuration files. If needed, you can review or modify the configuration by selecting the respective notebooks and configuration files in your environment.
To learn more about the notebook execution, see Use OMOP transformations.
Review the OMOP semantic model
The OMOP semantic model, healthcare#_msft_omop_semantic_model, is a custom-built semantic model based on the OMOP gold lakehouse. It includes a few key OMOP CDM version 5.4 relationships between the following OMOP tables:
- Location
- Person
- Observation
- Procedure_Occurrence
- Condition_Occurrence
- Note
- Drug_Exposure
- Visit_Ocurrence
- Image_Occurrence
- Measurement
These relationships form the minimal set needed to generate Power BI reports in the Discover and build cohorts (preview) capability in healthcare data solutions. You can use this semantic model as a foundation, adding more OMOP tables and relationships from the OMOP lakehouse to create custom Power BI reports from your OMOP standard lakehouse data.
Configure the drug exposure era sample notebook
The healthcare#_msft_omop_drug_exposure_era_sample sample notebook shows how to generate the drug_era table records in OMOP using the PySpark (Python) language in an Azure Synapse Analytics notebook, primarily for exploratory purposes. The drug_era table records generation follows the OHDSI drug era sample script, which is adapted to work with PySpark in Azure Synapse Analytics. The drug era generator code is included in the custom Python library, which is packaged as a wheel (WHL) file and uploaded to an Apache Spark pool for easy access.
Before running the notebook, keep the following prerequisites in mind:
Ensure that the OMOP database has valid data in the following tables:
- drug_exposure
- concept
- concept_ancestor
You can generate this data using the sample data or your own data by running the FHIR to OMOP data pipeline.
Ensure the custom library wheel package is attached to the Spark pool that you use to run this notebook.
The key configuration parameter for this notebook is the omop_database_name. This parameter identifies the name of the OMOP database that contains the data for generating the drug_era table. Update this value only if your OMOP database differs from the default value in the global configuration file.
If the OMOP drug_exposure table populates with valid data, this notebook invokes the DrugEraGenerator module that strings together periods of time that a person is exposed to an active drug ingredient, allowing for a gap of 30 days. The DrugEraGenerator module deletes all the existing drug_era records and generates new records, based on the latest OMOP data.
To learn more about the notebook execution, see Use the OMOP transformations sample notebooks.
Configure the drug exposure insights sample notebook
The healthcare#_msft_omop_drug_exposure_insights_sample sample notebook demonstrates an exploratory analysis on the drug_era table using PySpark in an Azure Synapse Analytics notebook. The analysis generates a histogram displaying patients' secondary drug exposures to active ingredients, stratified by gender and age for a specific year. The drug_era table is generated using a custom library DrugEraGenerator that the previous notebook healthcare#_msft_omop_drug_exposure_era_sample invokes. This analysis extends the Drug exposure query DEX03: Distribution of age, stratified by drug by incorporating stratification based on both gender and age.
Before running the notebook, keep the following prerequisites in mind:
- If you wish to edit the notebook configuration, ensure you make a copy of this notebook. Don't update the notebook directly.
- Ensure the drug_era table contains data by running the drug exposure era notebook. Running this notebook replaces any existing drug_era records with new records, based on the latest OMOP data.
- Use this notebook as-is for exploratory analysis and create a copy to perform custom analysis.
Following are the key notebook configuration parameters. You can modify these parameters for alternative exploratory analysis on patient drug exposures:
primary_drug_concept_id: The primary active ingredient exposure for patients.secondary_drug_concept_id: The secondary active ingredient exposure for patients.year: The target year during which patients were actively exposed to both the primary and secondary drugs.
To learn more about the notebook execution, see Use the OMOP transformations sample notebooks.

