Prerequisites for Hyper-V VM migration to Azure Local using Azure Migrate (preview)
Applies to: Azure Local 2311.2 and later
This article describes the prerequisite tasks you need to complete before you begin the process to migrate Hyper-V virtual machines (VMs) to Azure Local. Make sure to review the requirements for migration if you haven't already.
Important
This feature is currently in PREVIEW. See the Supplemental Terms of Use for Microsoft Azure Previews for legal terms that apply to Azure features that are in beta, preview, or otherwise not yet released into general availability.
Prerequisites
The following list contains the prerequisites that must be met to migrate Hyper-V VMs to Azure Local. Some prerequisites apply to the source Hyper-V server, some to the target Azure Local instance, and others to both.
| Prerequisite | Applies to | More information |
|---|---|---|
| Open required firewall ports. | source, target | 3389 – Inbound connections on port 3389 to allow remote desktop connections to the appliance. 44368 – Inbound connections on port 44368 to remotely access the appliance management app by using the URL: https://<appliance-ip-or-name>:44368. 5985 – Inbound and outbound connections on port 5985 (WinRM) to communicate from appliance to host. 445 – Inbound and outbound connections on port 445 (SMB) to communicate between source and target appliance. |
| Allow required URLs | source, target |
URL access and *.siterecovery.azure.com |
| Configure SAN policy on Windows VMs. | source | Configure SAN policy. |
| Deploy, configure and register an Azure Local instance. | target | Create and register an Azure Local instance. |
| Verify a successful deployment. | target | Verify a successful deployment. |
| Verify and make a note of the custom location created during deployment on Azure Local. | target | Verify a successful deployment. |
| Create a custom storage path for the Arc Resource Bridge for storing VM configuration and OS disks. | target | Create storage path. |
| Create a logical network for the Arc Resource Bridge for VMs to use. | target | Create a logical network. |
| Enable contributor and user administrator access on the subscription for the Azure Migrate project. | both | Assign Azure roles using the Azure portal. |
| Create an Azure Migrate project | source, target | Create an Azure Migrate project. |
Create an Azure Migrate project
Before you can migrate, create an Azure Migrate project in Azure portal using the following procedure. For more information, see Create and manage projects.
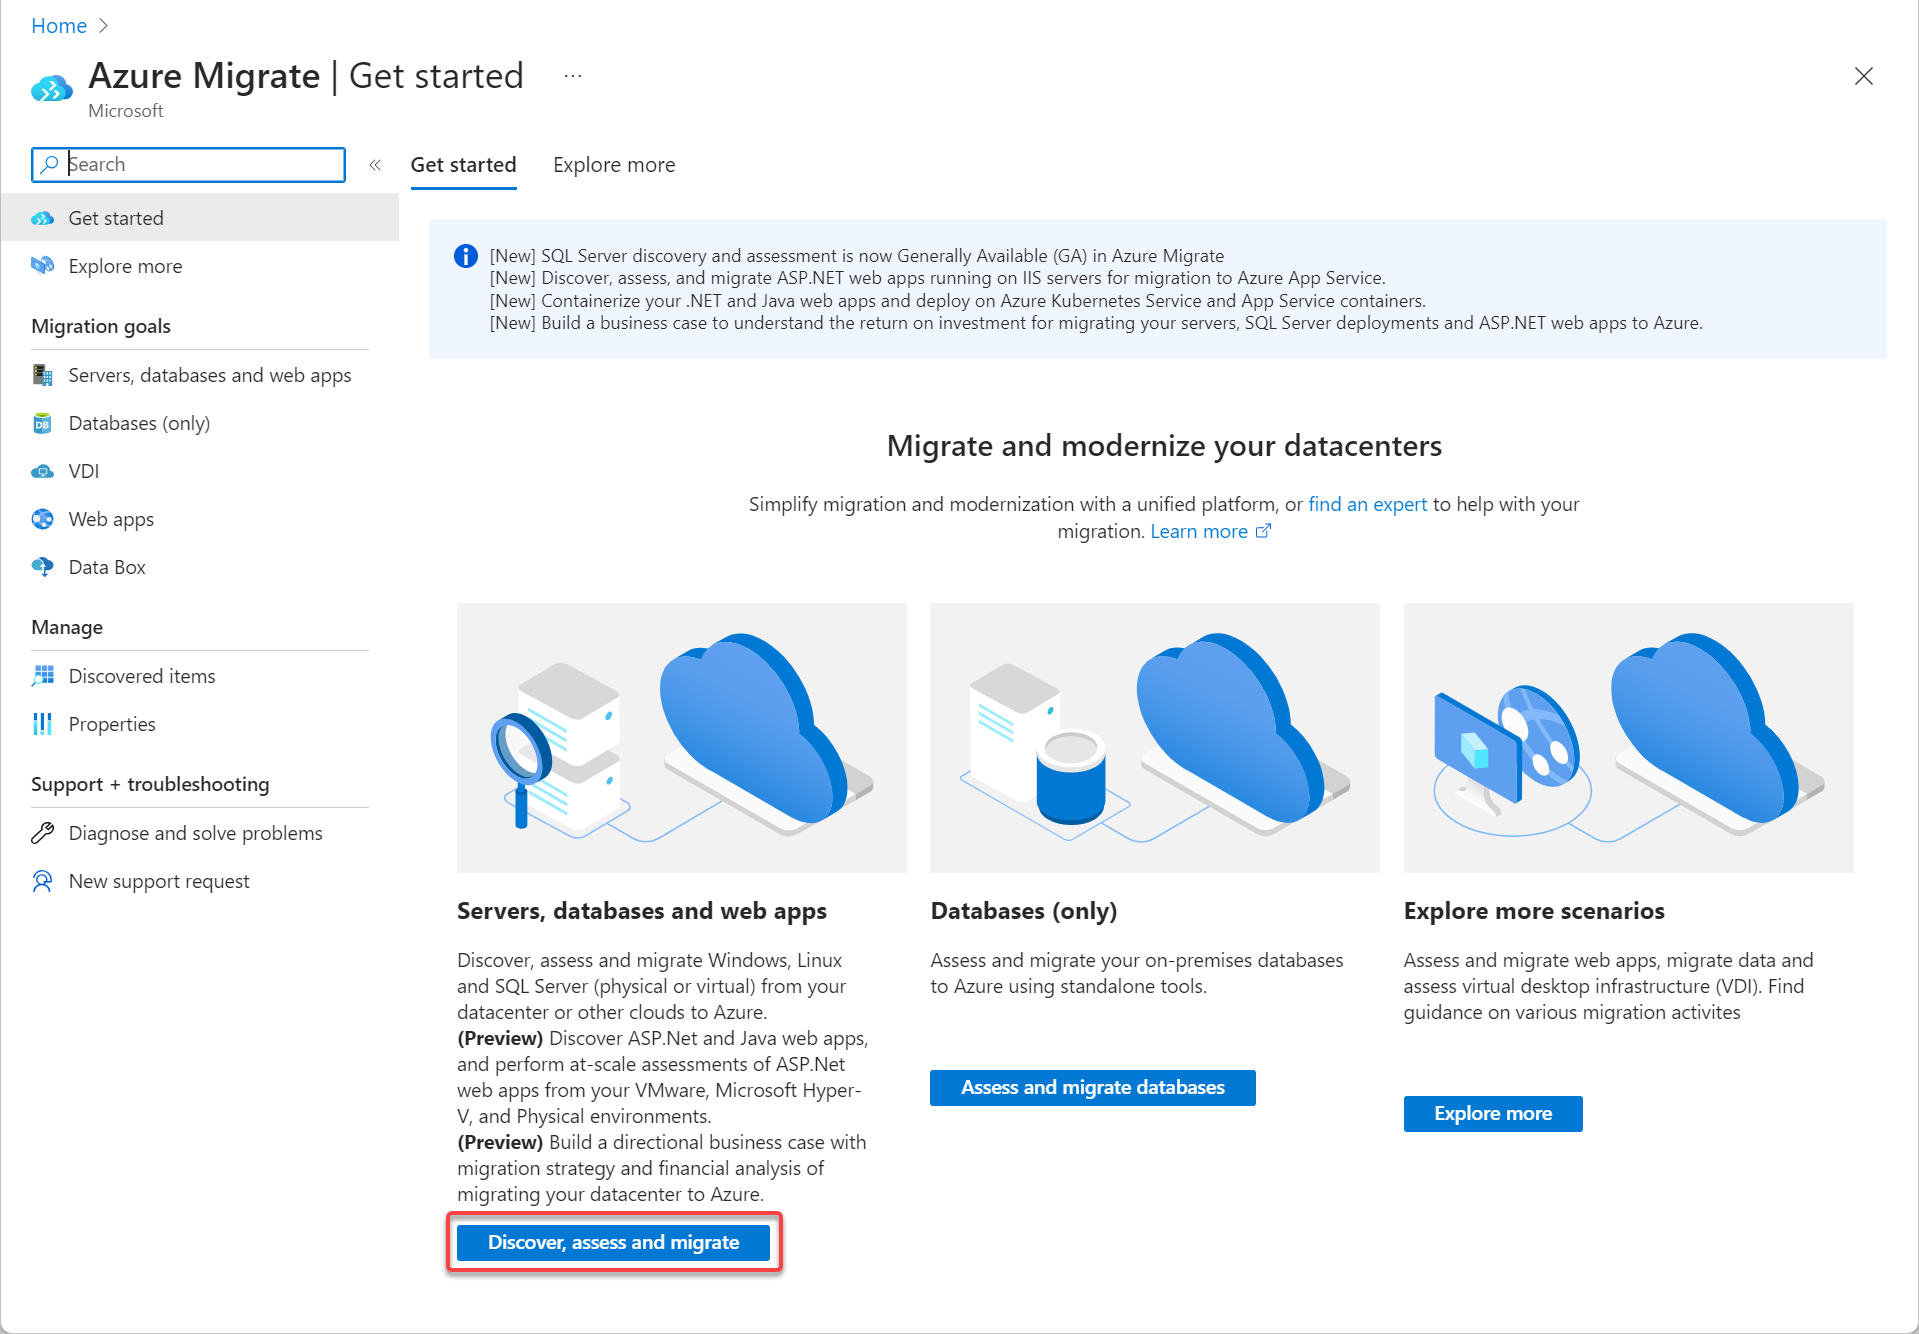
On the Azure portal home page, select Azure Migrate.
On the Get started page, under Servers, databases and web apps, select Discover, assess and migrate.
On the Servers, databases and web apps page, select Create project.
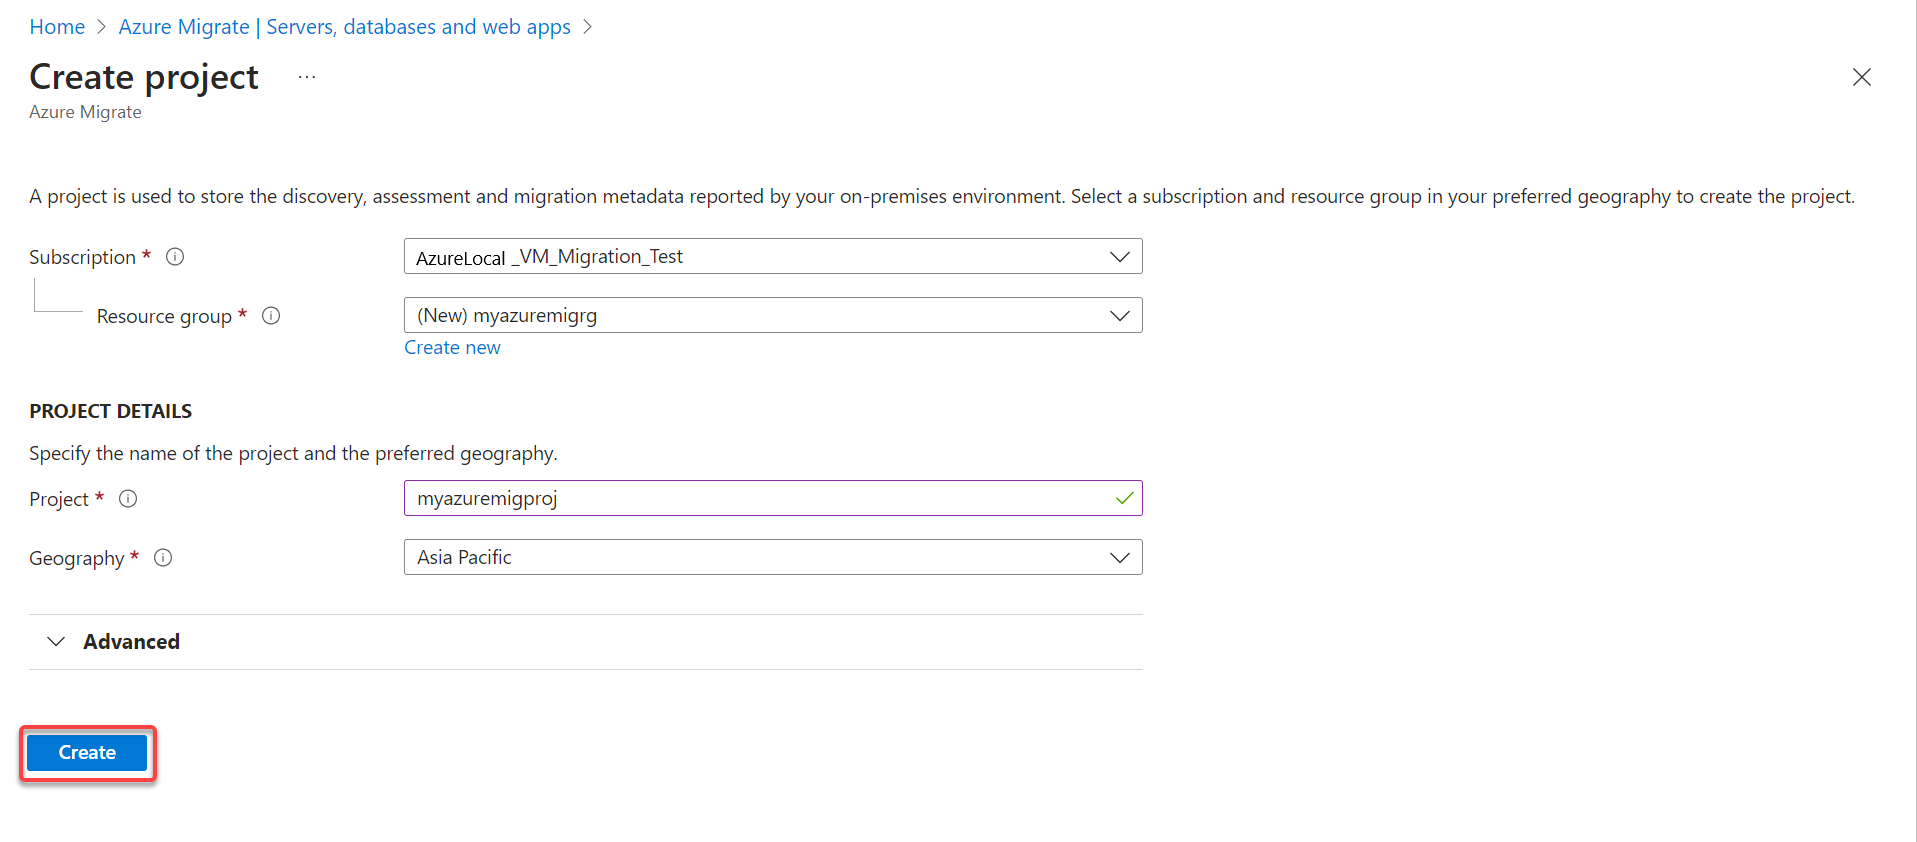
On the Create project page:
- Enter your subscription.
- Enter the resource group, or select it if it already exists.
- Enter the new project name.
- Select a supported geography region that you previously created. For more information, see Supported geographies.
When finished, select Create.

