Manage resources for Azure Arc VMs on Azure Local
Applies to: Azure Local 2311.2 and later
After you deploy Azure Arc virtual machines (VMs), you might need to add or delete resources such as data disks and network interfaces. This article describes how to manage these VM resources for an Azure Arc VM running on your Azure Local instance.
You can add or delete the resources by using the Azure portal. For the task of adding a data disk, you can also use the Azure CLI.
Prerequisites
- Access to an Azure Local instance that's deployed and registered. You should have one or more Azure Arc VMs running on this system. For more information, see Create Azure Arc virtual machines on Azure Local.
Add a data disk
After you create a VM, you might want to add a data disk to it.
To add a data disk, you first create a disk and then attach it to the VM. Run the following commands in the Azure CLI on the computer that you're using to connect to Azure Local.
Create a data disk (dynamic) on a specified storage path:
az stack-hci-vm disk create --resource-group $resource_group --name $diskName --custom-location $customLocationID --location $location --size-gb 1 --dynamic true --storage-path-id $storagePathidAttach the disk to the VM:
az stack-hci-vm disk attach --resource-group $resource_group --vm-name $vmName --disks $diskName --yes


Delete a data disk
Follow these steps in the Azure portal for your Azure Local instance:
Go to Azure Local resource, and then go to Virtual machines.
In the list of VMs, select and go to the VM whose data disk you want to delete.
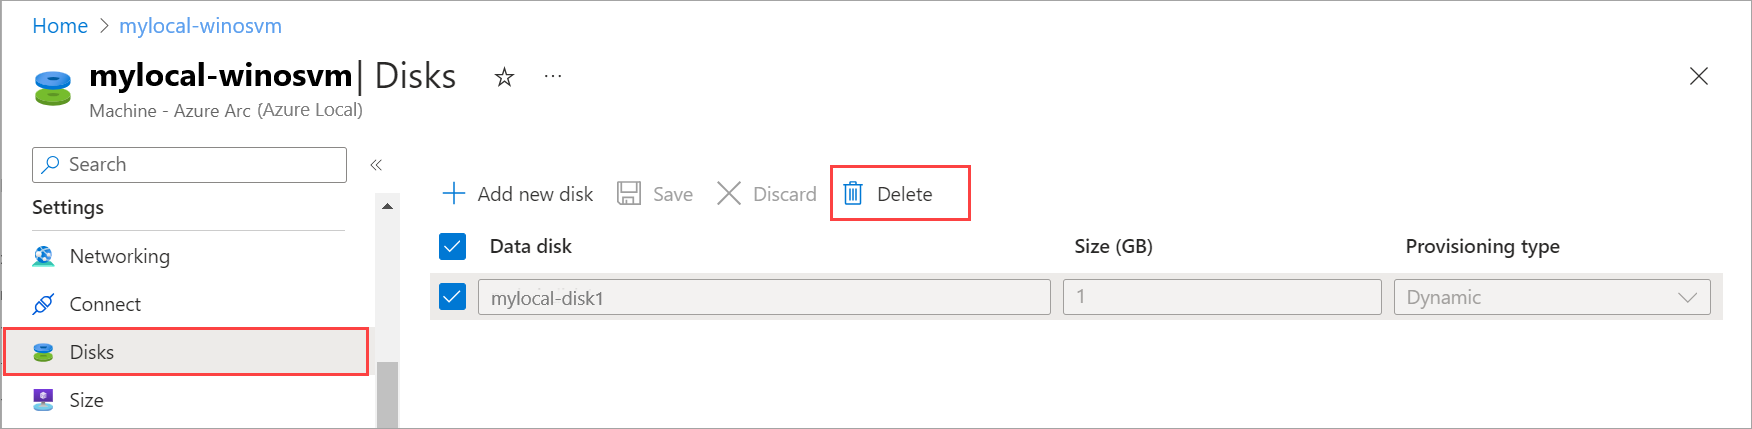
Go to Disks and select the data disk that you want to delete. On the command bar, select Delete.
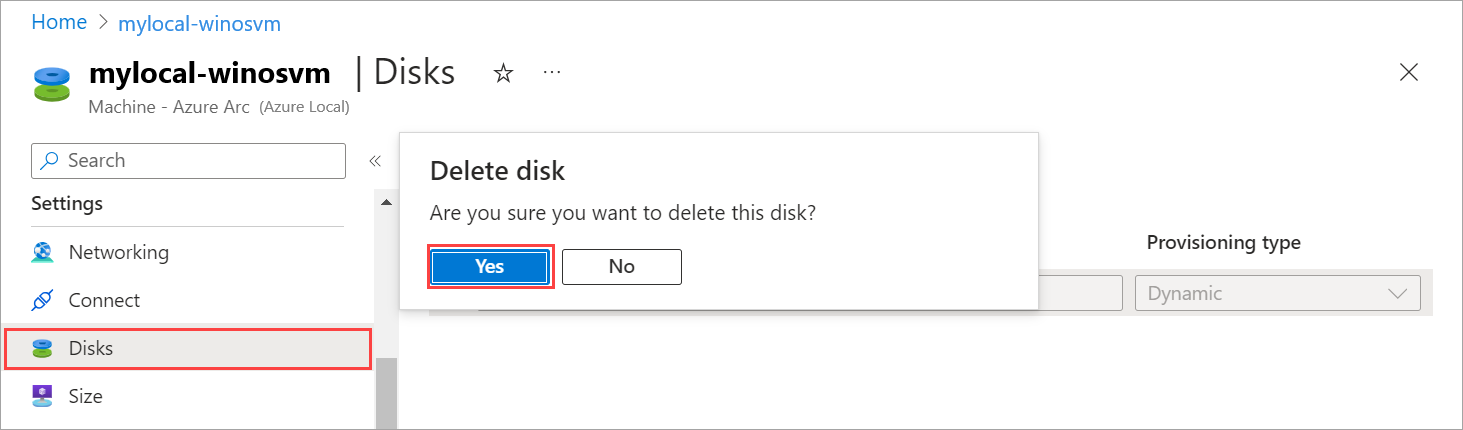
In the confirmation dialog, select Yes to continue.
Select Save to save the changes.
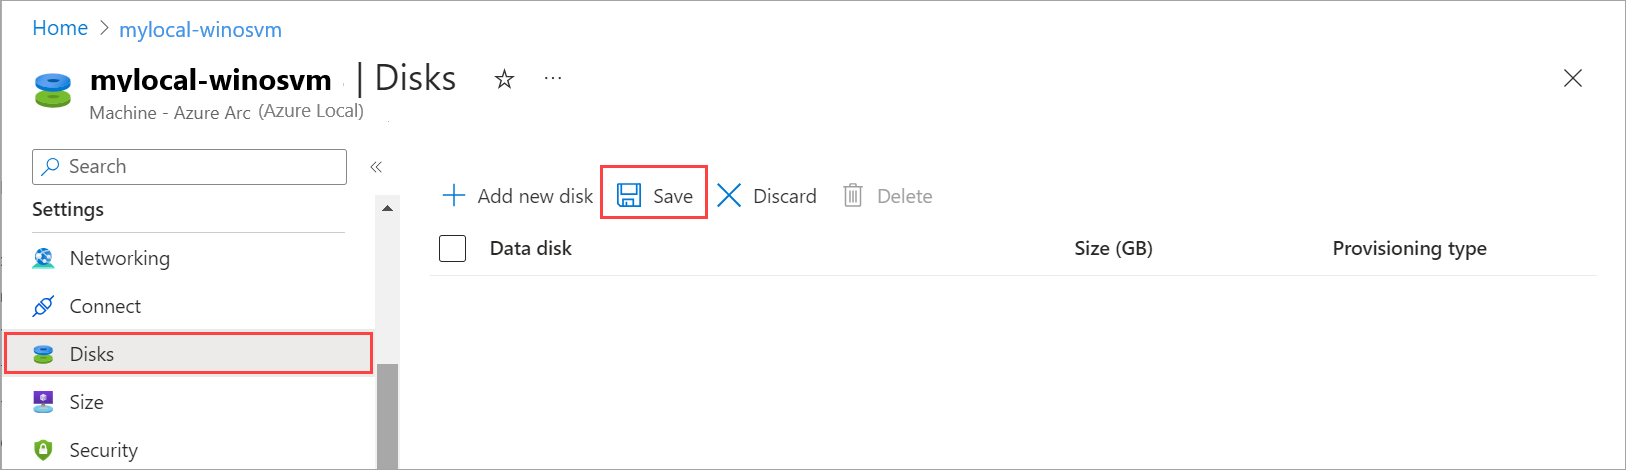
You get a notification that the job for disk deletion started. After the disk is deleted, the list refreshes to display the remaining data disks.


Add a network interface
Note
After you add the network interface, sign in to the virtual machine and configure the desired static IP address.
Follow these steps in the Azure portal for your Azure Local instance:
Go to your Azure Local resource, and then go to Virtual machines.
In the list of VMs, select and go to the VM to which you want to add a network interface.
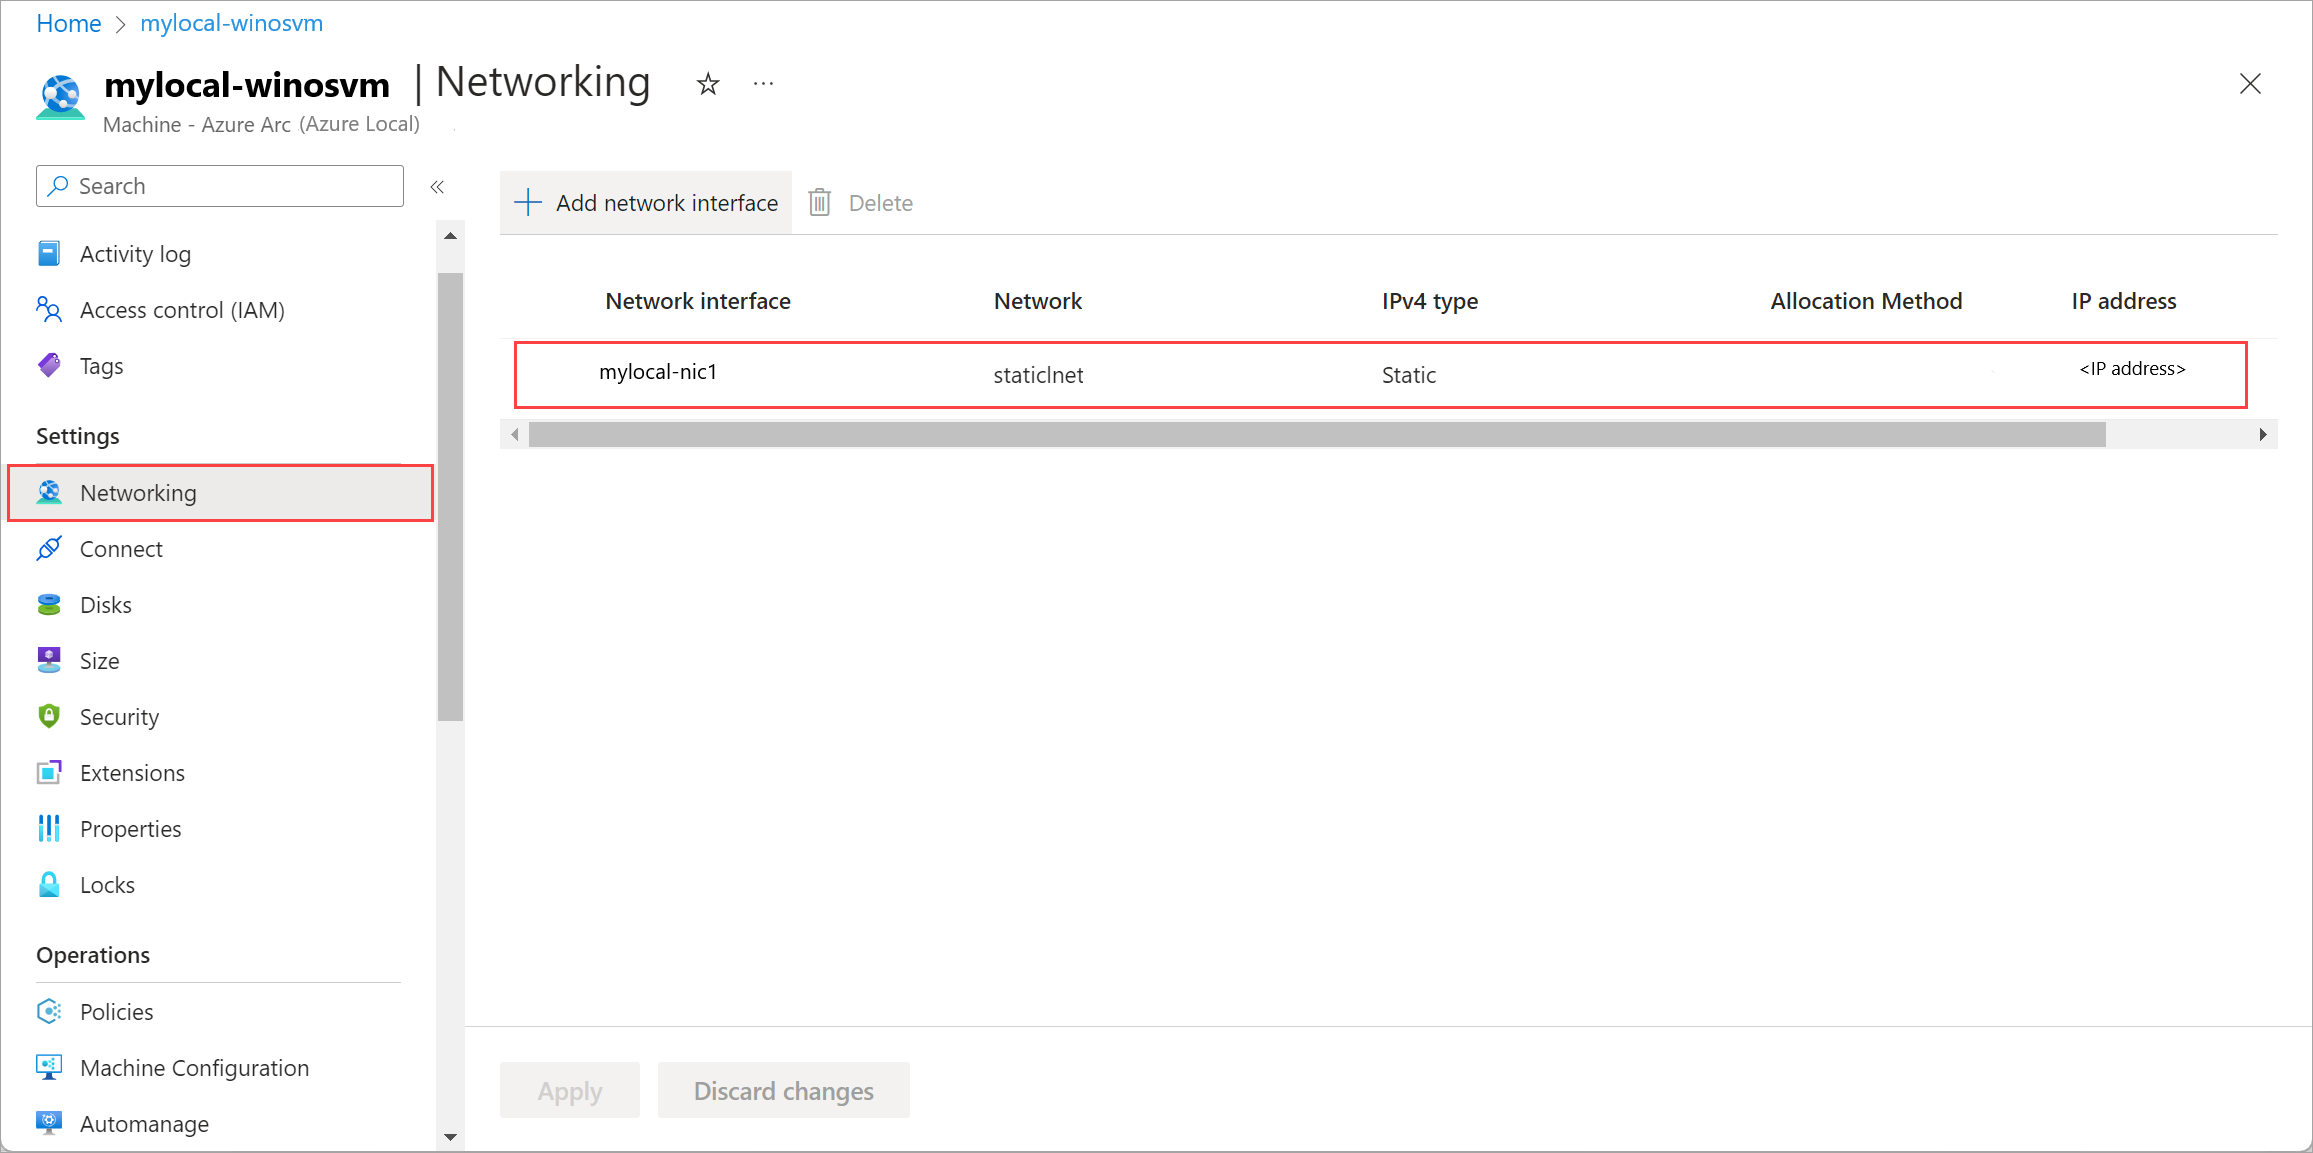
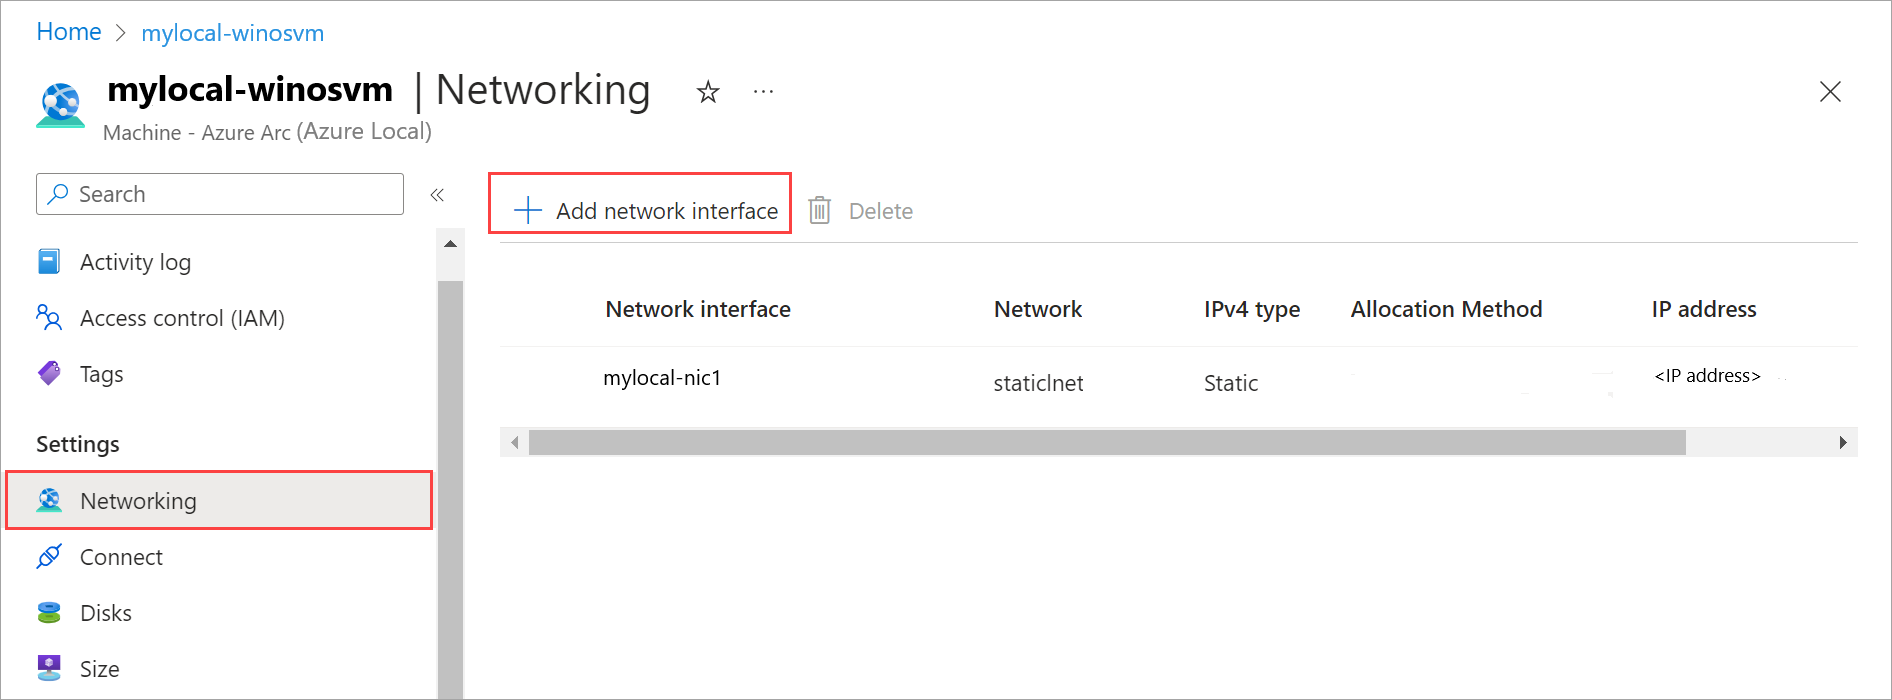
Go to Networking. On the command bar, select + Add network interface.
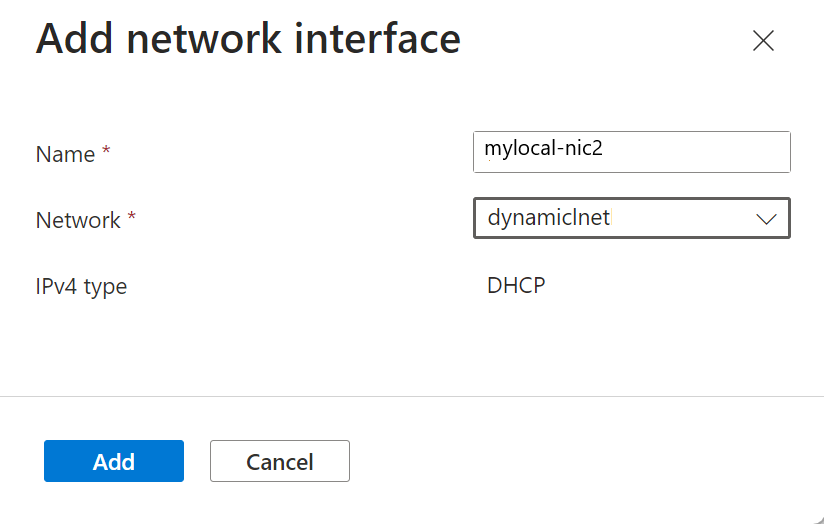
On the Add network interface pane, enter the following parameters, and then select Add:
- For Name, specify a friendly name for the network interface.
- In the Network dropdown list, select a logical network to associate with this network interface.
- For IPv4 type, select DHCP or Static.
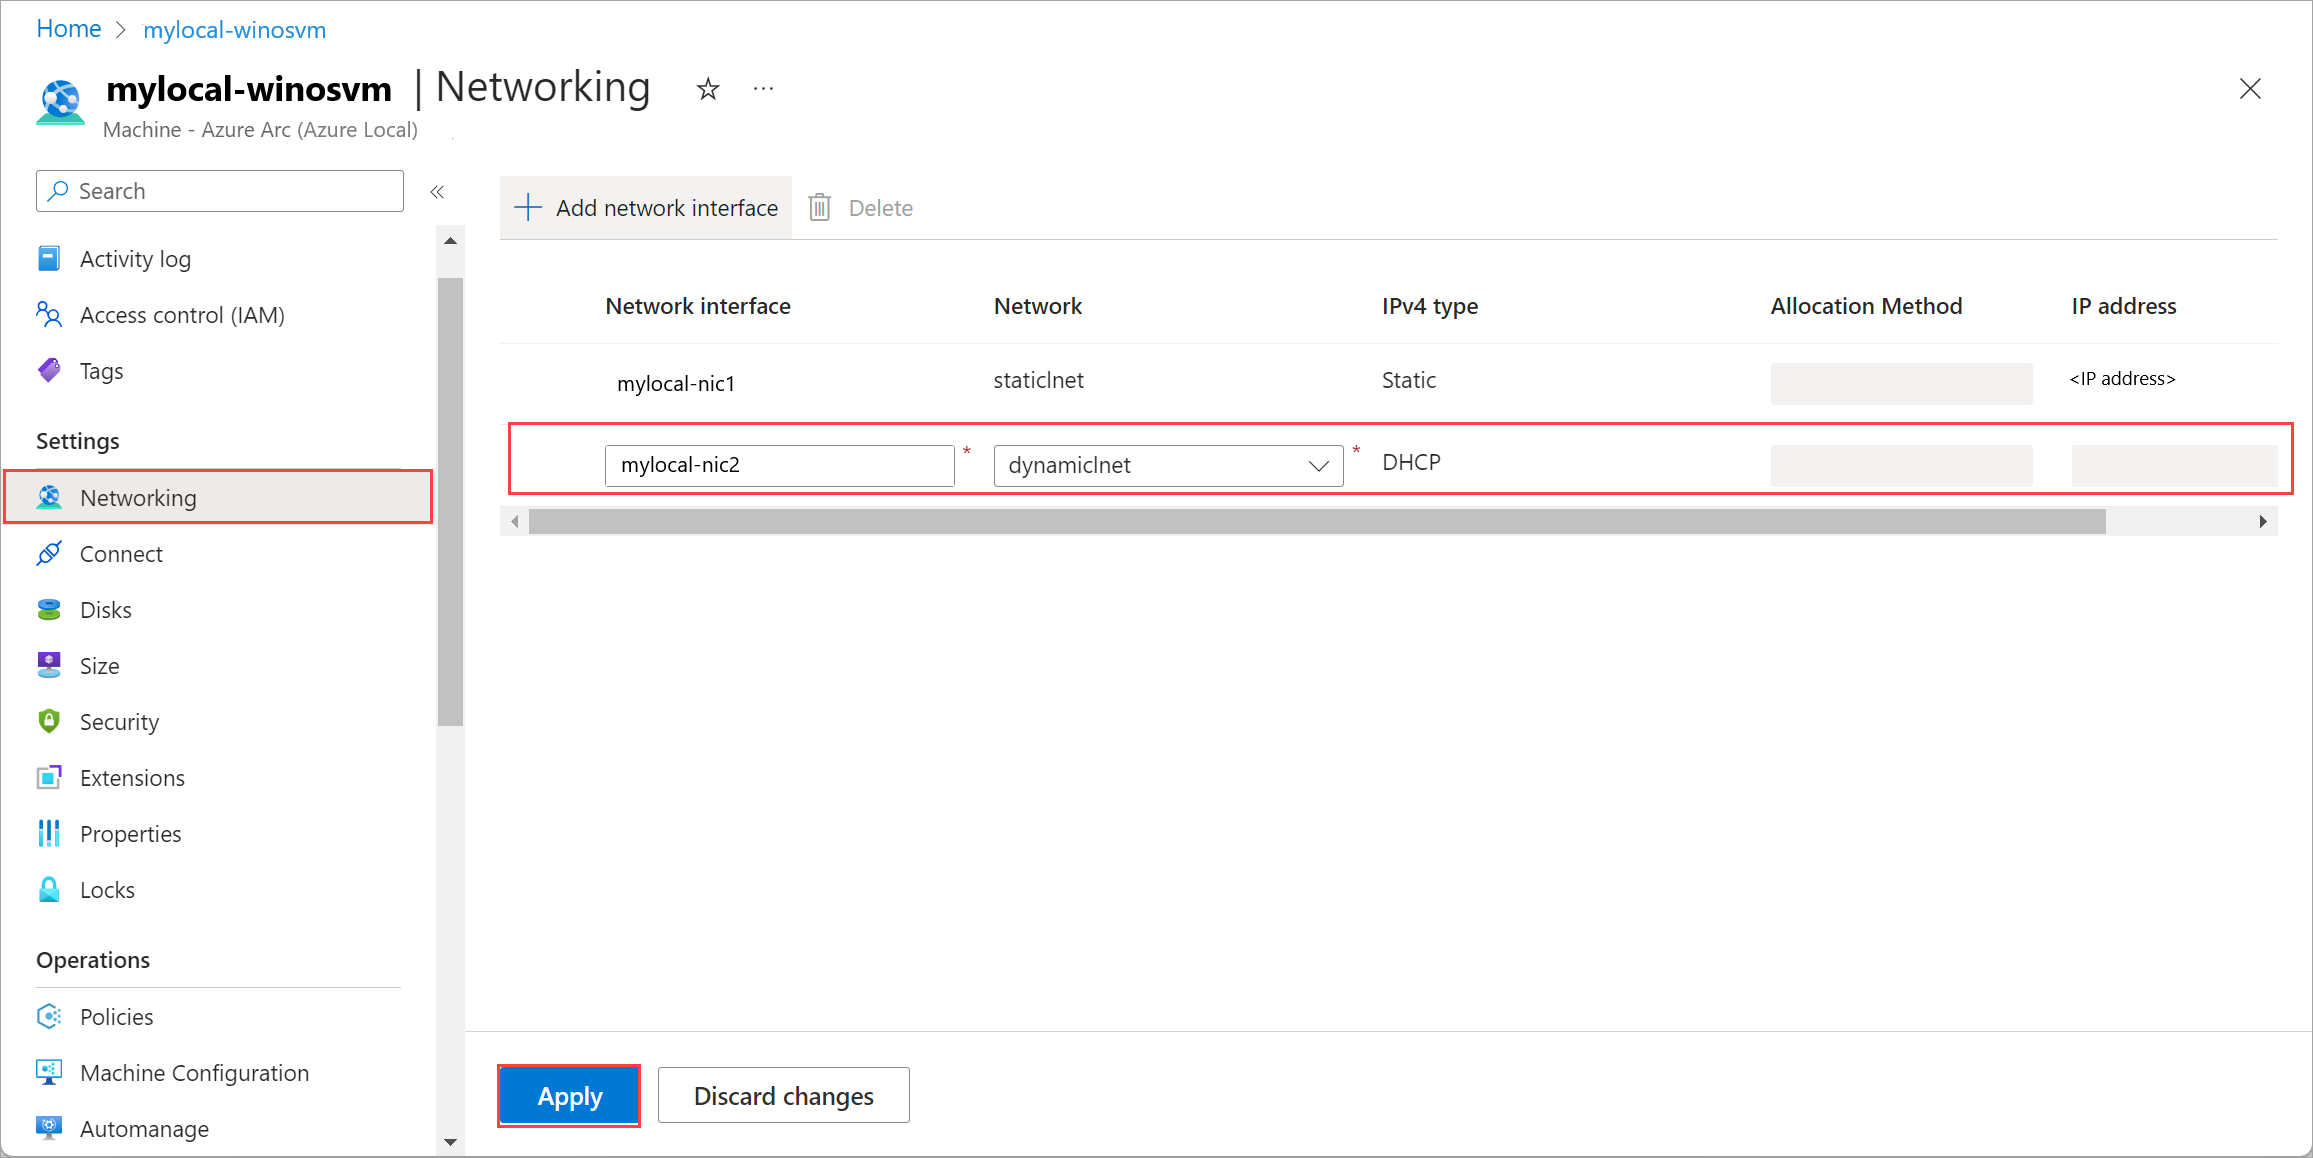
Select Apply to apply the changes.
You get a notification that the job for network interface creation started. After the network interface is created, it's attached to the Azure Arc VM.
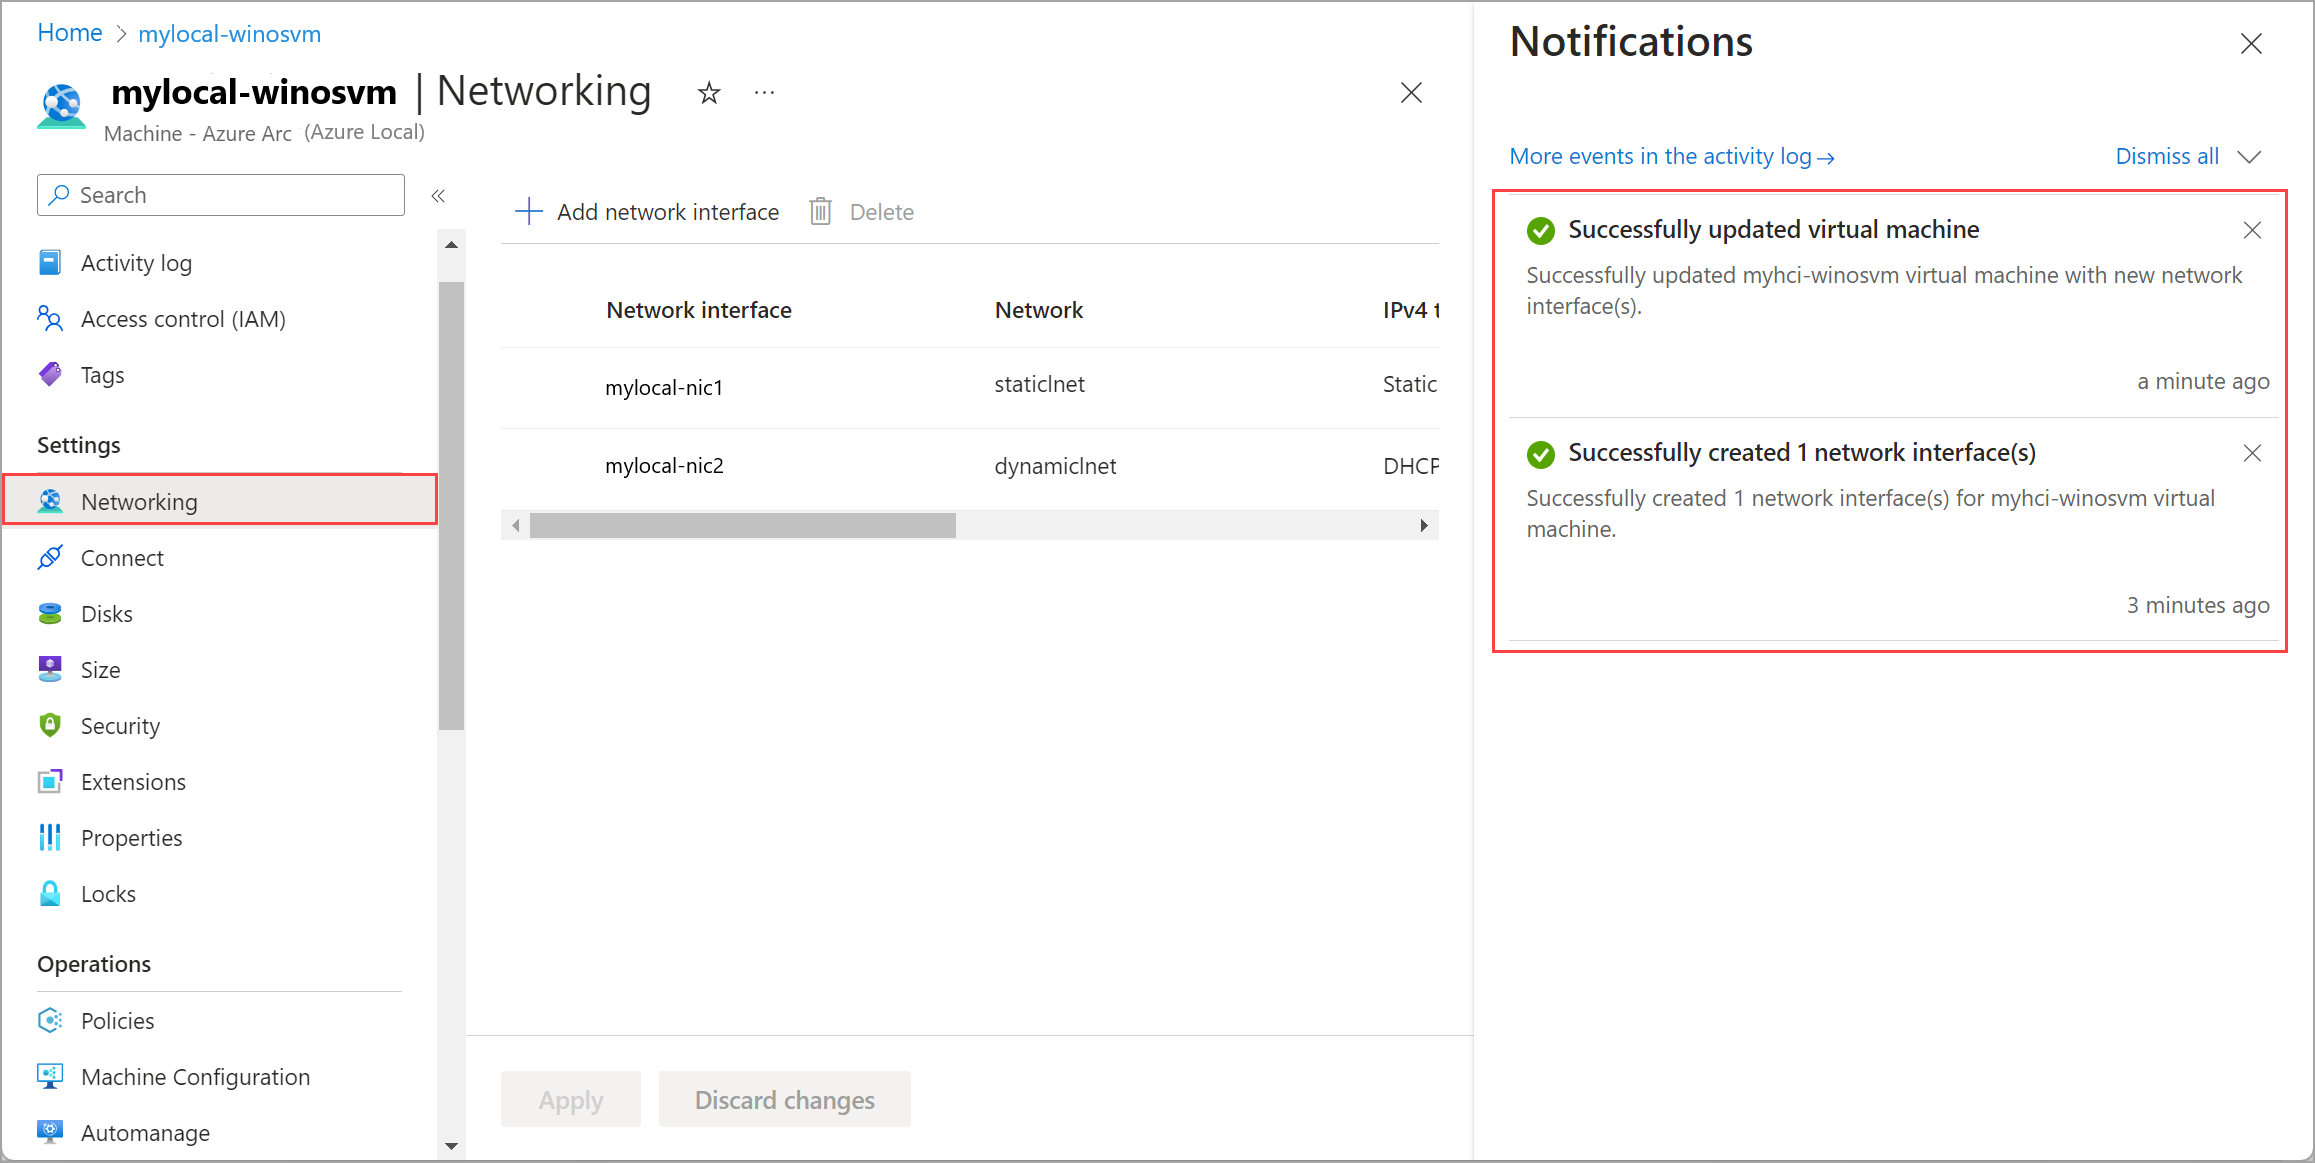
The list of network interfaces is updated with the newly added network interface.
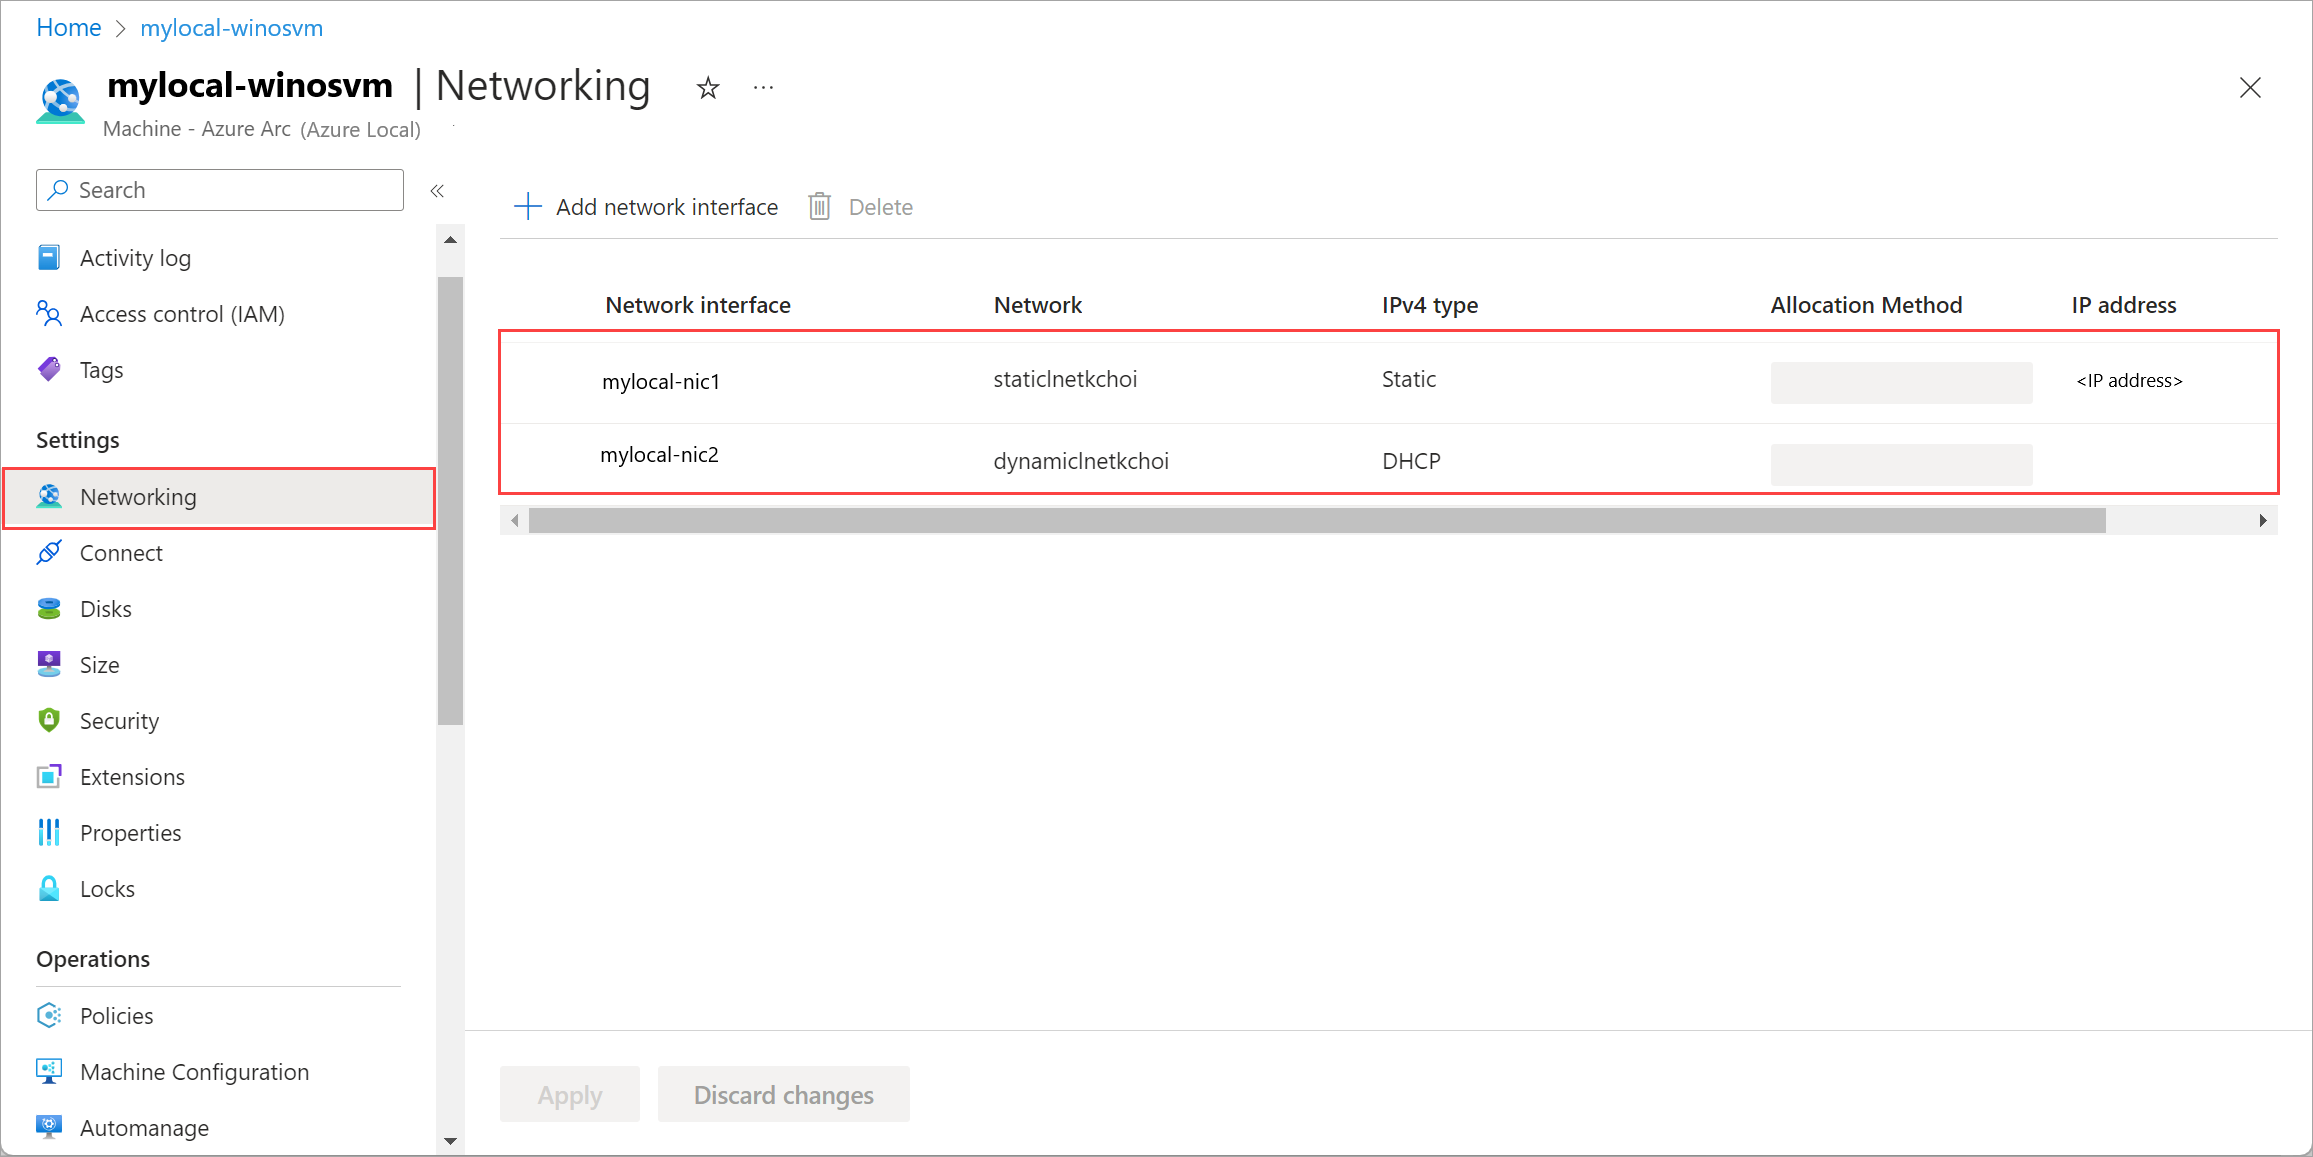


Delete a network interface
Follow these steps in the Azure portal for your Azure Local instance.
Go to your Azure Local resource, and then go to Virtual machines.
In the list of VMs, select and go to the VM whose network interface you want to delete.
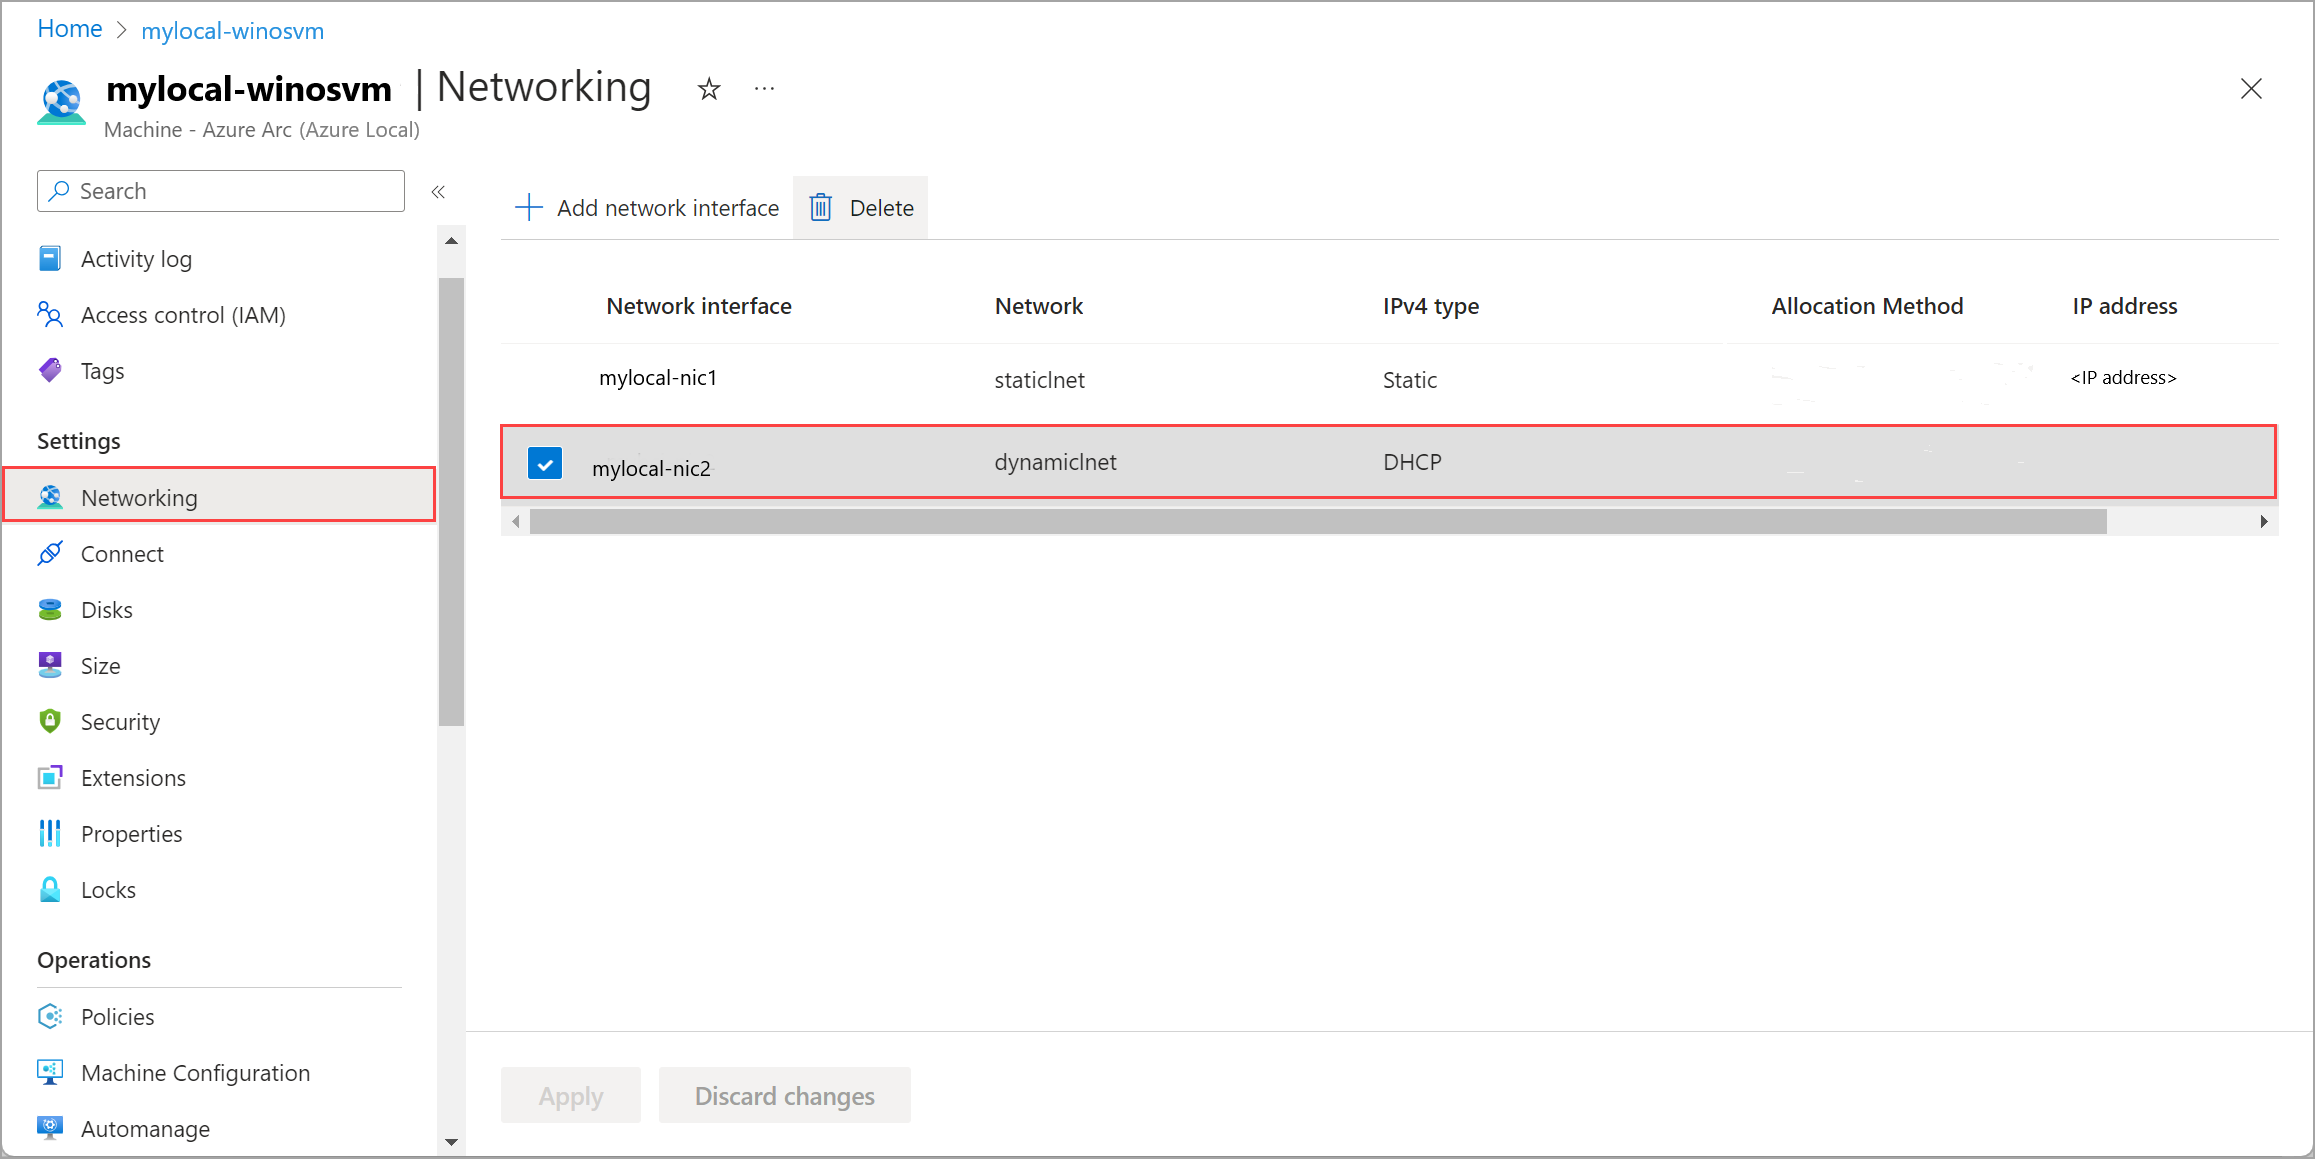
Go to Networking and select the network interface that you want to delete. On the command bar, select Delete.
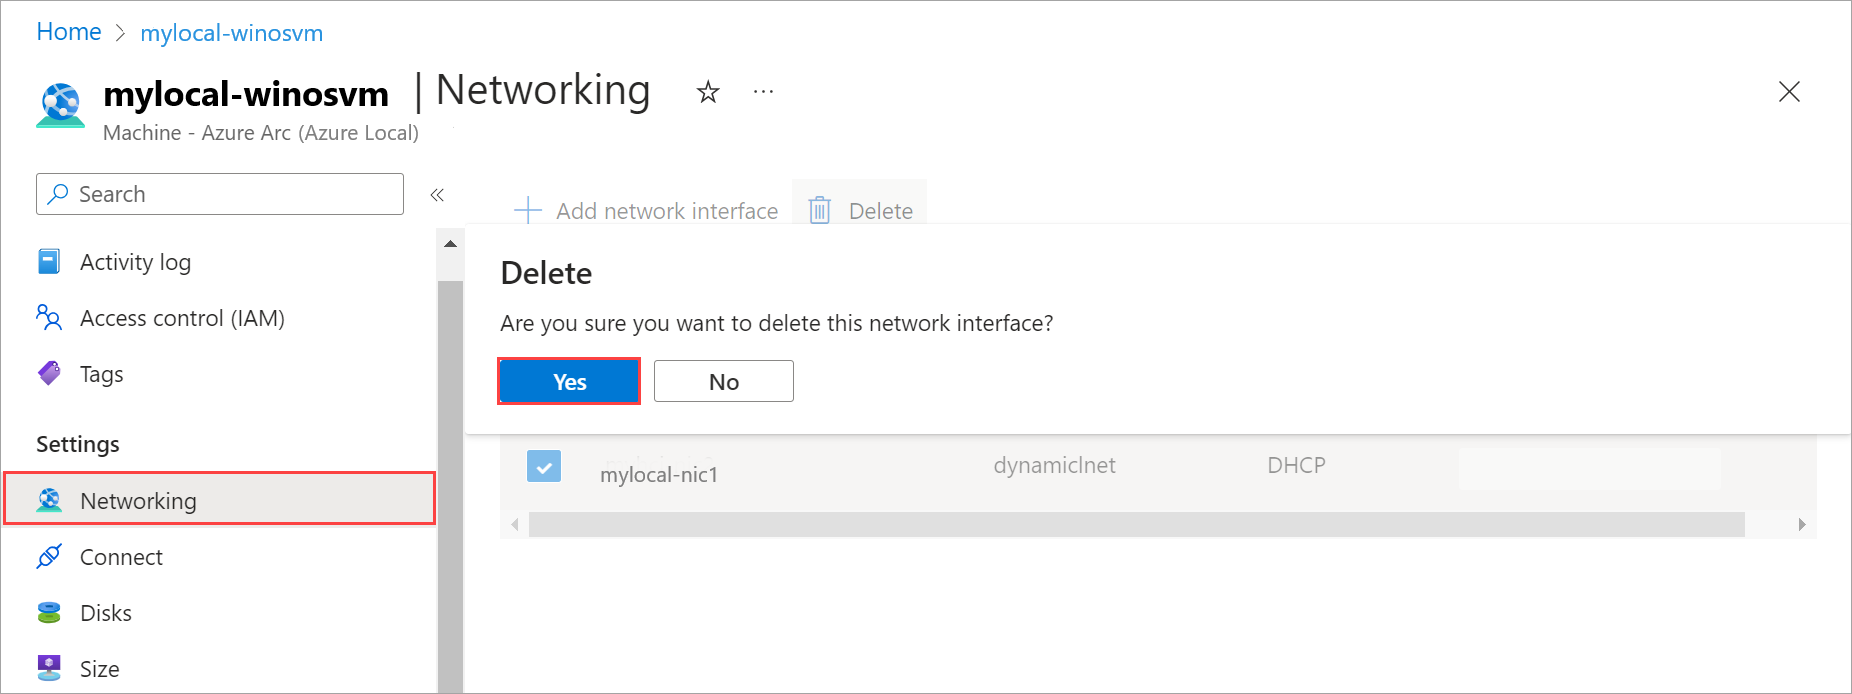
In the confirmation dialog, select Yes to continue.
Select Apply to apply the changes. The network interface is dissociated from the Azure Arc VM.
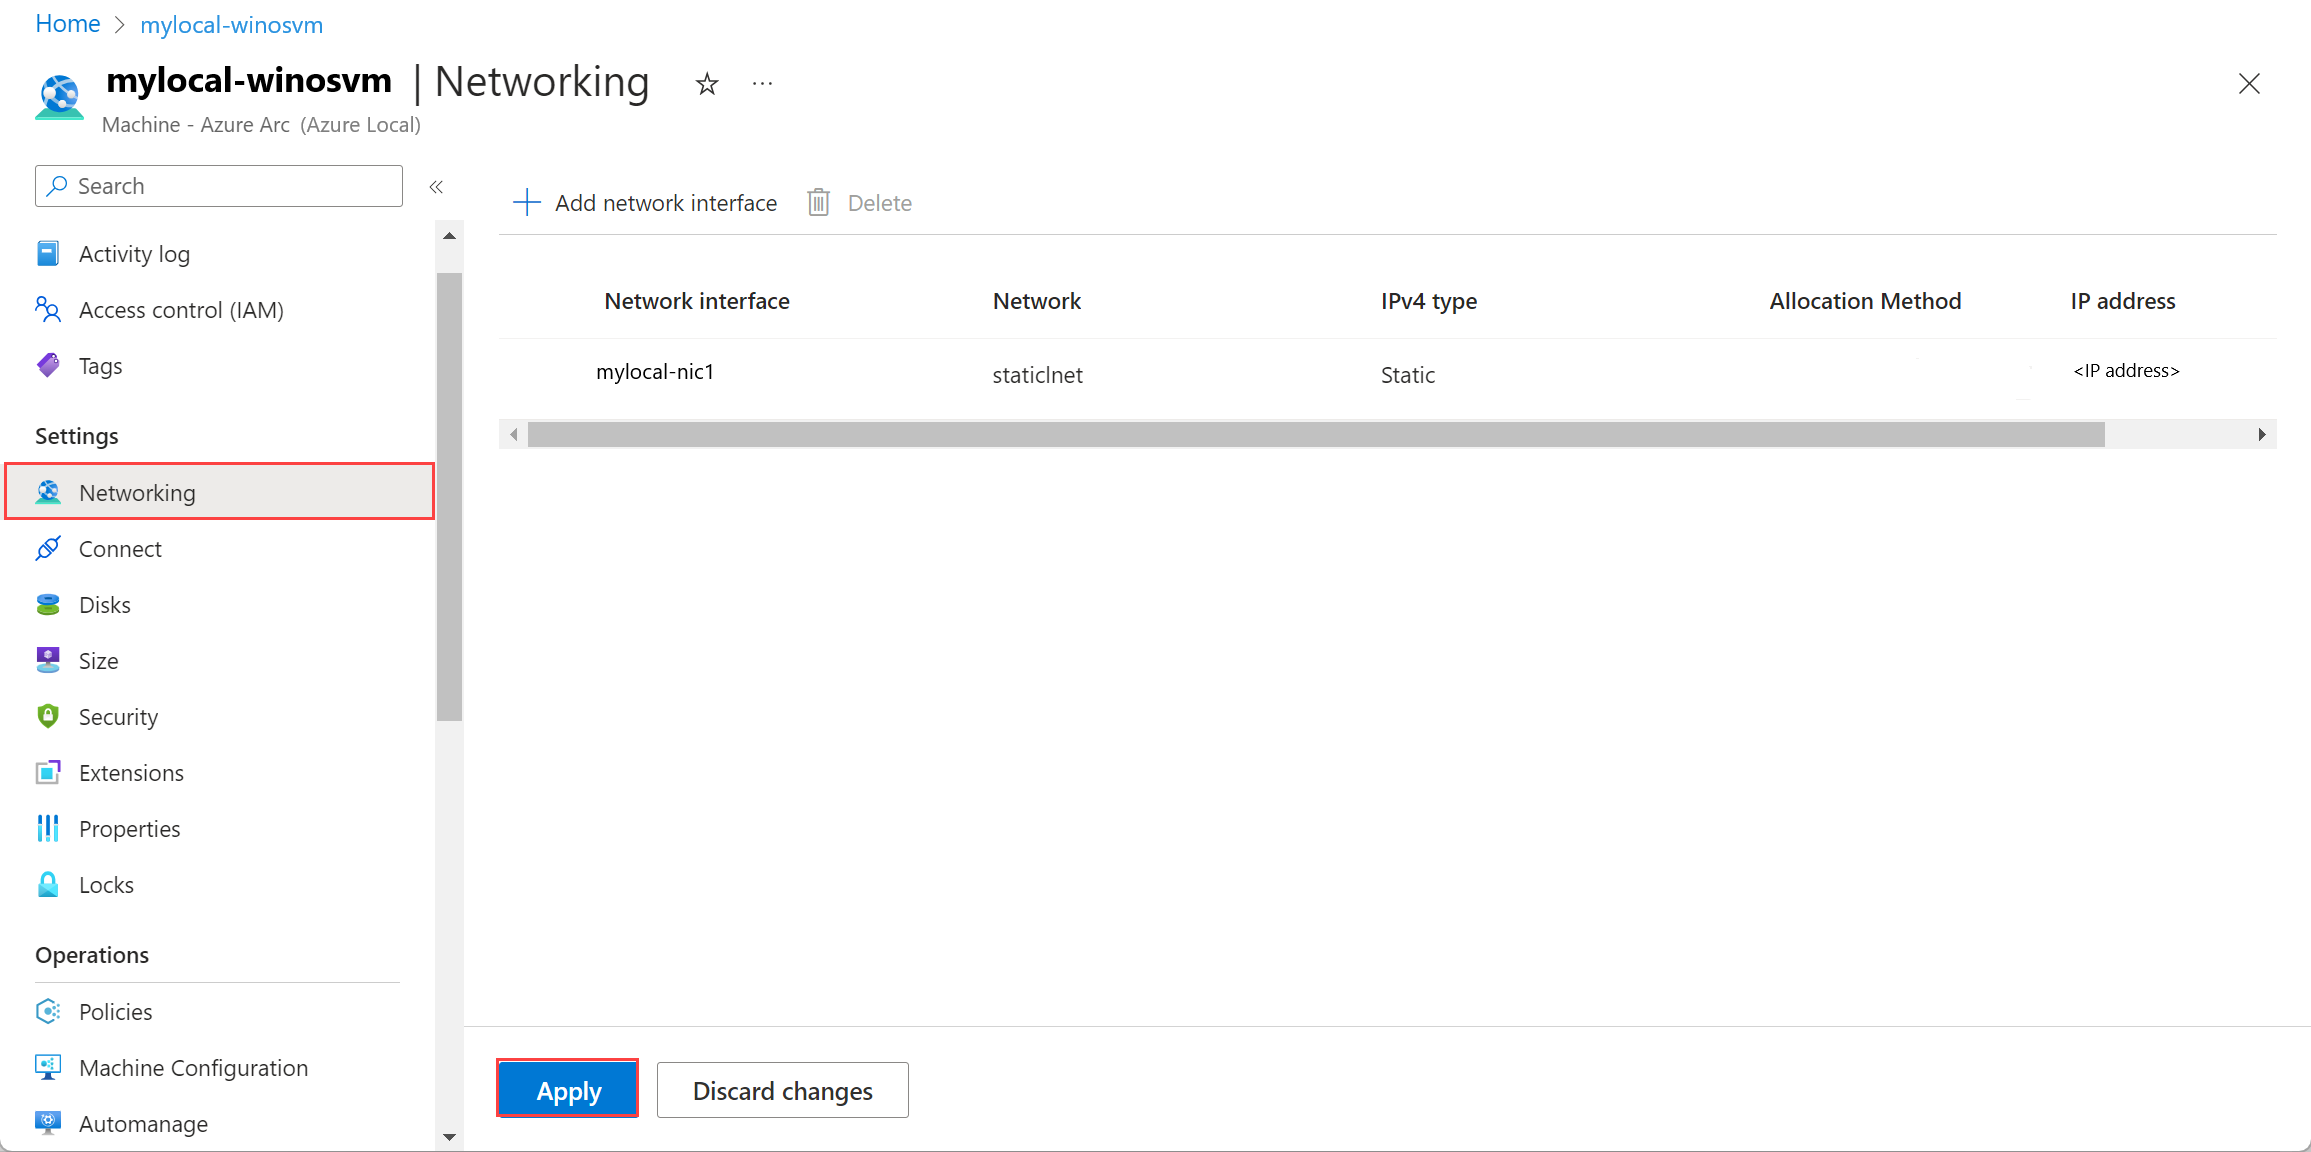
The list of network interfaces is updated with the deleted network interface.