Questions set up in Program Summary
Important
The term item refers to any question or statement posed to a survey taker.
Admins can add, modify, or delete template items on the Questions page. Standard templates provide prepopulated survey items, along with customizable introductory and concluding text. The Viva People Science Team researches and substantiates prepopulated survey items.

Refer to the Learn about Viva Glint program design module to learn how to implement your organization's listening strategy in your survey program question setup.
Use Viva Glint's survey templates
Standard templates provide prepopulated survey items, along with customizable introductory and concluding text. The Viva Glint People Science Team researches and substantiates prepopulated survey items.
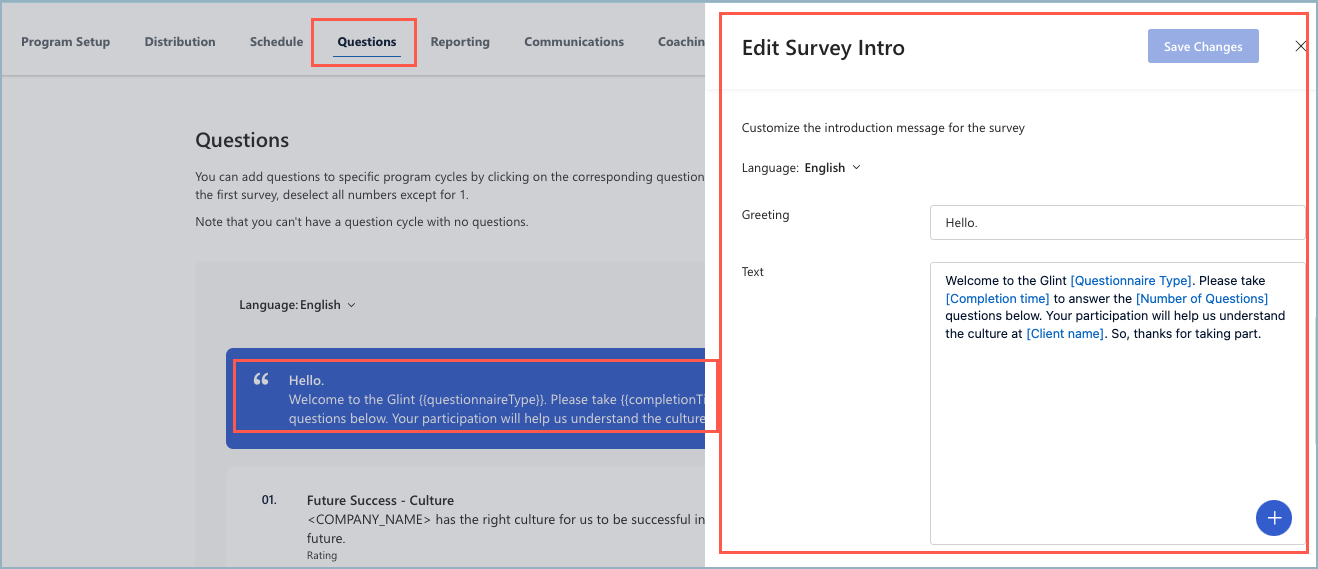
Edit the survey introduction message
Customize the introduction message for the survey by hovering over and selecting the box with the Hello message. In the Edit Survey Intro slider panel:
If multiple languages were set up in General Settings for this program, the option to select languages shows. Choose an alternate language from the Language dropdown menu.
Edit Greeting - "Hello" is prepopulated but can be customized.
Edit Text - Default text shows in the Text box. All default text can be edited. Delete macros or add macros by selecting the + symbol.
Select Save Changes.

Add a hyperlink to the survey introduction
To add a link to an employee resource or other information in your survey introduction:
- Select the Questions section of your survey program and select the survey introduction section.
- In the Text field, add
[Display text](link), replacing "Display text" with the text that should become a link. Replace "link" with the URL.- Example:
[Contoso handbook](http://www.contoso.com)
- Example:
- If your survey has multiple languages, select each language from the Language dropdown menu to add the hyperlink to the Text field in all languages.
- Select Save Changes.
- Preview your survey to confirm that the hyperlink works as expected.
Add a logo to the survey introduction
Tip
Ensure that logos are horizontally oriented, have a transparent background, and 16 MB or smaller in file size.
From the admin dashboard, select Configuration. In the Action Taking section, select Content Resources.
Select + New to add a new resource and OK in the languages message that appears.
Add a title in the Untitled Resource and Title fields. Survey intro logos can be unique to each survey program. Include the survey name in the title if desired.
In Type, select Image.
Optionally, add a Description.
In File, select Choose File. Choose the image file from your device. If the image is as you'd like, select Save.
Select Publish and then select Publish again in the Publish Resource dialog box.
On the Resources page, filter to Image and copy the text of the recently added image from the Name column.
Replace "logo-name" in this text with the name of your uploaded logo:
Copy the
text (with your logo name added) and paste it into the end of the Text field.Select Save Changes.
Preview your survey to confirm that the logo appears as expected.
Edit survey items
Survey items can be edited during the initial survey configuration and sometimes during a live survey. Read about editing live survey items.
There are three entry points where survey items can be edited:
- In the Question Library in Admin Configuration. This entry point doesn't require that the survey is changed to an unapproved state.
- In Survey Programs, Live
- In Upcoming Surveys
Important
Allow Survey Resubmission in the Program Setup must be toggled to Yes. If not, an alert informs you that the change to Yes happens automatically when edits are saved. To continue, select Edit.
Edit a survey item from the Questions page in Program Summary
Hover over the item to display the horizontal ellipses. Select Edit Question from the dropdown menu.

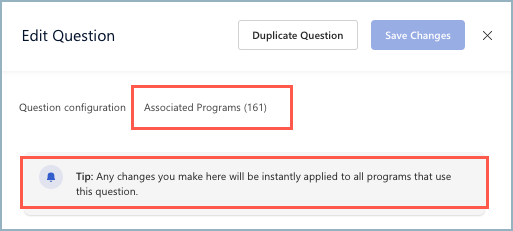
In the Edit Question panel, there are two tabs to consider:
- Question configuration
- Associated Programs
Question Configuration tab

Follow the in-platform guidance for edits to your chosen item. Select Save Changes when you're finished.
Important
For comment setup, consider whether Auto-expand comments input is enabled in Program Setup.
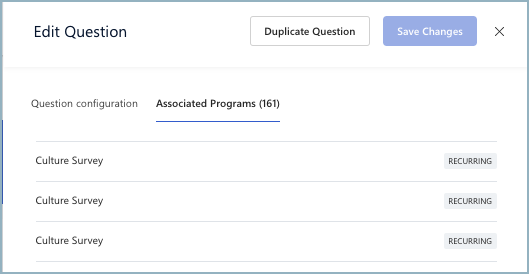
Associated Programs tab
A list of each program your edited survey item appears in displays. The example image shows a portion of the list of 161 associated programs for the chosen item. Be sure the change works for each associated program!
Survey item targeting
Add a target to a specific item to ensure that only the population selected sees it in the survey. Using the search box, select one or more User Roles to include or exclude. Select Save Changes.
Delete survey items
Remove an item from the program by selecting Yes, delete it in the box that displays. If you don't want to delete, select No, I changed my mind.
Edit the "Thank You!" message
Customize the Thank You concluding survey message by hovering over the box and selecting it. In the window that opens:
- Select languages from the Language dropdown menu. Languages permissioned for your organization in General Settings are available. If only English is available, this field won't show.
- Edit Greeting - "Thank you!" is prepopulated but customize the greeting in a way that's comfortable for you.
- Edit Text - You see dummy text in the Text box.
- All dummy text can be edited.
- The Text field also includes placeholders, called macros, that pull in values based on your employee data or Glint-generated items. Delete macros or add new macros by selecting the + symbol in the Text box.
- Select Save Changes.
Note
To add a hyperlink to the survey Thank You message, follow these steps.
Edit Question cycles
You don't have to use all of the items selected for a survey in each cycle. Choose survey items per cycle by selecting the corresponding cycle number next to the item. For example, if you only want a certain item asked on the first survey, deselect all numbers except for the number 1.
Add new items and section breaks
To add rating questions, multiple choice questions, open-ended questions, or section breaks (to give your people time to take a natural pause), follow this guidance: Adding items to a prepopulated survey.
Edit Display Logic
Tip
Wait to add display logic until after your sections and items are in the order you want.
- In the Display Logic window, set the Overall logic for conditions and Conditions or Subconditions.
- Select + Add new condition to add more.
Use this guidance to manage display logic