Customize buttons in Power BI reports
APPLIES TO:
Power BI Desktop
Power BI service
Whether you create a button in Power BI Desktop or the Power BI service, you can customize it in many different ways to suit your requirements. For example, you can turn Button Text on or off, and you can change the button shape, icon, fill, title, or the action that happens when users select the button in a report, among other properties.
This article highlights some of the ways in which you can customize a button in Power BI reports, like changing the shape, using a custom image, and applying effects. To learn how to add and set up a button with an action, see Create and configure buttons in Power BI reports.
Note
Customizing a button requires Edit permission to the report. Sharing a report requires a Power BI Pro or PPU license or for the report to be saved in Premium capacity. For more information, see Which license do I have and What is Premium.
Change the shape
A rectangle is the default shape for buttons, but you can change the shape:
Select the button you want to change.
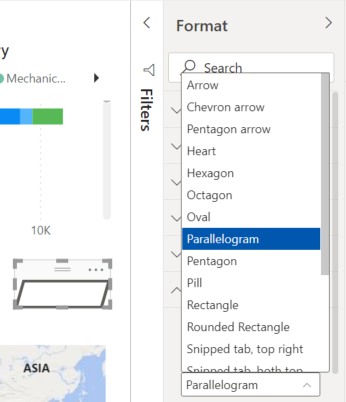
Navigate to the Shape tab of the Format button pane, and customize the button to any of the available shapes (parallelogram, rounded rectangle, arrow, etc.):

Change the size and position
You can resize any button with the mouse using the corner handles that appear when you select a button and hover over the edges. Grab and drag the handles to make the button smaller or larger.
For a more precise size adjustment, use the fields on the Size tab under General > Properties.

To move a button, use the mouse to drag and drop it to another position on the report canvas. You can also enter the exact coordinates on the Position tab under General > Properties.
Add a custom image or icon
Another great way to customize your button is to add a custom image or icon for your button.
Here’s an example of a button with a custom image:

To add a custom image or icon:
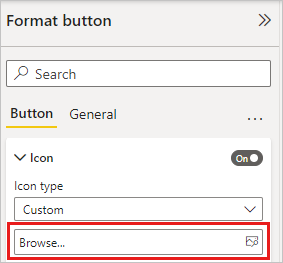
Select the button, and navigate to the Style > Icon tab of the Format button pane.
Select the Custom option for Icon, then select Browse.

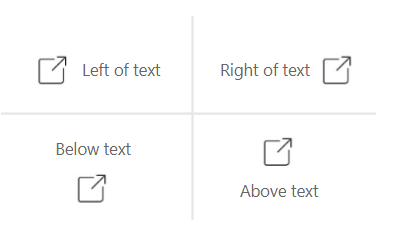
After you add your image, you can customize the Image fit and Icon placement. With icon placement, you can place the image either Left of text, Right of text, Below text, or Above text.

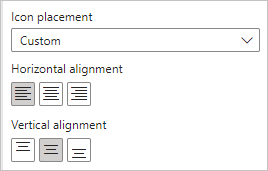
You can choose the Custom option to control the icon’s Vertical alignment and Horizontal alignment.

You can also customize the Icon size. By default, the icon size is set to Auto, meaning that as you resize the button, the icon size automatically changes size. You can set a fixed Icon size (in pixels) by typing a number in the Icon size box.
Add effects
Just like Power BI built-in shapes, Power BI buttons can have artistic effects to suit your design needs:
- Shape shadow effects
- Shape glow effects
- Button Shape rotation and Text rotation
Related content
For more information about features that are similar or interact with buttons, take a look at the following articles: