Build an AI agent bot in Teams
An AI agent in Microsoft Teams is a conversational chatbot that uses Large Language Models (LLMs) to interact with the users. It understands user intentions and selects a sequence of actions, enabling the chatbot to complete common tasks.
Prerequisites
| Install | For using... |
|---|---|
| Visual Studio Code | JavaScript, TypeScript, or Python build environments. Use the latest version. |
| Teams Toolkit | Microsoft Visual Studio Code extension that creates a project scaffolding for your app. Use the latest version. |
| Node.js | Back-end JavaScript runtime environment. For more information, see Node.js version compatibility table for project type. |
| Microsoft Teams | Microsoft Teams to collaborate with everyone you work with through apps for chat, meetings, and calls all in one place. |
| Azure OpenAI | First create your OpenAI API key to use OpenAI's Generative Pretrained Transformer (GPT). If you want to host your app or access resources in Azure, you must create an Azure OpenAI service. |
Create a new AI agent project
Open Visual Studio Code.
Select the Teams Toolkit
 icon in the Visual Studio Code Activity Bar
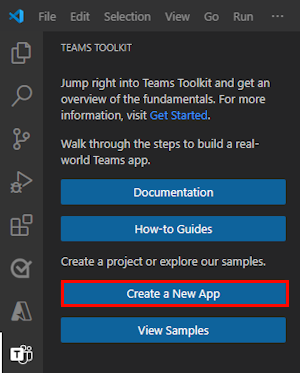
Select Create a New App.
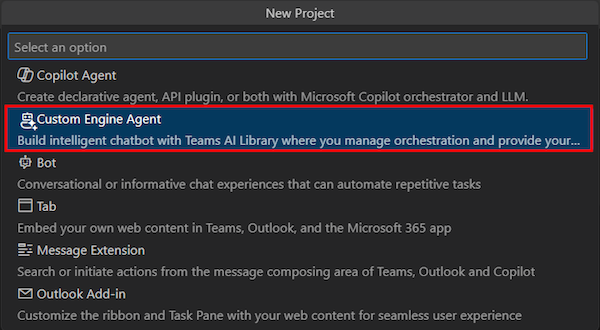
Select Custom Engine Agent.
Select AI Agent.
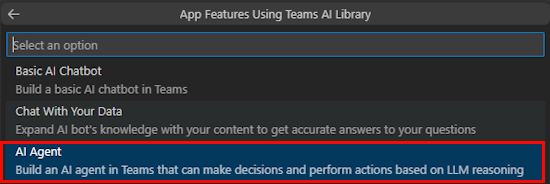
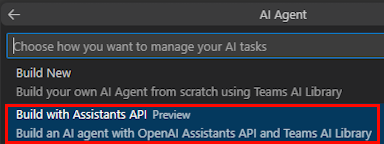
To build an app, select any of the following options:
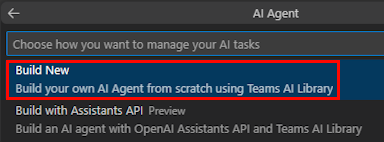
Select Build New.
Select JavaScript.

By default OpenAI service gets selected, you can optionally enter the credentials to access OpenAI. Select Enter.

Select Default folder.

To change the default location, follow these steps:
- Select Browse.
- Select the location for the project workspace.
- Select Select Folder.
Enter an app name for your app and then select the Enter key.

You've successfully created your AI agent bot.
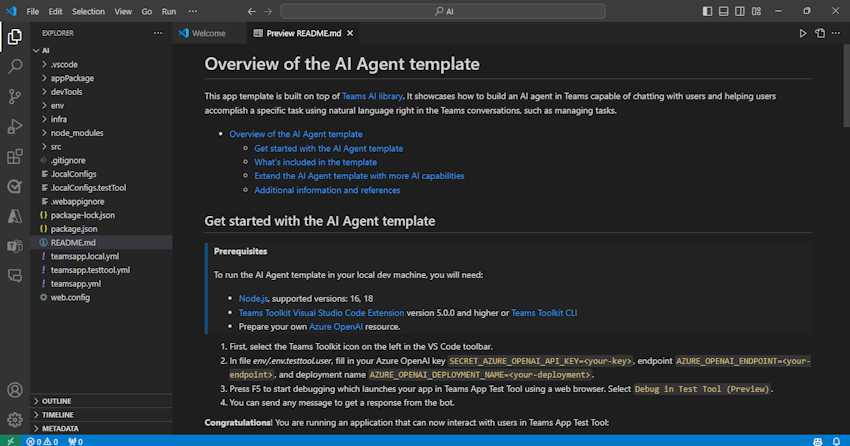
Under EXPLORER, go to the env > .env.testtool.user file.
Update the following values:
SECRET_AZURE_OPENAI_API_KEY=<your-key>AZURE_OPENAI_ENDPOINT=<your-endpoint>AZURE_OPENAI_DEPLOYMENT_NAME=<your-deployment>

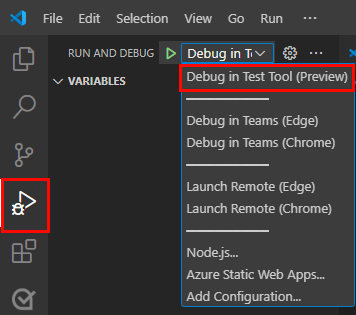
To debug your app, select the F5 key or from the left pane, select Run and Debug (Ctrl+Shift+D) and then select Debug in Test Tool (Preview) from the dropdown list.
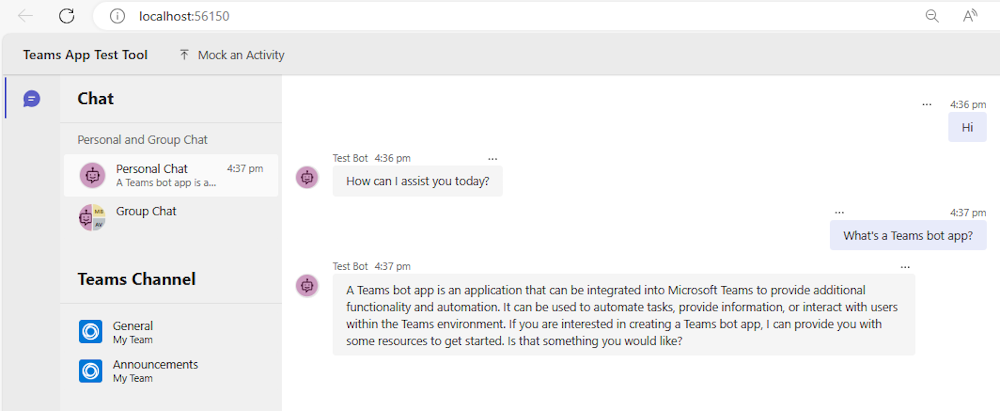
Test Tool opens the bot in a webpage.
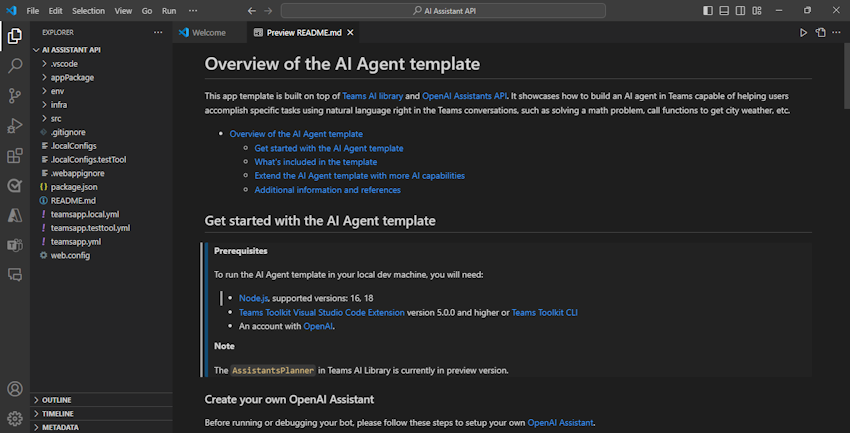
Take a tour of the bot app source code
Folder Contents .vscodeVisual Studio Code files for debugging. appPackageTemplates for the Teams app manifest. envEnvironment files. infraTemplates for provisioning Azure resources. srcThe source code for the app. The following files can be customized and they demonstrate an example of implementation to get you started:
File Contents src/index.jsSets up the bot app server. src/adapter.jsSets up the bot adapter. src/config.jsDefines the environment variables. src/prompts/planner/skprompt.txtDefines the prompt. src/prompts/planner/config.jsonConfigures the prompt. src/prompts/planner/actions.jsonDefines the actions. src/app/app.jsHandles business logics for the AI Agent. src/app/messages.jsDefines the message activity handlers. src/app/actions.jsDefines the AI actions. The following are Teams Toolkit specific project files. For more information on how Teams Toolkit works, see a complete guide on GitHub:
File Contents teamsapp.ymlThis is the main Teams Toolkit project file. The project file defines the properties and configuration stage definitions. teamsapp.local.ymlThis overrides teamsapp.ymlwith actions that enable local execution and debugging.teamsapp.testtool.ymlThis overrides teamsapp.ymlwith actions that enable local execution and debugging in Teams App Test Tool.
Create an AI agent using Teams AI library
Build new
Teams AI library provides a comprehensive flow that simplifies the process of building your own AI agent. The important concepts that you need to understand are as follows:
- Actions: An action is an atomic function that is registered to the AI system.
- Planner: The planner receives the user's request, which is in the form of a prompt or prompt template, and returns a plan to fulfill it. This is achieved by using AI to mix and match atomic functions, known as actions, that are registered to the AI system. These actions are recombined into a series of steps that complete a goal.
- Action Planner: Action Planner uses an LLM to generate plans. It can trigger parameterized actions and send text based responses to the user.
Build with Assistants API
Assistants API from OpenAI simplifies the development effort of creating an AI agent. OpenAI as a platform offers prebuilt tools such as Code Interpreter, Knowledge Retrieval, and Function Calling that simplifies the code you need to write for common scenarios.
| Comparison | Build new | Build with Assistants API |
|---|---|---|
| Cost | Only costs for LLM services | Costs for LLM services and if you use tools in Assistants API leads to extra costs. |
| Dev effort | Medium | Relatively small |
| LLM services | Azure OpenAI or OpenAI | OpenAI only |
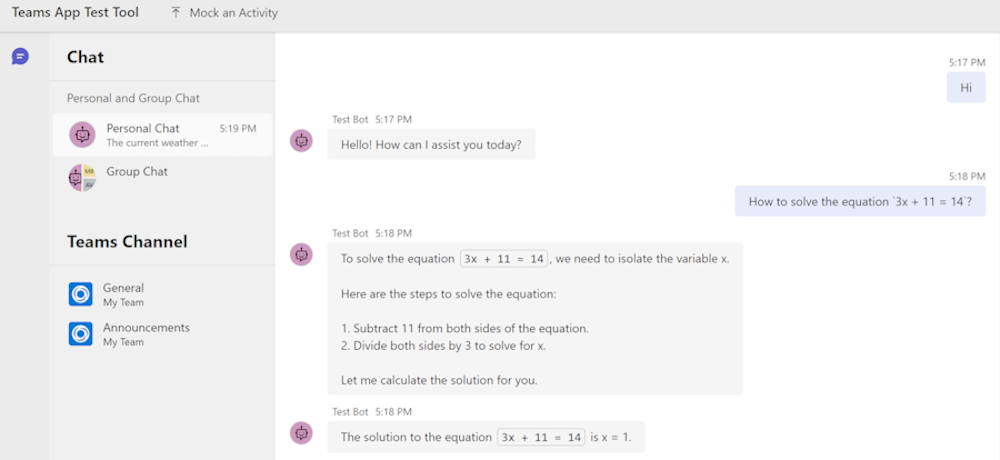
| Example implementations in template | This app template can chat and help users to manage the tasks. | This app templates use the Code Interpreter tool to solve math problems and also the Function Calling tool to get city weather. |
| Limitations | NA | Teams AI library doesn't support the Knowledge Retrieval tool. |
Customize the app template
Customize prompt augmentation
The SDK provides a functionality to augment the prompt.
- The actions, which are defined in the
src/prompts/planner/actions.jsonfile, are inserted into the prompt. This allows the LLM to be aware of the available functions. - An internal piece of prompt text is inserted into the prompt to instruct LLM to determine which functions to call based on the available functions. This prompt text orders LLM to generate the response in a structured json format.
- The SDK validates the LLM response and lets LLM correct or refine the response if the response is in wrong format.
In the src/prompts/planner/config.json file, configure augmentation.augmentation_type. The options are:
Sequence: Suitable for tasks that require multiple steps or complex logic.Monologue: Suitable for tasks that require natural language understanding and generation, and more flexibility and creativity.
Build new add functions
In the
src/prompts/planner/actions.jsonfile, define your actions schema.[ ... { "name": "myFunction", "description": "The function description", "parameters": { "type": "object", "properties": { "parameter1": { "type": "string", "description": "The parameter1 description" }, }, "required": ["parameter1"] } } ]In the
src/app/actions.tsfile, define the action handlers.// Define your own function export async function myFunction(context: TurnContext, state: TurnState, parameters): Promise<string> { // Implement your function logic ... // Return the result return "..."; }In the
src/app/app.tsfile, register the actions.app.ai.action("myFunction", myFunction);
Customize assistant creation
The src/creator.ts file creates a new OpenAI Assistant. You can customize the assistant by updating the parameters including instruction, model, tools, and functions.
Build with Assistants API add functions
When the assistant provides a function and its arguments for execution, the SDK aligns this function with a preregistered action. It later activates the action handler and submits the outcome back to the assistant. To integrate your functions, register the actions within the app.
In the
src/app/actions.tsfile, define the action handlers.// Define your own function export async function myFunction(context: TurnContext, state: TurnState, parameters): Promise<string> { // Implement your function logic ... // Return the result return "..."; }In the
src/app/app.tsfile, register the actions.app.ai.action("myFunction", myFunction);
See also
Platform Docs

