Extend Microsoft 365 Copilot with Copilot agents
Microsoft 365 Copilot provides default experiences for engaging with content and resources from across an organization. While the default functionality provides many useful capabilities, sometimes customers need to interact with a more focused conversational assistant, accessible directly within Microsoft 365 Copilot.
In Copilot Studio, these more focused assistants are called Copilot agents. These agents are authored by giving natural language instructions that generate prompts for Microsoft 365 Copilot. Copilot agents can include references to enterprise data, actions, and suggested prompts.
Note
What are called Copilot agents in Copilot Studio are known as declarative agents in Microsoft 365 Copilot. For more information about Microsoft 365 Copilot extensibility, see Microsoft 365 Copilot extensibility.
This article covers:
- Authoring a Copilot agent
- Adding actions and knowledge to the agent
- Publishing the agent to Microsoft 365 Copilot and Microsoft Teams
What are Copilot agents, actions, copilot knowledge, and starter prompts?
The following table gives more detailed information about the distinctions between agents, actions, copilot knowledge, and starter prompts.
| Name | Definition |
|---|---|
| Copilot agent | A Copilot agent is created by authoring a prompt for Microsoft 365 Copilot. This prompt is used to define a set of runtime behaviors, personalities, and rules that govern the agent's interactions. An agent is most often used in the context of extending Microsoft 365 Copilot. A Copilot agent can also be used directly as an agent in Microsoft Teams. |
| Action | Formerly known as plugins. The mechanism that lets a copilot call out to other systems and retrieve data or perform other actions. Actions are single-turn interactions. Actions can be authenticated, and can include parameters, cards, and other functionalities. See Use actions with custom agents. |
| Knowledge | Knowledge refers to information that lives within your Microsoft 365 tenant, including SharePoint, and Graph connectors. |
| Starter prompt | Starter prompts are maker-authored prompts in an agent that make it easy for customers to do common or sophisticated actions with the agent. |
Keeping agents secure
Microsoft 365 customers and partners can build Copilot agents that extend Microsoft 365 Copilot with custom instructions, grounding knowledge, and actions invoked via REST API descriptions configured by the agent. Custom actions grab data that influences the behavior of your Microsoft 365 Copilot, including from untrusted sources like emails and support tickets. Attackers can create payloads in these untrusted sources to manipulate the agent's behavior, such as incorrectly answering questions or invoking custom actions.
To protect your agent from attacks, use the controls in Copilot Studio to configure secure connectors used for knowledge and custom actions.
Prerequisites
- Users and makers must have a license to use Microsoft 365 Copilot.
- Makers must have permissions to create in and have access to a Copilot Studio environment.
Create an agent
Unlike traditional authoring where a maker creates each topic with natural language triggers for even simple tasks, an agent configured to use generative AI has a baseline set of default behaviors. As a maker, you can add knowledge and actions to make the agent more capable for your specific requirements.
To create a Copilot agent for Microsoft 365 Copilot:
Sign-in to a Copilot Studio account at https://copilotstudio.microsoft.com
Navigate to Agents in the left side navigation panel.
Select Microsoft 365 Copilot from the list of agents.
From here, select + Add on the Agents card. You're sent to the conversational authoring experience.
In full sentences, describe what the agent should be able to do and know.
When the interaction is completed, select I'm done in the chat.
Note
Skip over the conversational interface at any time, by choosing Skip to configure.
Select Create to get to the overview page for the agent.
The agent is now created. You can interact with the Copilot agent in the test canvas, or add more capabilities and knowledge to it. So far, the agent has no added knowledge sources. The only information the agent has is the data provided to it in the instructions. The agent doesn't have access to enterprise knowledge or any other actions at this time, so any responses are provided from the generative AI's own knowledge.
Add knowledge to a Copilot agent
When you first create an agent, it starts out with only the base generative AI knowledge. The agent is unaware of any other data sources. To give it more knowledge, add knowledge on the Overview page for your agent, or on the Knowledge page.
There are three primary types of knowledge that can be added to an agent:
| Name | Definition |
|---|---|
| SharePoint | Paths to SharePoint resources in the organization. Microsoft 365 Copilot uses the credentials of the user to ensure they only are given answers from information they have access to. |
| Copilot (Graph) connectors | Connectors are data sources configured by the tenant admin to add knowledge to Microsoft Copilot and agents. Learn more about Graph connectors |
| Web search | The agent can also use public web search (via Bing) to retrieve web results |
Note
Web Search is configured via the capabilities card on the overview page, not on the knowledge page.
To start adding knowledge to the agent:
- Return to the agent overview page.
- From the Knowledge card, select + Add Knowledge.
- Choose a data source.
- If you're using SharePoint, provide a path to root of the library or site. A single page or file being specified isn't supported at this time.
- If you're using a copilot connector and the admin configured a Graph connector in Microsoft 365, you can choose a Graph connector from the configured data sources.
- Web search can be enabled/disabled from the copilot overview page in the Additional Settings card.
Multiple knowledge sources can be added with a mix of types to an agent. In addition, for SharePoint, up to four paths can be included.
With the knowledge sources configured, the agent with knowledge is immediately available in the test chat. Close the knowledge panel, choose the refresh gesture at the top of the test chat to get a new chat, and then try asking questions that should be present in the data source.
Note
If results are not returned, please submit feedback to Microsoft for analysis and product improvement.
Add an action to a Copilot agent
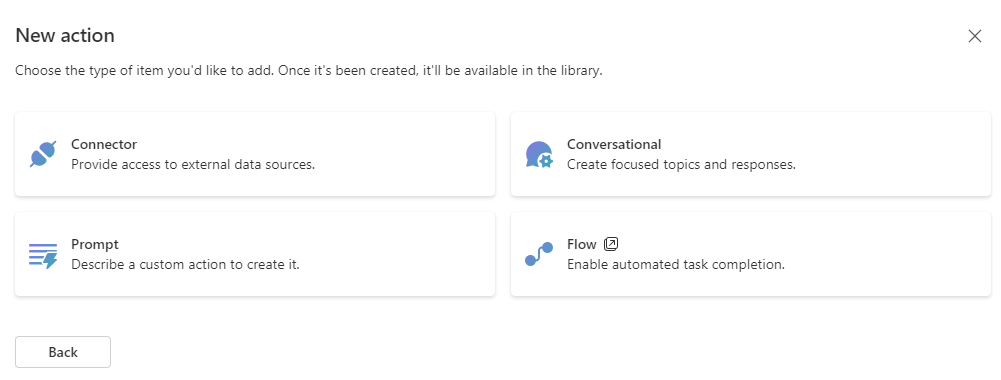
An action is used to enable an agent to retrieve information or to perform a task such as updating a record or completing a transaction. Actions can be created from Copilot connectors (also known as Power Platform connectors). Action types include AI Builder prompts, connectors, flows, and custom connectors. To learn more about Copilot connectors, see: Learn content on Copilot connectors.
Adding an action requires extra planning on the part of the maker vs adding knowledge. Several considerations come into play:
- Should the action use the user's authentication or the maker's authentication?
- Can the maker provide descriptions to inform the generative AI when and how to invoke the action?
- Should the parameters to the function always be automatically filled, or should the maker fill them at authoring time?
Each of these considerations comes in to play when adding actions to an agent.
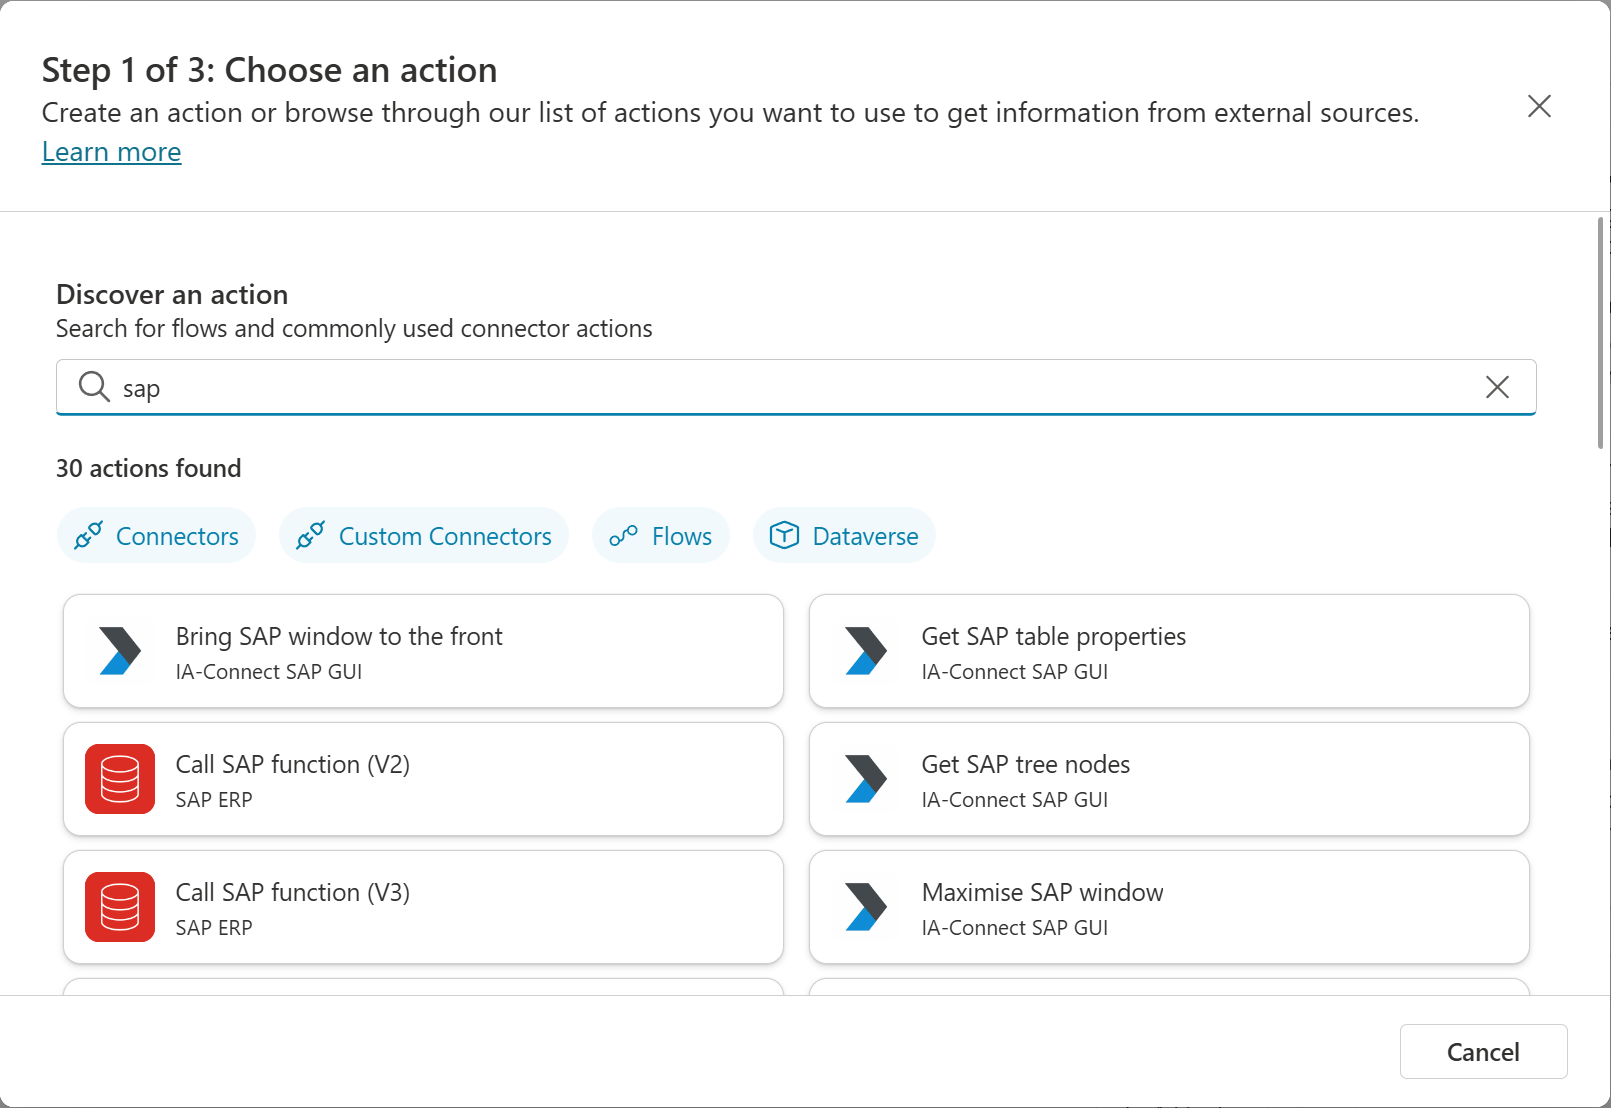
To add an action:
- Return to the agent's overview page.
- From the Actions card, choose Add Action.
- Search for the desired copilot connector or choose Create a new flow or Add an API for a custom connector.
- Assuming a Copilot connector is chosen, a UX is presented with Connector and Configure sections.
Connector section
- End User Authentication: Choose the type of authentication preferred for this action. You have a choice between user authentication and copilot author authentication. Other authentication configuration details are automatically handled by the copilot connector implementation.
- Usage Description: Instructions that tell the Microsoft 365 Copilot how to use the action in the agent.
Configure section
- Plugin Action Name: The name for the action as seen in Microsoft 365 Copilot in citations. This information also can be influential in helping Microsoft 365 Copilot choose the action to execute.
- Display Name: Friendly name for the action as seen in the Microsoft 365 Copilot user experience.
- Description for the agent to know when to use this action: A full conversational description of when Copilot should use this action, and the sort of questions that trigger it.
Inputs and outputs
Copilot Studio automatically populates a set of inputs and outputs by inspecting the copilot connector object. The maker can let Copilot fill in those fields or fill them in manually during authoring.
By default, no customization is needed on this experience unless the maker chooses to manually fill a field, or chooses to override a description.
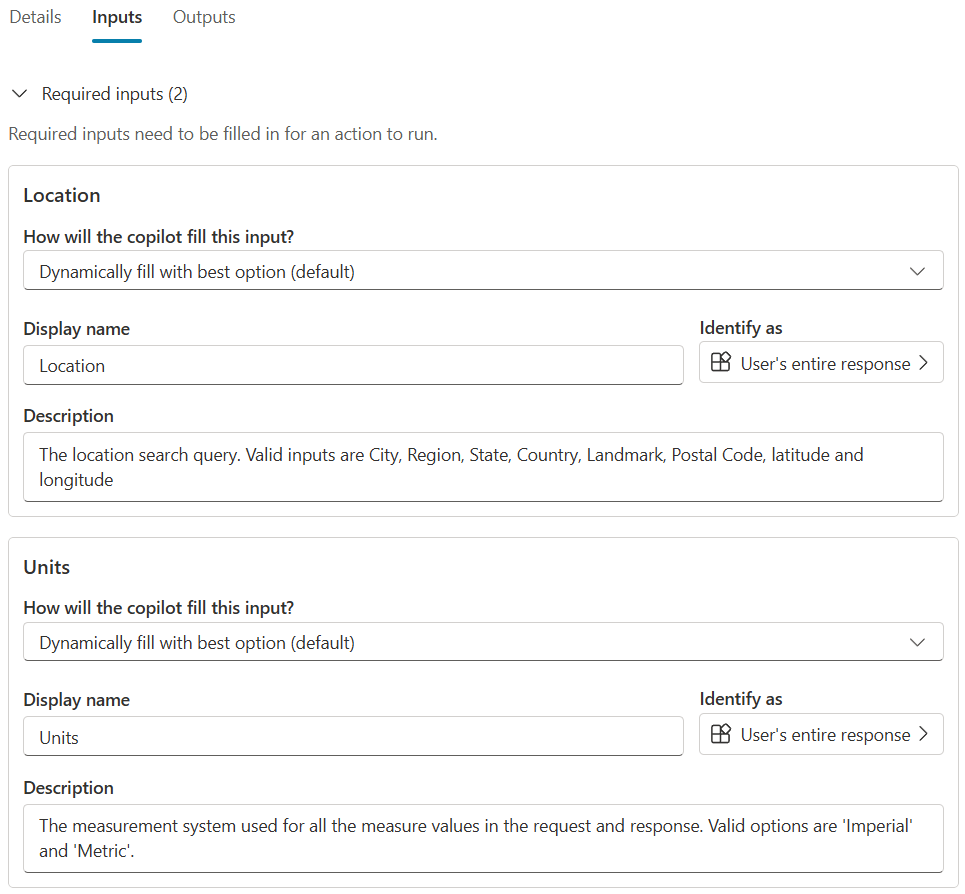
Finishing and testing
The last tab allows you to review your choices, make any adjustments and then save your changes.
Once saved, the actions are ready to test in the Copilot Studio test chat. Select Refresh at the top of the test chat, and then ask a question that should invoke the action.
In the chat, the first time the user triggers the action, the agent presents a connection card. This card is used to enable the user to sign in to the action with their own credentials.
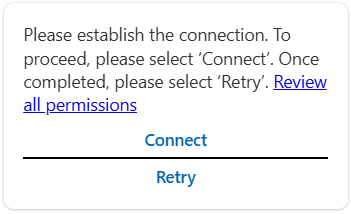
Selecting Connect takes the user to an experience where they can choose the connection for the action they're using and sign in or otherwise connect to it. Once the connection is established, it's durable for the session. After that, the user can close the browser and retry the action.
Important
The full screen browser for connection management is a temporary solution and will be addressed before release.
Starter prompts
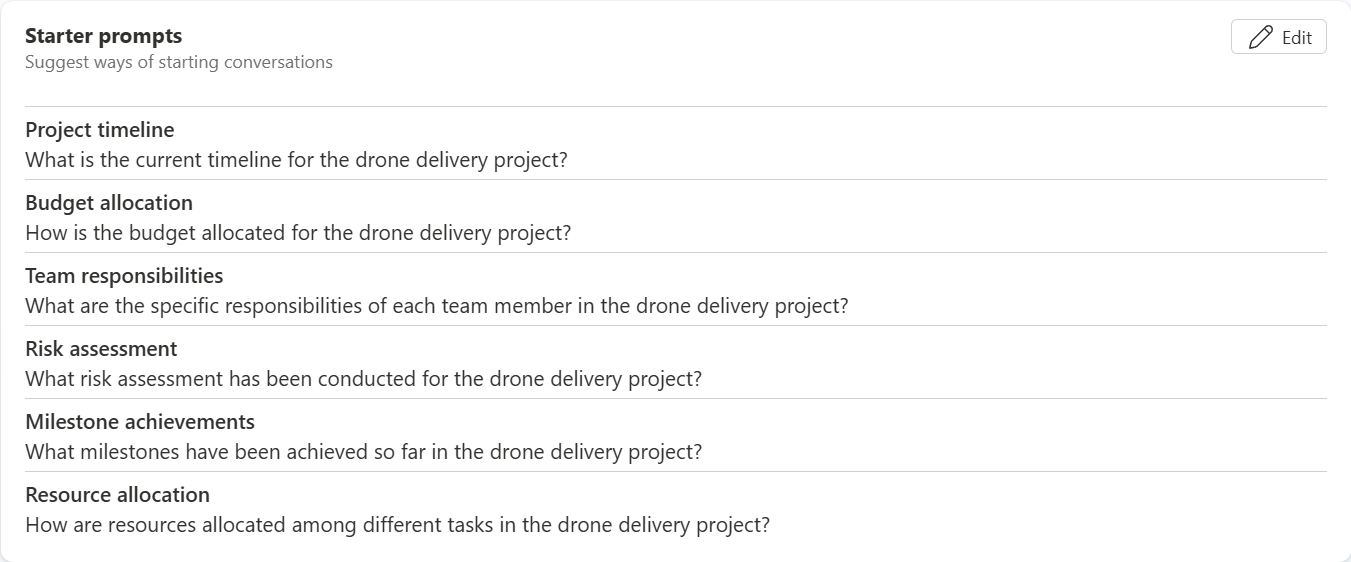
Often when users first interact with any sort of agent, they don't know what they can ask, or don't understand the richness of the agent. As a result they tend to ask simple questions. Microsoft 365 Copilot addresses this issue by providing a starter prompts experience. Starter prompts present the user with easy prompts to get started.
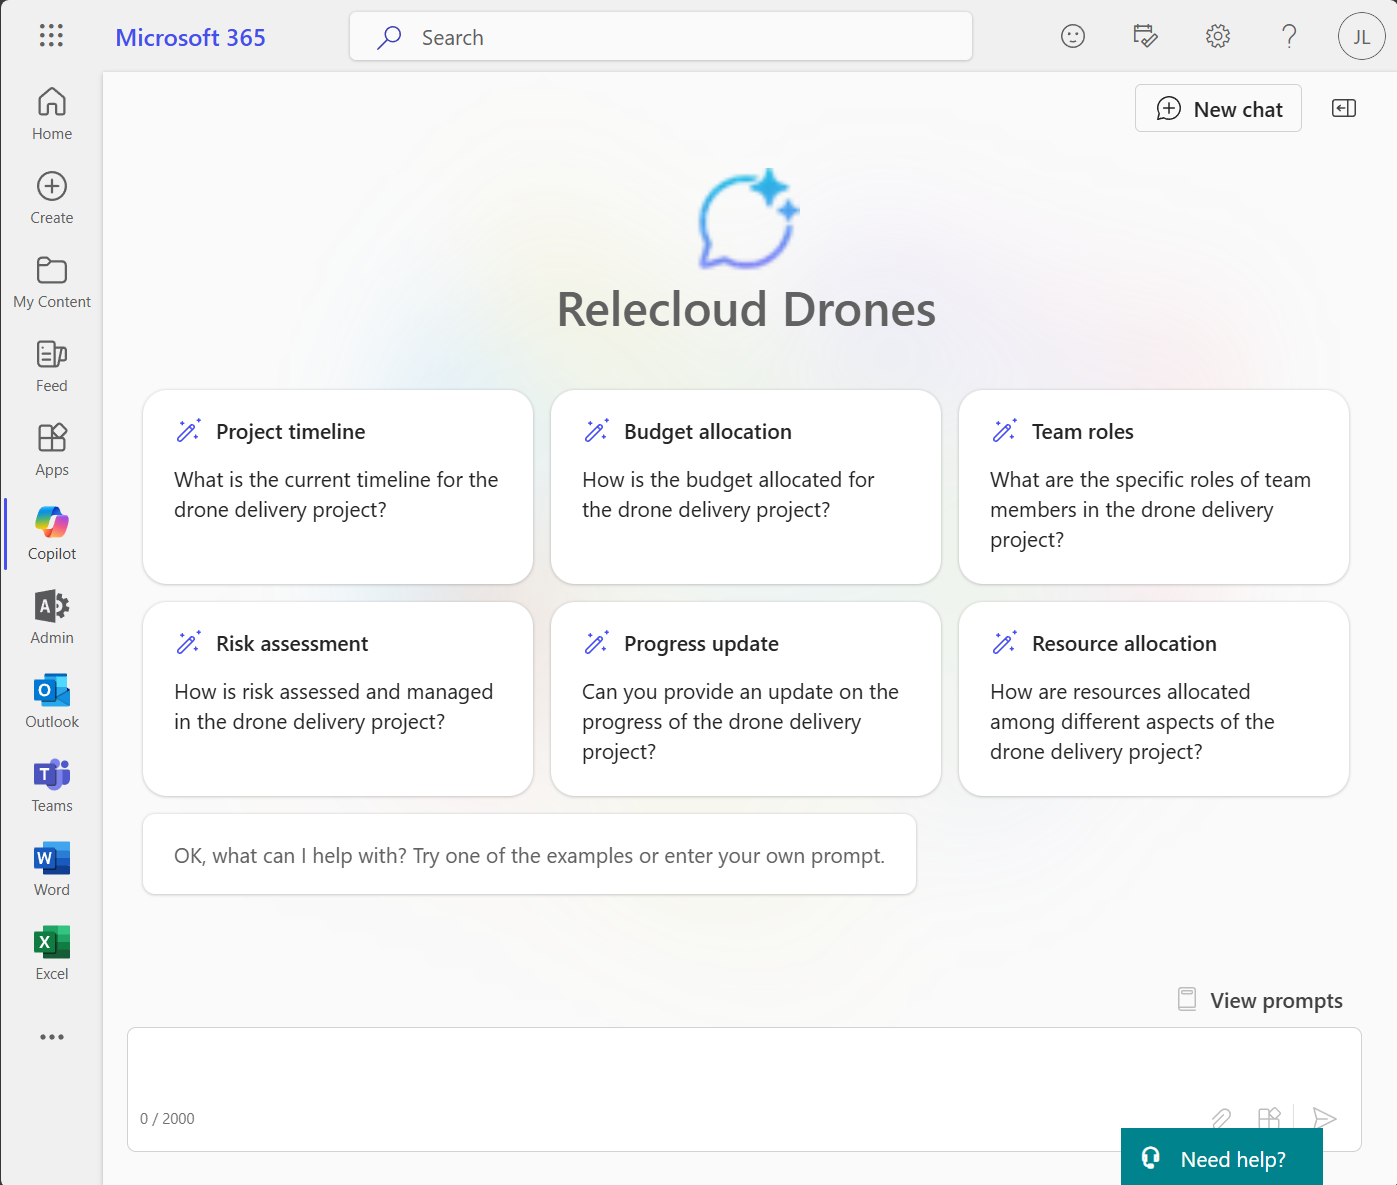
Copilot Studio automatically creates starter prompts when you use the conversational experience to create your agent. You can also edit or create your own at any time with the Starter prompts experience on the Overview page.
Understanding starter prompts
One way to use the starter prompts is as a shortcut for simple questions you expect users to ask. However, they're also an opportunity to present more sophisticated prompts that the user might not otherwise understand are possible.
Within starter prompts, agent authors have full access to the capabilities of the Microsoft 365 Copilot large language model, including the actions and knowledge you added. Consider creating sophisticated prompts that help users achieve common tasks easily.
Author starter prompts
- Navigate back to the agent's Overview page.
- Scroll down to Starter Prompts and select Edit.
- Add up to six starter prompts and hit save.
Publishing a Copilot agent
Once the agent is working how you want in the Copilot Studio test experience, you're ready to publish. Publishing converts the agent from a draft state to a published state, ready to upload to the organization's catalog. Unlike a standalone copilot, an agent isn't automatically deployed to Microsoft 365 Copilot and Teams when published.
Publish your agent
Navigate back to the agent's Overview page.
Choose Publish on the top right.
The information on the subsequent form is used to populate the catalog entry in the organization's Office and Teams Catalogs and the Microsoft Admin Center Integrated Apps list. It isn't used by the Microsoft 365 Copilot language model.
Fill in the fields as needed and select Publish.
When the operation is complete, you're taken to the Availability options page.
Note
When you select Publish, a bot resource is provisioned in your tenant's Azure Entra ID environment, corresponding to your agent. This will allow users to interact with the agent in Microsoft Teams.
Availability Options
The Availability options page is used to distribute the agent to the agent's author's account to use or to small groups of peers governed by distribution lists, or to be published to the organization's catalog by an admin.
Note
If an administrator has disabled side-loading or publishing for the tenant, one or more of these features may be blocked. Work with the tenant admin to determine the appropriate distribution mechanism for the tenant.
| Availability Option | Description |
|---|---|
| Share Link | You can copy a deep link into Microsoft Teams to invoke the published agent. Opening the link in the tenant opens a chat experience with the agent. |
| Show to my teammates and shared users | Lets you grant access to others to participate in authoring the agent, or to security groups to grant them access to use the agent in Microsoft 365 Chat or Teams. |
| Show to everyone in my org | Submit to the tenant admin to add to the organizational catalog for all tenant users to install as desired. |
| Download as a .zip | Download as a zip folder. This availability option lets you manually upload to Teams/Microsoft 365 Copilot to submit to the admin to review, or upload directly to the organizational catalog. |
More information about managing apps in the Teams catalog can be found here: Manage Power Platform Apps
Using the Copilot agent in Microsoft 365 Copilot or Microsoft Teams
The agent should now be available to try out in Microsoft 365 Copilot or Teams. The user can interact with the agent by either @mentioning the agent in the Microsoft 365 Copilot chat interface or by selecting the agent from the sidebar. Once selected, the user interacts only with the agent until they end that conversation and return to Microsoft Copilot.
In the screenshot, the user requests information that's in the knowledge included in the agent. The generative AI, evaluating the agent's instructions, knowledge, and actions, determines that the best way to resolve the request is by using its knowledge to generate an answer. The generative AI also includes references for the sources it uses to generate the answer.
Tips for agent authors
- Microsoft 365 Copilot caches answers from previously asked questions in a given session, even if it called an action to retrieve data. To break this cache, use the New Chat button.
- To see more information about why the generative AI does or doesn't select an action, enter -developer on into the Microsoft 365 Copilot input box and ask the question.
- The results you see at runtime in Microsoft 365 Copilot might be different from what you see in Copilot Studio's test canvas and Microsoft Teams.
- Unlike a custom copilot, agents don't collect data in the Copilot Studio Analytics tab. This feature is being evaluated for future releases.
- When using Microsoft 365 Copilot to test your agent, use the thumbs down feedback experience to provide feedback to the Microsoft Copilot team to review and address issues. Feedback doesn't directly affect the triggering quality of Microsoft 365 Copilot.