Tutorial: Configure Microsoft Fabric mirrored databases from Snowflake
In this tutorial, you'll configure a Fabric mirrored database from Snowflake.
In this example, you will learn how to configure a secure connection to your Snowflake data source(s) along with other helpful information to get you acquainted with and proficient with the concepts of Mirroring in Microsoft Fabric.
Note
While this example is specific to Snowflake, you can find detailed steps to configure Mirroring for other data sources, like Azure SQL Database or Azure Cosmos DB. For more information, see What is Mirroring in Fabric?
Prerequisites
- Create or use an existing Snowflake warehouse. You can connect to any version of Snowflake instance in any cloud, including Microsoft Azure.
- You need an existing Fabric capacity. If you don't, start a Fabric trial.
- You will need user permissions for your Snowflake database that contains the following permissions. For more information, see Snowflake documentation on Access Control Privileges for Streaming tables and Required Permissions for Streams.
CREATE STREAMSELECT tableSHOW tablesDESCRIBE tables
- The user needs to have at least one role assigned that allows access to the Snowflake database.
Create a mirrored database
In this section, we'll provide a brief overview of how to create a new mirrored database to use with your mirrored Snowflake data source.
You can use an existing workspace (not My Workspace) or create a new workspace.
- From your workspace, navigate to the Create hub.
- After you have selected the workspace that you would like to use, select Create.
- Scroll down and select the Mirrored Snowflake card.
- Enter the name for the new database.
- Select Create.
Connect to your Snowflake instance in any cloud
Note
You might need to alter the firewall cloud to allow Mirroring to connect to the Snowflake instance.
Select Snowflake under "New connection" or selected an existing connection.
If you selected "New connection", enter the connection details to the Snowflake database.
Connection setting Description Server You can find your server name by navigating to the accounts on the resource menu in Snowflake. Hover your mouse over the account name, you can copy the server name to the clipboard. Remove the https://from the server name.Warehouse From the Warehouses section from the resource menu in Snowflake, select Warehouses. The warehouse is the Snowflake Warehouse (Compute) and not the database. Connection Create new connection. Connection name Should be automatically filled out. Change it to a name that you would like to use. Authentication kind Snowflake Username Your Snowflake username that you created to sign into Snowflake.com. Password Your Snowflake password that you created when you created your login information into Snowflake.com. Select database from dropdown list.
Start mirroring process
The Configure mirroring screen allows you to mirror all data in the database, by default.
- Mirror all data means that any new tables created after Mirroring is started will be mirrored.
- Optionally, choose only certain objects to mirror. Disable the Mirror all data option, then select individual tables from your database.
For this tutorial, we select the Mirror all data option.
Select Mirror database. Mirroring begins.

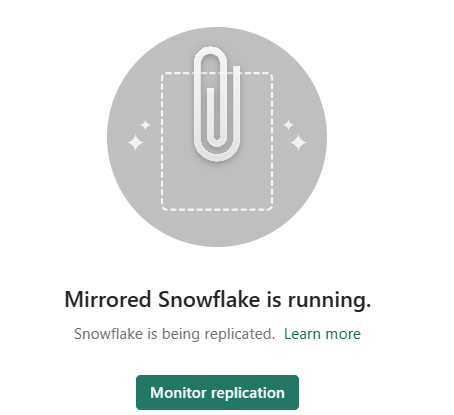
Wait for 2-5 minutes. Then, select Monitor replication to see the status.
After a few minutes, the status should change to Running, which means the tables are being synchronized.
If you don't see the tables and the corresponding replication status, wait a few seconds and then refresh the panel.
When they have finished the initial copying of the tables, a date appears in the Last refresh column.
Now that your data is up and running, there are various analytics scenarios available across all of Fabric.
Important
Any granular security established in the source database must be re-configured in the mirrored database in Microsoft Fabric.
Monitor Fabric Mirroring
Once mirroring is configured, you're directed to the Mirroring Status page. Here, you can monitor the current state of replication.
For more information and details on the replication states, see Monitor Fabric mirrored database replication.
Important
If there are no updates in the source tables, the replicator engine will start to back off with an exponentially increasing duration, up to an hour. The replicator engine will automatically resume regular polling after updated data is detected.