Copy from Azure Blob Storage to Lakehouse
In this tutorial, you build a data pipeline to move a CSV file from an input folder of an Azure Blob Storage source to a Lakehouse destination.
Prerequisites
To get started, you must complete the following prerequisites:
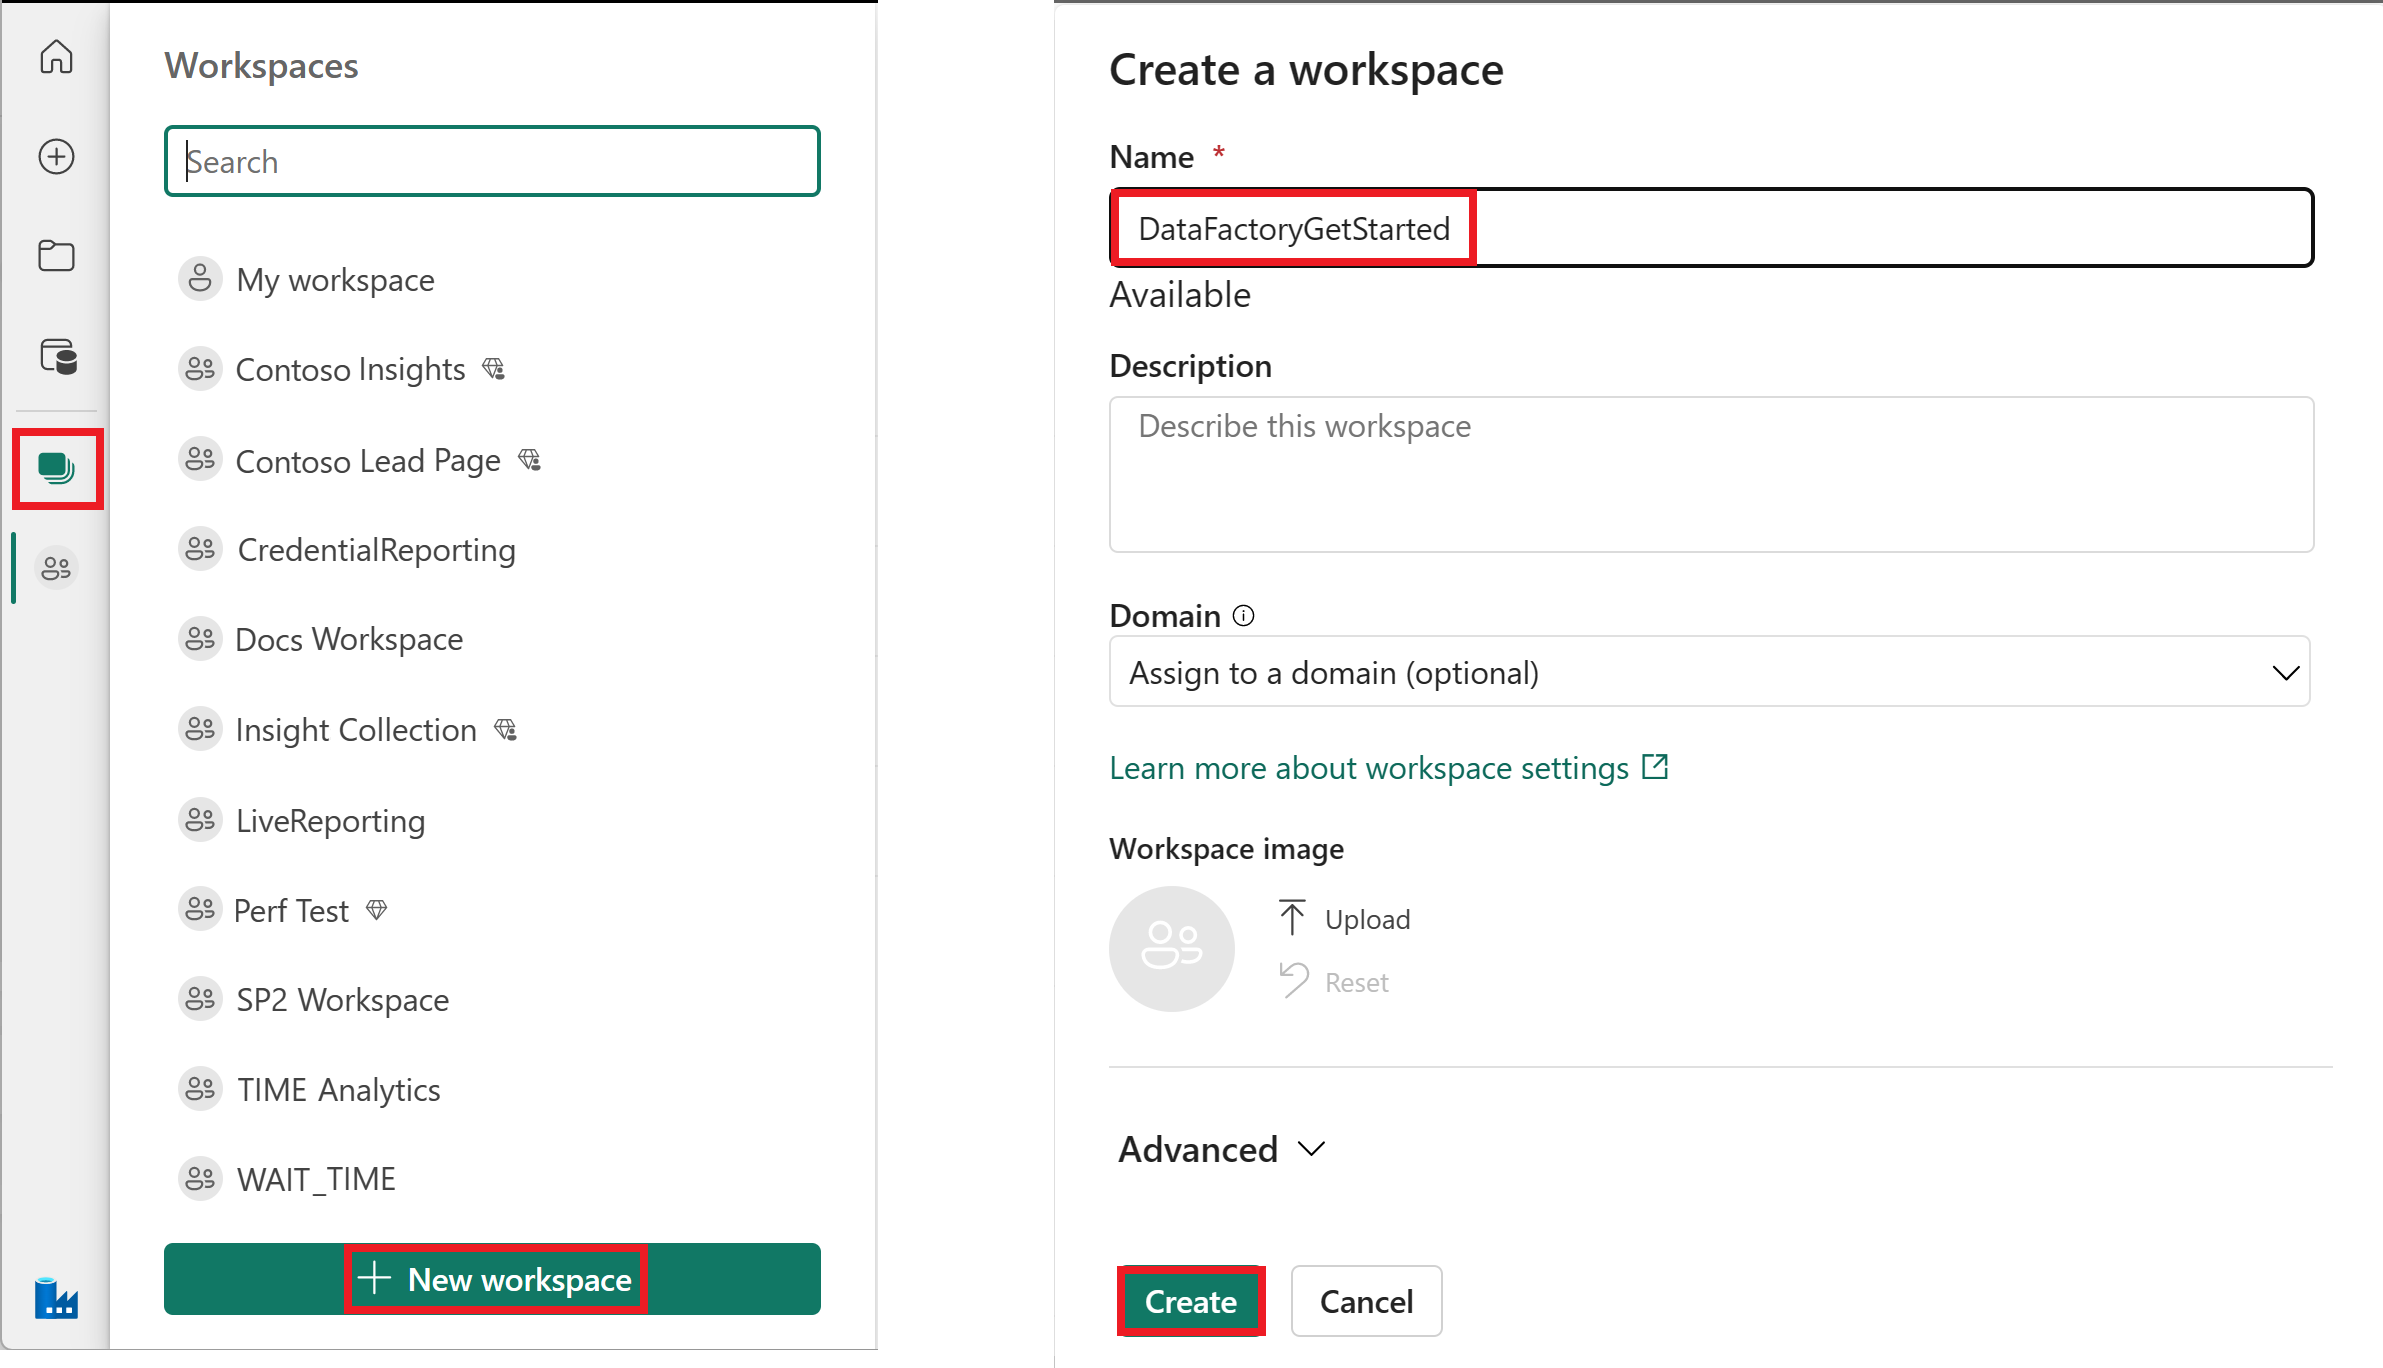
Make sure you have a Project Microsoft Fabric enabled Workspace: Create a workspace.
Select the Try it now! button to prepare the Azure Blob Storage data source of the Copy. Create a new resource group for this Azure Blob Storage and select Review + Create > Create.
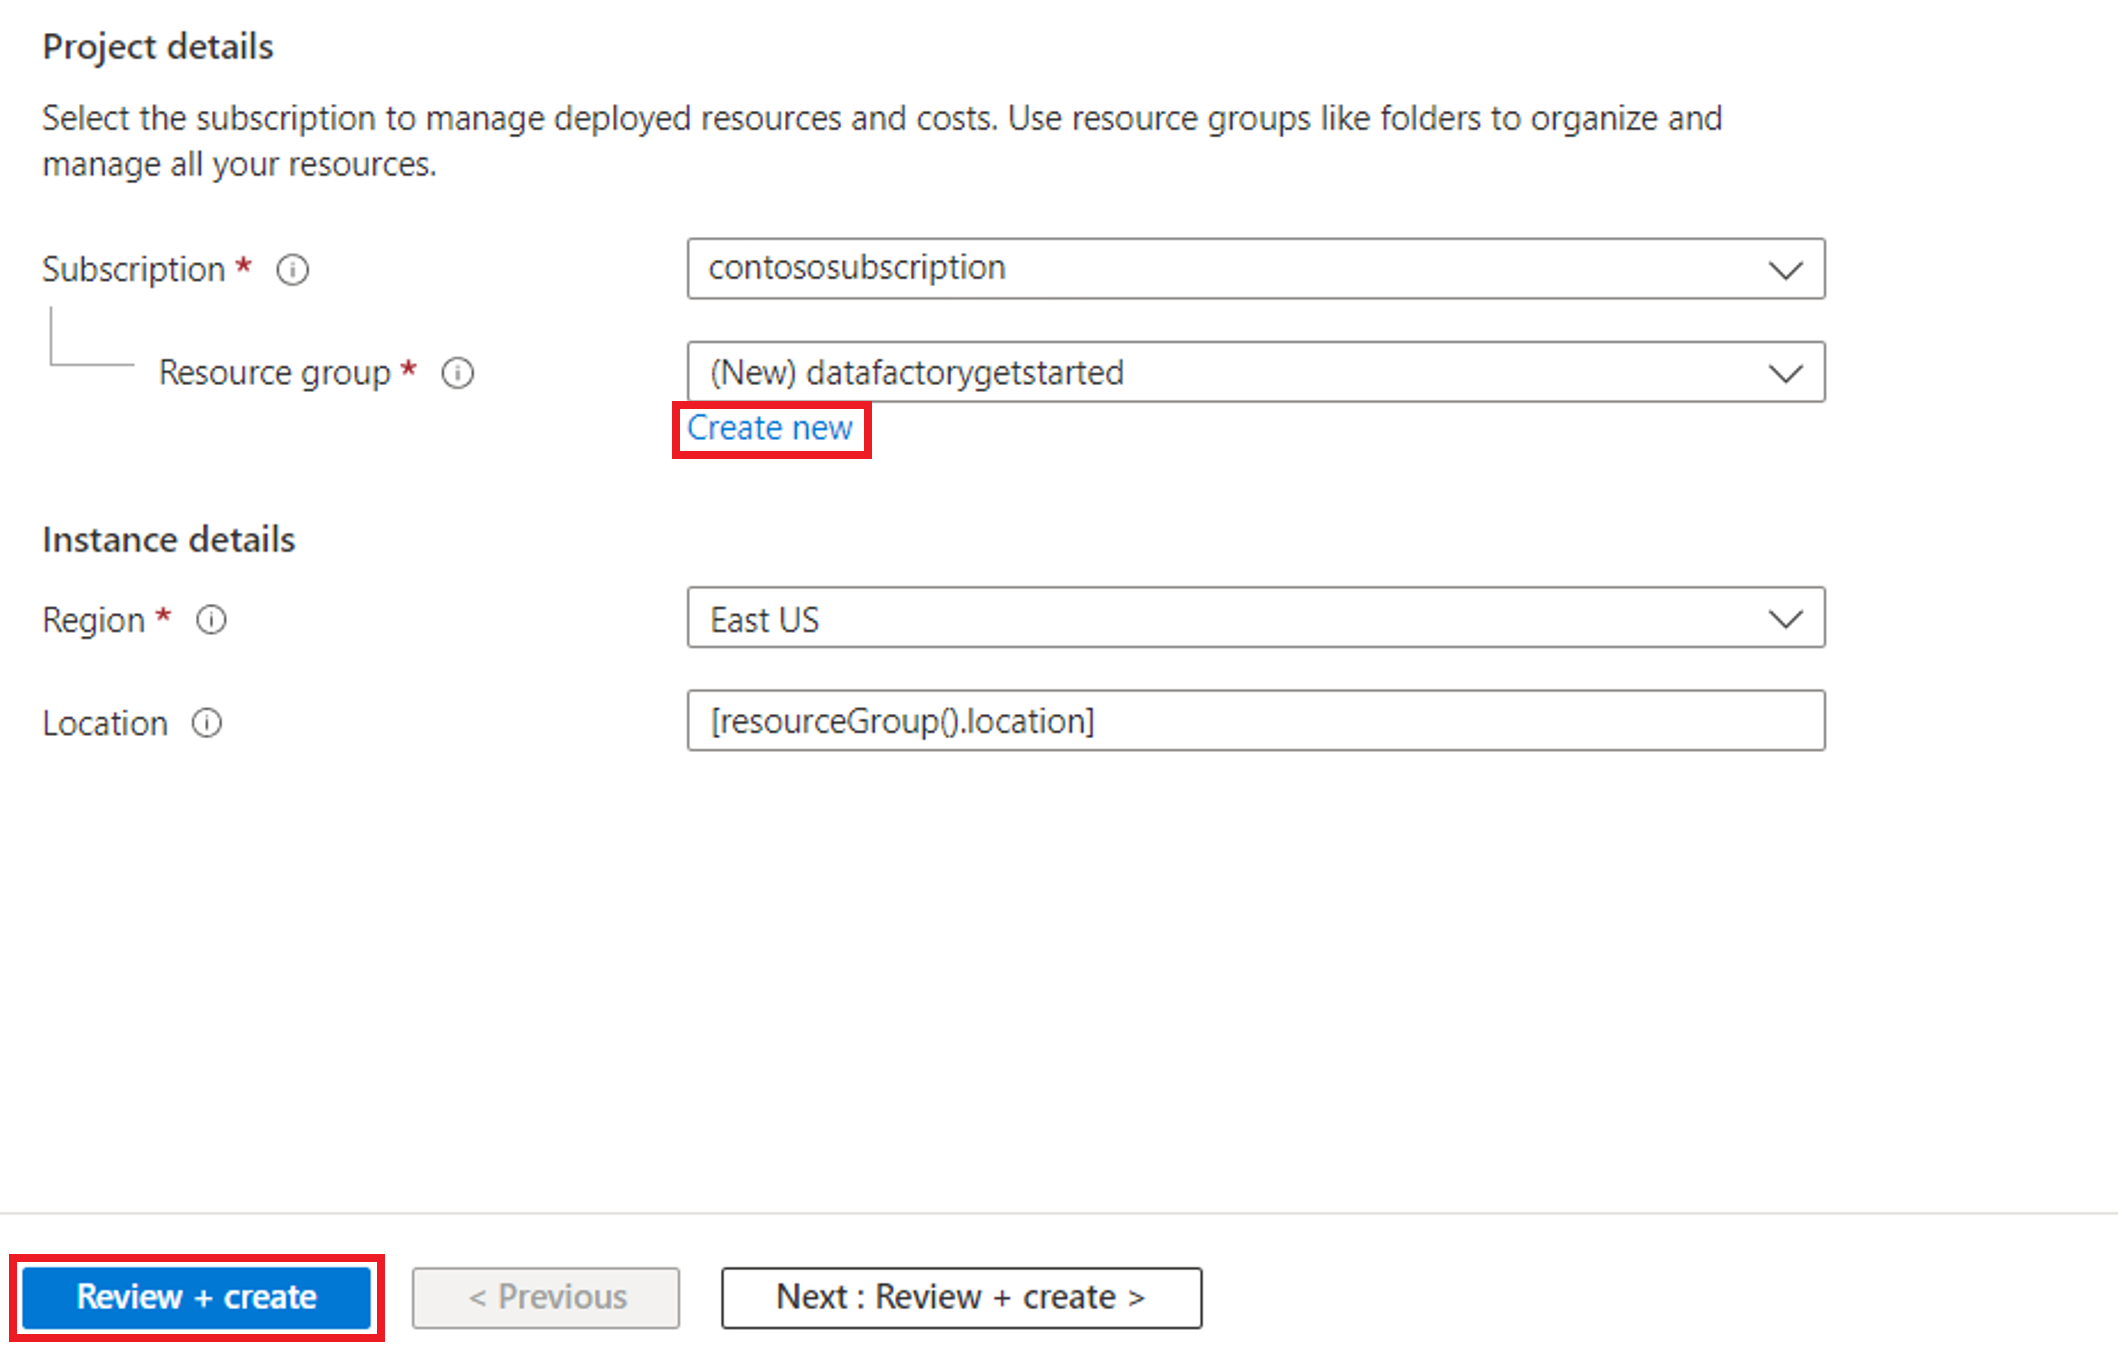
Then an Azure Blob Storage is created and moviesDB2.csv uploaded to the input folder of the created Azure Blob Storage.

Create a data pipeline
Switch to Data factory on the app.powerbi.com page.
Create a new workspace for this demo.
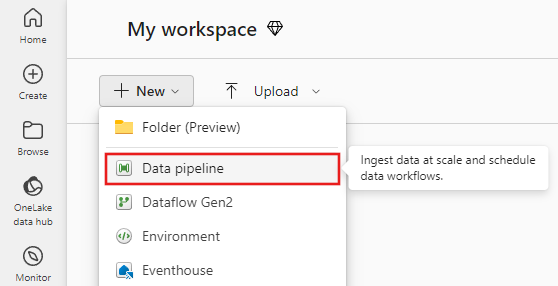
Select New, and then select Data Pipeline.
Copy data using the Copy Assistant
In this session, you start to build a data pipeline by using the following steps. These steps copy a CSV file from an input folder of an Azure Blob Storage to a Lakehouse destination using the copy assistant.
Step 1: Start with copy assistant
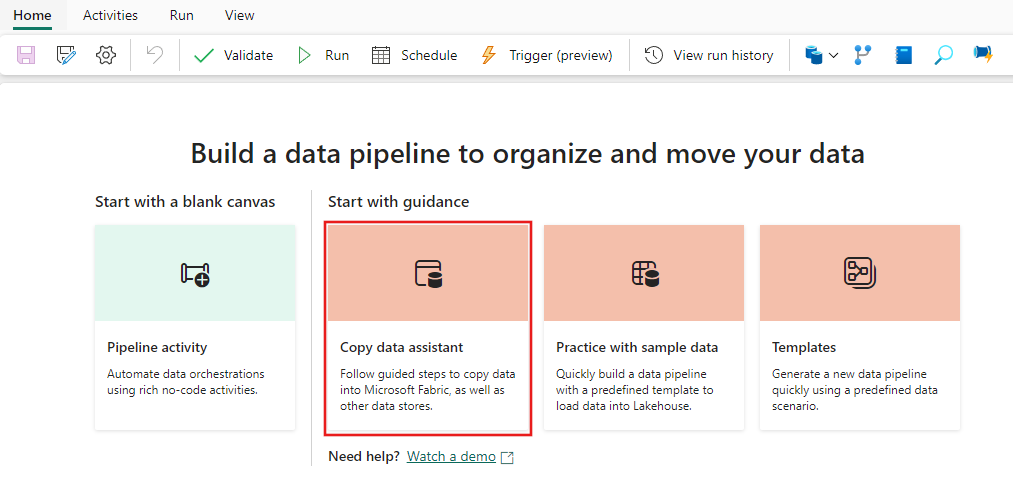
Select Copy data assistant on the canvas to open the copy assistant tool to get started. Or Select Use copy assistant from the Copy data drop down list under the Activities tab on the ribbon.
Step 2: Configure your source
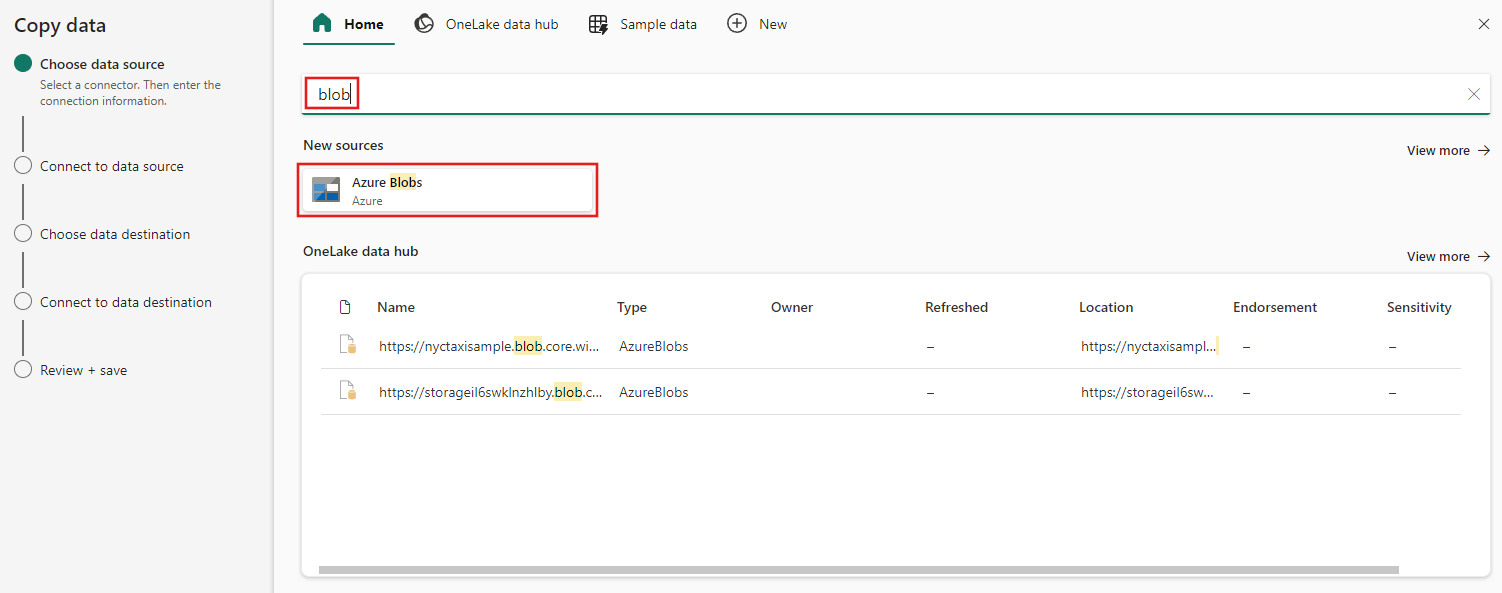
Type blob in the selection filter, then select Azure Blobs, and select Next.
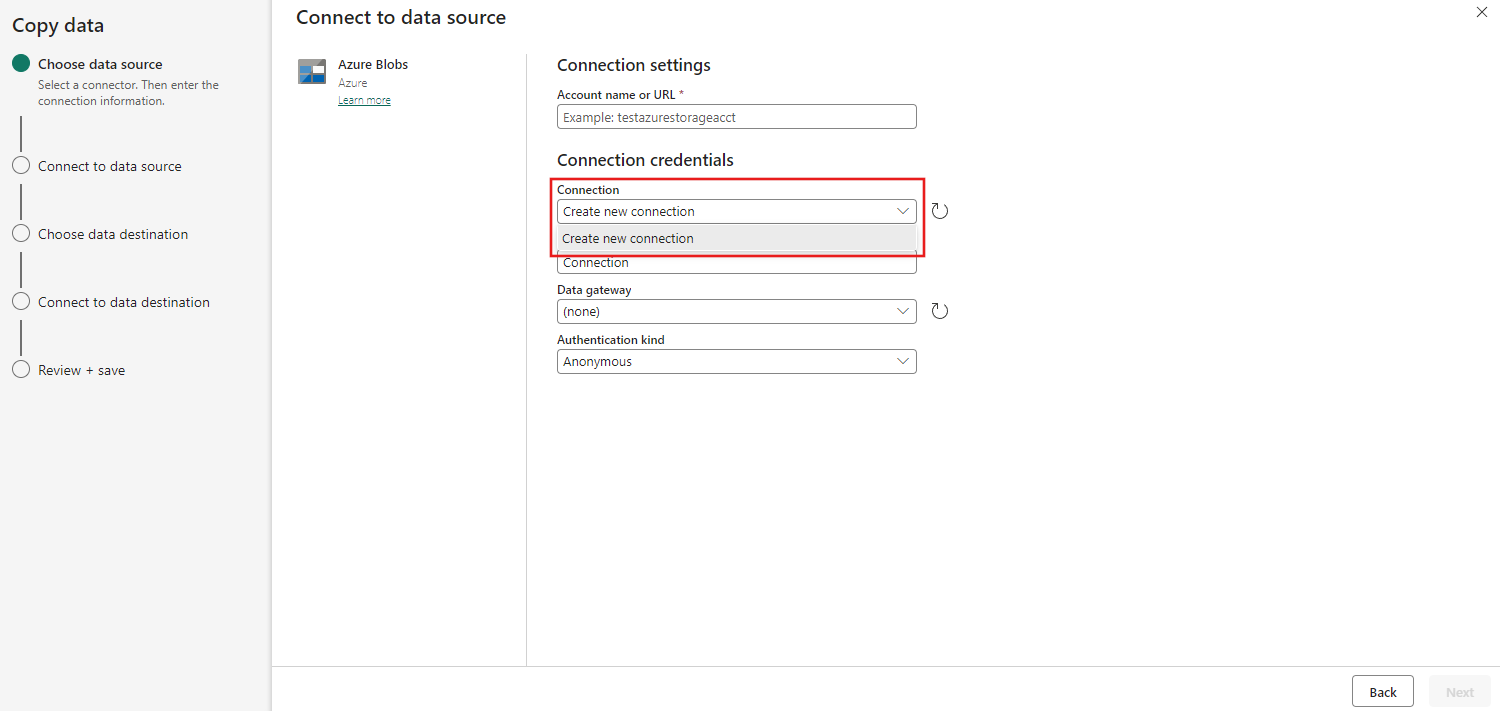
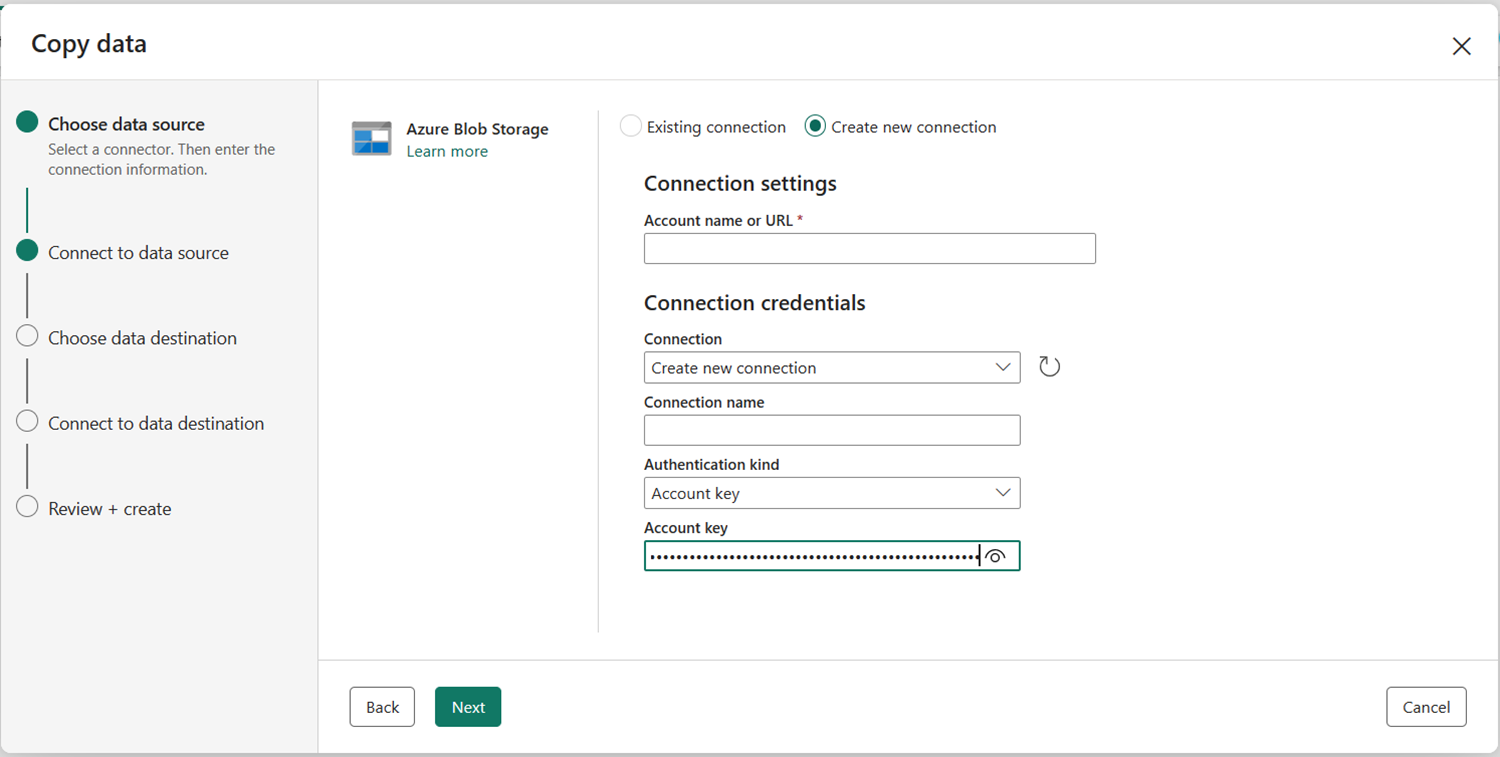
Provide your account name or URL and create a connection to your data source by selecting Create new connection under the Connection drop down.
After selecting Create new connection with your storage account specified, you only need to fill in Authentication kind. In this demo, we choose Account key but you can choose other Authentication kind depending on your preference.
Once your connection is created successfully, you only need to select Next to Connect to data source.
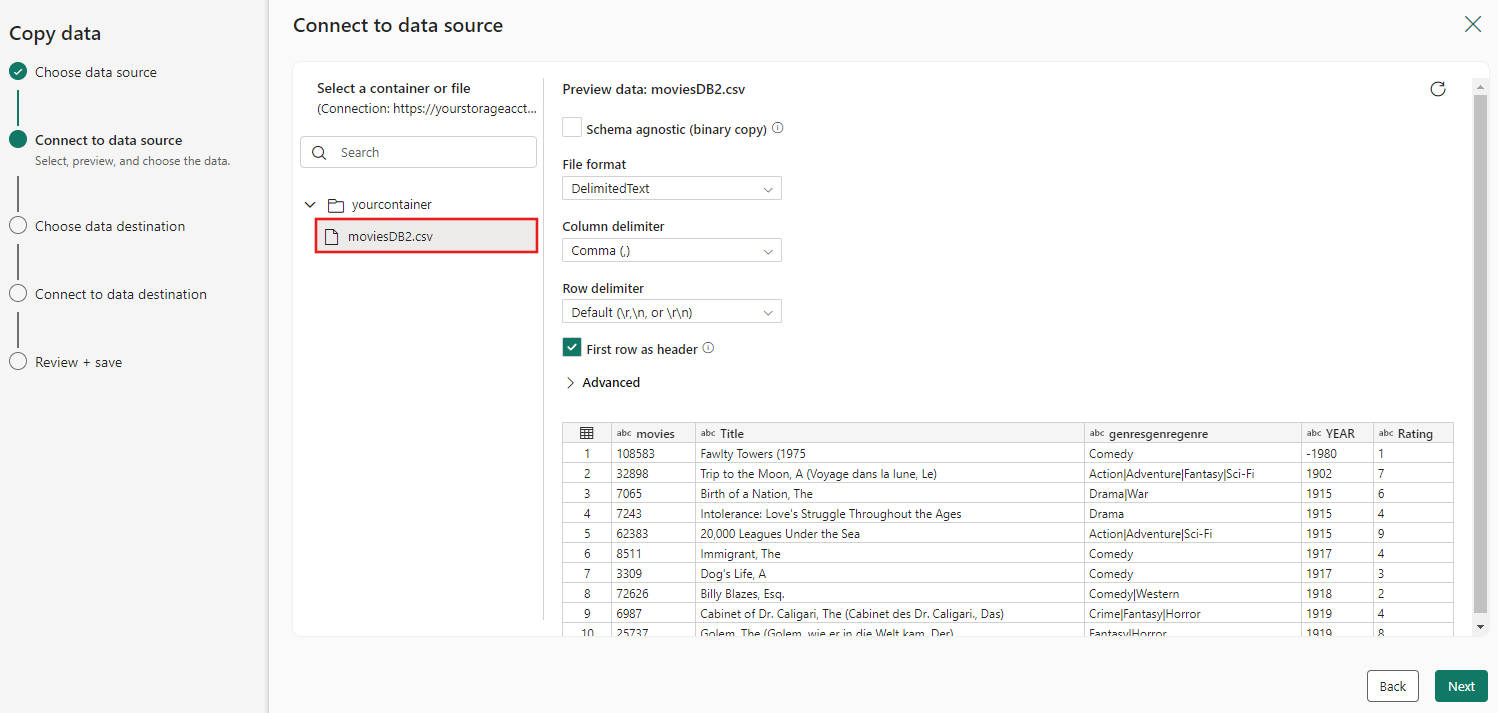
Choose the file moviesDB2.csv in the source configuration to preview, and then select Next.
Step 3: Configure your destination
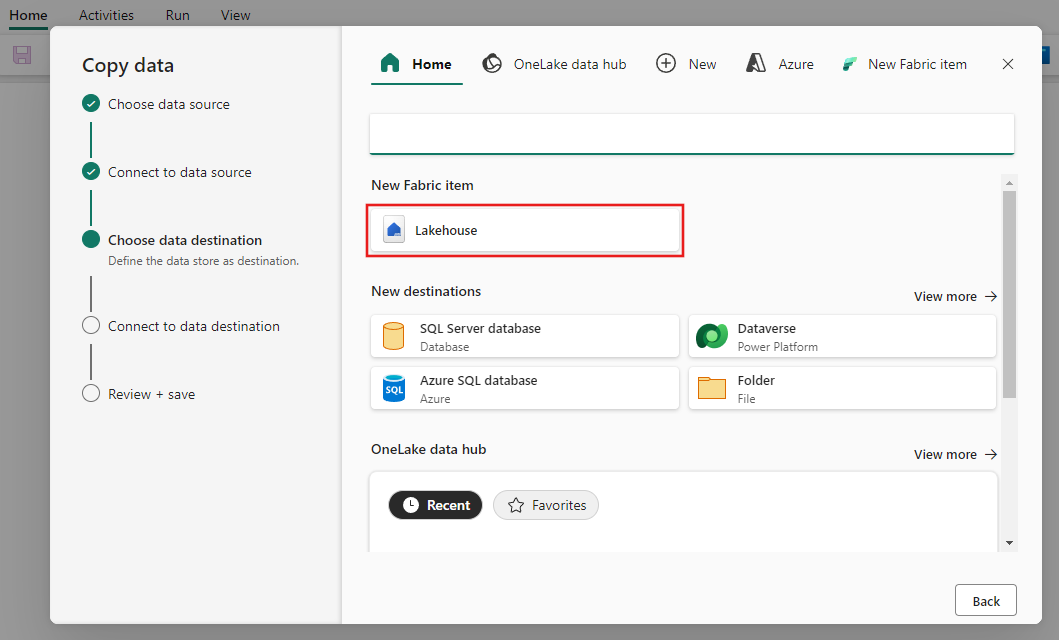
Select Lakehouse.
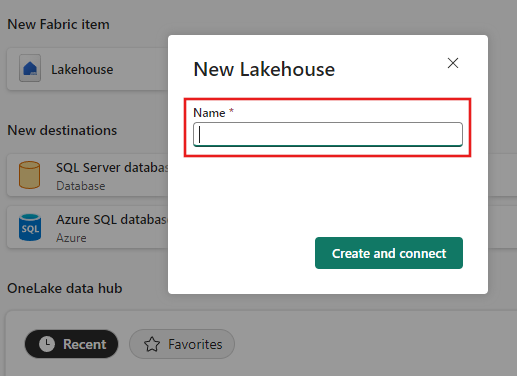
Provide a name for the new Lakehouse. Then select Create and connect.
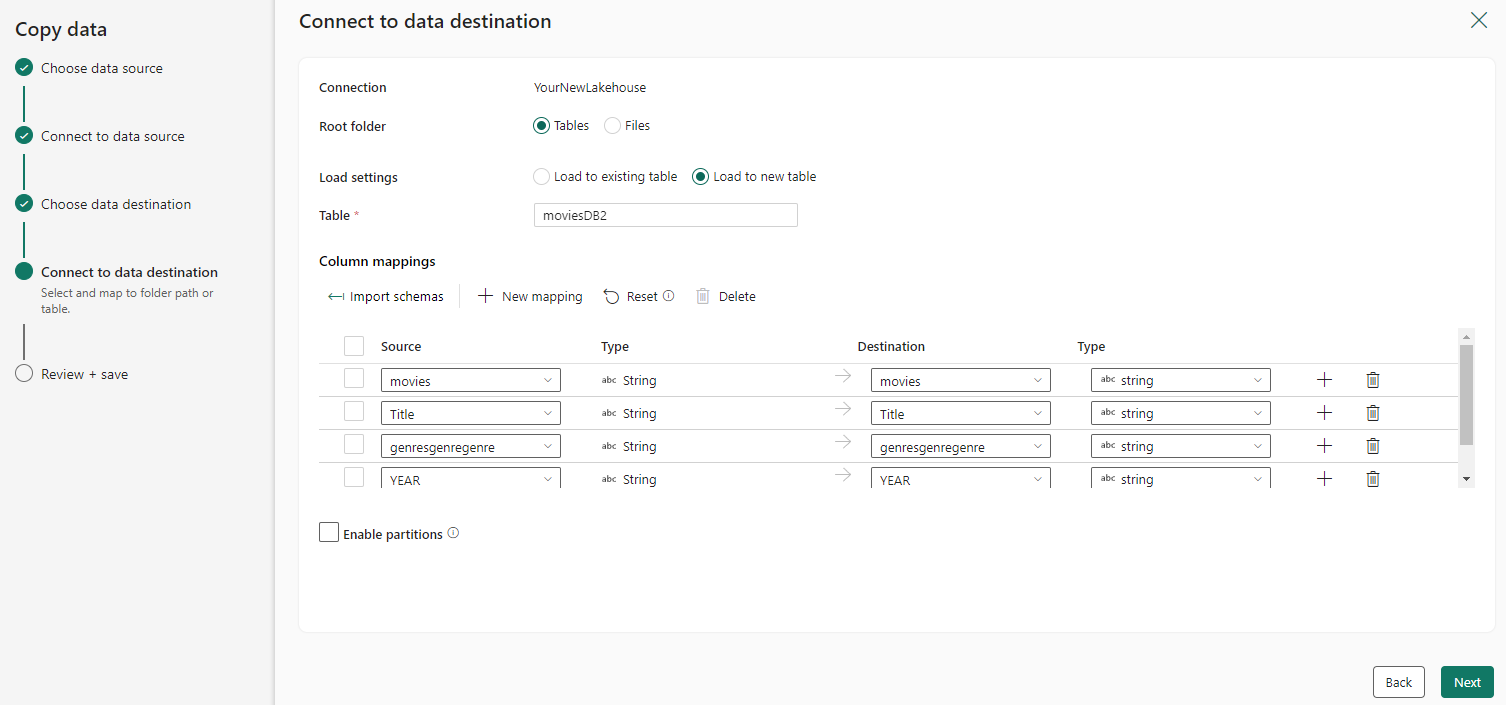
Configure and map your source data to your destination; then select Next to finish your destination configurations.
Step 4: Review and create your copy activity
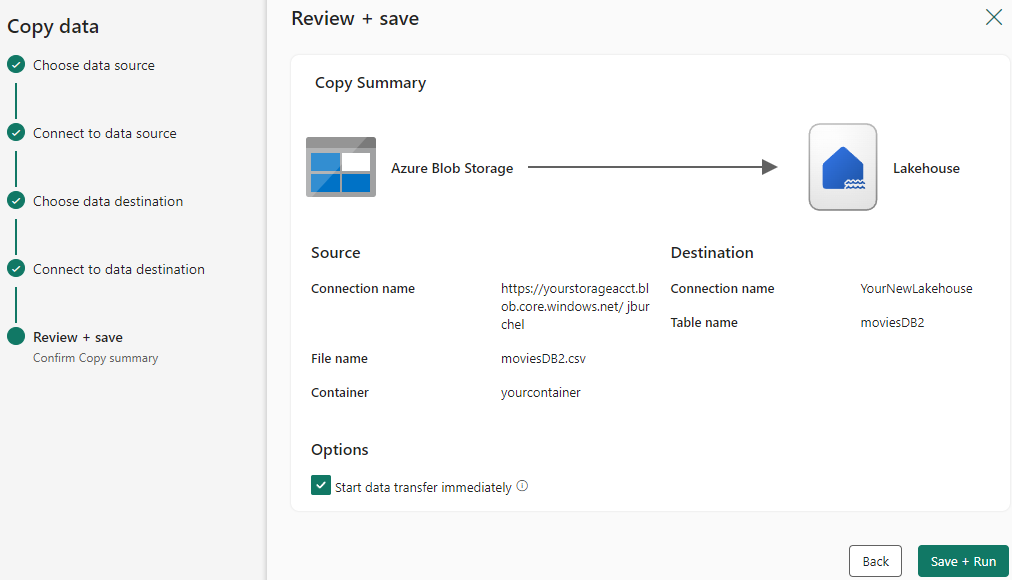
Review your copy activity settings in the previous steps and select Save + run to finish. Or you can go back to the previous steps to edit your settings if needed in the tool.
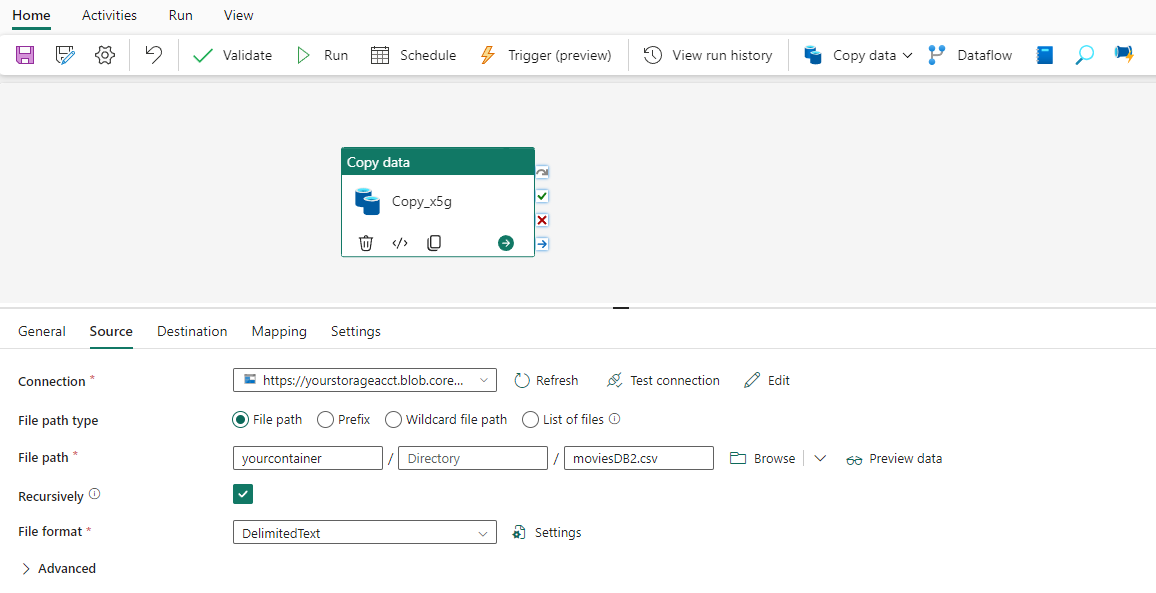
Once finished, the copy activity is added to your data pipeline canvas and run directly if you left the Start data transfer immediately checkbox selected.
Run and schedule your data pipeline
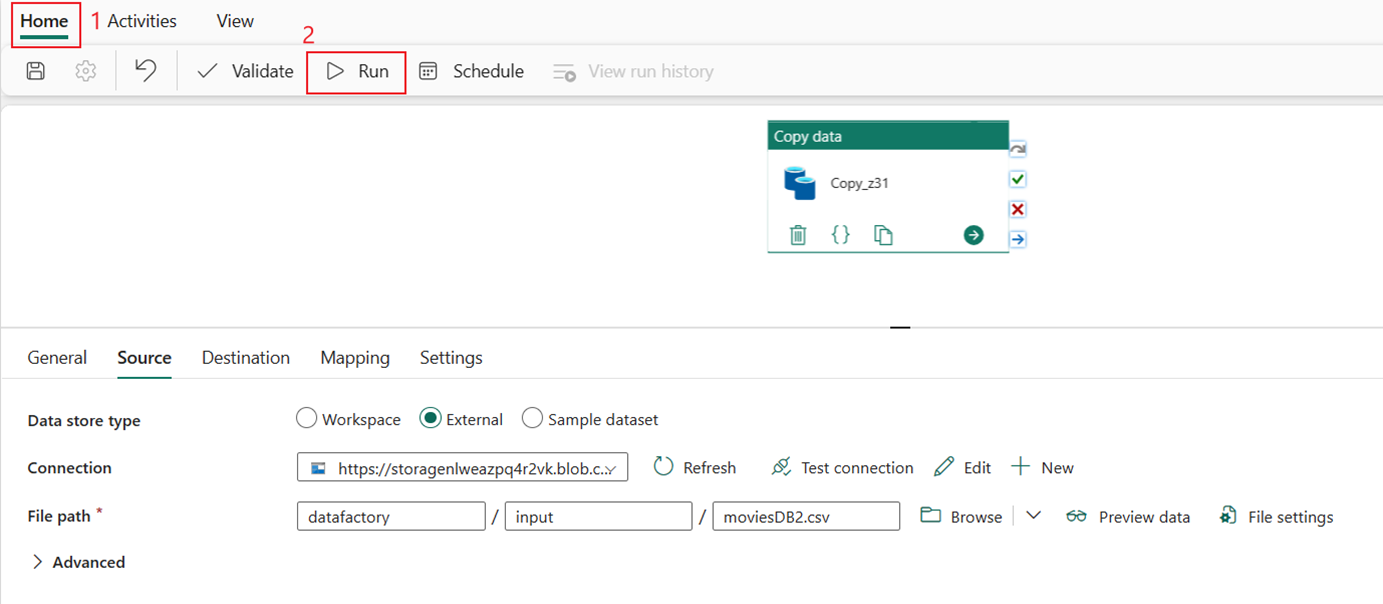
If you didn't leave the Start data transfer immediately checkbox on the Review + create page, switch to the Home tab and select Run. Then select Save and Run.
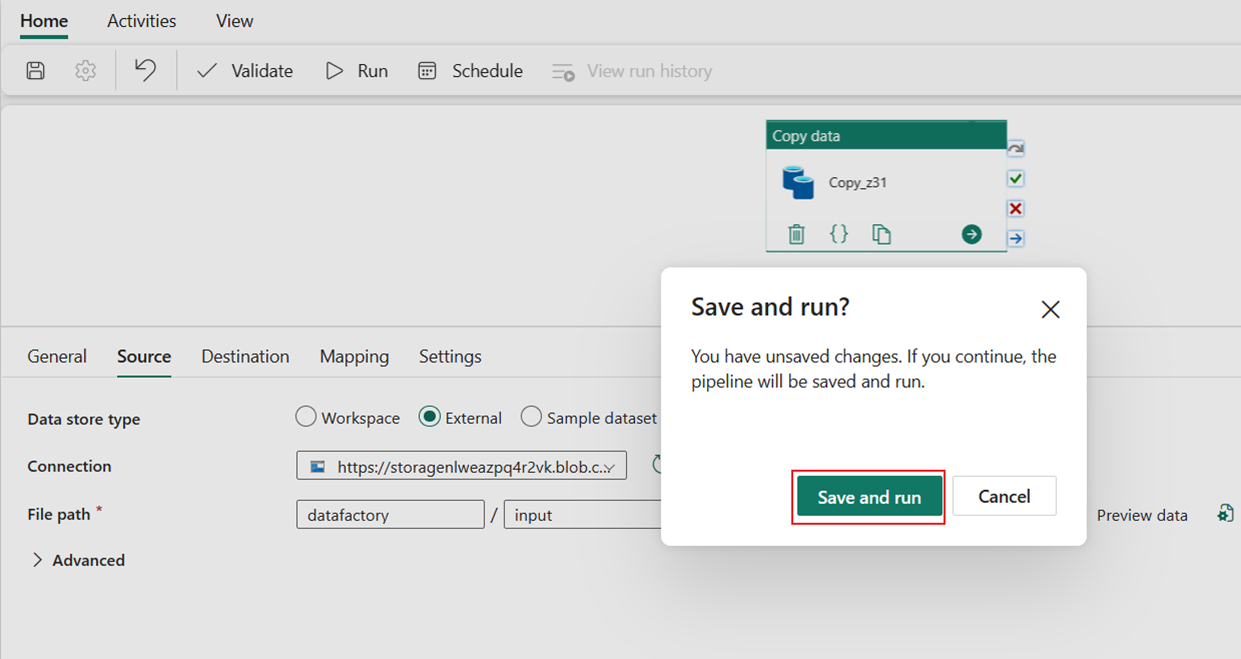
On the Output tab, select the link with the name of your Copy activity to monitor progress and check the results of the run.
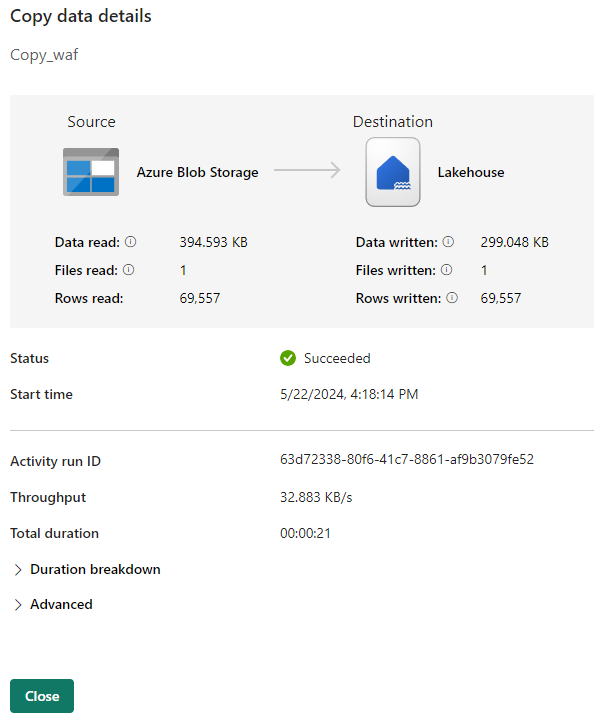
The Copy data details dialog displays results of the run including status, volume of data read and written, start and stop times, and duration.
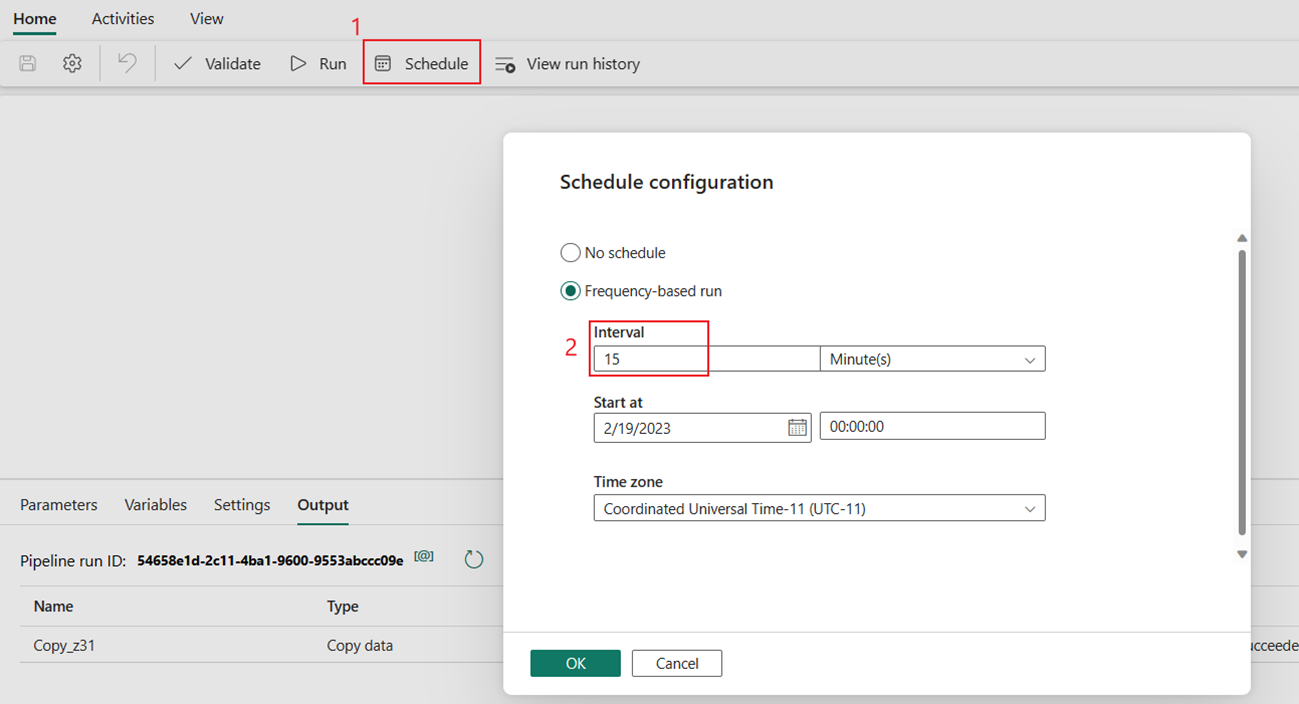
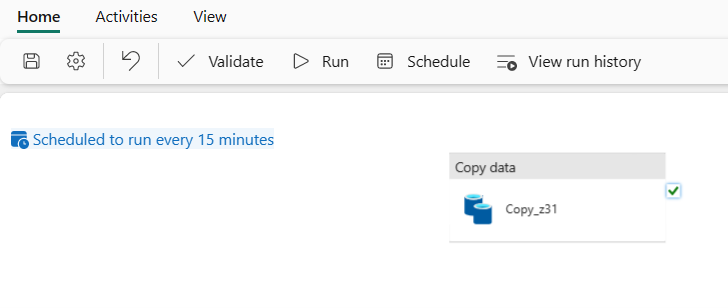
You can also schedule the pipeline to run with a specific frequency as required. The following example shows how to schedule the pipeline to run every 15 minutes.
Related content
The pipeline in this sample shows you how to copy data from Azure Blob Storage to Lakehouse. You learned how to:
- Create a data pipeline.
- Copy data with the Copy Assistant.
- Run and schedule your data pipeline.
Next, advance to learn more about monitoring your pipeline runs.

