Upgrade projects with .NET Upgrade Assistant
The focus of this article is to provide the basic steps to upgrade a project with .NET Upgrade Assistant. This involves initiating the upgrade and reviewing the results. Based on how complex your project is, you might be required to perform manual updates to your code.
Some project types have specific guidance on upgrading. For more information, see Supported project types.
Prerequisites
- For Visual Studio, see Install .NET Upgrade Assistant - Visual Studio extension.
- For the .NET Global Tool, see Install .NET Upgrade Assistant - .NET Global Tool.
Upgrade a project in Visual Studio
Follow these steps to upgrade a project in Visual Studio.
Back up your code.
Open Visual Studio.
Open a project or solution.
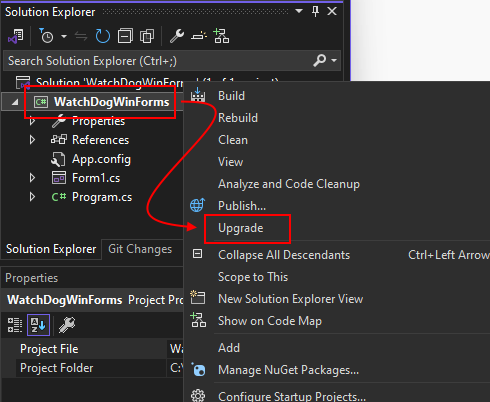
In the Solution Explorer window, right-click on the project > Upgrade.
In the Upgrade tab, select the appropriate upgrade options.
Based on the type of project and the target framework version, different options are presented. The following image shows two options when upgrading a Windows Forms for .NET Framework project. These options aren't displayed when upgrading a .NET project:
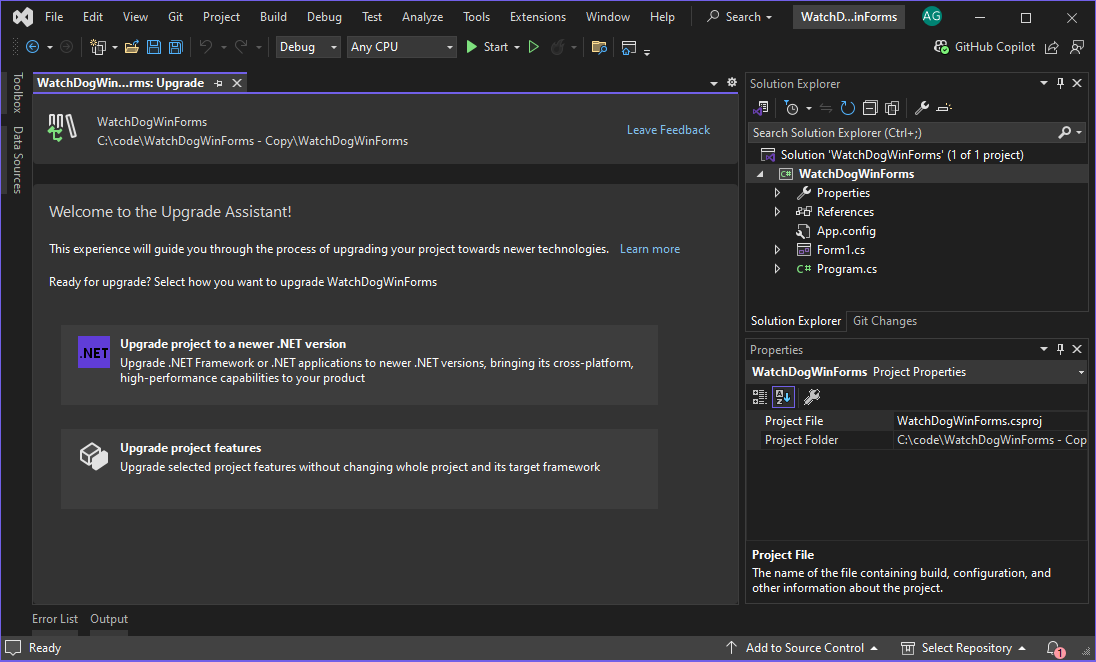
In this example, select Upgrade project to a newer .NET version.
Select how you want to perform the upgrade. Select In-place project upgrade, then select Next.
Some projects may only present you with a single option. For more information about these options, see How the upgrade should be performed.

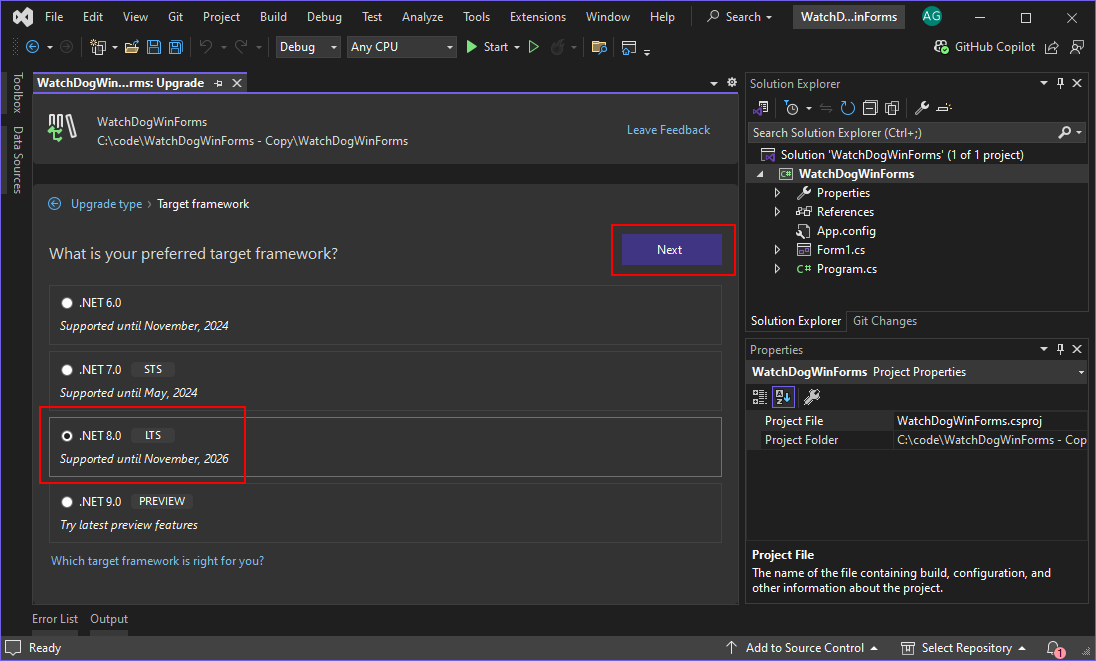
Select the target framework, for example .NET 8.0. Then, select Next.
Select the components to upgrade, then select Upgrade selection.
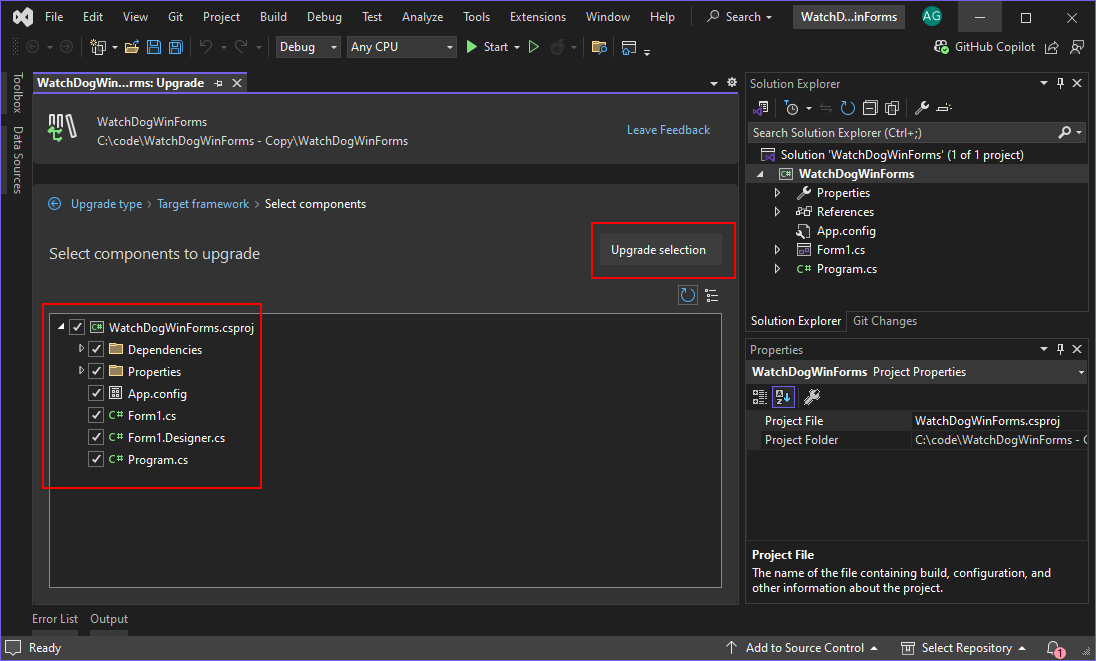
Once the upgrade is complete, a list of processed items is shown.
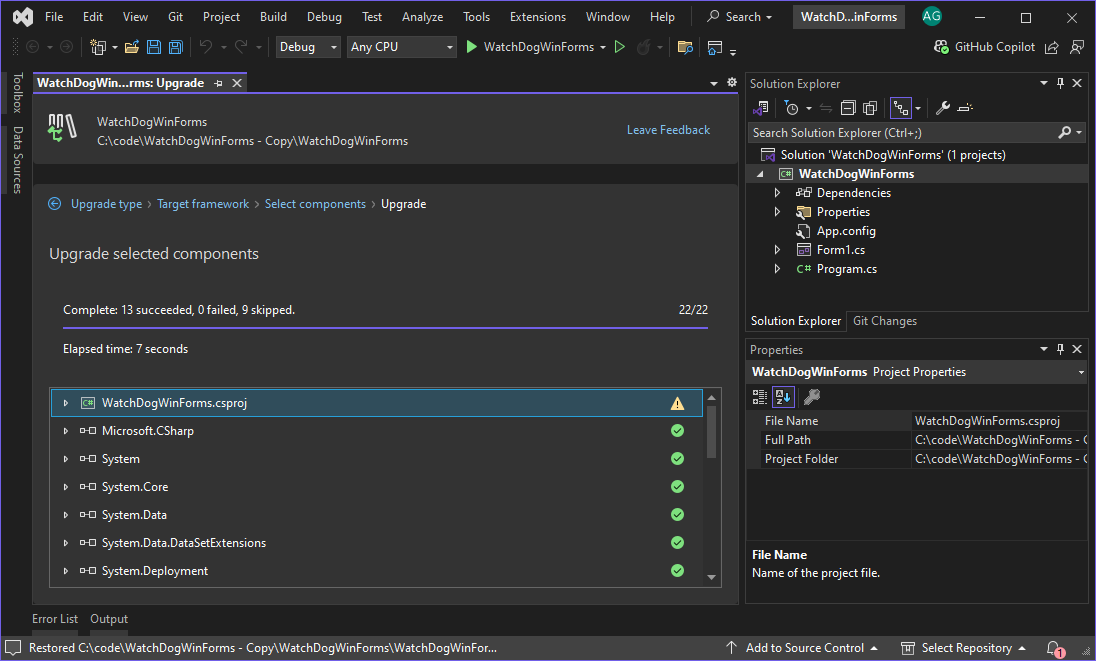
Each artifact processed by the upgrade is listed, along with its status. For more information, see Upgrade results.
Upgrade a project from the CLI
Follow these steps to upgrade a project using the terminal. The .NET Global Tool is an interactive tool that guides you through the upgrade options. Use the Up arrow and Down arrow keys to change the highlighted option, and Enter to run the select the option. Each screen presents you options on how you want to configure the upgrade.
Back up your code.
Open a terminal and navigate to the folder containing the solution or project you want to upgrade.
To start the tool, run the
upgrade-assistant upgradecommand.You're asked about what you want to upgrade. Depending on what is detected, some options might be automatically applied or missing entirely.
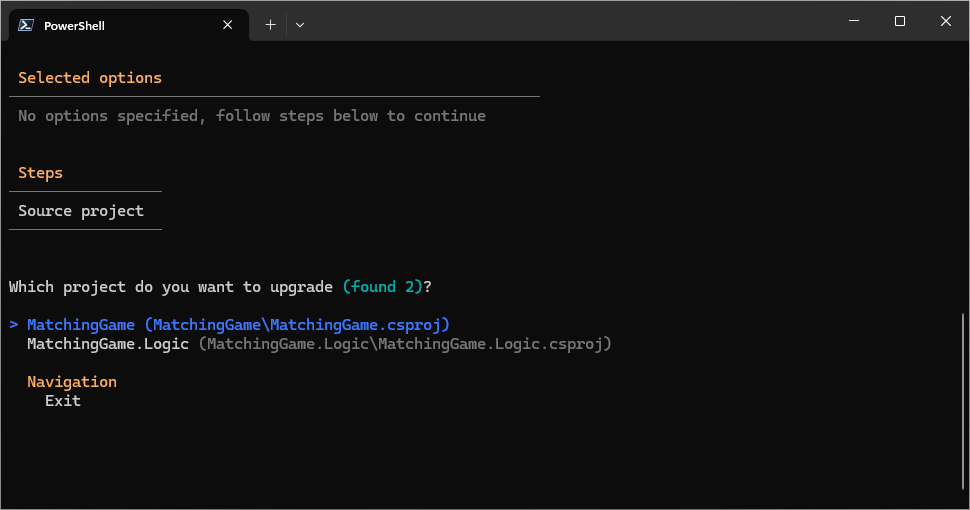
If more than one project is found, choose one of the projects and press Enter.
Upgrade projects in the order of their dependency. For example, the previous image showed two projects:
MatchingGameandMatchingGame.Logic.MatchingGameis dependent onMatchingGame.Logic, soMatchingGame.Logicshould be upgraded first.If you have an option to change the Upgrade type, choose one and press Enter. If only one option was available, it would have been automatically selected.
For more information about these options, see How the upgrade should be performed.
Tip
If you've backed up your code, it's safe to select In-place project upgrade.
Choose a target framework, such as .NET 8.0, and press Enter.
The final prompt is a confirmation, displaying all of the options selected. Press Enter to start the upgrade.
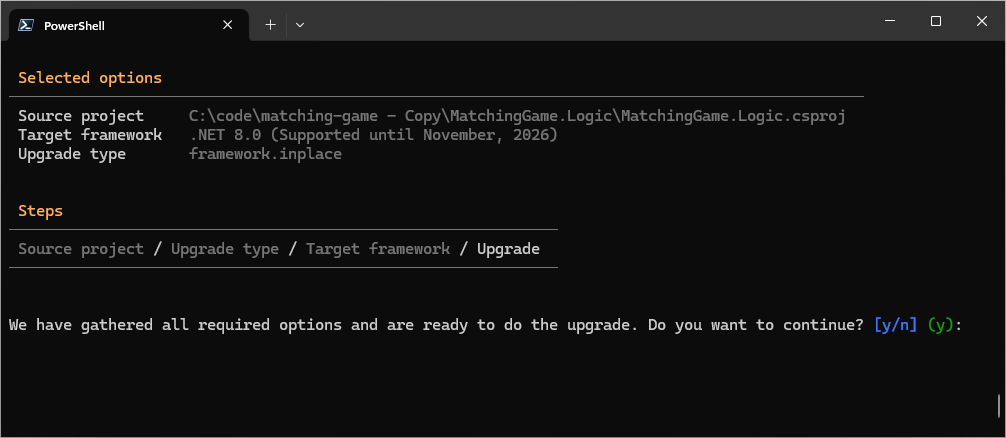
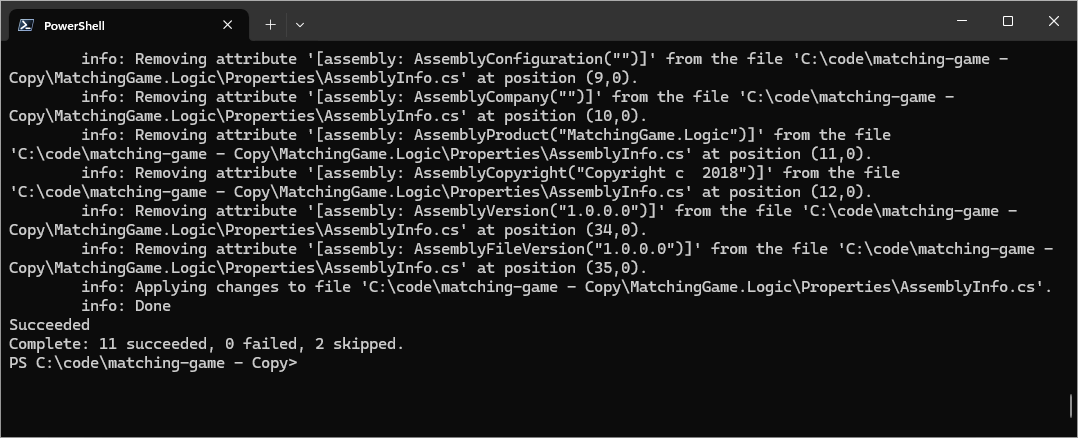
Once the upgrade finishes, a summary is shown.
