Tutorial: Back up an Azure Extended Zone virtual machine
You can protect your data by taking backups at regular intervals. Azure Backup creates recovery points that can be stored in geo-redundant recovery vaults. In this article, you learn how to back up an existing virtual machine (VM) using the Azure portal.
In this tutorial, you learn how to:
- Create a Recovery Services vault.
- Apply a backup policy to an Extended Zone VM.
Prerequisites
An Azure account with an active subscription. If you don't have an Azure subscription, create a free account before you begin.
An Azure virtual machine (VM) in an Extended Zone. For more information, see Deploy a virtual machine in an Extended Zone.
Create a Recovery Services vault
A Recovery Services vault is a management entity that stores recovery points that are created over time, and it provides an interface to perform backup-related operations. These operations include taking on-demand backups, performing restores, and creating backup policies. In this section, you create a Recovery Services vault.
Sign in to the Azure portal.
In the search box at the top of the portal, enter backup. Select Backup center from the search results.

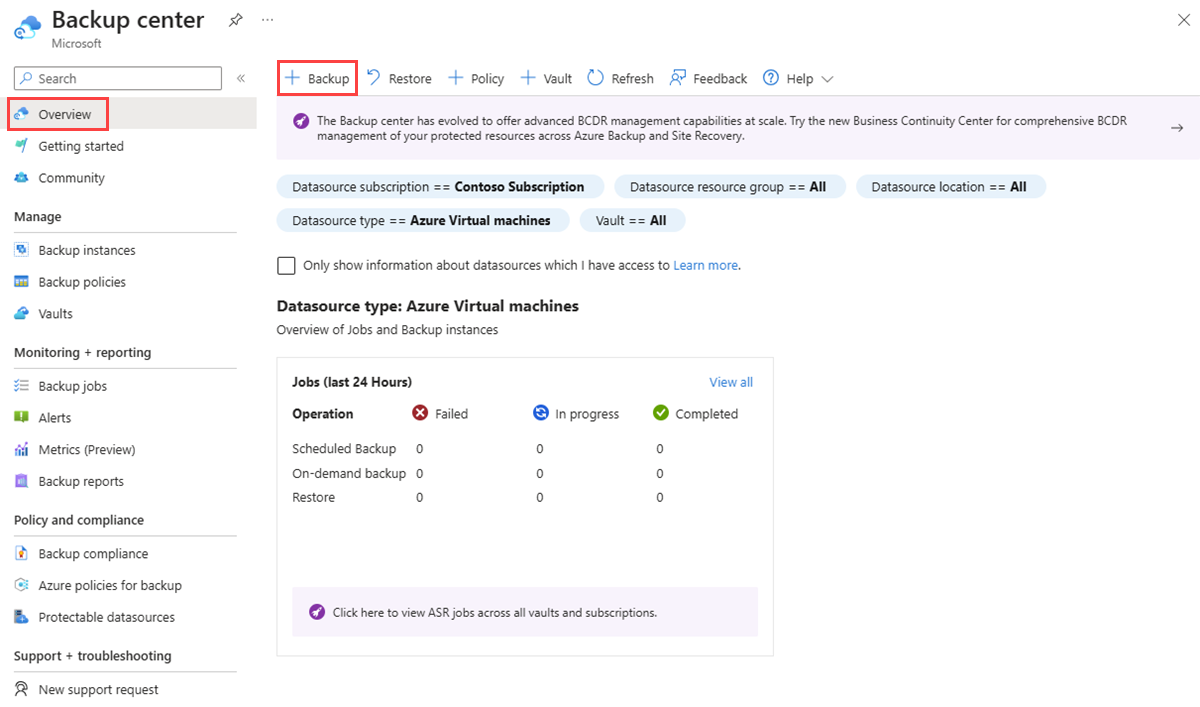
On the Overview page, select + Vault.

On the Start: Create Vault page, select Recovery Services vault and then select Continue.

On the Basics tab of Create Recovery Services vault, enter or select the following information:
Setting Value Project Details Subscription Select your Azure subscription. Resource group Select Create new.
Enter myResourceGroup in Name.
Select OK.Instance Details Vault name Enter myVault. Region Select West US. Recovery Services vault can only be created in an Azure region and not in an Azure Extended Zone. 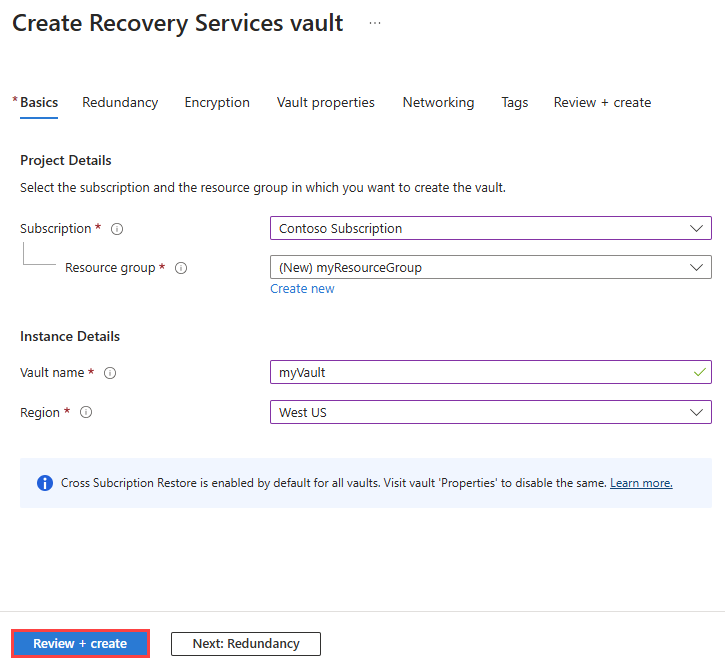
Select Review + create.
Review the settings, and then select Create.


Apply a backup policy
On the Overview page of Backup center, select + Backup.
On Start: Configure Backup page, select the following information:
Setting Value Datasource type Datasource type Select Azure virtual machines. Vault Select myVault. You'll use this Recovery Services vault to store your VM backups. 
Select Continue.
On Configure backup page, select Enhanced to choose the Enhanced policy, then select Add to add the virtual machines that you want to backup using this policy.
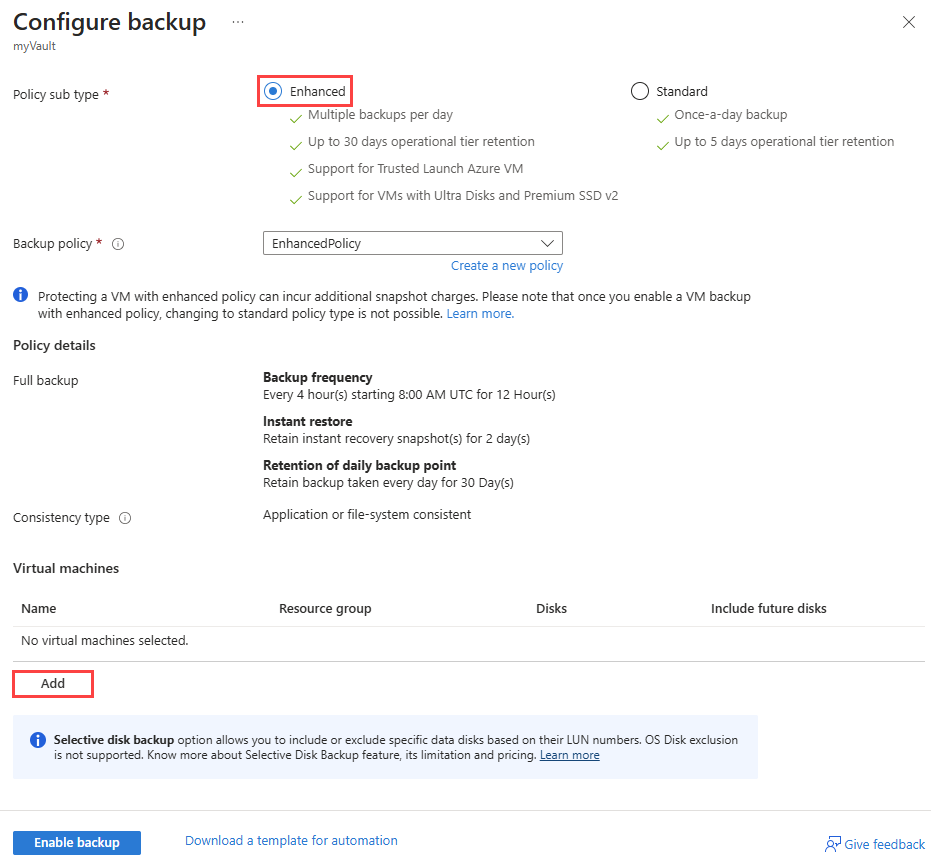
Select Enable backup.


Clean up resources
When no longer needed, delete the resource group and the resources it contains:
In the search box at the top of the portal, enter myResourceGroup. Select myResourceGroup from the search results.
Select Delete resource group.
In Delete a resource group, enter myResourceGroup, and then select Delete.
Select Delete to confirm the deletion of the resource group and all its resources.