Use the Azure Maps Spatial IO module
The Azure Maps Spatial IO module integrates spatial data with the Azure Maps Web SDK by using JavaScript or TypeScript. This guide demonstrates how to integrate and use the Spatial IO module in a web application.
You can use the robust features in this module to:
- Read and write spatial data. You can use file formats that include:
- Keyhole Markup Language (KML).
- Compressed KML (KMZ).
- GPS Exchange Format (GPX).
- Geographic Really Simple Syndication (GeoRSS).
- Geography Markup Language (GML).
- Geographic JavaScript Object Notation (GeoJSON).
- Well-Known Text (WKT).
- Comma-Separated Values (CSV) when columns include spatial information.
- Connect to Open Geospatial Consortium (OGC) services and integrate with the Azure Maps Web SDK. You can also overlay Web Map Services (WMS) and Web Map Tile Services (WMTS) as layers on the map. For more information, see Add a map layer from the Open Geospatial Consortium (OGC).
- Query data in a Web Feature Service (WFS). For more information, see Connect to a WFS service.
- Overlay complex data sets that contain style information, which can render automatically. For more information, see Add a simple data layer.
- Use high-speed XML and delimited file reader and writer classes. For more information, see Core IO operations.
The following video provides an overview of the Spatial IO module in the Azure Maps Web SDK.
Warning
Use data and services only from a source that you trust, especially if the data is referenced from another domain. The Spatial IO module takes steps to minimize risk, but you should not allow any dangerous data into your application regardless.
Prerequisites
Install the Spatial IO module
You can load the Azure Maps Spatial IO module by using one of the following two options:
The first option is to use the globally hosted Azure content delivery network for the Azure Maps Spatial IO module. Use the following script tag in the
<head>element of the HTML file to add the reference:<script src="https://atlas.microsoft.com/sdk/javascript/spatial/0/atlas-spatial.js"></script>With the second option, you can load the source code for azure-maps-spatial-io locally, and host it with your app. This package also includes TypeScript definitions. Use the following command to install the package:
npm install azure-maps-spatial-ioUse an import declaration to add the module into a source file:
import * as spatial from "azure-maps-spatial-io";To learn more, see How to use the Azure Maps map control npm package.
Implement the Spatial IO module
Create a new HTML file.
Load the Azure Maps Web SDK and initialize the map control. See the Azure Maps map control guide for details. Your HTML file should look like this:
<!DOCTYPE html>
<html>

<head>
    <title></title>

    <meta charset="utf-8">

    <!-- Ensure that Internet Explorer and Edge use the latest version and don't emulate an older version. -->
    <meta http-equiv="x-ua-compatible" content="IE=Edge">

    <!-- Ensure that the web page looks good on all screen sizes. -->
    <meta name="viewport" content="width=device-width, initial-scale=1, shrink-to-fit=no">

    <!-- Add references to the Azure Maps Map control JavaScript and CSS files. -->
    <link rel="stylesheet" href="https://atlas.microsoft.com/sdk/javascript/mapcontrol/3/atlas.min.css" type="text/css" />
    <script src="https://atlas.microsoft.com/sdk/javascript/mapcontrol/3/atlas.js"></script>

    <script type='text/javascript'>

        var map;

        function GetMap() {
            //Initialize a map instance.
            map = new atlas.Map('myMap', {
                view: 'Auto',

                //Add your Azure Maps subscription key to the map SDK. Get an Azure Maps key at https://azure.com/maps.
                authOptions: {
                    authType: 'subscriptionKey',
                    subscriptionKey: '<Your Azure Maps Key>'
                }
            });

            //Wait until the map resources are ready.
            map.events.add('ready', function() {

                // Write your code here to make sure it runs once the map resources are ready.

            });
        }
    </script>
</head>

<body onload="GetMap()">
    <div id="myMap" style="position:relative;width:100%;min-width:290px;height:600px;"></div>
</body>

</html>
Load the Azure Maps Spatial IO module and use the content delivery network for the Azure Maps Spatial IO module. Add the following reference to the
<head>element of your HTML file:<script src="https://atlas.microsoft.com/sdk/javascript/spatial/0/atlas-spatial.js"></script>Initialize a data source and add it to the map.
Initialize a simple data layer and add the data source to it.
Render the data layer.
Before you scroll down to see the full code in the next step, determine the best places to put the data source and layer code snippets. Wait until the map resources are ready before you programmatically manipulate the map.
var datasource, layer;Find the best places to put the code snippets.
//Create a data source and add it to the map.
datasource = new atlas.source.DataSource();
map.sources.add(datasource);

//Add a simple data layer for rendering the data.
layer = new atlas.layer.SimpleDataLayer(datasource);
map.layers.add(layer);
Your HTML code should look like the following. The sample code shows you how to display an XML file's feature data on a map.
Note
This example uses Route66Attractions.xml.
<!DOCTYPE html>
<html>
<head>
    <title>Spatial IO Module Example</title>

    <meta charset="utf-8">

    <!-- Ensure that Internet Explorer and Edge use the latest version and don't emulate an older version. -->
    <meta http-equiv="x-ua-compatible" content="IE=Edge">

    <!-- Ensure that the web page looks good on all screen sizes. -->
    <meta name="viewport" content="width=device-width, initial-scale=1, shrink-to-fit=no">

    <!-- Add references to the Azure Maps map control JavaScript and CSS files. -->
    <link rel="stylesheet" href="https://atlas.microsoft.com/sdk/javascript/mapcontrol/3/atlas.min.css" type="text/css" />
    <script src="https://atlas.microsoft.com/sdk/javascript/mapcontrol/3/atlas.js"></script>

    <!-- Add reference to the Azure Maps Spatial IO module. -->
    <script src="https://atlas.microsoft.com/sdk/javascript/spatial/0/atlas-spatial.js"></script>

    <script type='text/javascript'>
        var map, datasource, layer;

        function GetMap() {
            //Initialize a map instance.
            map = new atlas.Map('myMap', {
                view: 'Auto',

                //Add your Azure Maps subscription key to the map SDK. Get an Azure Maps key at https://azure.com/maps.
                authOptions: {
                    authType: 'subscriptionKey',
                    subscriptionKey: '<Your Azure Maps Key>'
                }
            });

            //Wait until the map resources are ready.
            map.events.add('ready', function() {

                //Create a data source and add it to the map.
                datasource = new atlas.source.DataSource();
                map.sources.add(datasource);

                //Add a simple data layer for rendering the data.
                layer = new atlas.layer.SimpleDataLayer(datasource);
                map.layers.add(layer);

                //Read an XML file from a URL or pass in a raw XML string.
                atlas.io.read('Route66Attractions.xml').then(r => {
                    if (r) {
                        //Add the feature data to the data source.
                        datasource.add(r);

                        //If bounding box information is known for data, set the map view to it.
                        if (r.bbox) {
                            map.setCamera({
                                bounds: r.bbox,
                                padding: 50
                            });
                        }
                    }
                });
            });
        }
    </script>
</head>
<body onload='GetMap()'>
    <div id="myMap" style="position:relative;width:100%;min-width:290px;height:600px;"></div>
</body>
</html>
Remember to replace
<Your Azure Maps Key>with your subscription key. Your HTML file should include an image that looks like this: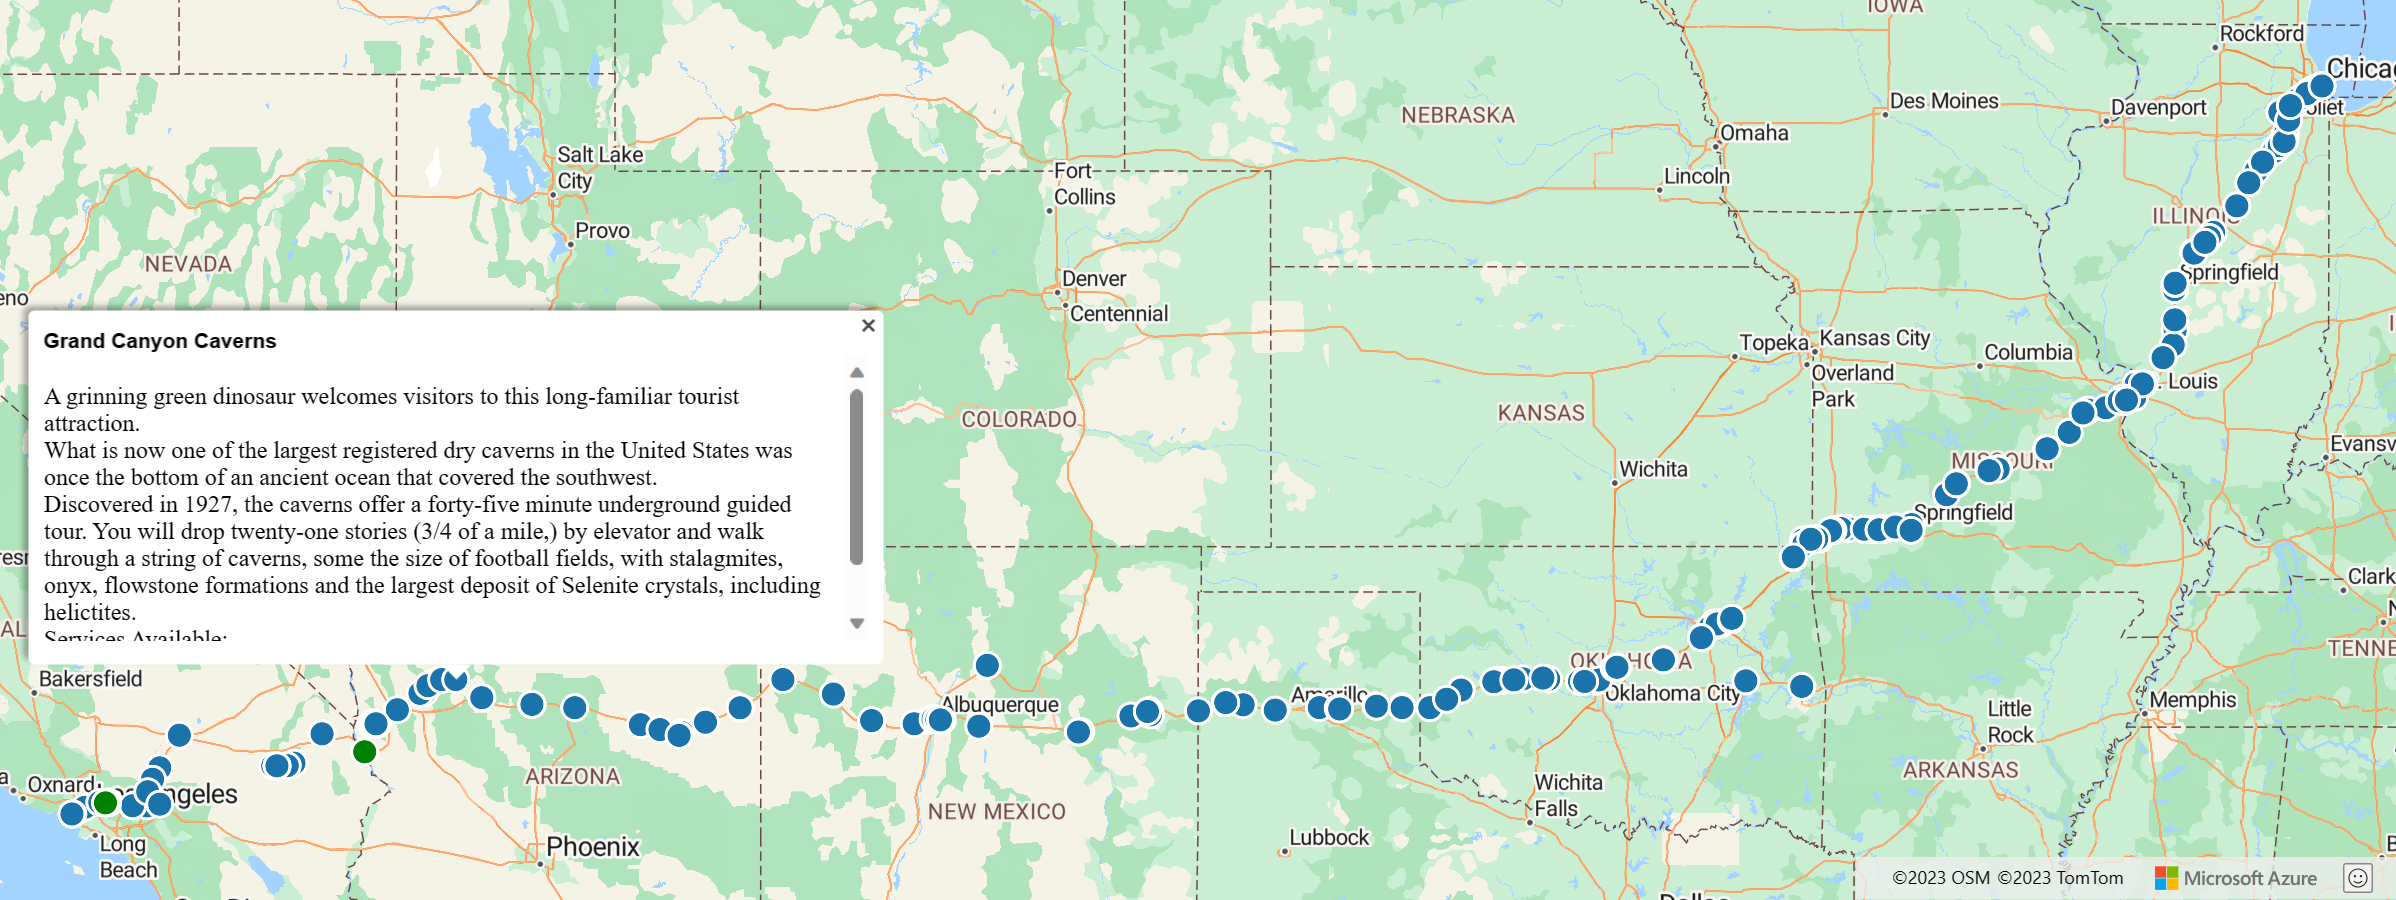

Related content
This article describes only one of the many features available in the Spatial IO module. To learn about others, read the following guides: