Use Content Understanding in the Azure AI Foundry
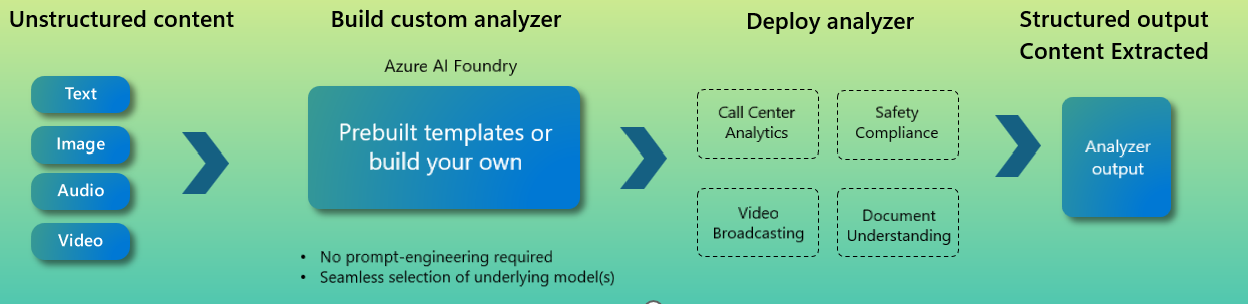
The Azure AI Foundry is a comprehensive platform for developing and deploying generative AI applications and APIs responsibly. Azure AI Content Understanding is a new generative Azure AI Service that analyzes files from varied modalities and extracts structured output in a user-defined field format. Input sources include document, video, image, and audio data. This guide shows you how to build and test a Content Understanding analyzer in the AI Foundry. You can then utilize the extracted data in any app or process you build using a simple REST API call. Content Understanding analyzers are fully customizable. You can create an analyzer by building your own schema from scratch or by using a suggested analyzer template offered to address common scenarios across each data type.
Prerequisites
To get started, make sure you have the following resources and permissions:
An Azure subscription. If you don't have an Azure subscription, create a free account before you begin.
An Azure AI Foundry hub is required to manage the resources provisioned in your Content Understanding project, and it must be created in one of the following supported regions: westus, swedencentral, or australiaeast. If you're creating a hub for the first time, see How to create and manage an Azure AI Foundry hub to learn more. It's important to note you need the proper permissions to create a hub, or your admin may create one for you.
If your role is Contributor or Owner, you can proceed with creating your own hub.
If your role is Azure AI Developer, the hub must already be created before you can complete this quickstart. Your user role must be Azure AI Developer, Contributor, or Owner on the hub. For more information, see hubs and Azure AI roles.
Important
If your organization requires you to customize the security of storage resources, the AI Foundry doesn't currently expose all the features that can be configured. Refer to Azure AI services API access keys to create resources that meet your organizations requirements through the Azure portal. Policy enforced in Azure on the hub scope applies to all projects managed under it. To learn how to utilize customer managed keys, refer to (Preview) Service-side storage of encrypted data when using customer-managed keys. Return here when you have resources created.
Create your first Content Understanding project in the AI Foundry
Note
The Content Understanding project type is separate from the Generative AI project type, also available in the AI Foundry.
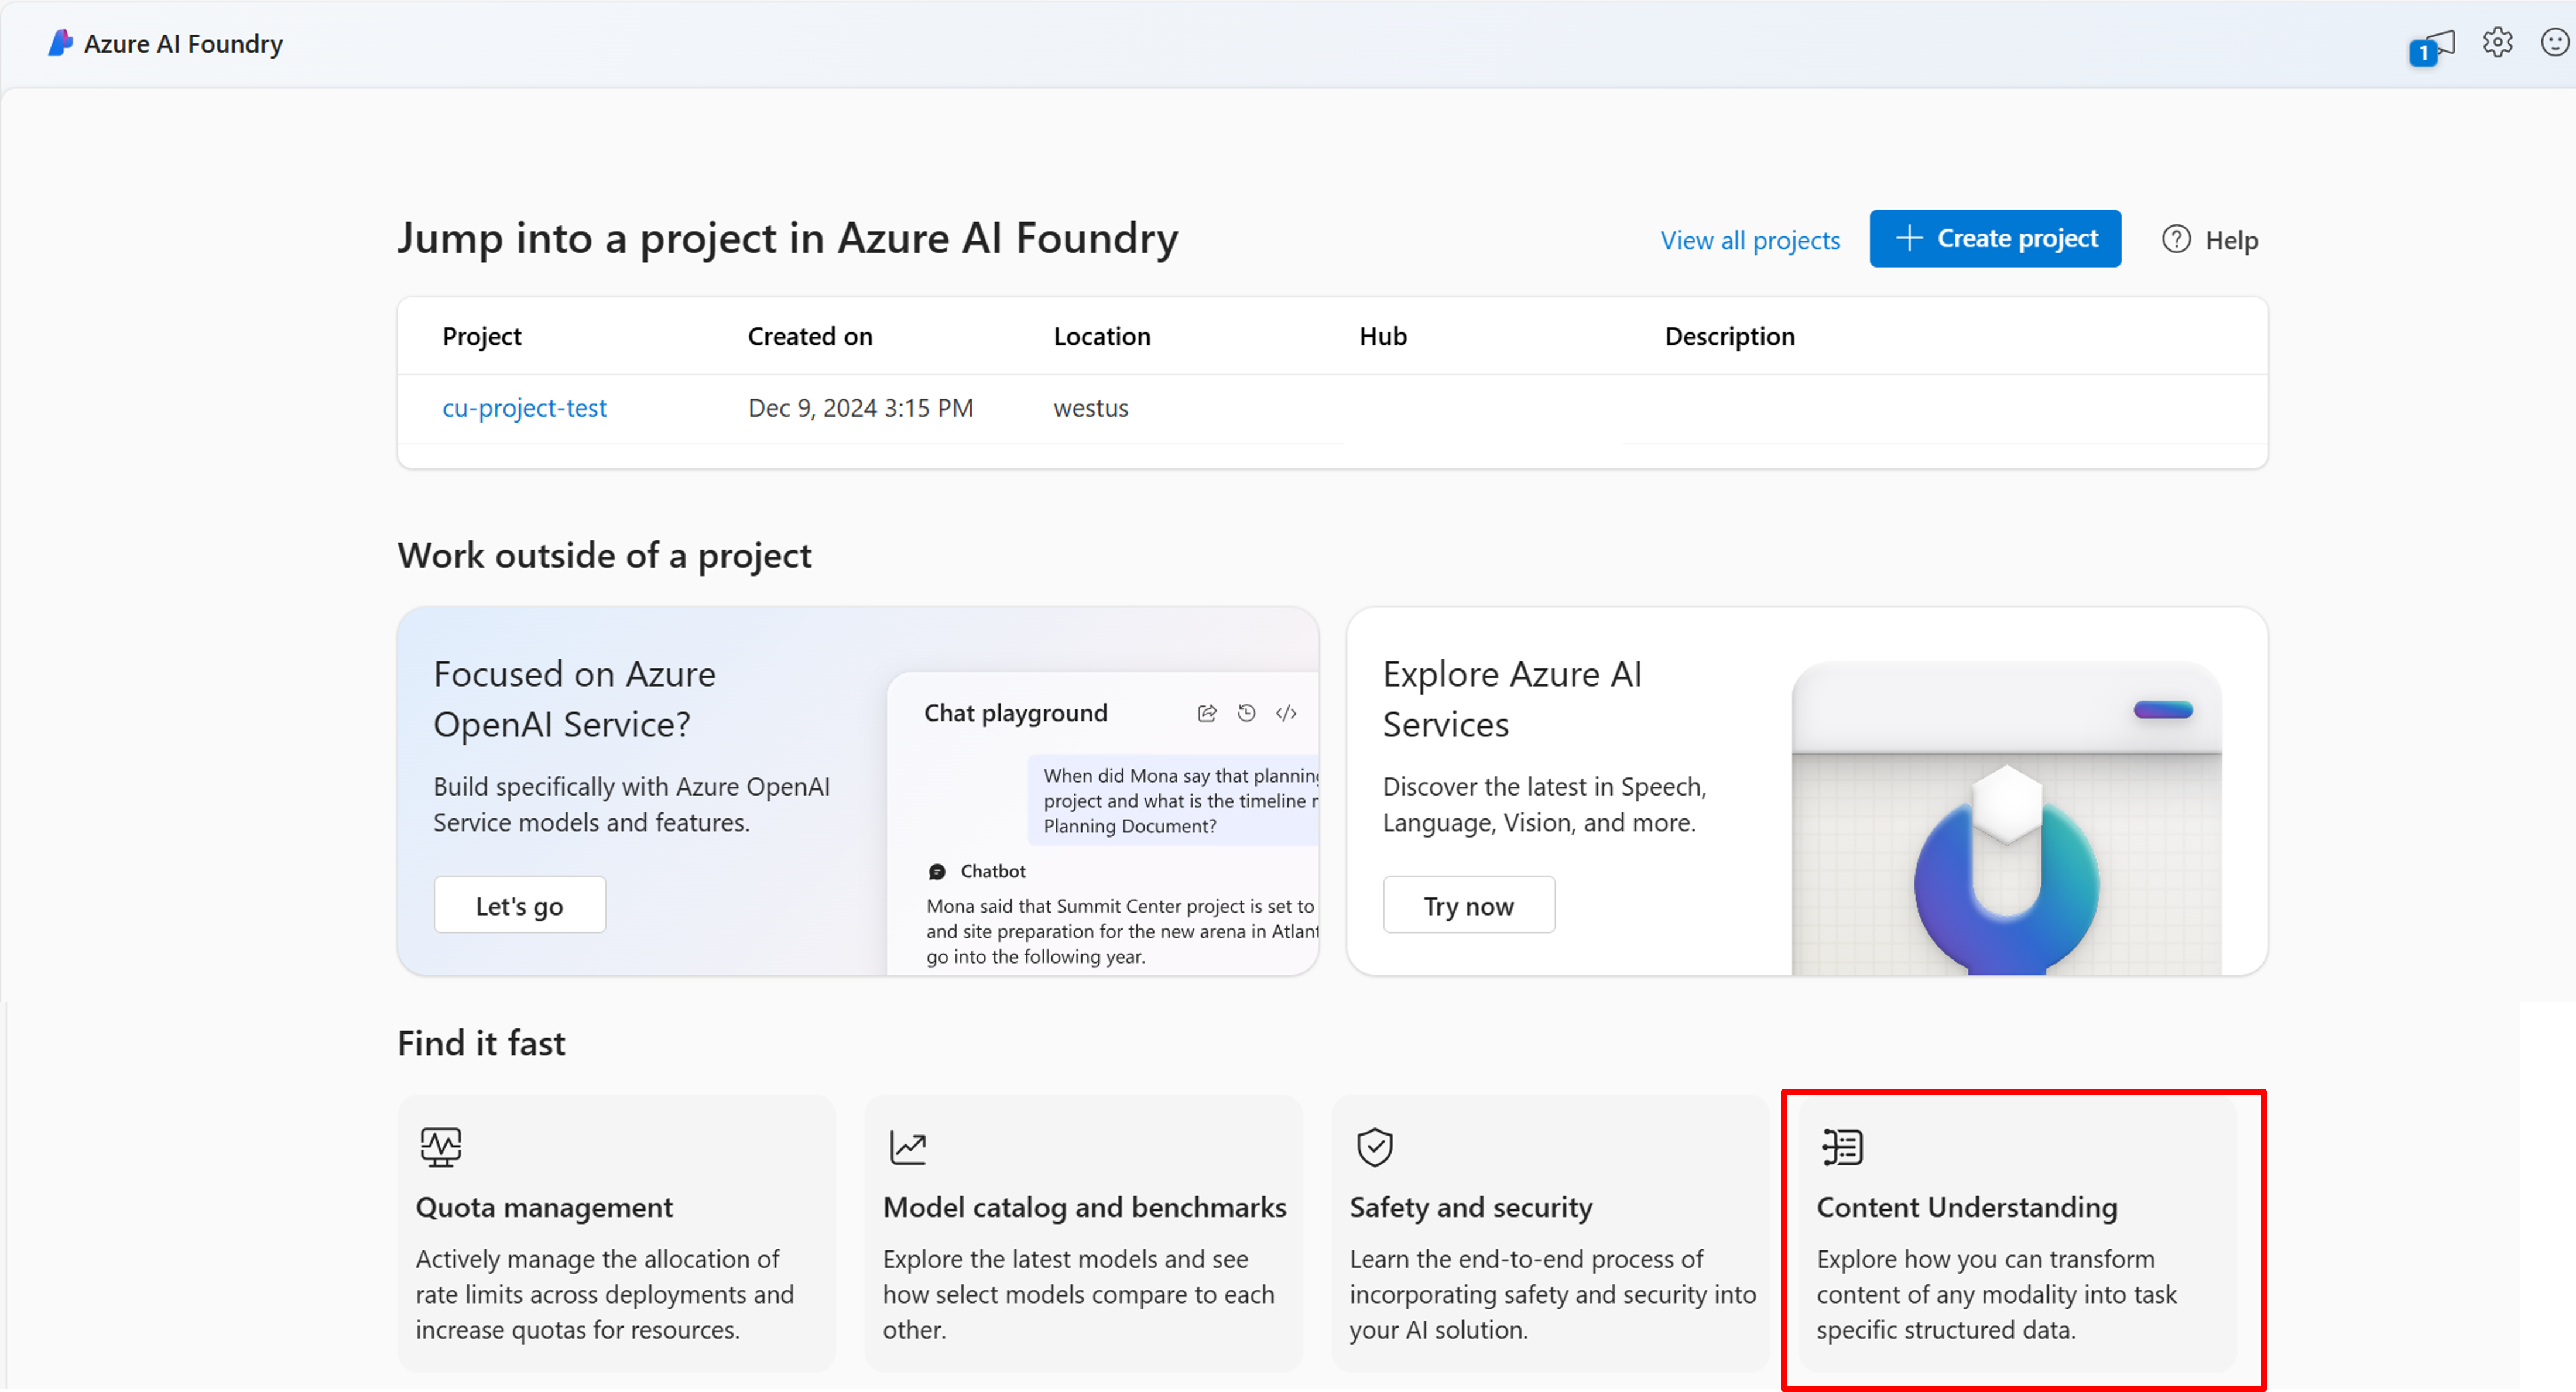
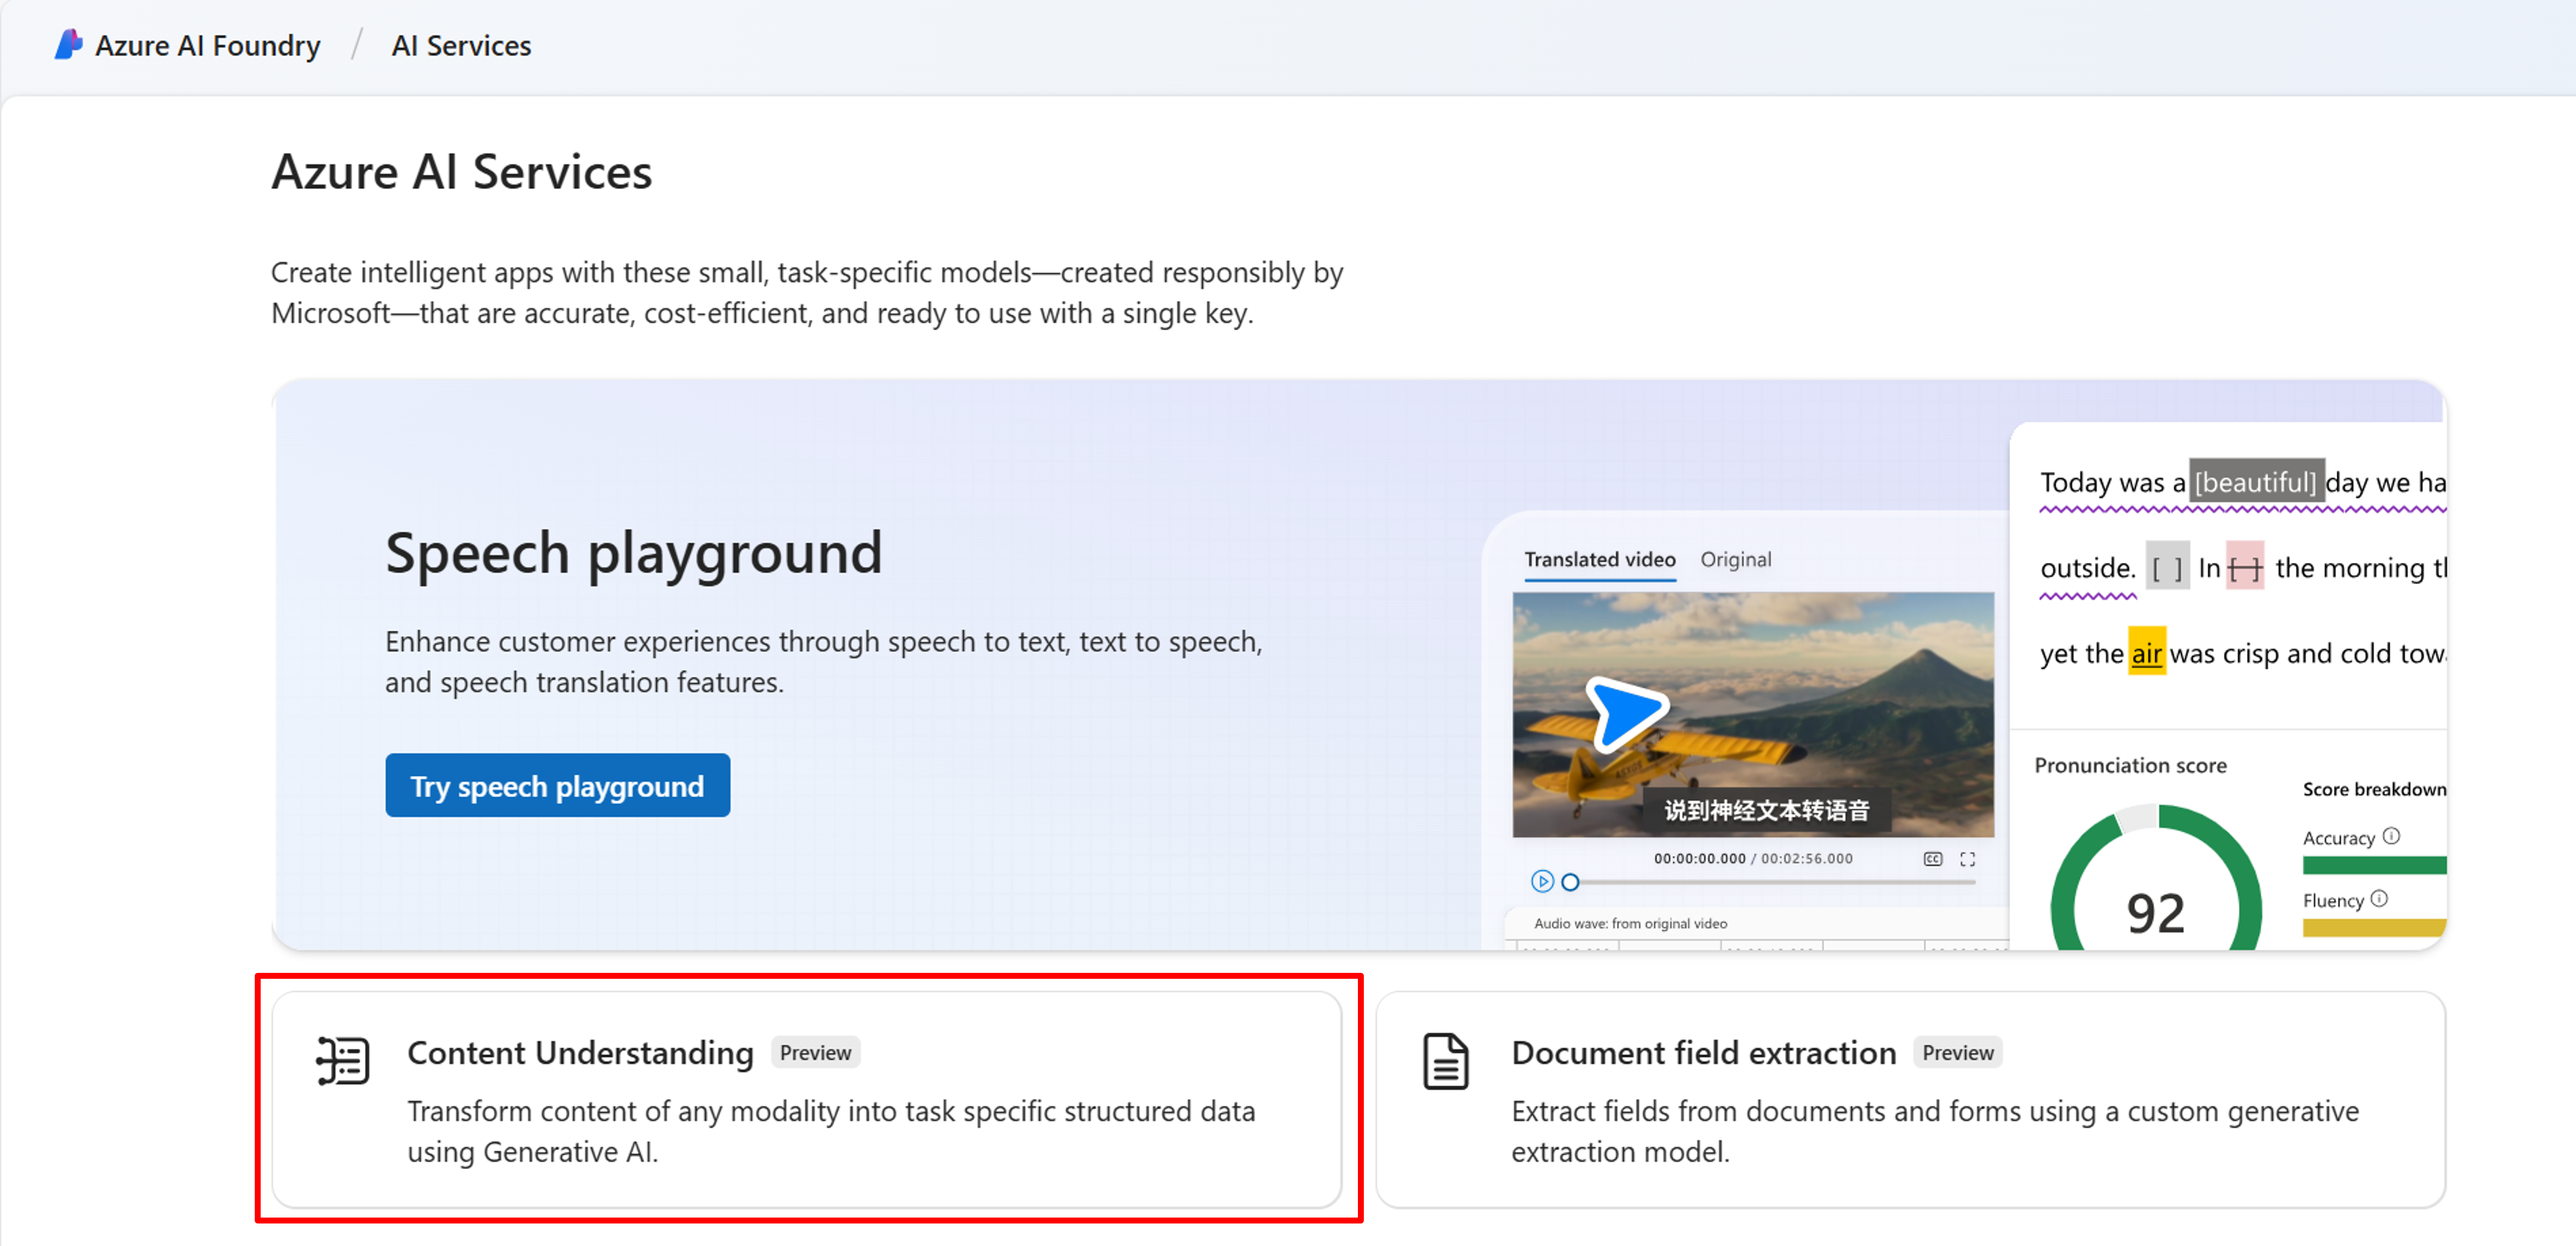
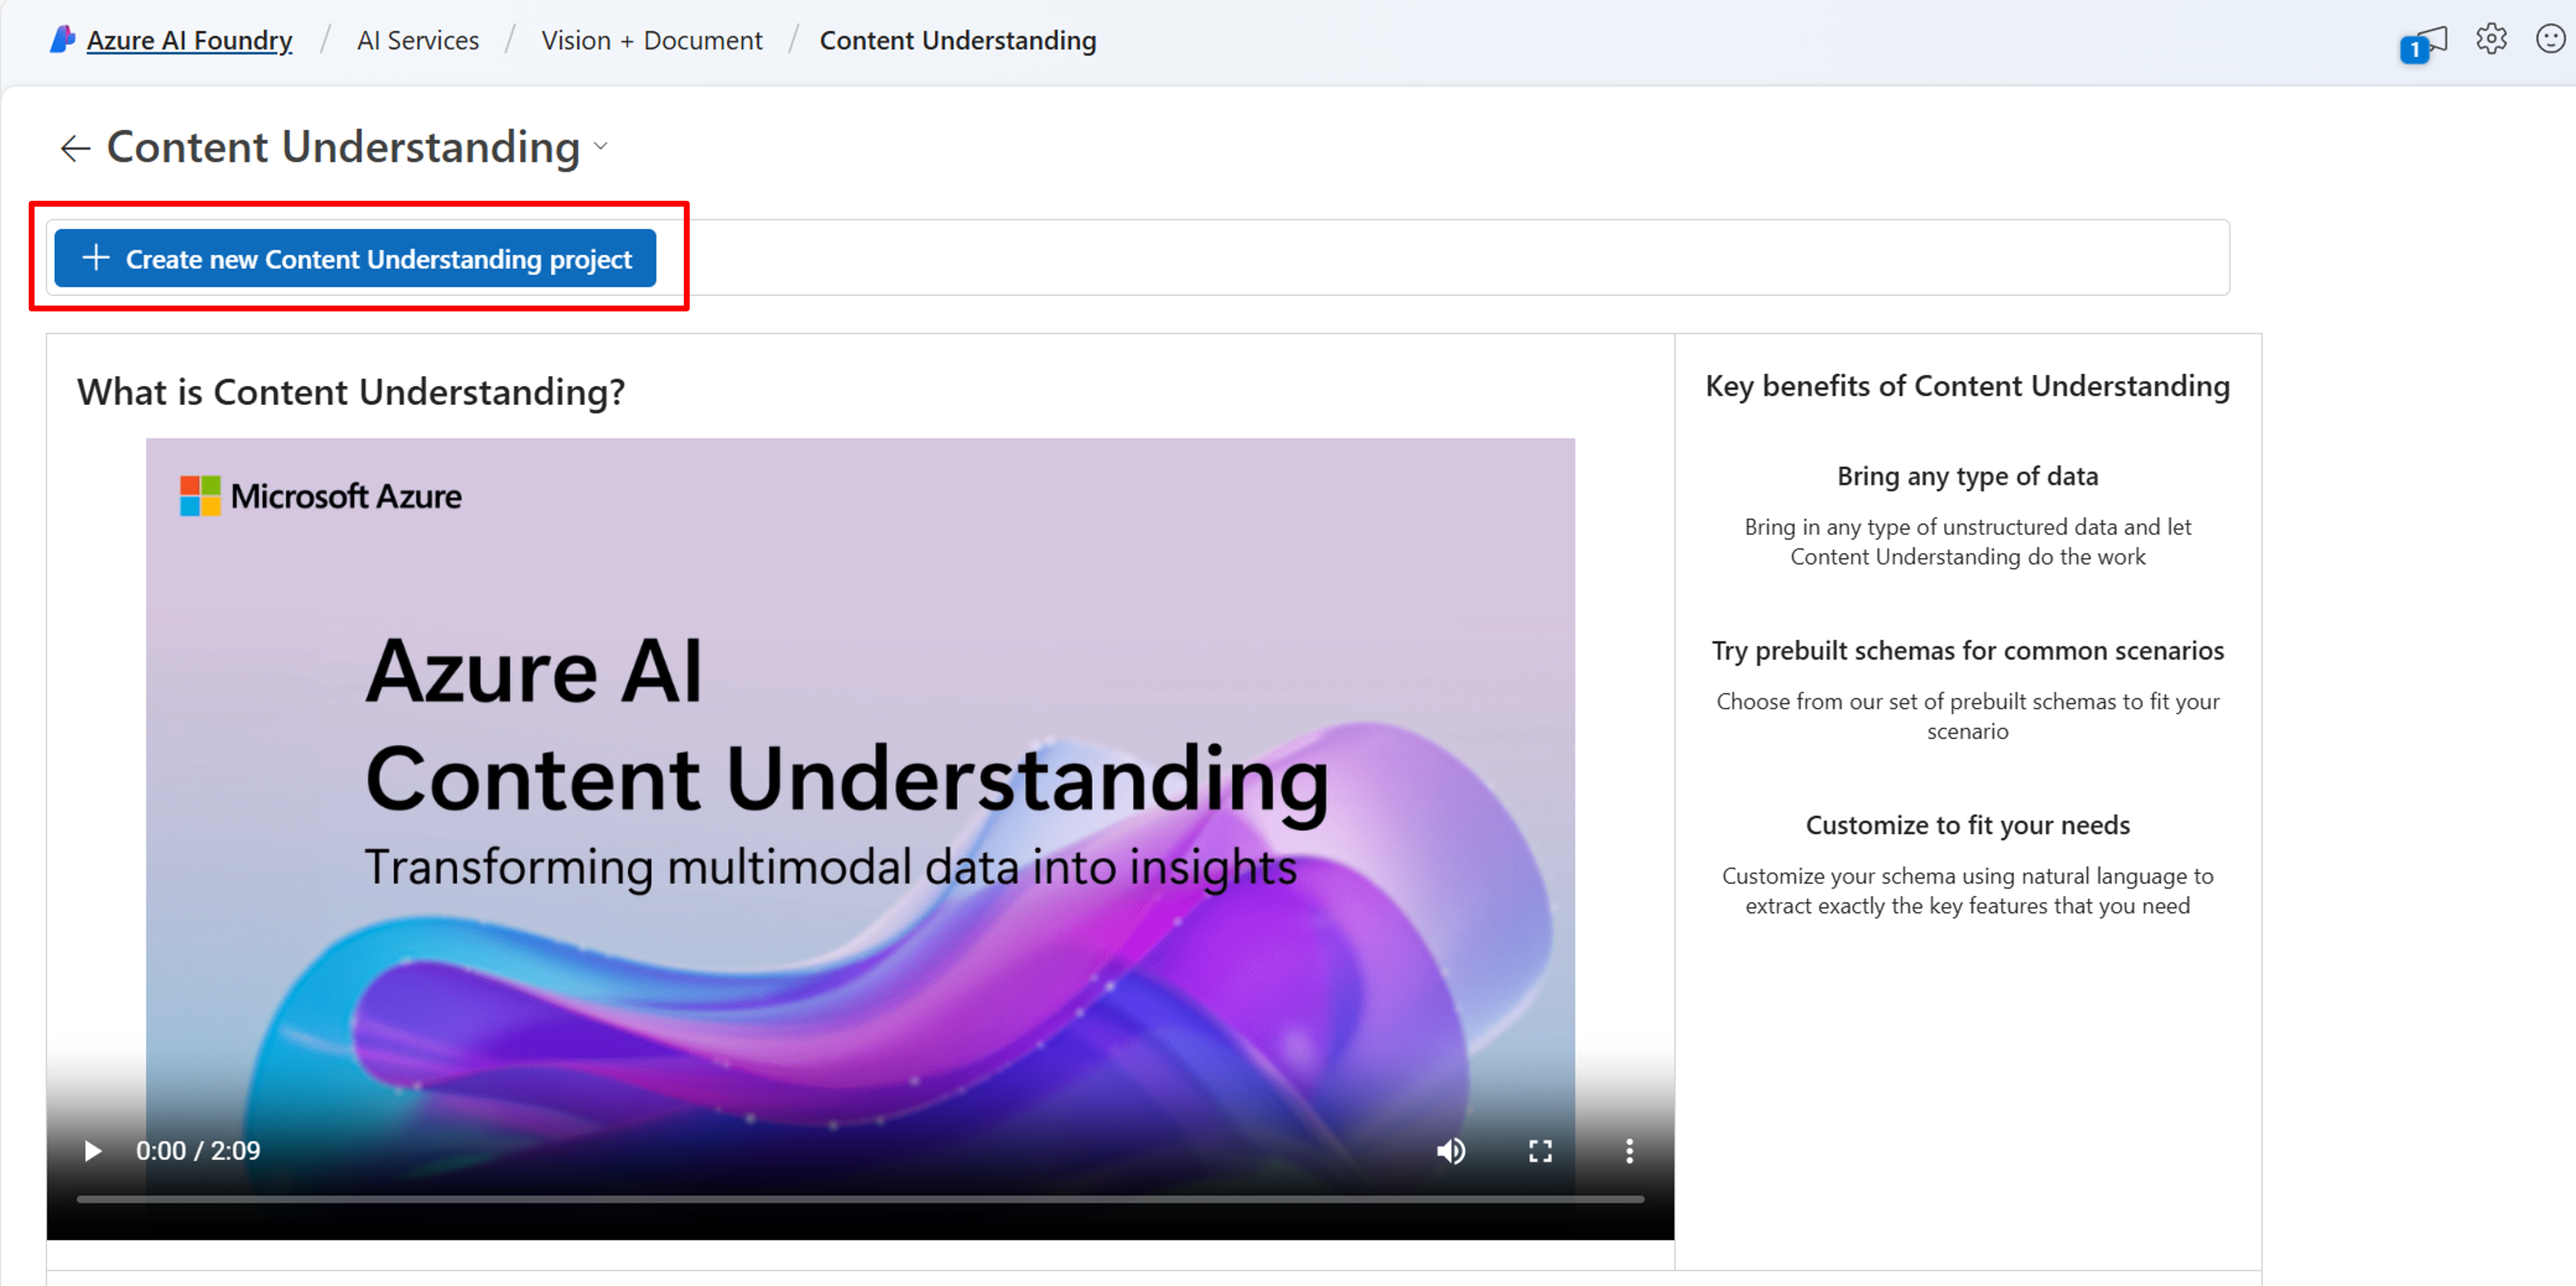
In order to try out the Content Understanding service in the AI Foundry, you have to create a Content Understanding project. You can access Content Understanding from:
Once on the Content Understanding page, select Create a new Content Understanding Project:
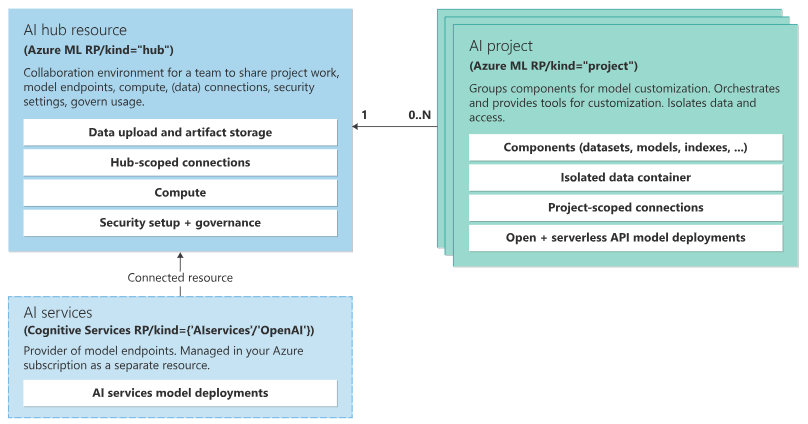
Follow the steps in the project creation wizard, and start by selecting the hub that you already created. When the hub was created, it should provision an AI Services resource and a blob storage container which are selected by default. You can alternatively create one using the wizard, or the Azure portal. The following diagram illustrates the role of hubs, resources, and projects in the AI Foundry.
Once you complete the setup steps, select Create project.
Sharing your content understanding project
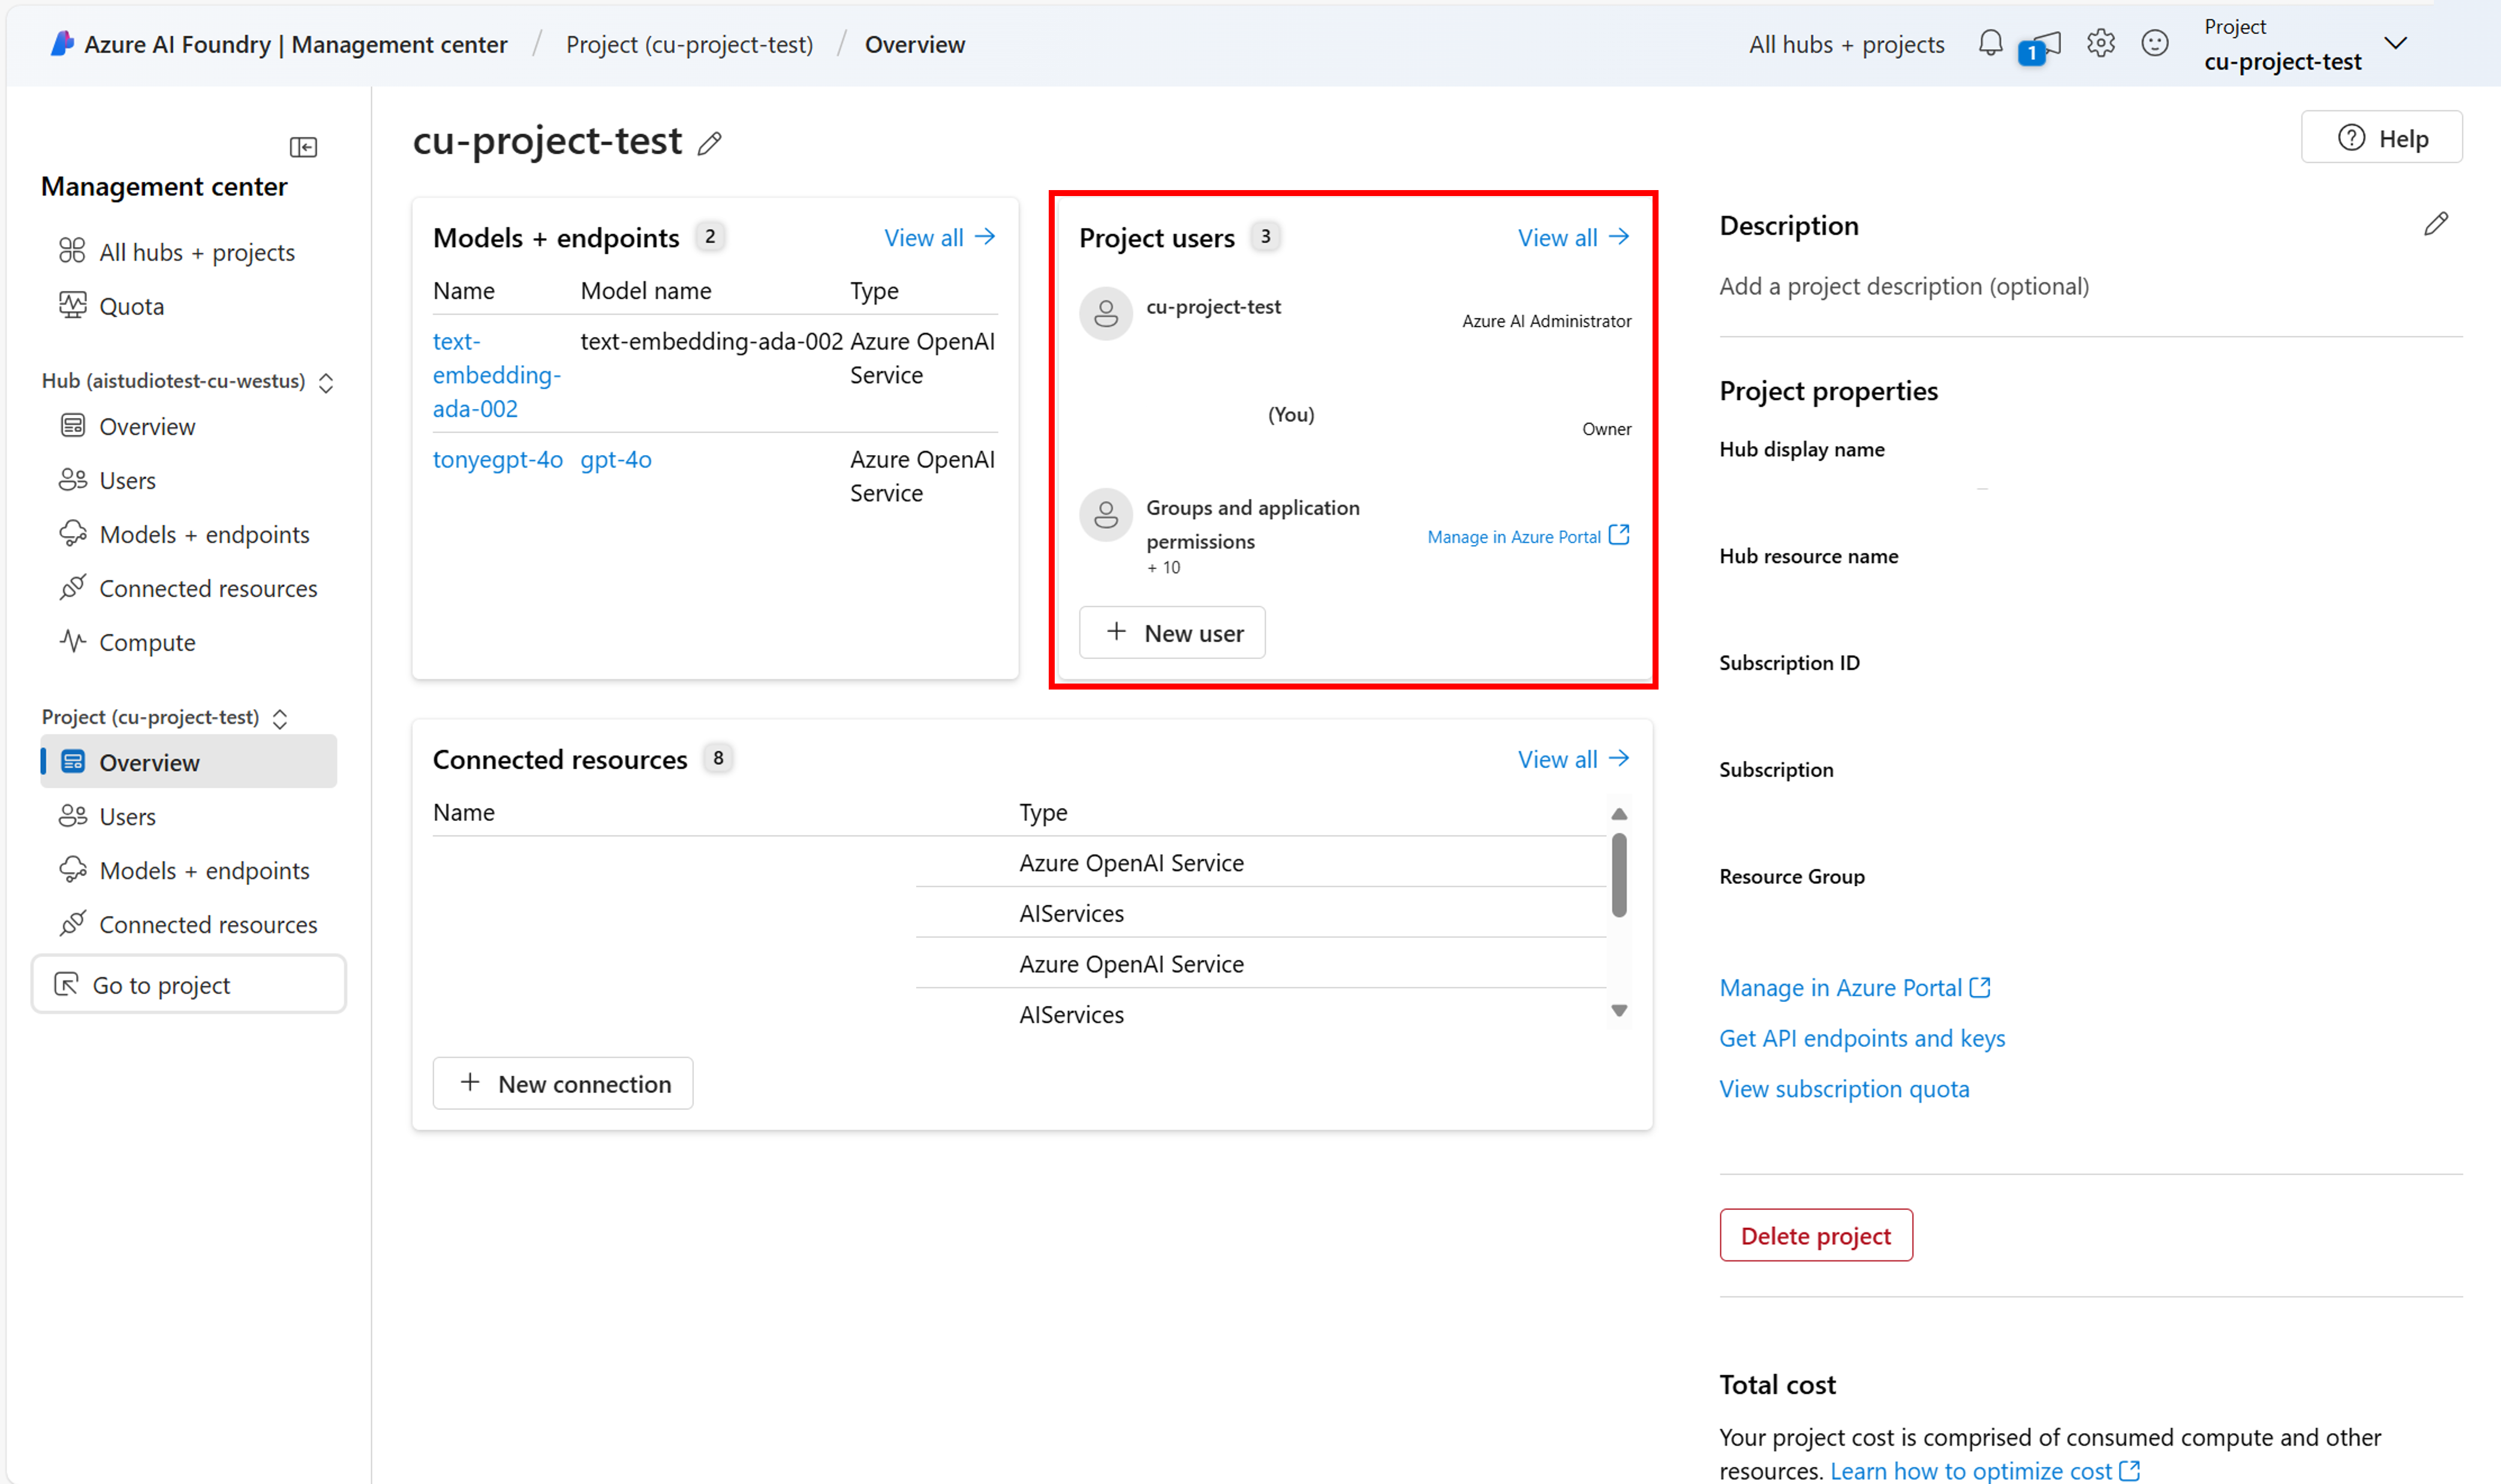
In order to share and manage access to the Content Understanding project you created, navigate to the Management Center, found at the bottom of the navigation for your project:
You can manage the users and their individual roles here:
Build your first analyzer
Now that everything is configured to get started, we can walk through, step-by-step, how to build your first analyzer, starting with building the schema. The schema is the customizable framework that allows the analyzer to extract insights from your data. In this example, the schema is created to extract key data from an invoice document, but you can bring in any type of data and the steps remain the same. For a complete list of supported file types, see input file limits.
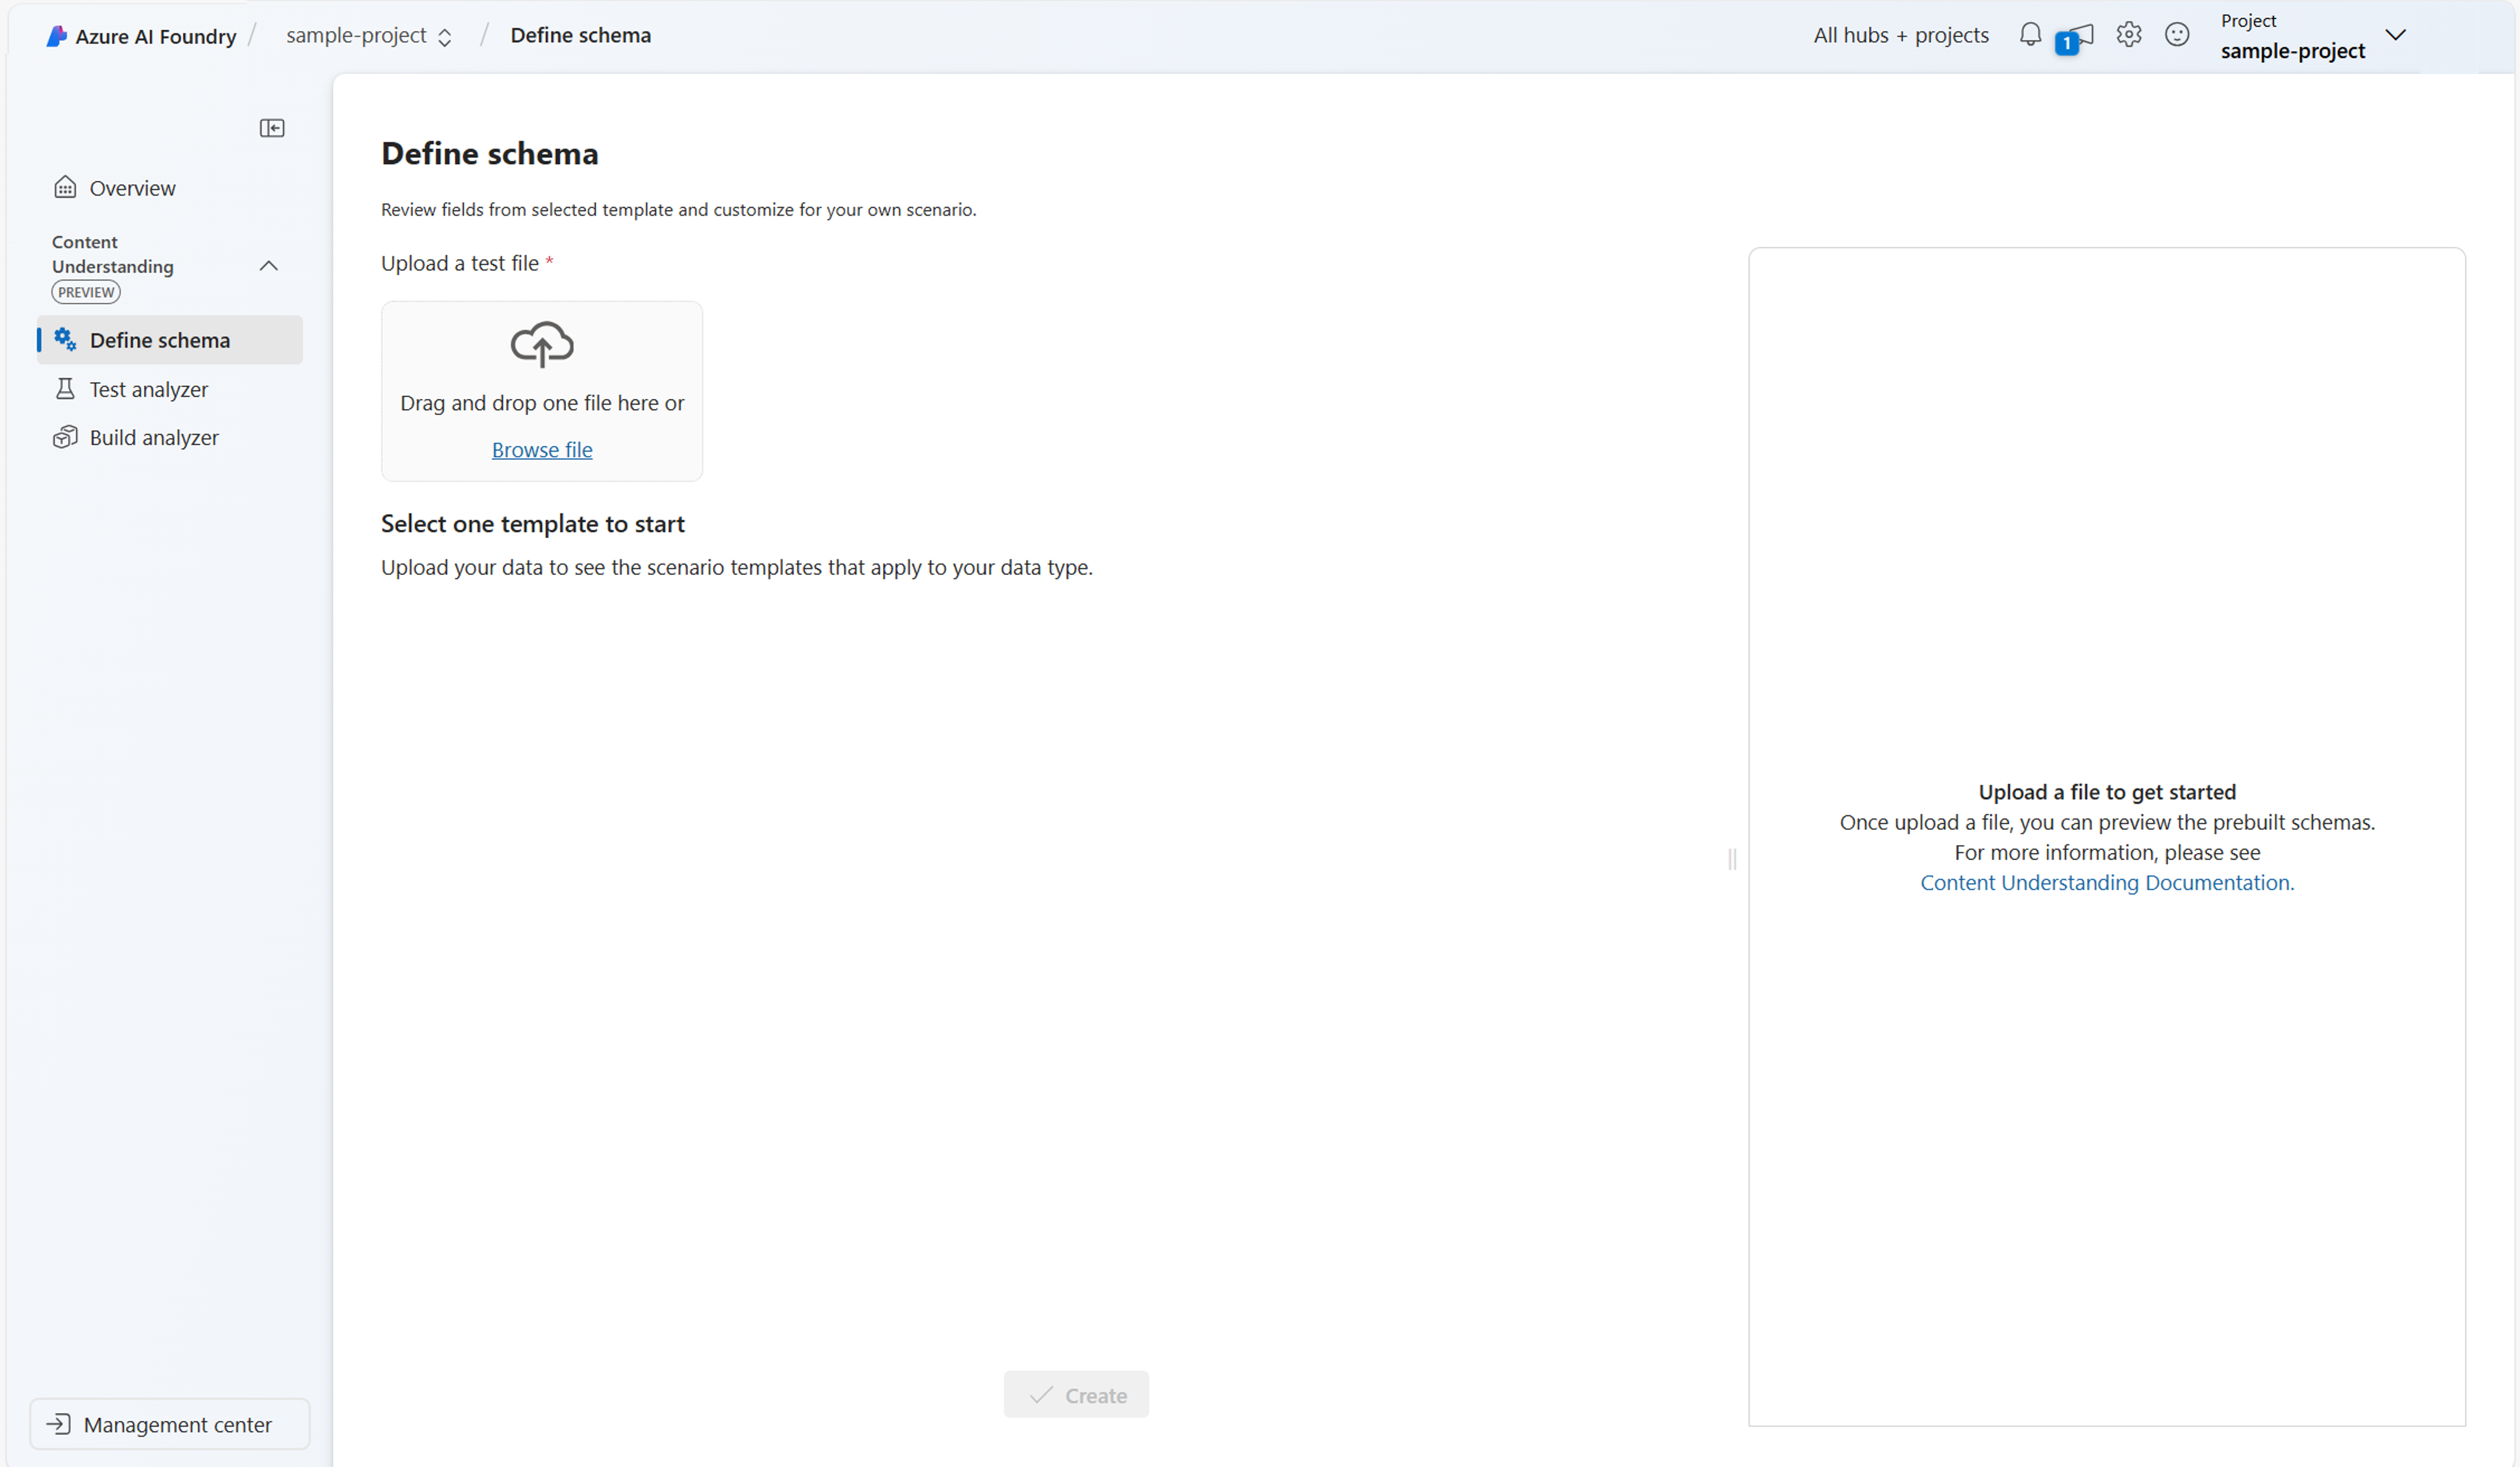
Upload a sample file of an invoice document or any other data relevant to your scenario.
Next, the Content Understanding service suggests analyzer templates based on your content type. Check out Analyzer templates offered with Content Understanding for a full list of all templates offered for each modality. For this example, select Document analysis to build your own schema tailored to the invoice scenario. When using your own data, select the analyzer template that best fits your needs, or create your own. See Analyzer templates for a full list of available templates.
Select Create.
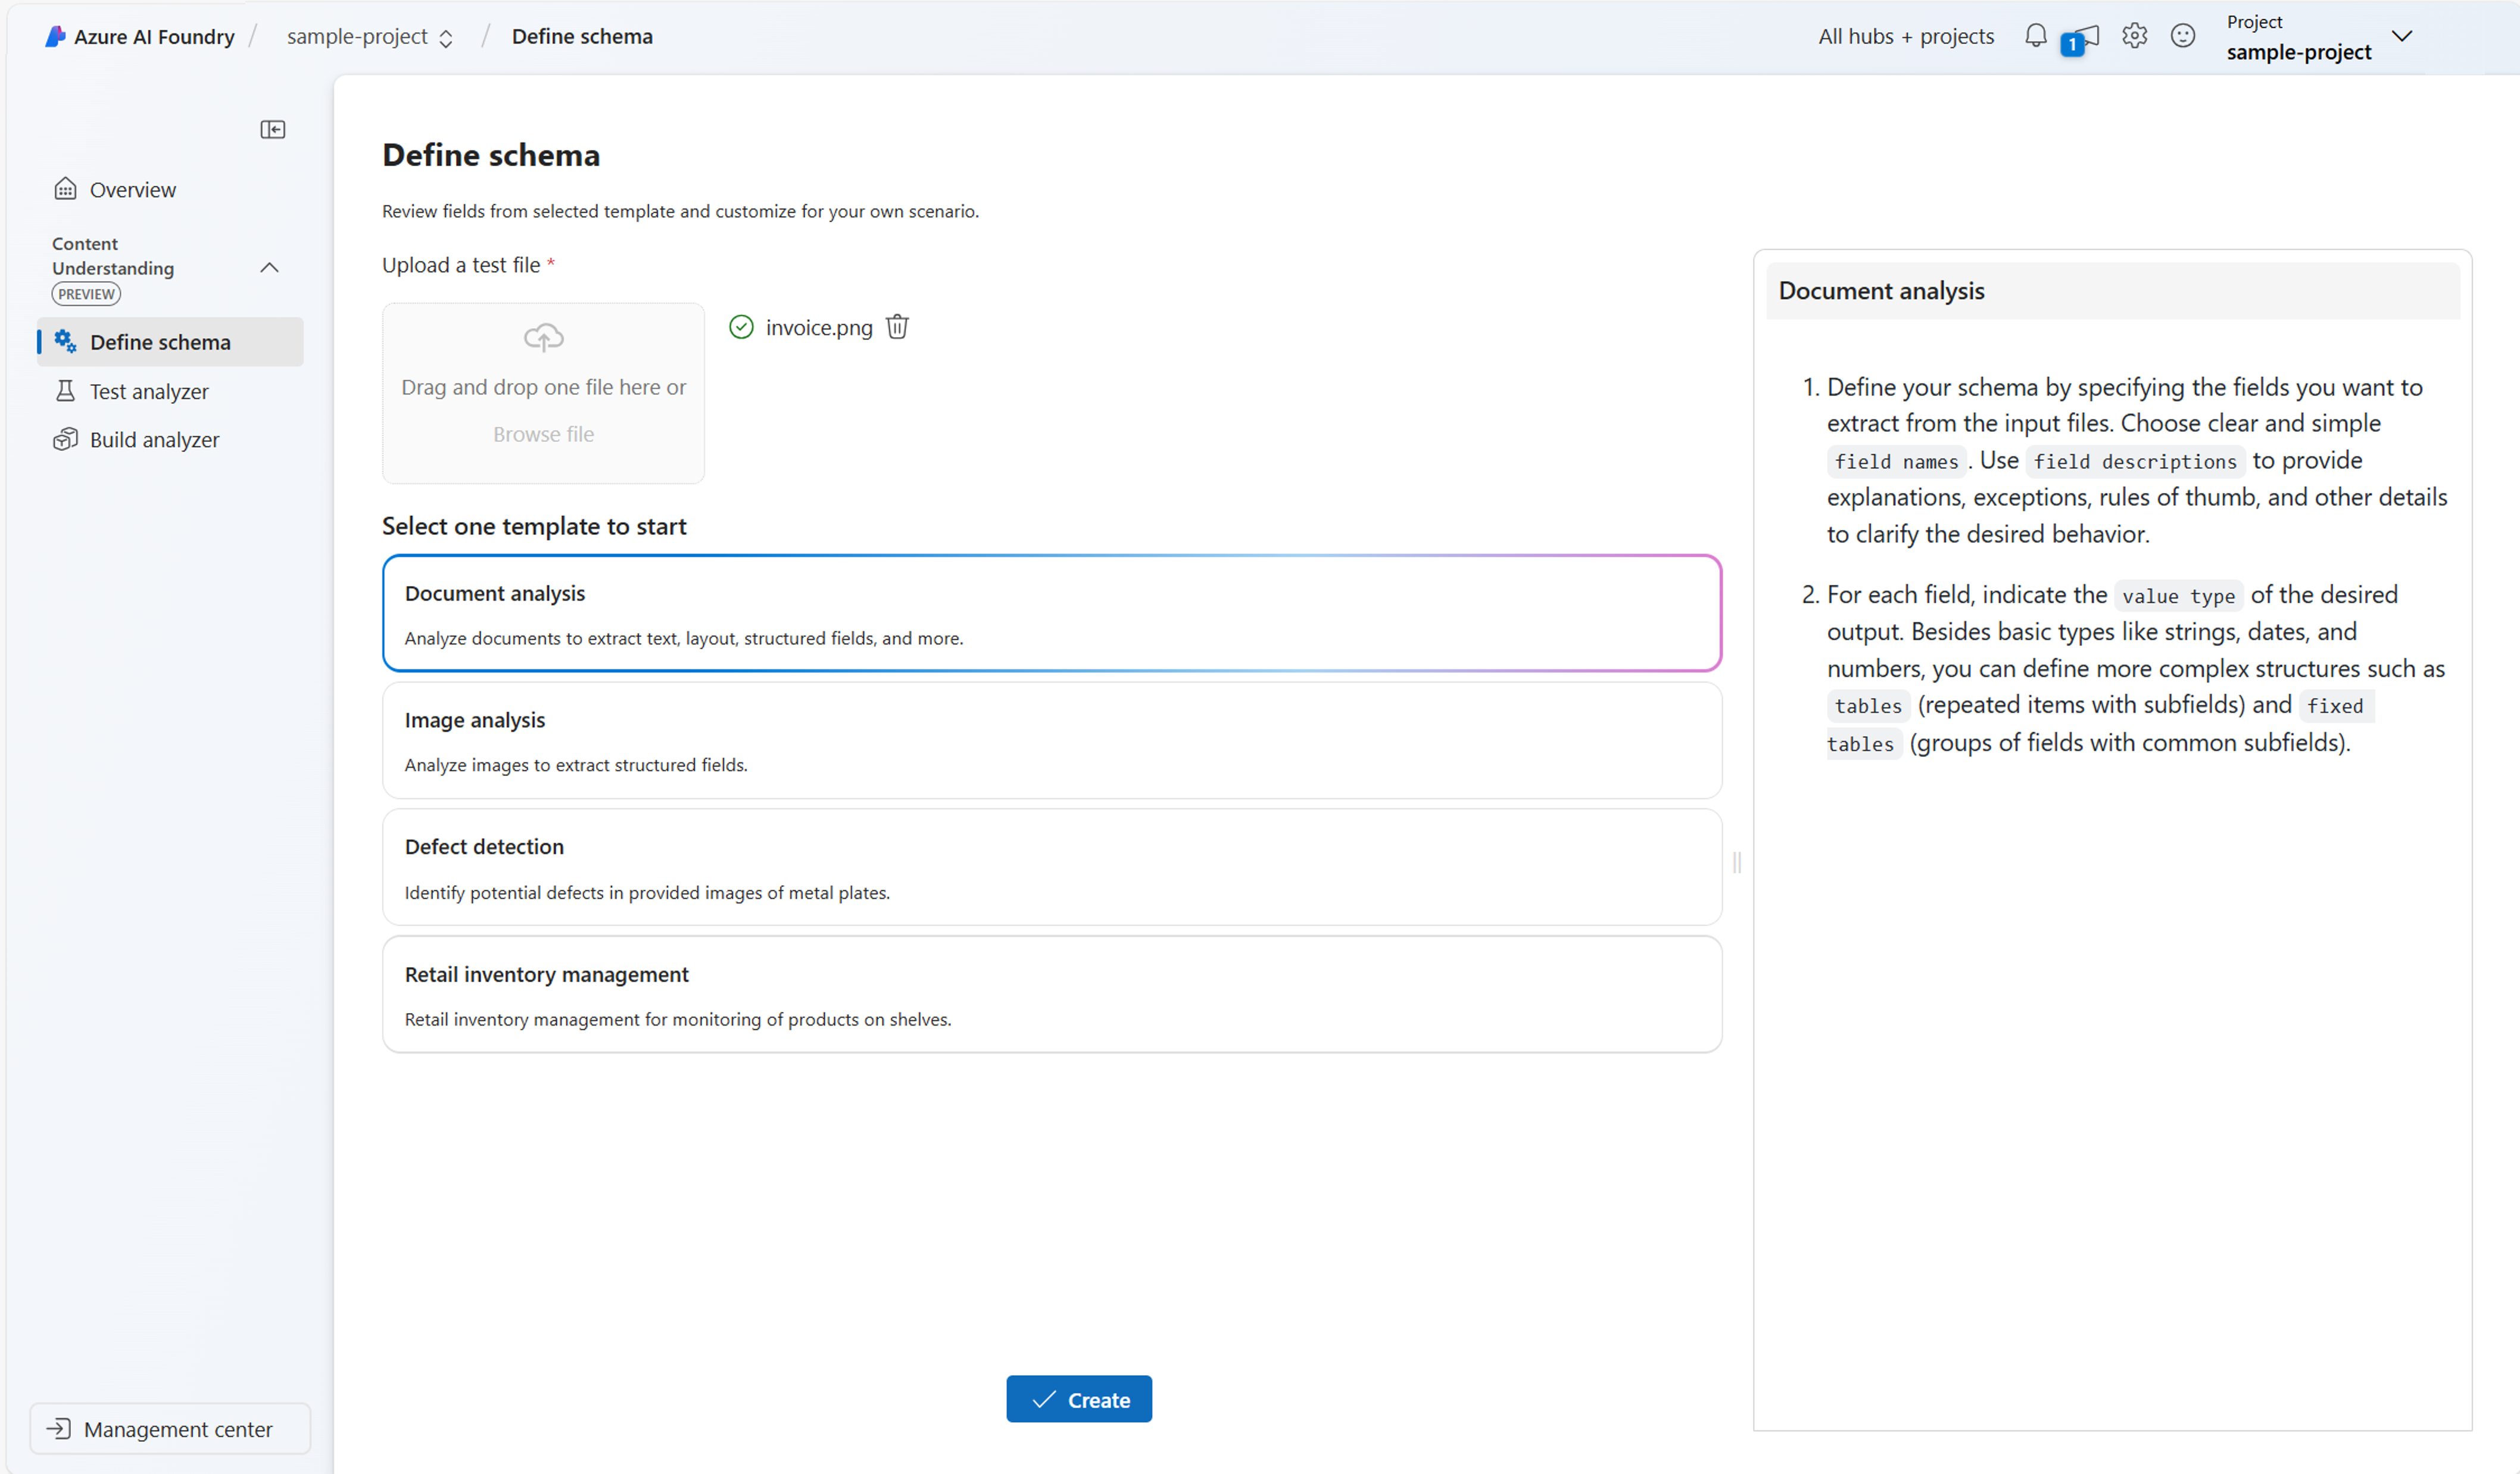
Add fields to your schema:
Specify clear and simple field names. Some example fields might include vendorName, items, price.
Indicate the value type for each field (strings, dates, numbers, lists, groups). To learn more, see supported field types.
[Optional] Provide field descriptions to explain the desired behavior, including any exceptions or rules.
Specify the method to generate the value for each field.
Select Save.
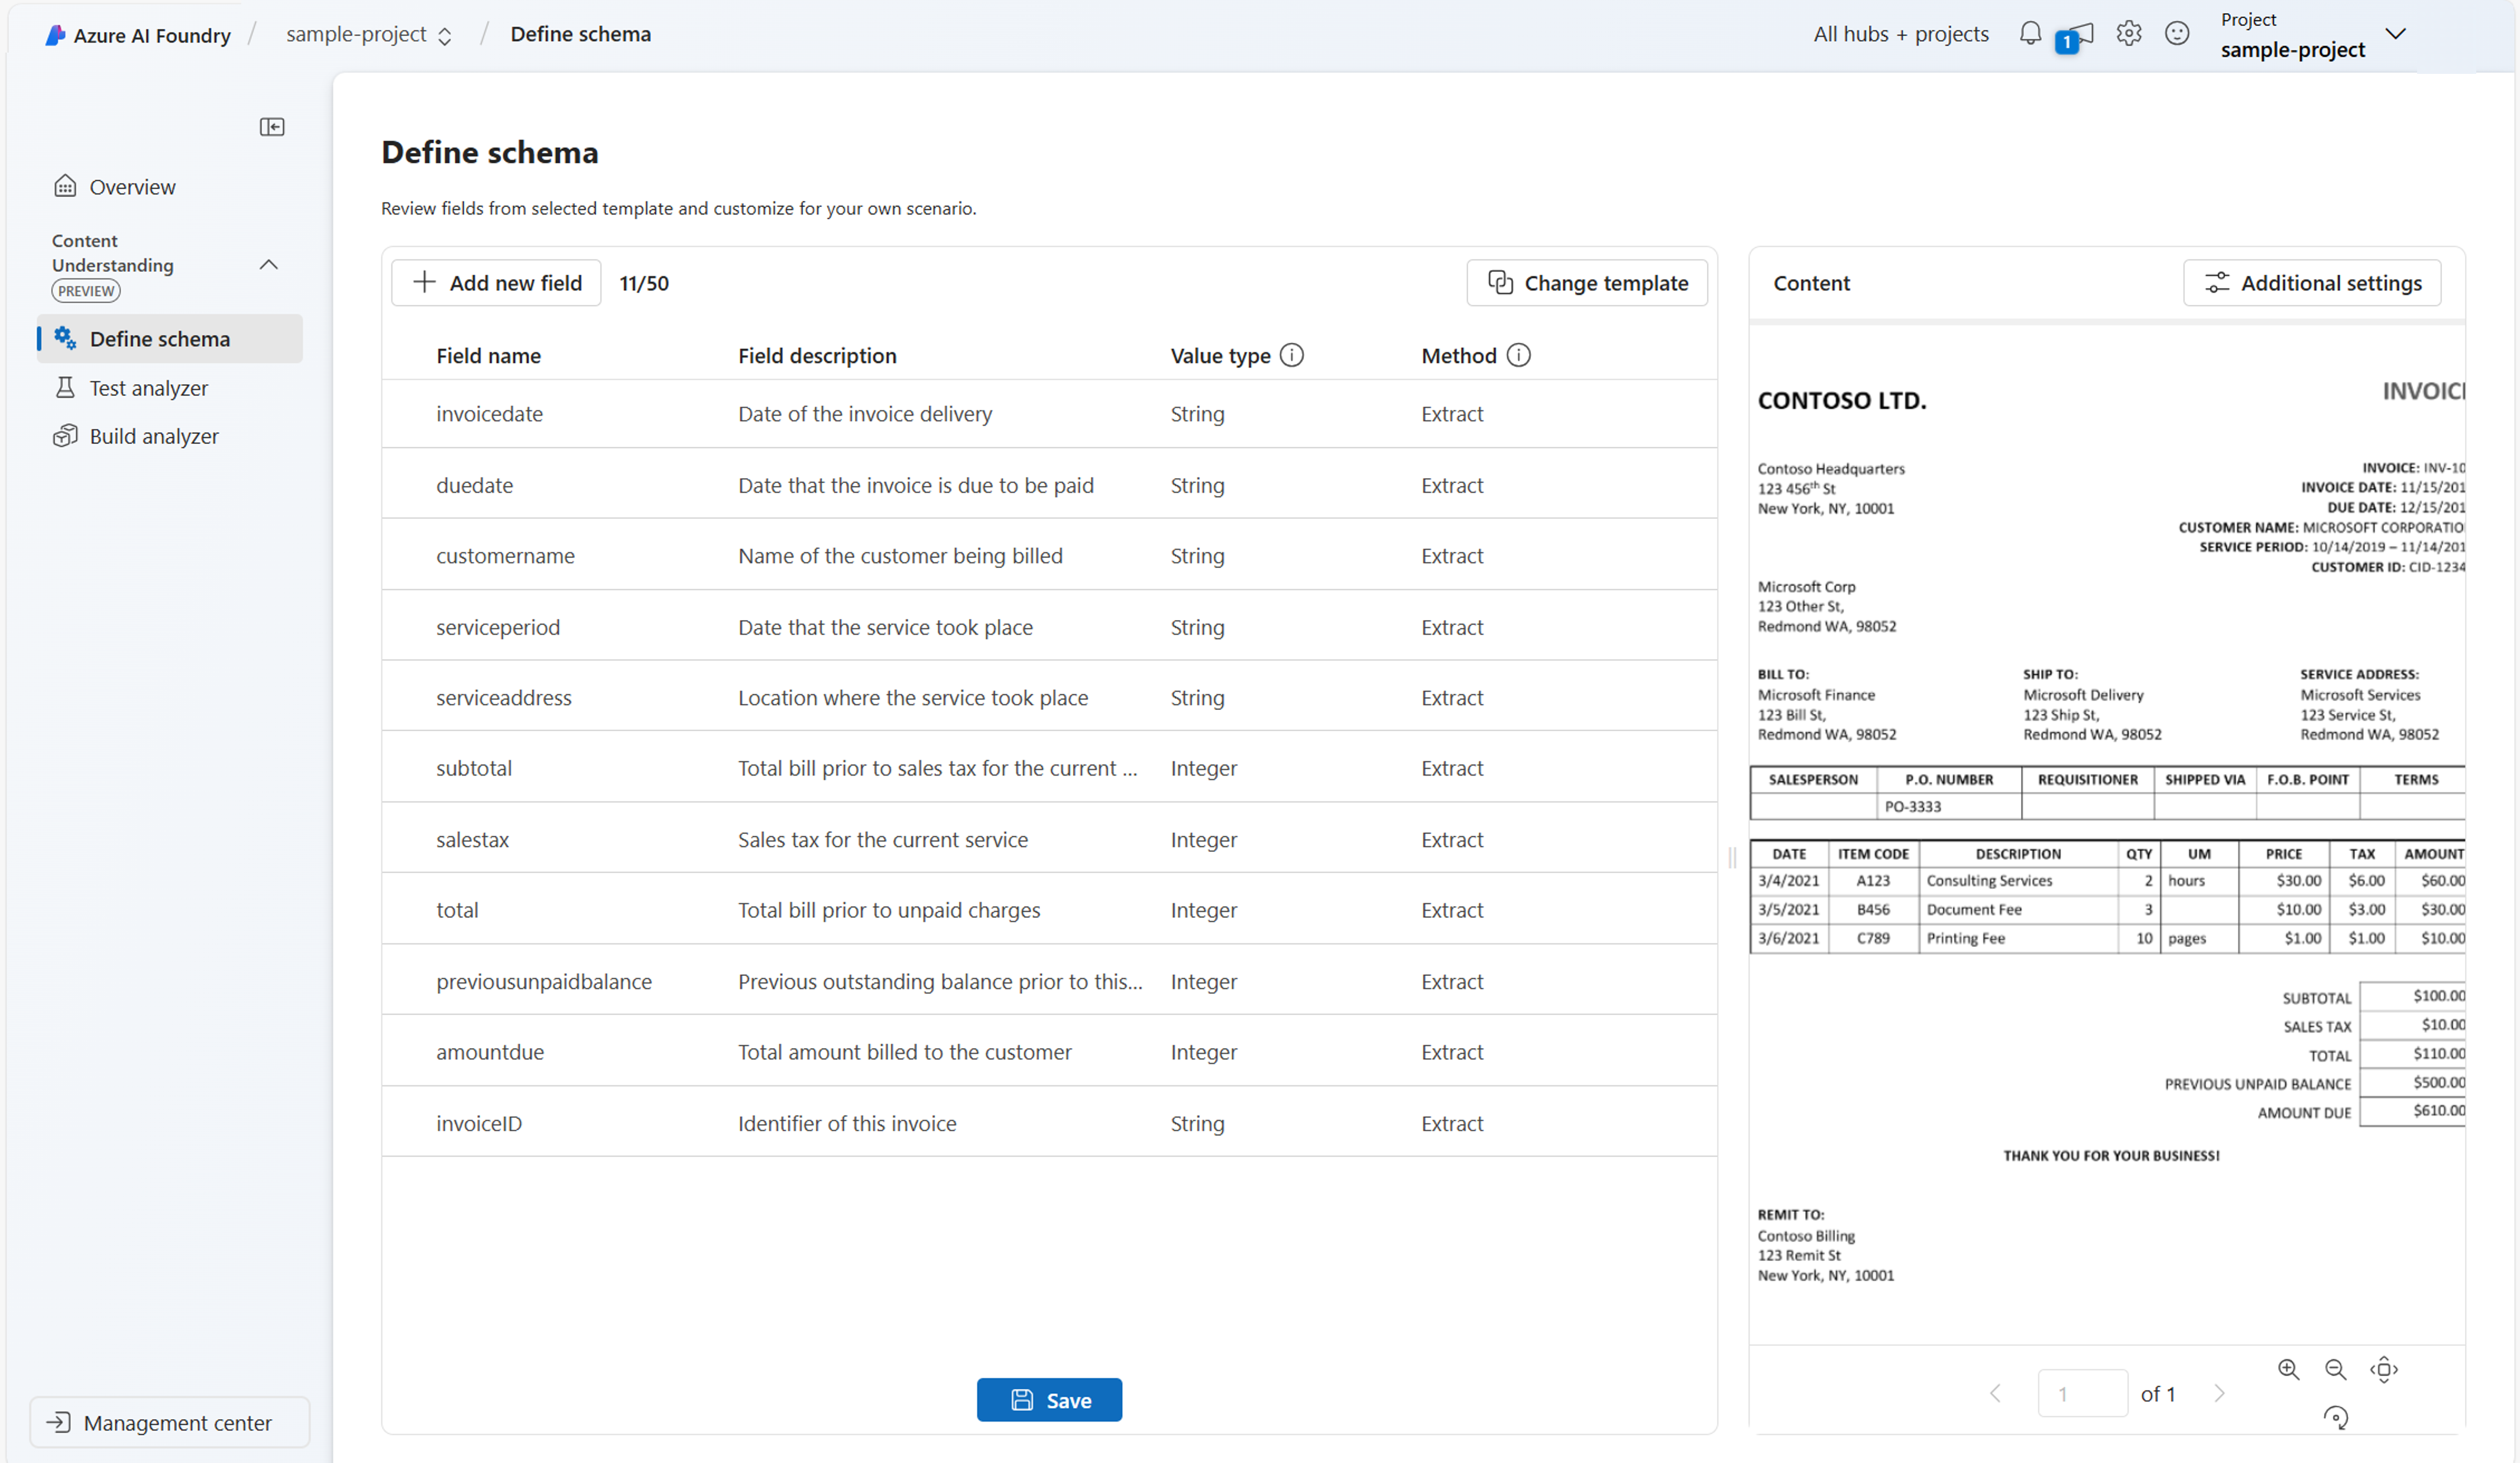
With the completed schema, Content Understanding now generates the output on your sample data. At this step, you can add more data to test the analyzer's accuracy or make changes to the schema if needed.
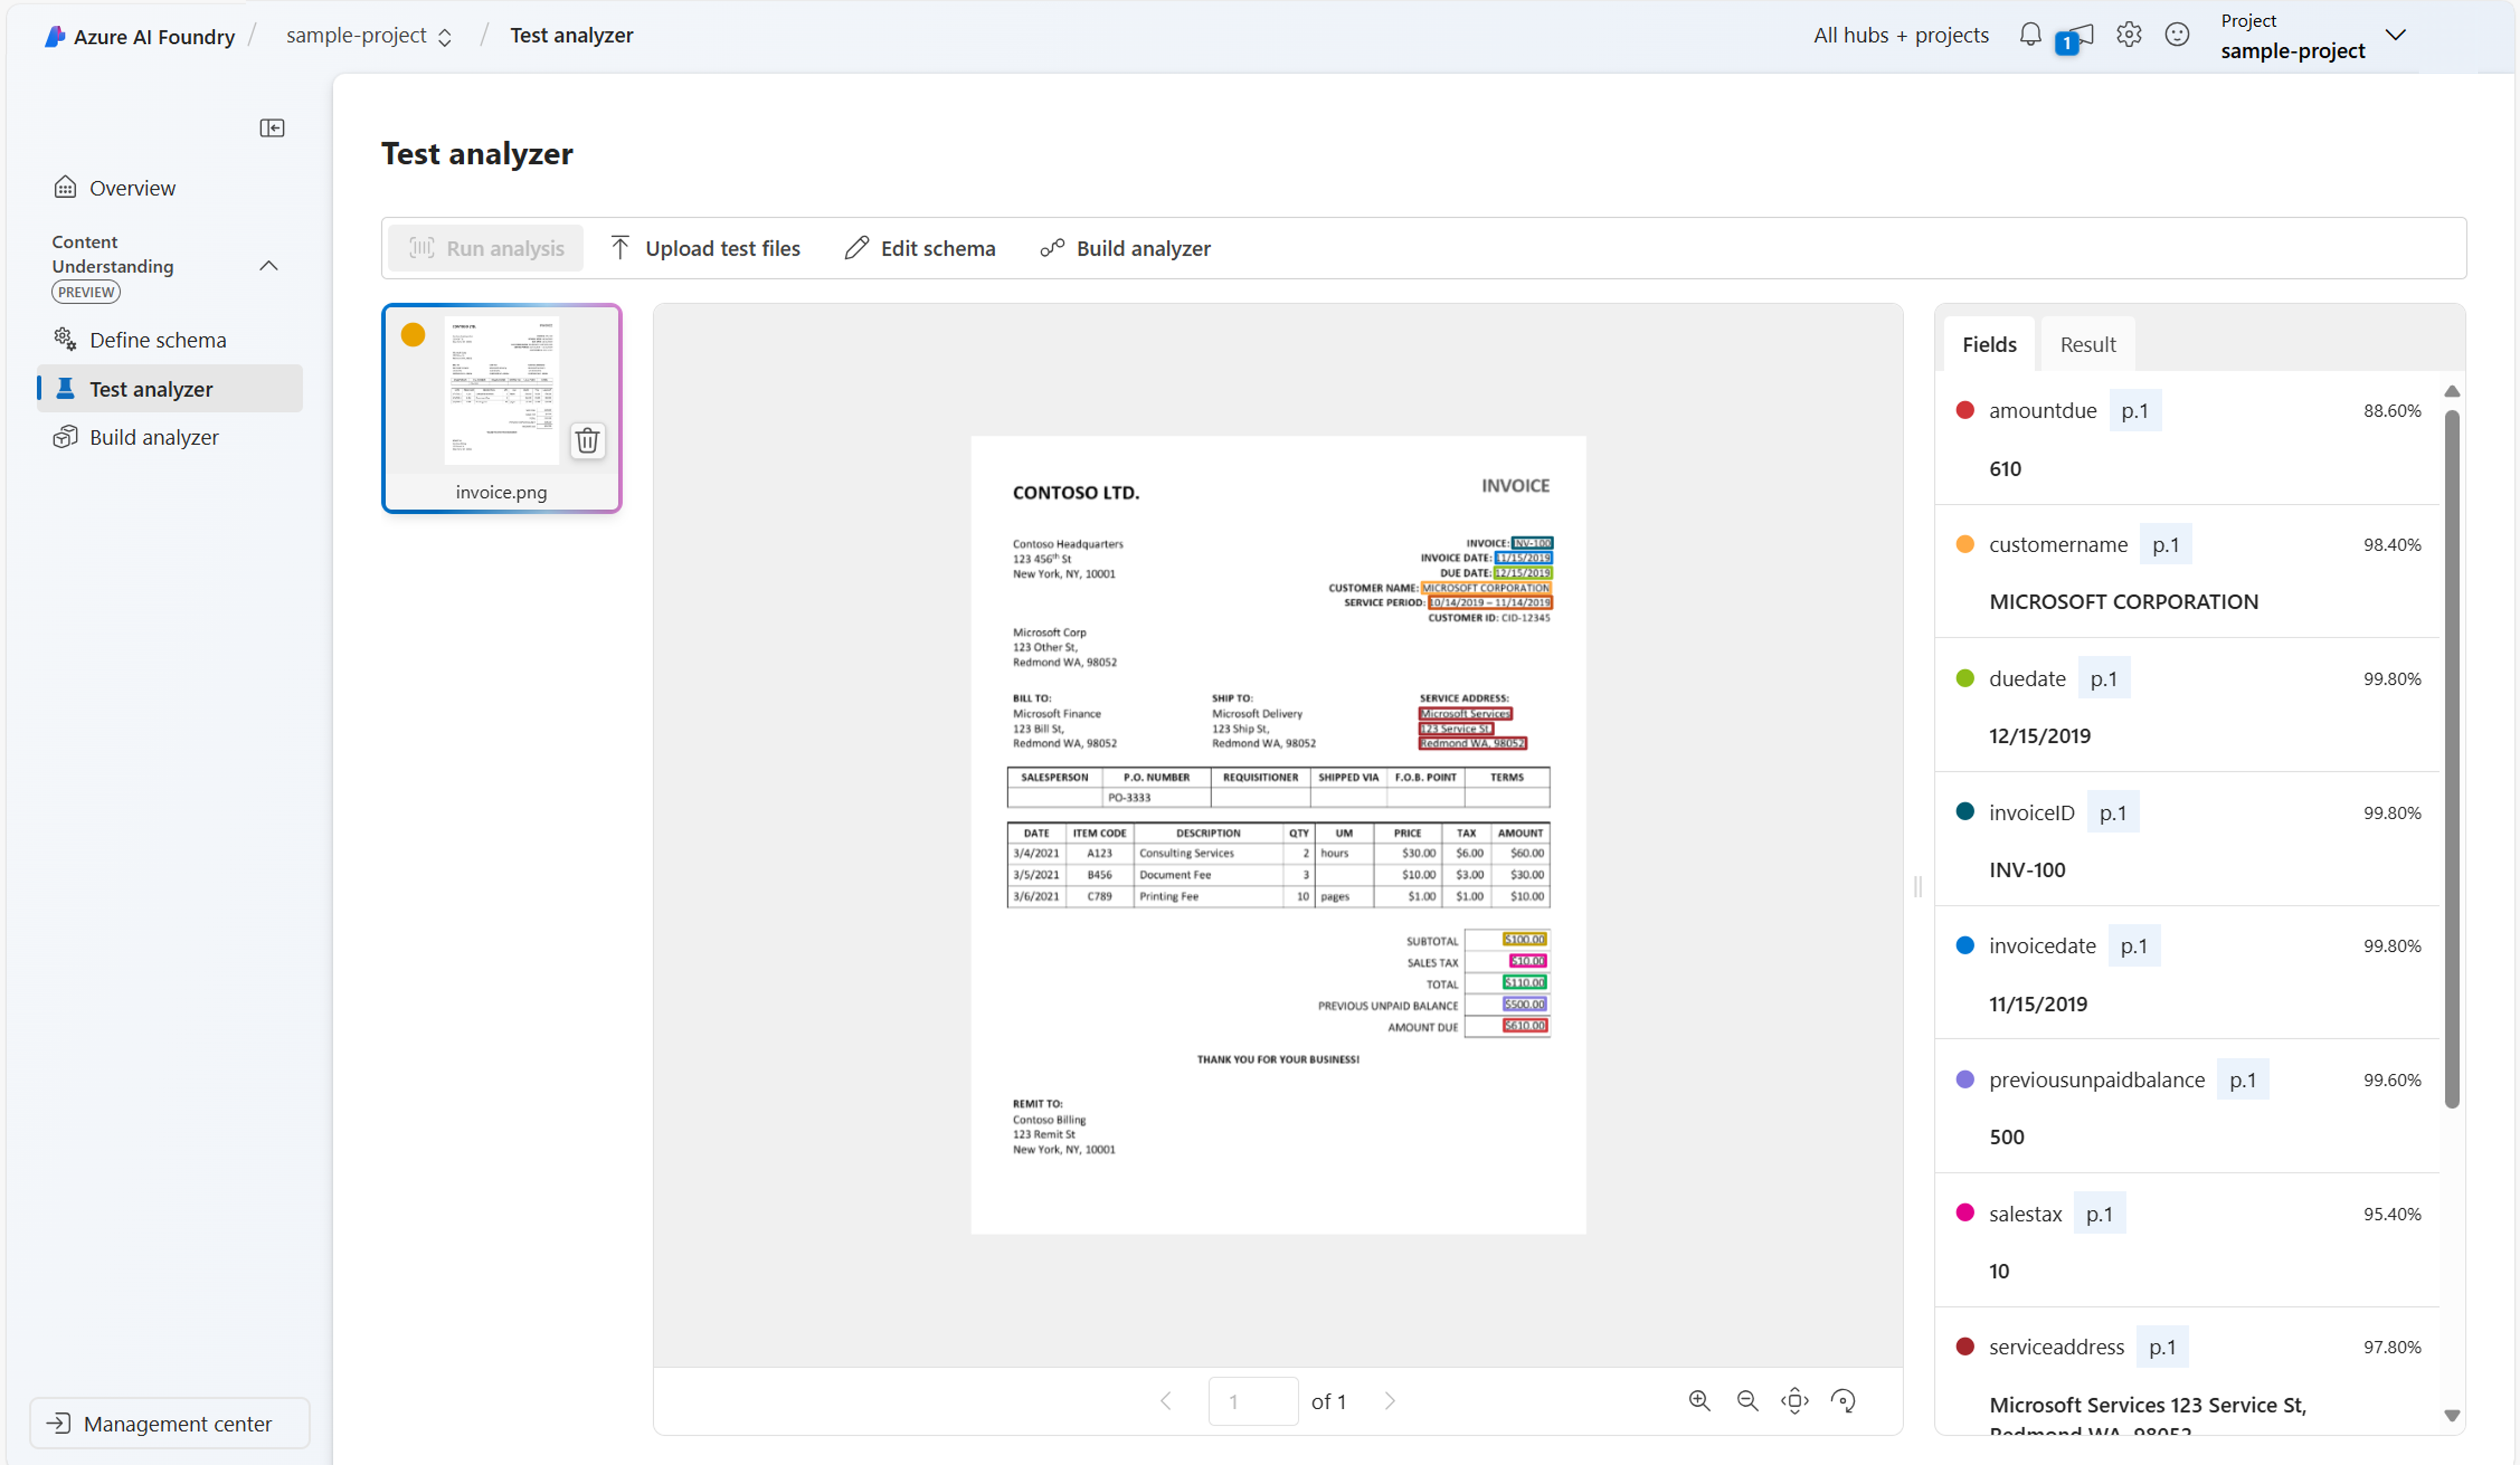
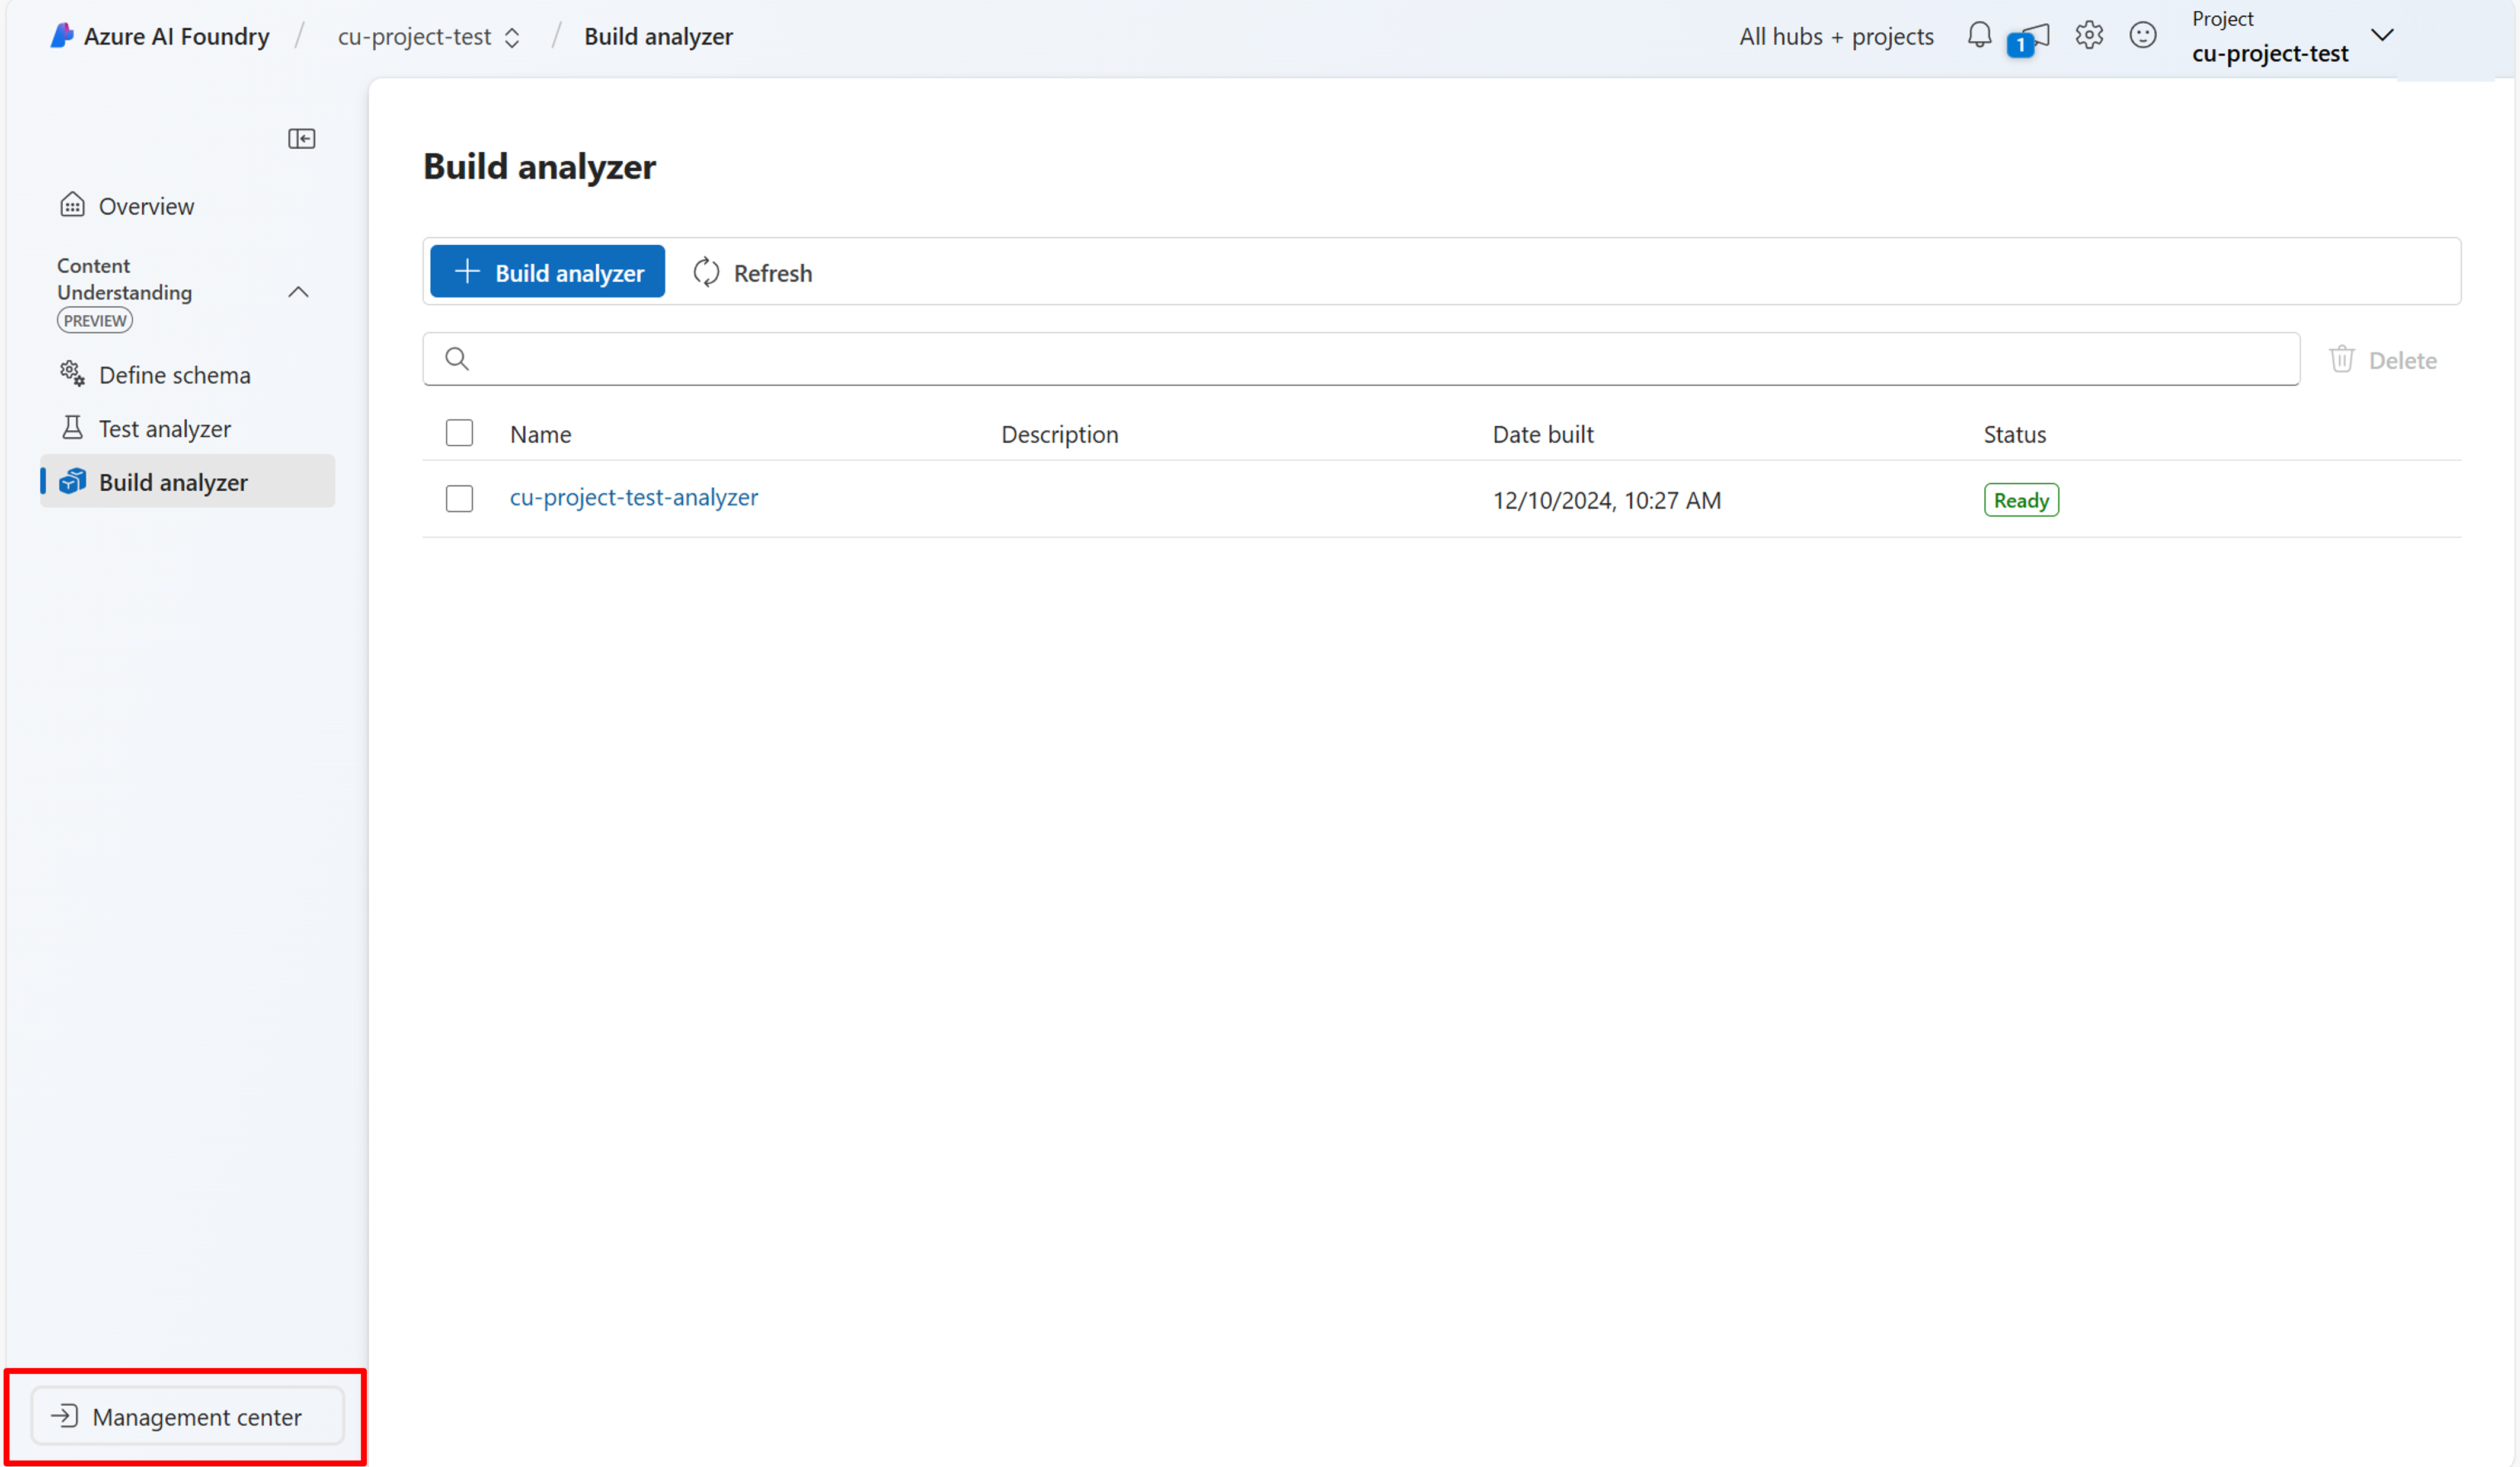
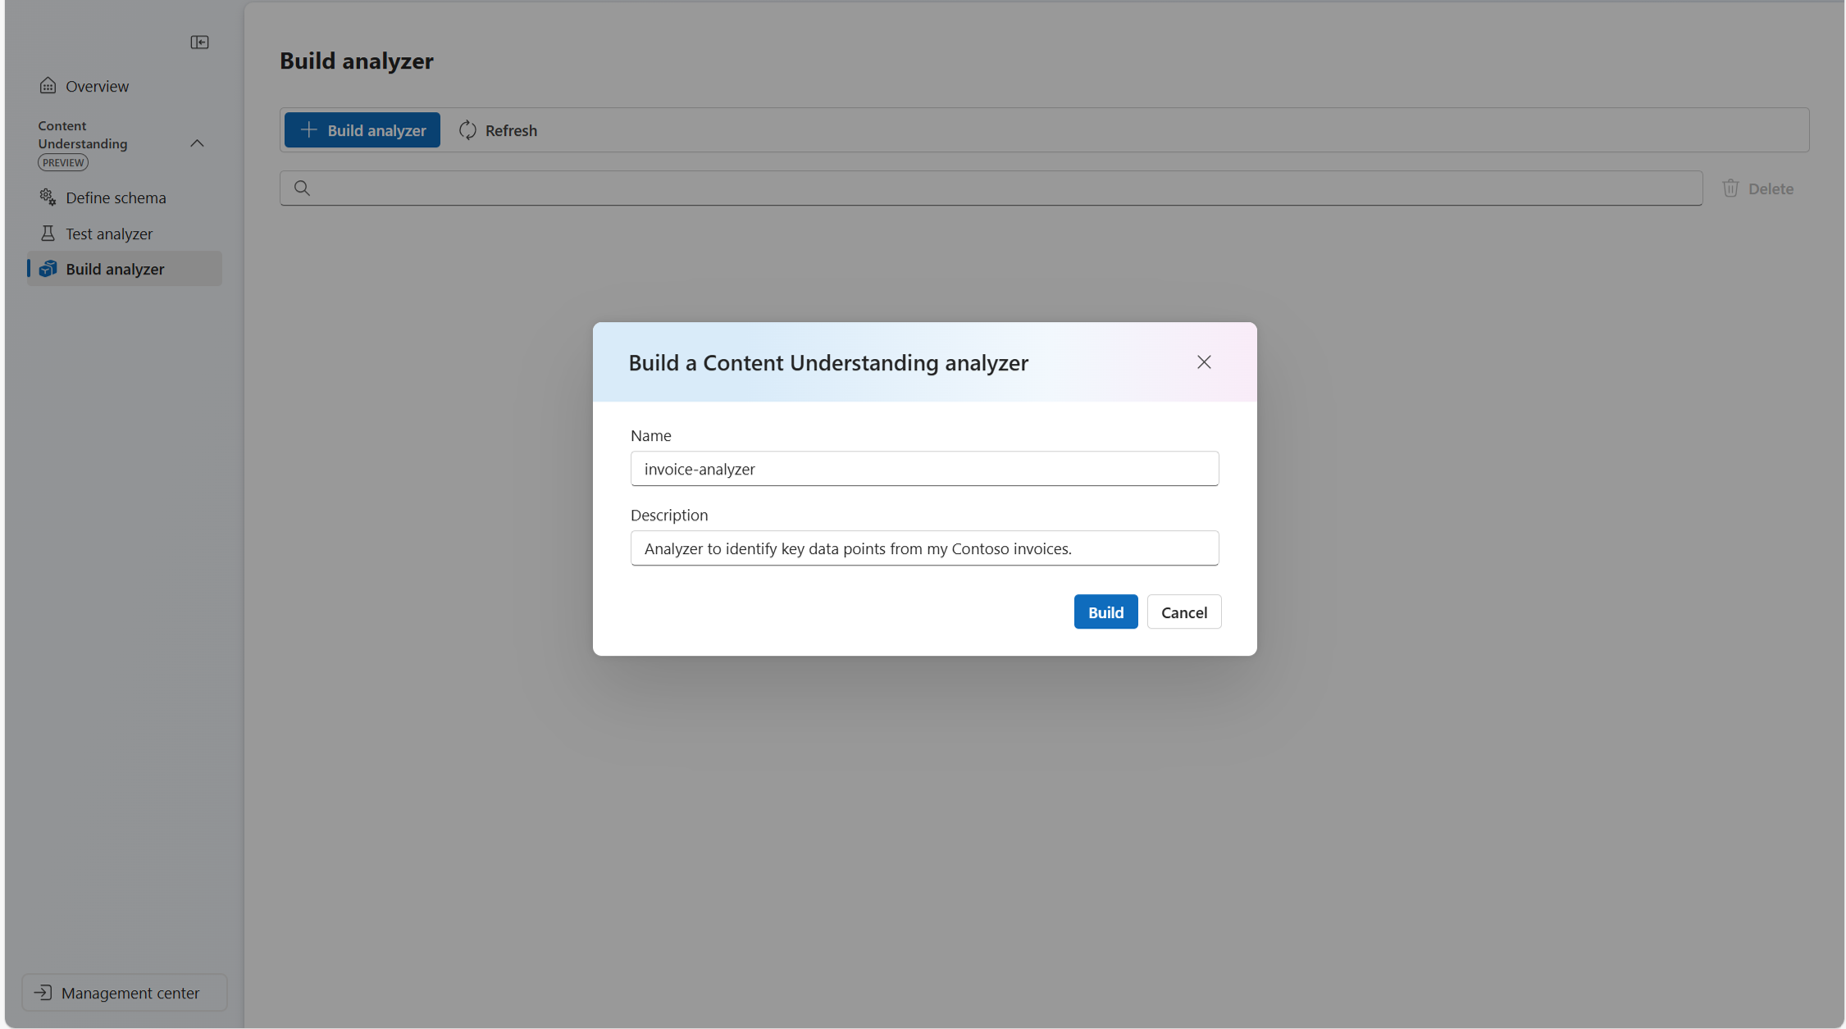
Once you're satisfied with the quality of your output, select Build analyzer. This action creates an analyzer ID that you can integrate into your own applications, allowing you to call the analyzer from your code.
Now you successfully built your first Content Understanding analyzer, and are ready to start extracting insights from your data. Check out Quickstart: Azure AI Content Understanding REST APIs to utilize the REST API to call your analyzer.
Next steps
- In this quickstart, you learned how to create a Content Understanding analyzer using the Azure AI Foundry. To use the Content Understanding REST API, see the REST API quickstart.