Quickstart: Create a dev box by using team customizations
In this quickstart, you create a dev box by using Microsoft Dev Box team customizations. The feature uses an image definition file so that you can create consistently customized dev boxes for your development team and provide a tailored environment for your projects.
Important
The Dev Box team customizations feature is currently in preview. For more information about the preview status, see the Supplemental Terms of Use for Microsoft Azure Previews. The document defines legal terms that apply to Azure features that are in beta, in preview, or otherwise not yet released into general availability.
Prerequisites
To complete the steps in this quickstart, you must have a dev center configured with a dev box project.
Permissions required to configure customizations
To perform the required actions for creating and applying customizations to a dev box, you need the following permissions:
| Action | Permission/Role |
|---|---|
| Enable project-level catalogs for a dev center. | Platform engineer with write access on the subscription. |
| Enable catalog sync settings for a project. | Platform engineer with write access on the subscription. |
| Attach a catalog to a project. | Project Admin or Contributor permissions on the project. |
| Create a customization file. | None specified. Anyone can create a customization file. |
| Use the developer portal to upload and apply a YAML file during dev box creation. | Dev Box User. |
| Add tasks to a catalog. | Permission to add to the repository that hosts the catalog. |
Create an image definition
- Download the example YAML customization file.
- Open the file and examine the tasks.
The image definition file specifies a name for the image definition by using a name field. Use this name to identify the image definition in the dev box pool.
Enable project-level catalogs
You must enable project-level catalogs at the dev center level before you can add a catalog to a project.
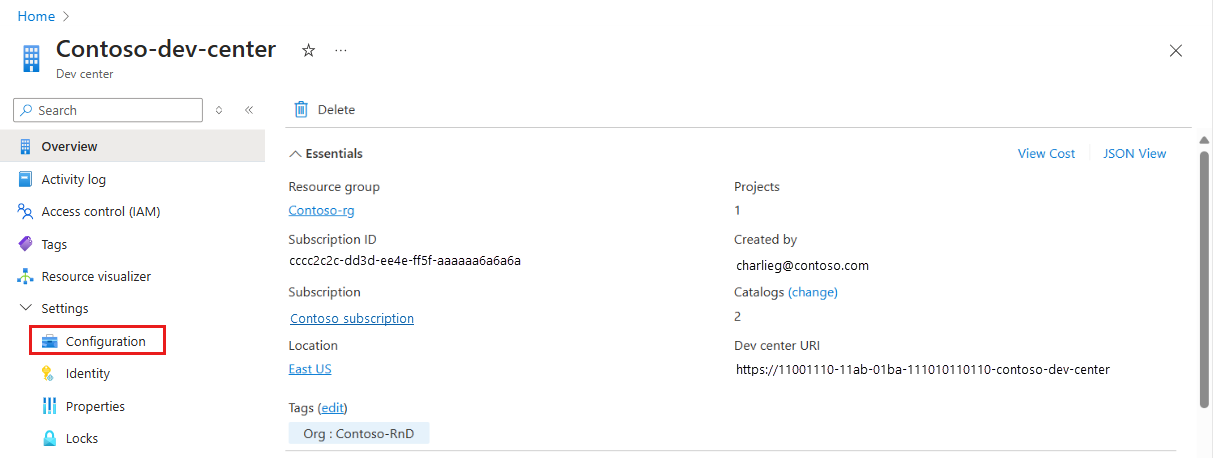
In the Azure portal, go to your dev center.
On the service menu, under Settings, select Configuration.
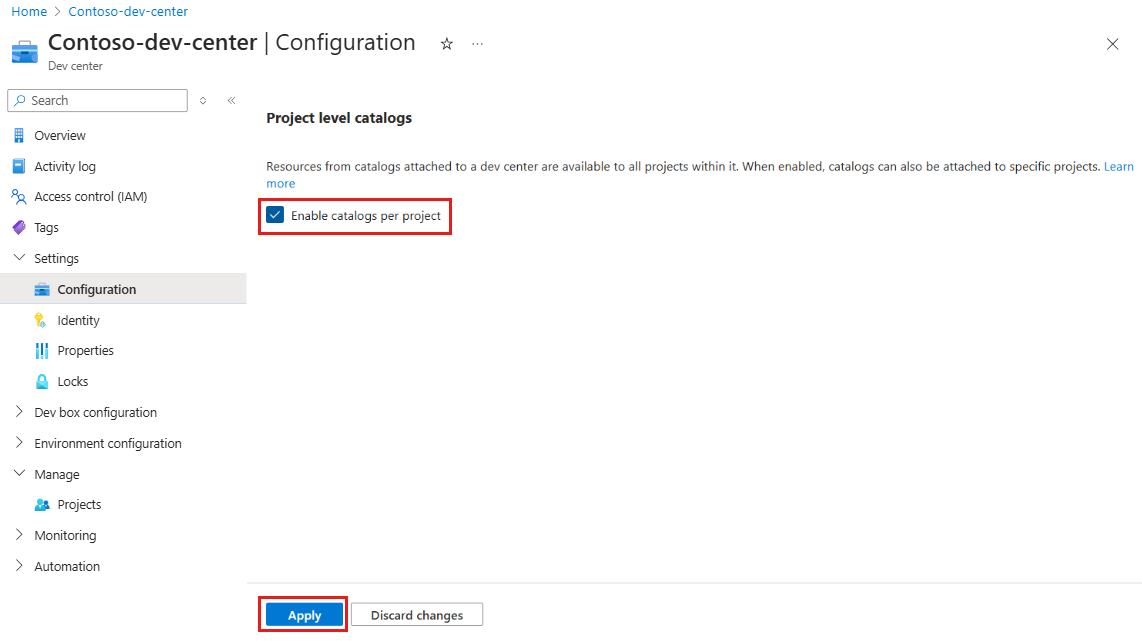
On the Project level catalogs pane, select Enable catalogs per project, and then select Apply.
Add a catalog to your project
The sections that follow walk you through these tasks:
- Fork the example catalog repository to your GitHub organization.
- Install and configure the Microsoft Dev Center app.
- Assign permissions in GitHub for the repos.
- Add your repository as a catalog.
Fork the example catalog repository
- Open the example catalog repository.
- Select Fork to fork the repository to your GitHub organization.
Install the Microsoft Dev Center app
Sign in to the Azure portal.
Go to your dev center or project.
On the service menu, under Environment configuration, select Catalogs, and then select Add.
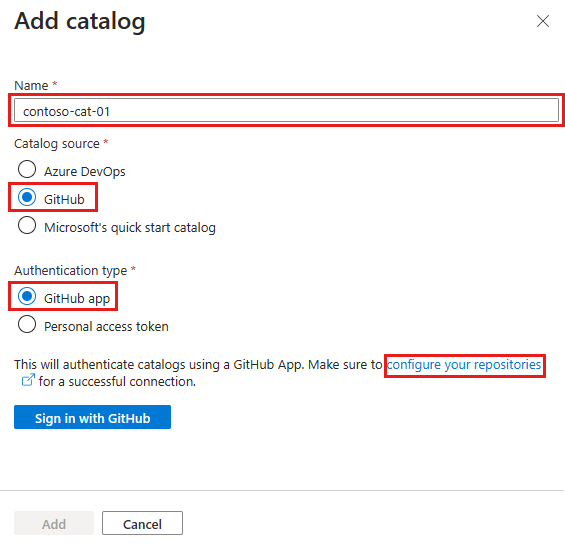
On the Add catalog pane, enter or select the following values:
Field Value Name Enter a name for the catalog. Catalog source Select GitHub. Authentication type Select GitHub app. Select the configure your repositories link.
If you're prompted to authenticate to GitHub, authenticate.
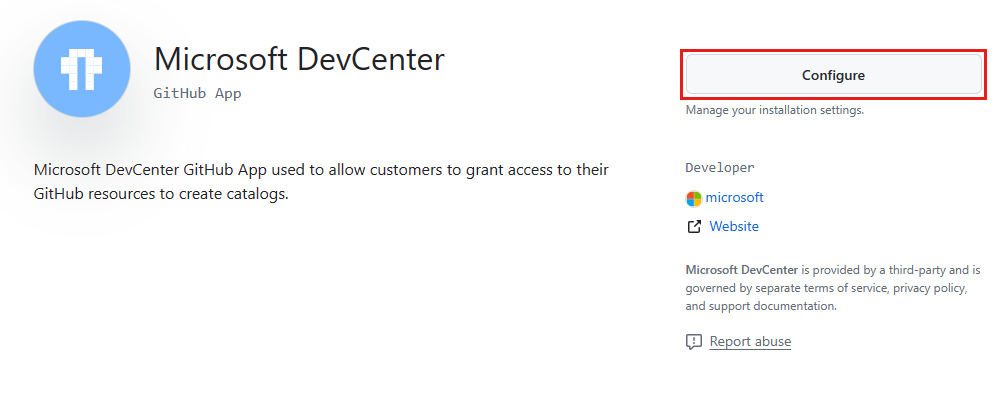
On the Microsoft DevCenter page, select Configure.
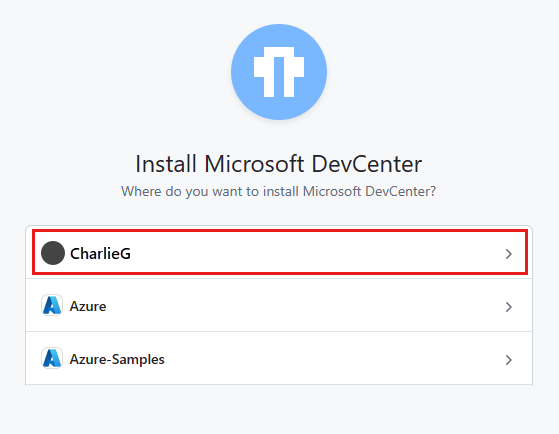
Select the GitHub organization that contains the repository you want to add as a catalog. You must be an owner of the organization to install this app.
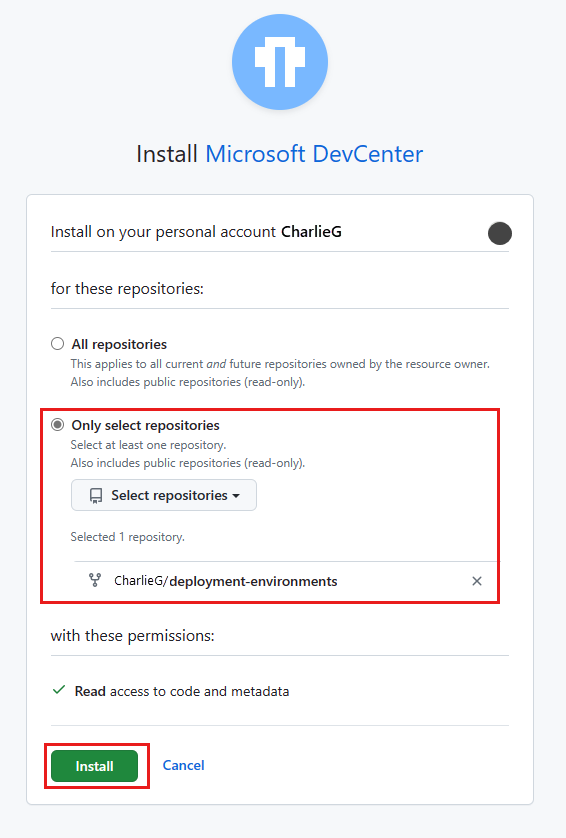
On the Install Microsoft DevCenter page, select Only select repositories, select the repository that you want to add as a catalog, and then select Install.
You can select multiple repositories to add as catalogs. You must add each repository as a separate catalog, as described in the next section of this quickstart.
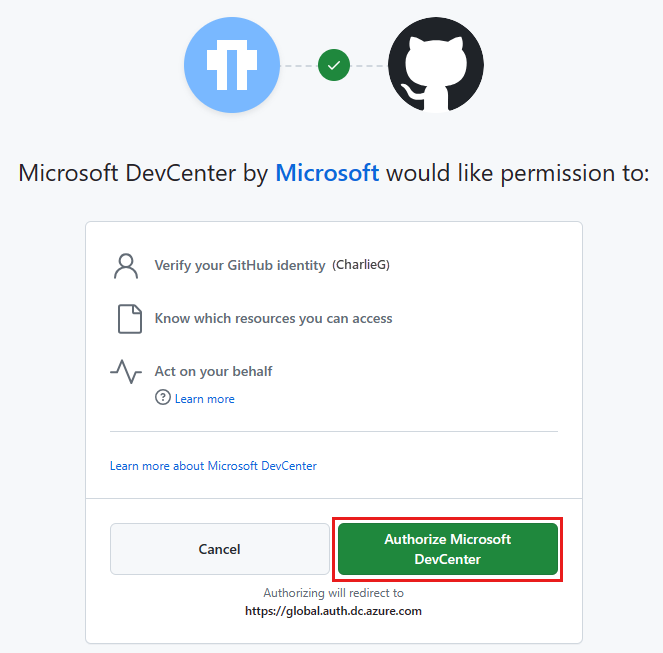
On the Microsoft DevCenter by Microsoft would like permission to page, review the required permissions, and then select Authorize Microsoft DevCenter.
Add your repository as a catalog
Switch back to the Azure portal.
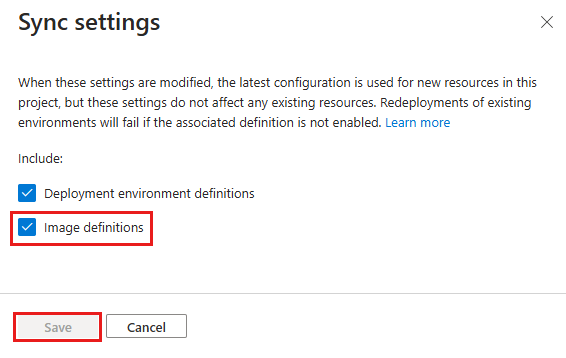
Select Sync settings.
On the Sync settings pane, select Image definitions, and then select Save.
On the Add catalog pane, enter the following information, and then select Add:
Field Value Repo Select the repository that you want to add as a catalog. Branch Select the branch. Folder path Select the folder that contains subfolders that hold your environment definitions. On the Catalogs pane, verify that your catalog appears. When the connection is successful, the Status column shows Sync successful.
Create a dev box pool for the image definition
To make the customization file, imagedefintion.yaml, accessible for creating dev boxes, you specify it as the image definition for a pool.
To create a dev box pool that's associated with a project:
Sign in to the Azure portal.
In the search box, enter projects. In the list of results, select Projects.
Open the project in which you want to create the dev box pool.
Select Dev box pools, and then select Create.
On the Create a dev box pool pane, enter the following values:
Setting Value Name Enter a name for the pool. The pool name is visible to developers to select when they're creating dev boxes. The name must be unique within a project. Definition Select the definition, as named in your image definition file. Network connection 1. Select Deploy to a Microsoft hosted network.
2. Select your desired deployment region for the dev boxes. Choose a region close to your dev box users for the optimal user experience.Dev box Creator Privileges Select Local Administrator or Standard User. Enable Auto-stop Yes is the default. Select No to disable an auto-stop schedule. You can configure an auto-stop schedule after the pool is created. Stop time Select a time to shut down all the dev boxes in the pool. All dev boxes in this pool shut down at this time every day. Time zone Select the time zone for the stop time. Licensing Select this checkbox to confirm that your organization has Azure Hybrid Benefit licenses that you want to apply to the dev boxes in this pool. 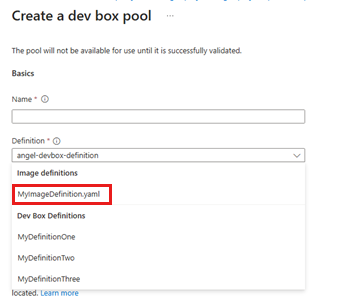
Select Create.
Verify that the new dev box pool appears in the list. You might need to refresh the screen.
The Azure portal deploys the dev box pool and runs health checks to ensure that the image and network pass the validation criteria for dev boxes.
Create a dev box from the dev box pool
When you create a dev box from a dev box pool, the image definition is applied to the dev box. The dev box is created with the customizations that the image definition file specified.
To create a dev box in the Microsoft Dev Box developer portal:
Sign in to the Microsoft Dev Box developer portal.
Select New > New dev box.
In Add a dev box, enter the following values:
Setting Value Name Enter a name for your dev box. Dev box names must be unique within a project. Project Select a project from the dropdown list. Dev box pool Select a pool from the dropdown list, which includes all the dev box pools for that project. Choose a dev box pool near to you for the lowest latency. After you make your selections, the page shows the following information:
- How many dev boxes you can create in the project that you selected, if the project has limits configured.
- Whether hibernation is supported or not.
- Whether customizations are enabled or not.
- A shutdown time if the pool where you're creating the dev box has a shutdown schedule.
- A notification that the dev box creation process can take 25 minutes or longer.
Select Create to begin creating your dev box.
To track the progress of creation, use the dev box tile in the developer portal.
Verify that the customization is applied
Dev Box applies customizations as the final stage of the creation process. Dev Box emails you when the dev box is ready. Then you can check that your customizations are applied.
Wait for email confirmation that the dev box is created.
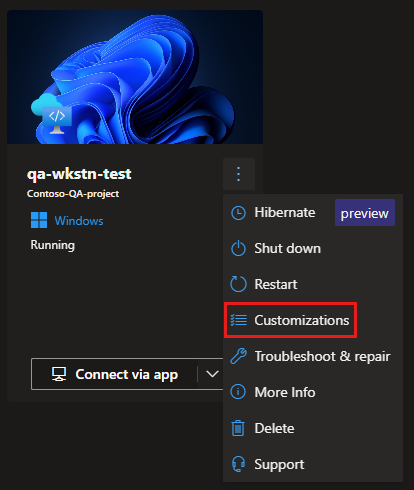
In the developer portal, on the dev box tile, select Actions > Customizations.
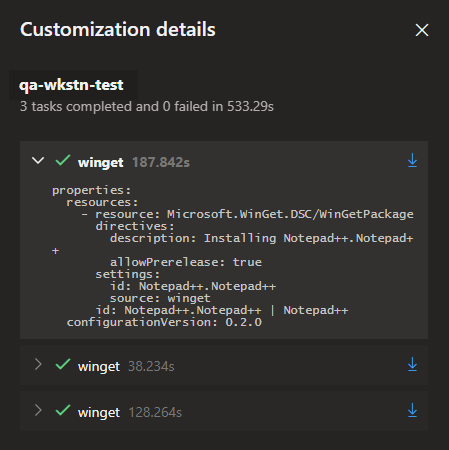
On the Customization details pane, confirm the customizations that were applied to the dev box.
Clean up resources
Sign in to the developer portal.
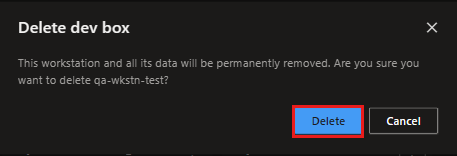
For the dev box that you want to delete, on the Actions menu, select Delete.
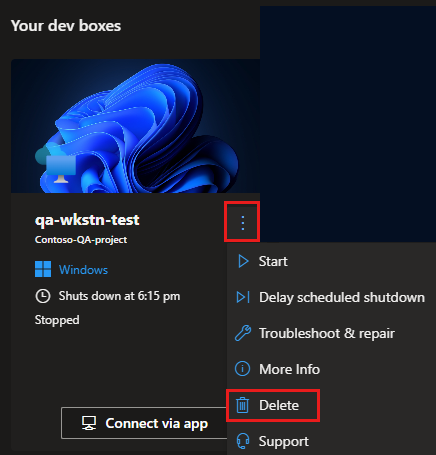
To confirm the deletion, select Delete.
