Create a simple Cloud Scripting project
In this article, you'll create and publish a simple project using Mesh Cloud Scripting. The article assumes that you've already set up Cloud Scripting on your system. We recommend that you familiarize yourself with the current list of Mesh toolkit known issues before starting development with Mesh Cloud Scripting.
Learn more about Mesh Cloud Scripting Infrastructure and management.
Create a Scene with Mesh Cloud Scripting
The following instructions show how to create a simple environment with a Cube that rotates when a user clicks on it.
Go to the article named Create new or update an existing project. If you're creating a new project, make sure you follow all the steps in the section named Create a new project. If you're updating an existing project, do the same for the section named Update an existing project.
Create a new scene.
Save the scene and name it. For this example, we'll use the name MyFirstCloudScripting.
On the menu bar, select GameObject > Mesh Toolkit > Set-up Cloud Scripting.
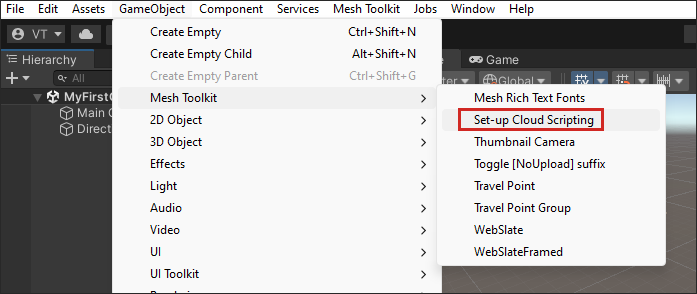
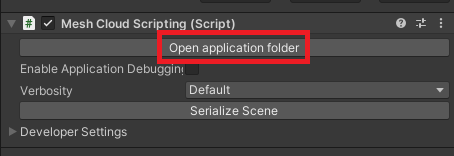
Note that a game object named Mesh Cloud Scripting appears in the Hierarchy and is selected. If you click the Open application folder button in the Inspector ...
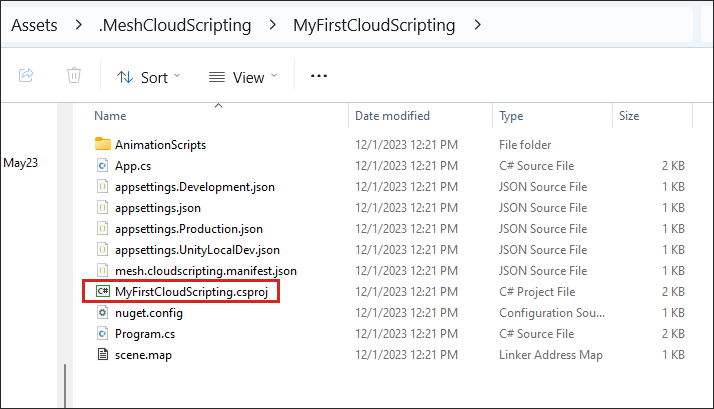
... you'll see in the Windows File Explorer that this also creates a new ASP.NET Core project named MyFirstCloudScripting.csproj in the Assets > .MeshCloudScripting > MyFirstCloudScripting folder.
Modify the scene
Set up Play Mode with Mesh Emulation. Make sure you add a GameObject to the scene that can act as a floor and set it to the GroundCollision layer.
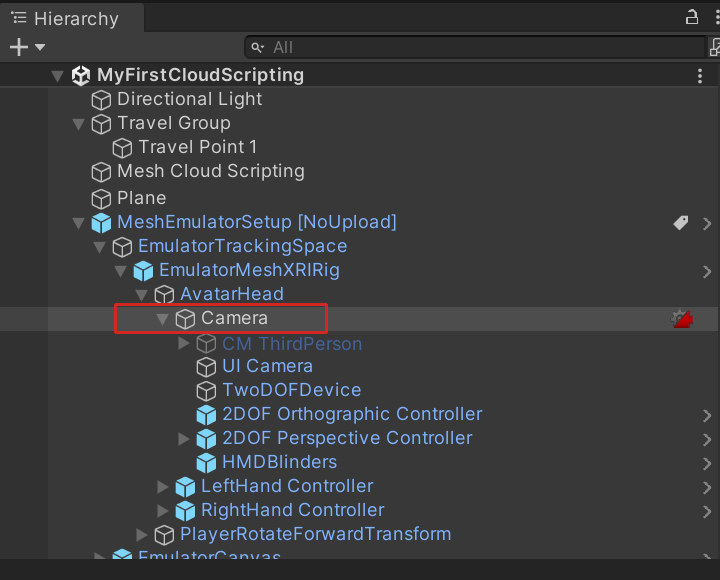
When you set up Play Mode with Mesh Emulation, it adds the prefab MeshEmulatorSetup[NoUpoload] to the scene which contains the camera that you'll be using from this point on. You no longer need the default Main camera GameObject; delete it.
On the menu bar, select GameObject > 3D object > Cube.
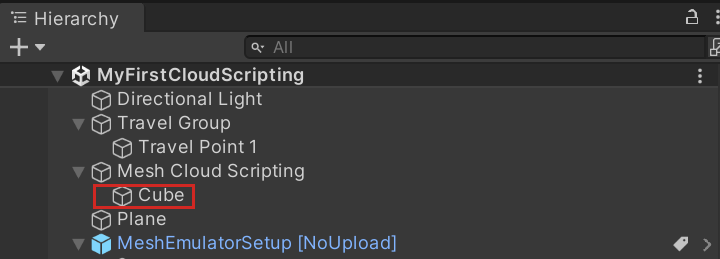
In the Hierarchy, drag the Cube to the Mesh Cloud Scripting object to make the Cube a child of that object.
With the Cube selected, in the Inspector, navigate to the Transform component and then change the Cube's Position and Rotation values to the following:
Position: X = 0.1, Y = 1.5, Z = 3.3.
Rotation: X = -15, Y = 0.8, Z = 0.1
Tip: The Camera in the MeshEmulatorSetup[NoUpload] prefab is a child object of AvatarHead.

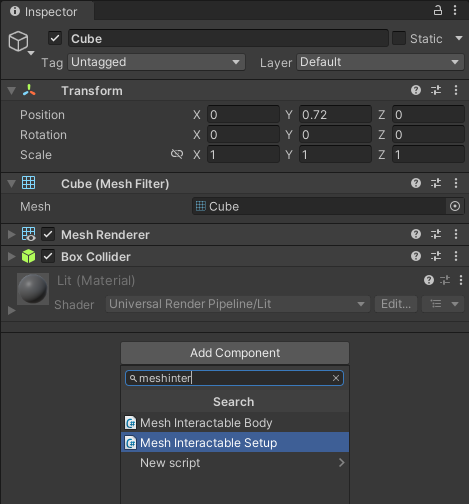
In the Inspector, click Add Component and then select Mesh Interactable Setup.
Save the scene.
Modify the C# project
In the Hierarchy, select the Mesh Cloud Scripting object.
In the Inspector, navigate to the Mesh Cloud Scripting component and then click the Open application folder button. This opens File Explorer and shows you a view of your project contents.

Open the
App.csscript in your code editor.Note that in the App class, there are two variables:
private readonly ILogger<App> _logger;
private readonly ICloudApplication _app;
Add the following as a third variable:
private float _angle = 0;The StartAsync method contains a single comment: "Add your app startup code here." Replace that with the code below so that the StartAsync method looks like the following:
public Task StartAsync(CancellationToken token)
{
    // First we find the TransformNode that corresponds to our Cube gameobject
    var transform = _app.Scene.FindFirstChild<TransformNode>();

    // Then we find the InteractableNode child of that TransformNode
    var sensor = transform.FindFirstChild<InteractableNode>();

    // Handle a button click
    sensor.Selected += (_, _) =>
    {
        // Update the angle on each click
        _angle += MathF.PI / 8;
        transform.Rotation = new Rotation { X = 1, Y = 0, Z = 0, Angle = _angle };
    };

    return Task.CompletedTask;
}
Save your work.
Run your application locally
- In Unity, click Unity Editor Play button.
- In the Game window, click on the Cube. Each time you click, the Cube rotates on its "X" axis.
- When you're finished, exit Play Mode.
Debug your application with Visual Studio (optional)
In the Hierarchy, ensure that you have the Mesh Cloud Scripting object selected.
In the Inspector, navigate to the Mesh Cloud Scripting component and then select Enable Application Debugging.

Enter Play mode and select debugger.
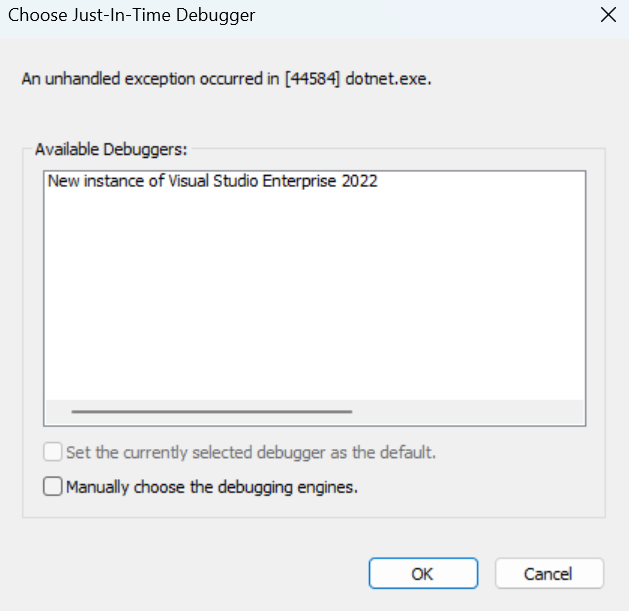
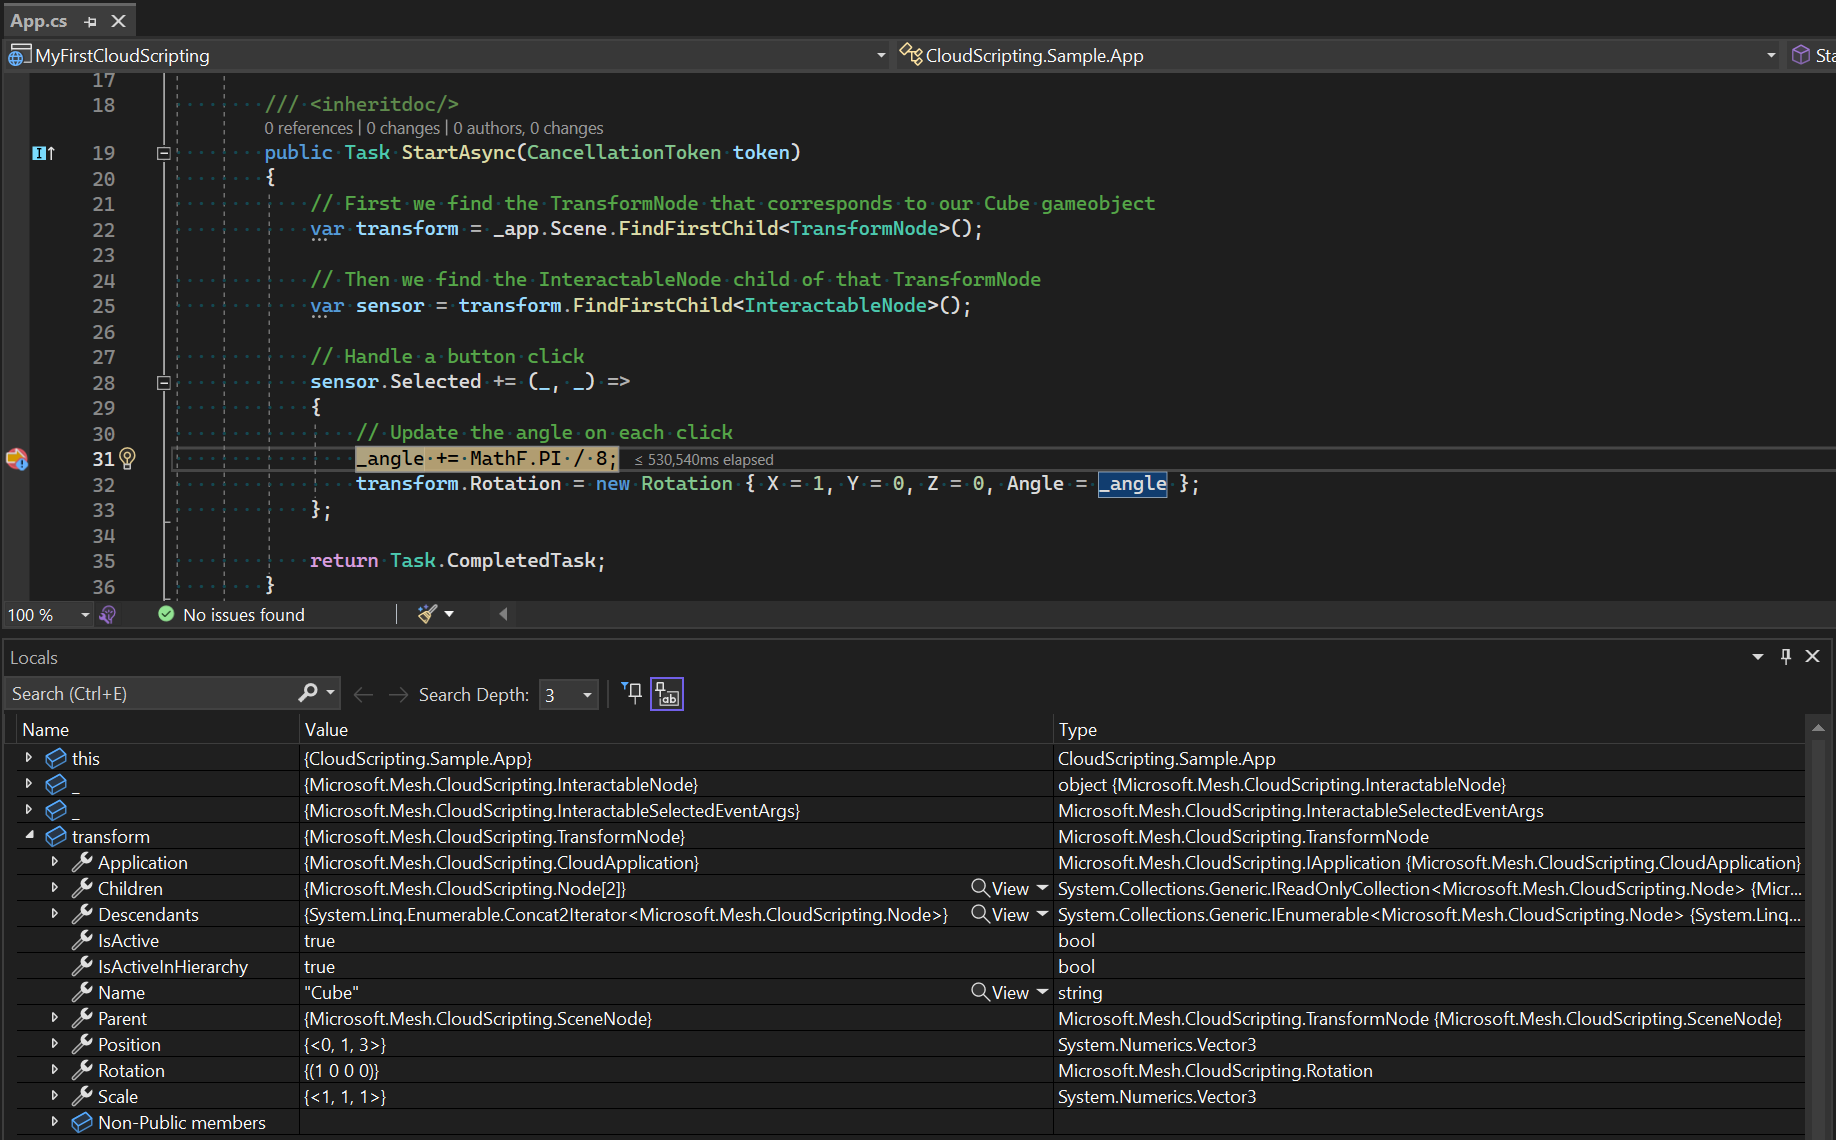
Open the App.cs file, then add a break point, and then continue execution.
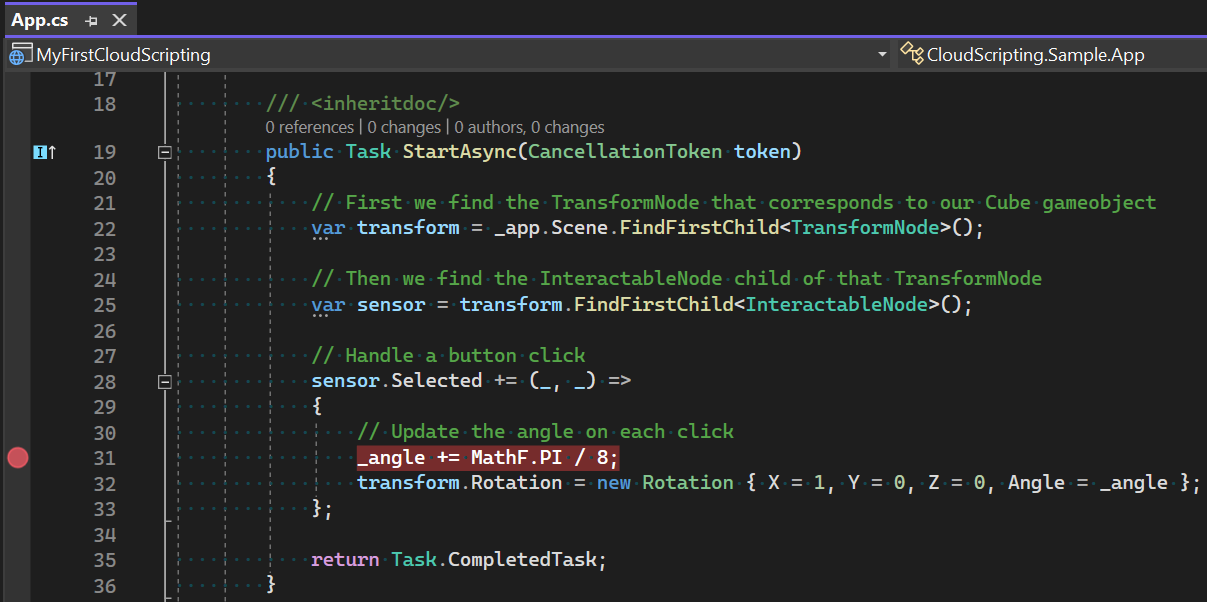
In Unity, click the Cube.
Note
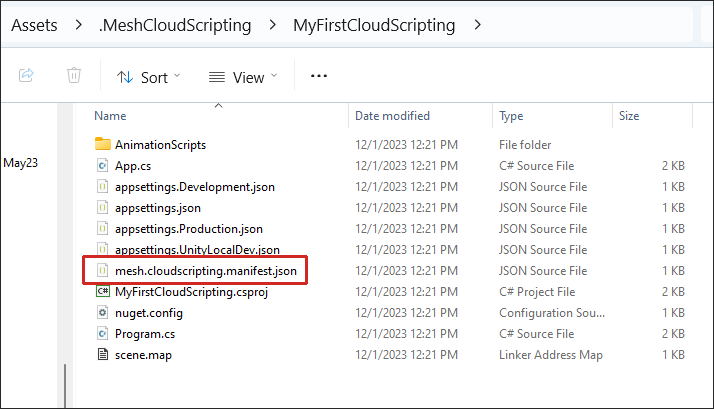
By default, the application will time out after two minutes of inactivity. To increase this window, set a "debugTimeoutSecs" value in your manifest file (example: "debugTimeoutSecs": "240").
Build and publish the environment
To build and publish the environment, follow the instructions in the Build and publish your environment article.
Connect to the Cloud Scripting Service from Unity
Note
This is only available when ServiceMode is set to Dev.
- In the Hierarchy, ensure that the Mesh Cloud Scripting object is selected.
- In the Inspector, navigate to the Mesh Cloud Scripting component, and then open the Developer Settings drop-down.
- Unselect Run Local Cloud Scripting Server.
- Click the Unity Editor Play button.
Create an event and join it from the Mesh app
- Create an event using the Environment you just built and published. If you need guidance, see how to create an event in the Mesh portal.
- Join the event in the Mesh app.
Show Mesh Cloud Scripting Service errors in the Microsoft Mesh application (optional)
The error messages from Cloud Scripting Service are by default not shown in the Mesh app in order to minimize user disruption. If you need to show these messages for debug purposes, use the following steps:
Open the Mesh app.
Click the Menu button and then select Settings.
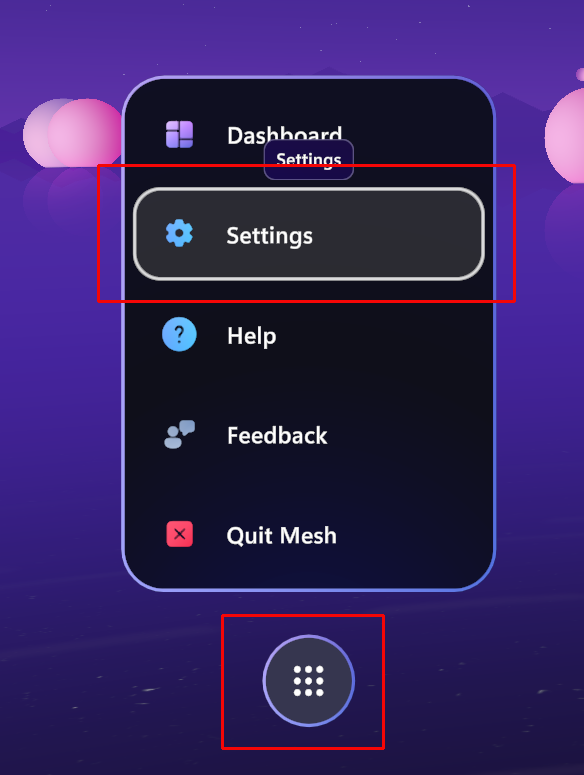
In the left-side menu bar, select For developers.
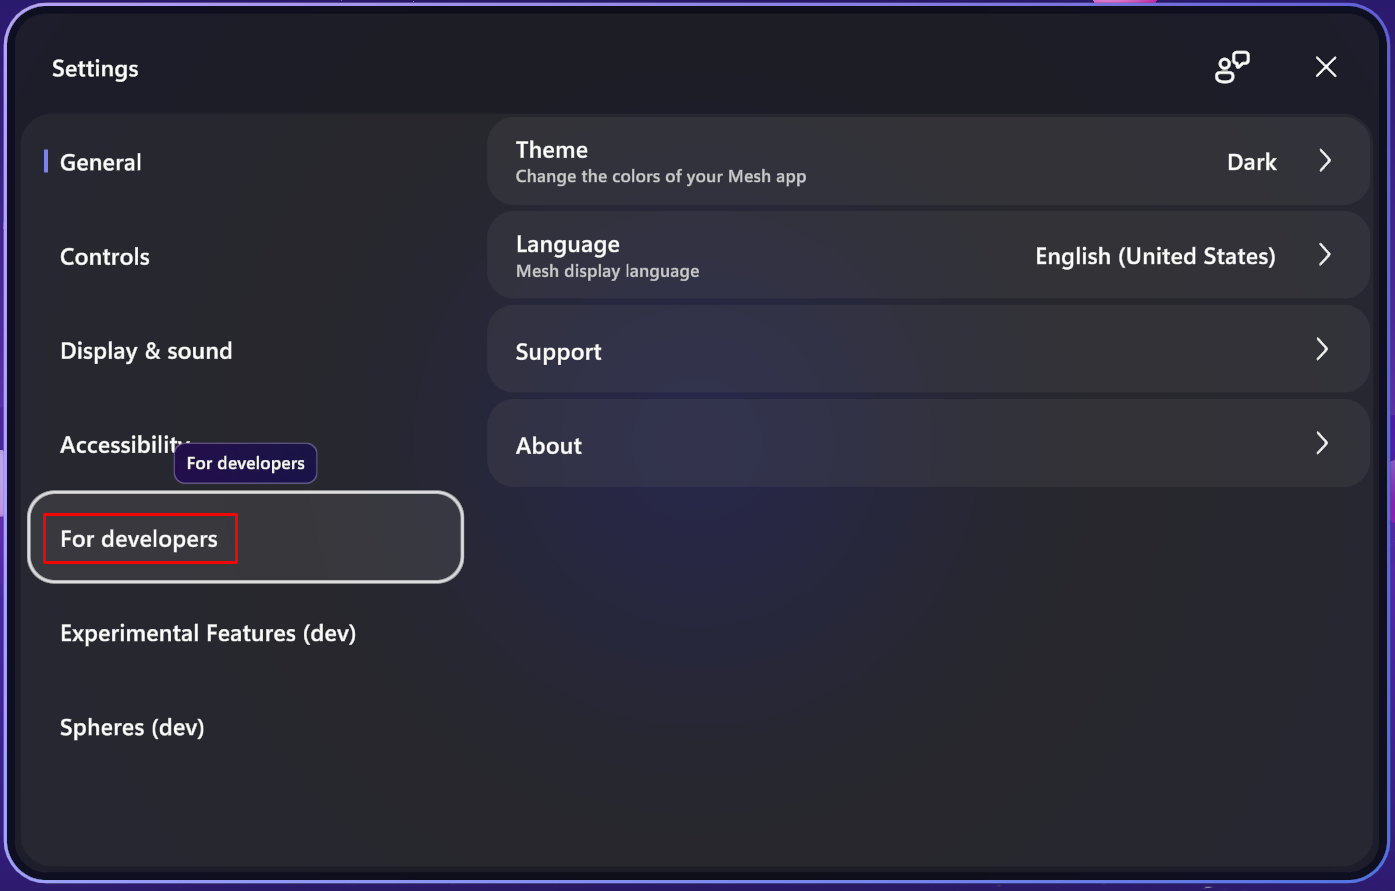
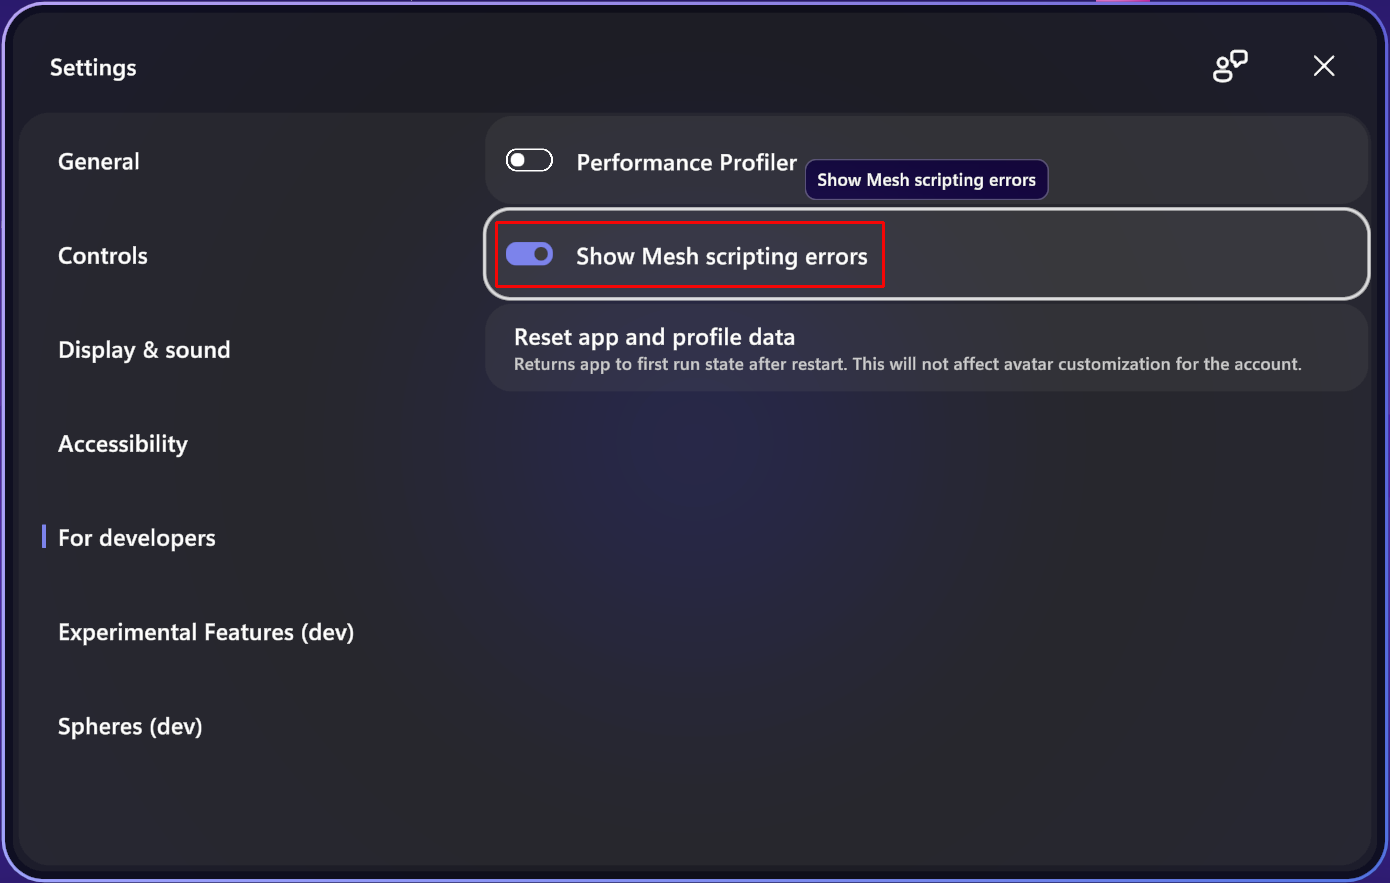
Toggle the Show Mesh scripting error button to "on".
