Tutorial: Azure Device Update for IoT Hub using a Raspberry Pi image
Device Update for Azure IoT Hub supports image-based, package-based, and script-based updates. This tutorial demonstrates an end-to-end image-based Device Update for IoT Hub update using a Yocto image on a Raspberry Pi 3 B+ board.
Image updates provide a high level of confidence in the end state of the device, and don't pose the same package and dependency management challenges as package or script based updates. It's easier to replicate the results of an image update between a preproduction and production environment, or easily adopt an A/B failover model.
In this tutorial, you:
- Download and install an image update.
- Assign a tag to your IoT device.
- Import the image update.
- Deploy the image update.
- View the update deployment history.
Prerequisites
A Device Update account and instance configured with an IoT hub.
A Raspberry Pi 3 IoT board connected via Ethernet to hardware that can download and extract the image files and control the device.
Note
Image updates in this tutorial were validated on a Raspberry Pi B3 board.
Register the device and get the connection string
Add your device to the device registry in your IoT hub and get the connection string IoT Hub generates for the device.
- In the Azure portal, open the IoT hub page associated with your Device Update instance.
- In the left navigation pane, select Device management > Devices.
- On the Devices page, select Add Device.
- Under Device ID, enter a name for the device. Ensure that Autogenerate keys checkbox is selected.
- Select Save. The device appears in the list on the Devices page.
- On the Devices page, select the device you registered.
- On the device page, select the Copy icon next to Connection string (primary key). Save this device connection string to use when you configure the Device Update agent.
Note
For demonstration purposes, this tutorial uses a device connection string to authenticate and connect with the IoT hub. For production scenarios, it's better to use module identity and IoT Identity Service to provision devices. For more information, see Device Update agent provisioning.
Set up Raspberry Pi
The Tutorial_RaspberryPi3.zip file has all the required files for the tutorial. Download the file from the Assets section of the latest release on the GitHub Device Update Releases page, and unzip it.
In the extracted Tutorial_RaspberryPi3 folder, the base image that you can flash onto the Raspberry Pi board is adu-base-image-raspberrypi3.wic. The base image uses a Yocto build based on the 3.4.4 release. The image has the Device Update agent and SWUpdate, which enables the Device Update dual partition update. For more information about the Yocto layers, see Build a custom Linux-based system with Device Update agent using the Yocto Project.
The update files you import through Device Update are:
- SWUpdate file adu-update-image-raspberrypi3-1.2.0.swu
- Custom SWUpdate script example-a-b-update.sh
- Manifest EDS-ADUClient.yocto-update.1.2.0.importmanifest.json
Use bmaptool to flash the SD card
Important
Azure Device Update for IoT Hub software is subject to the following license terms:
Read the license terms before using the agent. Agent installation and use constitutes acceptance of these terms. If you don't agree with the license terms, don't use the Device Update agent.
Use an OS flashing tool to install the Device Update base image on the SD card you use in the Raspberry Pi device. The following instructions use bmaptool to flash to the SD card. Replace the <device> placeholder with your device name and the <path to image> placeholder with the path to the downloaded image file.
Install the
bmap-toolsutility if you don't have it.sudo apt-get install bmap-toolsLocate the SD card path in /dev. The path should look something like /dev/sd* or /dev/mmcblk*. You can use the
dmesgutility to help locate the correct path.Unmount all mounted partitions before flashing.
sudo umount /dev/<device>Make sure you have write permissions to the device.
sudo chmod a+rw /dev/<device>Flash the SD card.
sudo bmaptool copy <path to image> /dev/<device>Tip
For faster flashing, you can download the bimap file and the image file and put them in the same directory.
Configure the Device Update agent on Raspberry Pi
Make sure that the Raspberry Pi is connected to the network.
Secure shell (SSH) into the Raspberry Pi by using the following command in a PowerShell window:
ssh raspberrypi3 -l root
Create the Device Update configuration files
The Device Update du-config.json and du-diagnostics-config.json configuration files must be on the device. To create the files, run the following commands in the terminal signed in to the Raspberry Pi.
To create the du-config.json file or open it for editing, run the following command:
nano /adu/du-config.jsonThe editor opens the du-config.json file. If you're creating the file, it's empty. Copy and paste the following code into the file, replacing the example values with any required configurations for your device. Replace the example
connectionDatastring with the device connection string you copied in the device registration step.{ "schemaVersion": "1.0", "aduShellTrustedUsers": [ "adu", "do" ], "manufacturer": "contoso", "model": "virtual-vacuum-v2", "agents": [ { "name": "main", "runas": "adu", "connectionSource": { "connectionType": "string", "connectionData": "HostName=<hub_name>.azure-devices.net;DeviceId=<device_id>;SharedAccessKey=<device_key>" }, "manufacturer": "contoso", "model": "virtual-vacuum-v2" } ] }Press Ctrl+X to exit the editor, and enter y to save your changes.
Create the du-diagnostics-config.json file by using similar commands. Create and open the file:
nano /adu/du-diagnostics-config.jsonCopy and paste the following du-diagnostics-config.json code into the file. The values are the default Device Update log locations, and you need to change them only if your configuration differs from the default.
{
   "logComponents":[
      {
         "componentName":"adu",
         "logPath":"/adu/logs/"
      },
      {
         "componentName":"do",
         "logPath":"/var/log/deliveryoptimization-agent/"
      }
   ],
   "maxKilobytesToUploadPerLogPath":50
}
Press Ctrl+X to exit the editor, and enter y to save your changes.
Use the following command to show the files located in the /adu/ directory. You should see both configuration files.
ls -la /adu/Use the following command to restart the Device Update system daemon and ensure configurations are applied.
systemctl start deviceupdate-agentCheck that the agent is live by running the following command:
systemctl status deviceupdate-agentStatus should appear as alive and green.
Connect to the device in IoT Hub and add a group tag
On the Azure portal IoT hub page for your Device Update instance, select Device management > Devices from the left navigation.
On the Devices page, select your device's name.
At the top of the device page, select Device twin.
On the Device twin page, under the
"reported"section of the device twin"properties"section, look for the Linux kernel version for your device.For a new device that hasn't received an update from Device Update, the DeviceManagement:DeviceInformation:1.swVersion property value represents the firmware version running on the device. After the device has an update applied, the AzureDeviceUpdateCore:ClientMetadata:4.installedUpdateId property value represents the firmware version.
The base and update image file names have the format adu-<image type>-image-<machine>-<version number>.<extension>. Note the version numbers to use when you import the update.
Add a group tag
Device Update automatically organizes devices into groups based on their assigned tags and compatibility properties. Each device can belong to only one group, but groups can have multiple subgroups to sort different device classes. For more information about tags and groups, see Manage device groups.
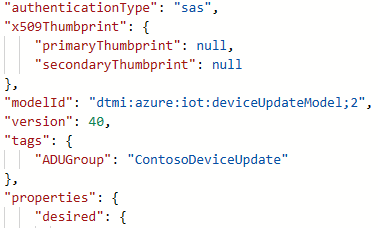
In the device twin, delete any existing Device Update tag values by setting them to null, and then add the following new Device Update group tag. If you're using a Module Identity with the Device Update agent, add the tag in the Module Identity Twin instead of the device twin.
"tags": {
    "ADUGroup": "<CustomTagValue>"
},
The following screenshot shows where in the file to add the tag.
Select Save.
Import the update
On the Azure portal IoT hub page for your Device Update instance, select Device Management > Updates from the left navigation.
On the Updates page, select Import a new update.
On the Import update page, select Select from storage container.
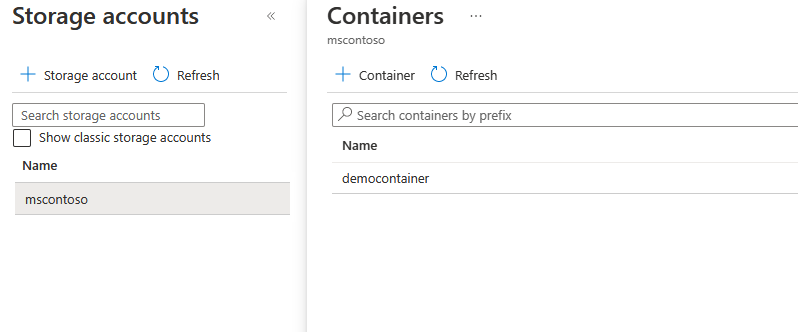
On the Storage accounts page, select an existing storage account or create a new account by selecting Storage account.
On the Containers page, select an existing container or create a new container by selecting Container. You use the container to stage the update files for import.
Tip
To avoid accidentally importing files from previous updates, use a new container each time you import an update. If you don't use a new container, be sure to delete any files from the existing container.
On the container page, select Upload. Drag and drop, or browse to and select, the following update files from the Tutorial_RaspberryPi3 folder you downloaded:
- adu-update-image-raspberrypi3-1.2.0.swu
- example-a-b-update.sh
- EDS-ADUClient.yocto-update.1.2.0.importmanifest.json
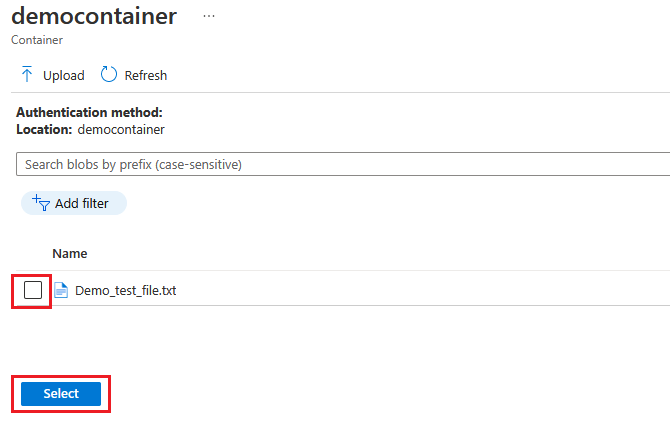
Select Upload. After they upload, the files appear on the container page.
On the container page, review and select the files to import, and then select Select.
On the Import update screen, select Import update.
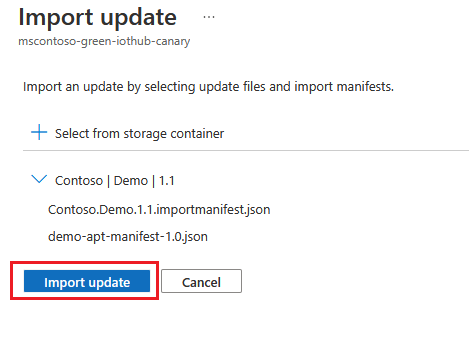
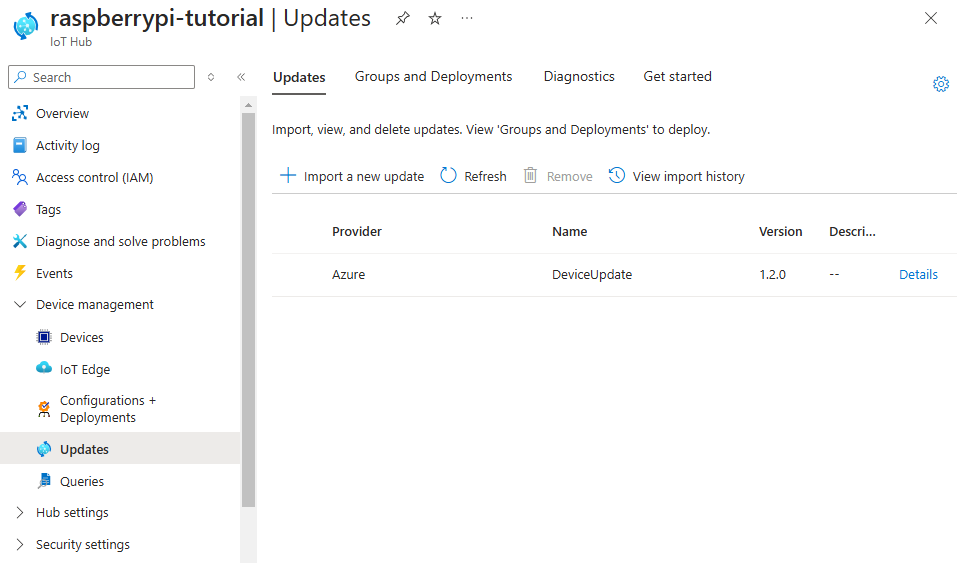
The import process begins, and the screen switches to the Updates screen. After the import succeeds, it appears on the Updates tab. For more information about the import process, see Import an update to Device Update.
Select the device group
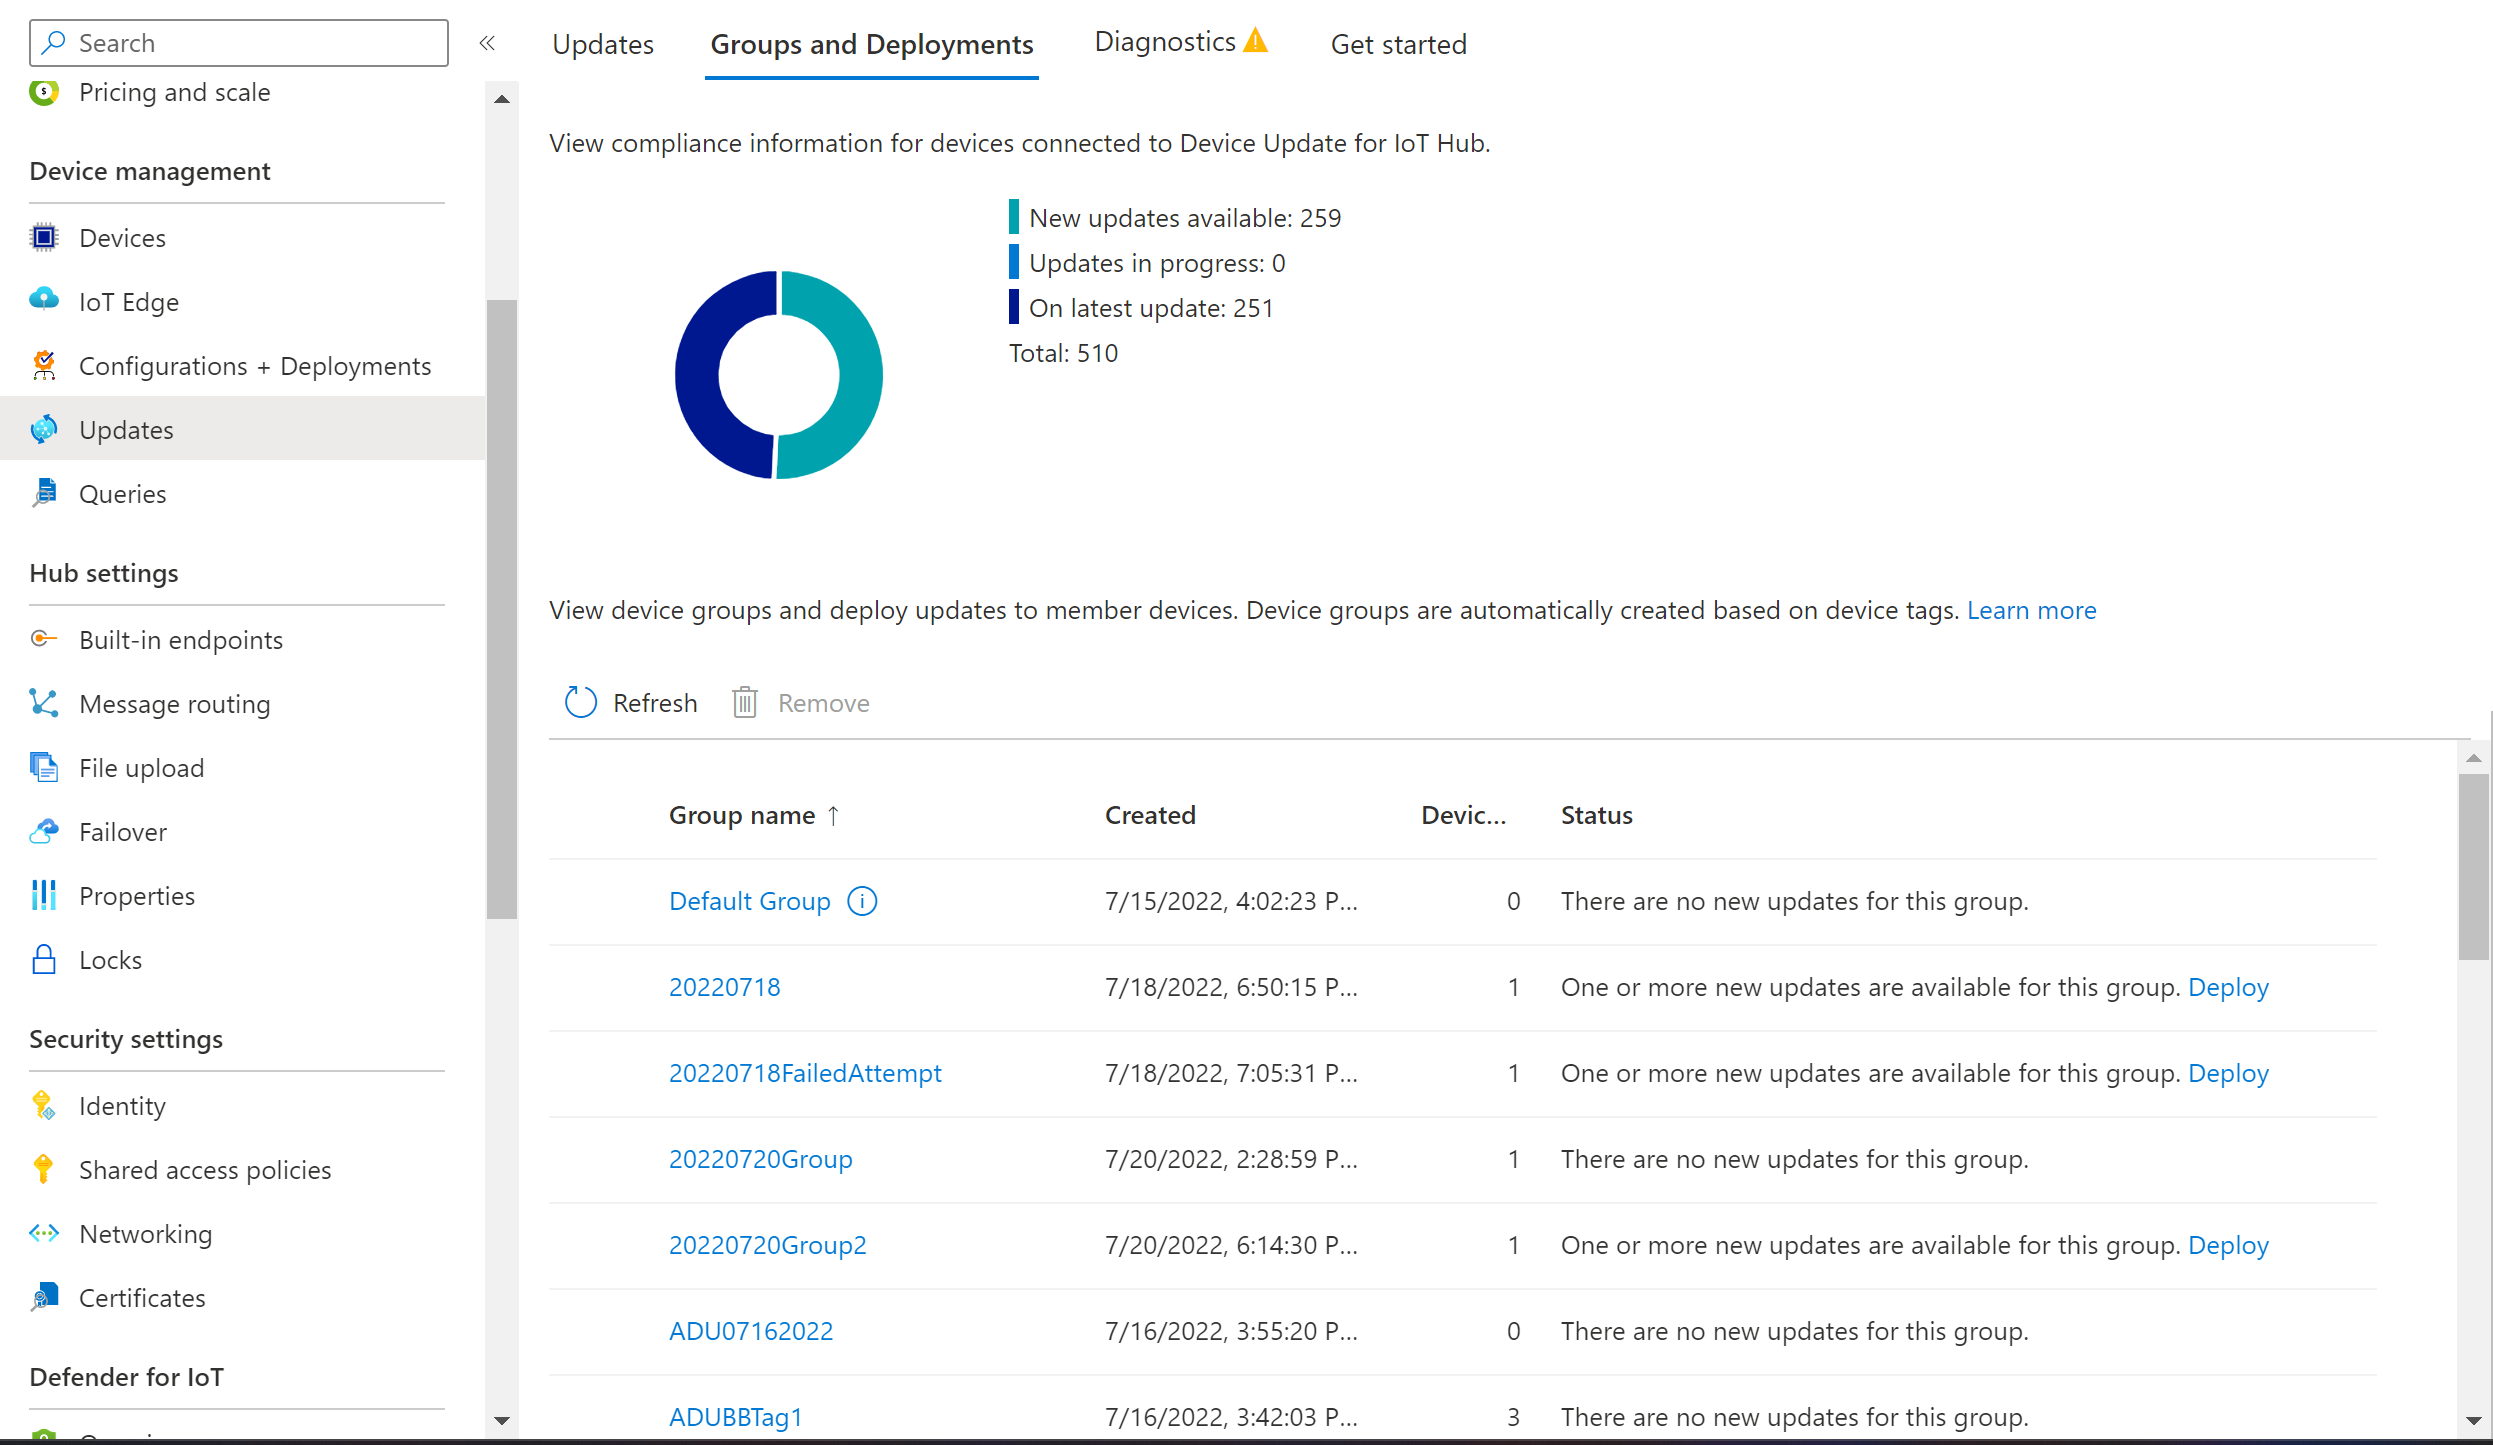
You can use the group tag you applied to your device to deploy the update to the device group. Select the Groups and Deployments tab at the top of the Updates page to view the list of groups and deployments and the update compliance chart.
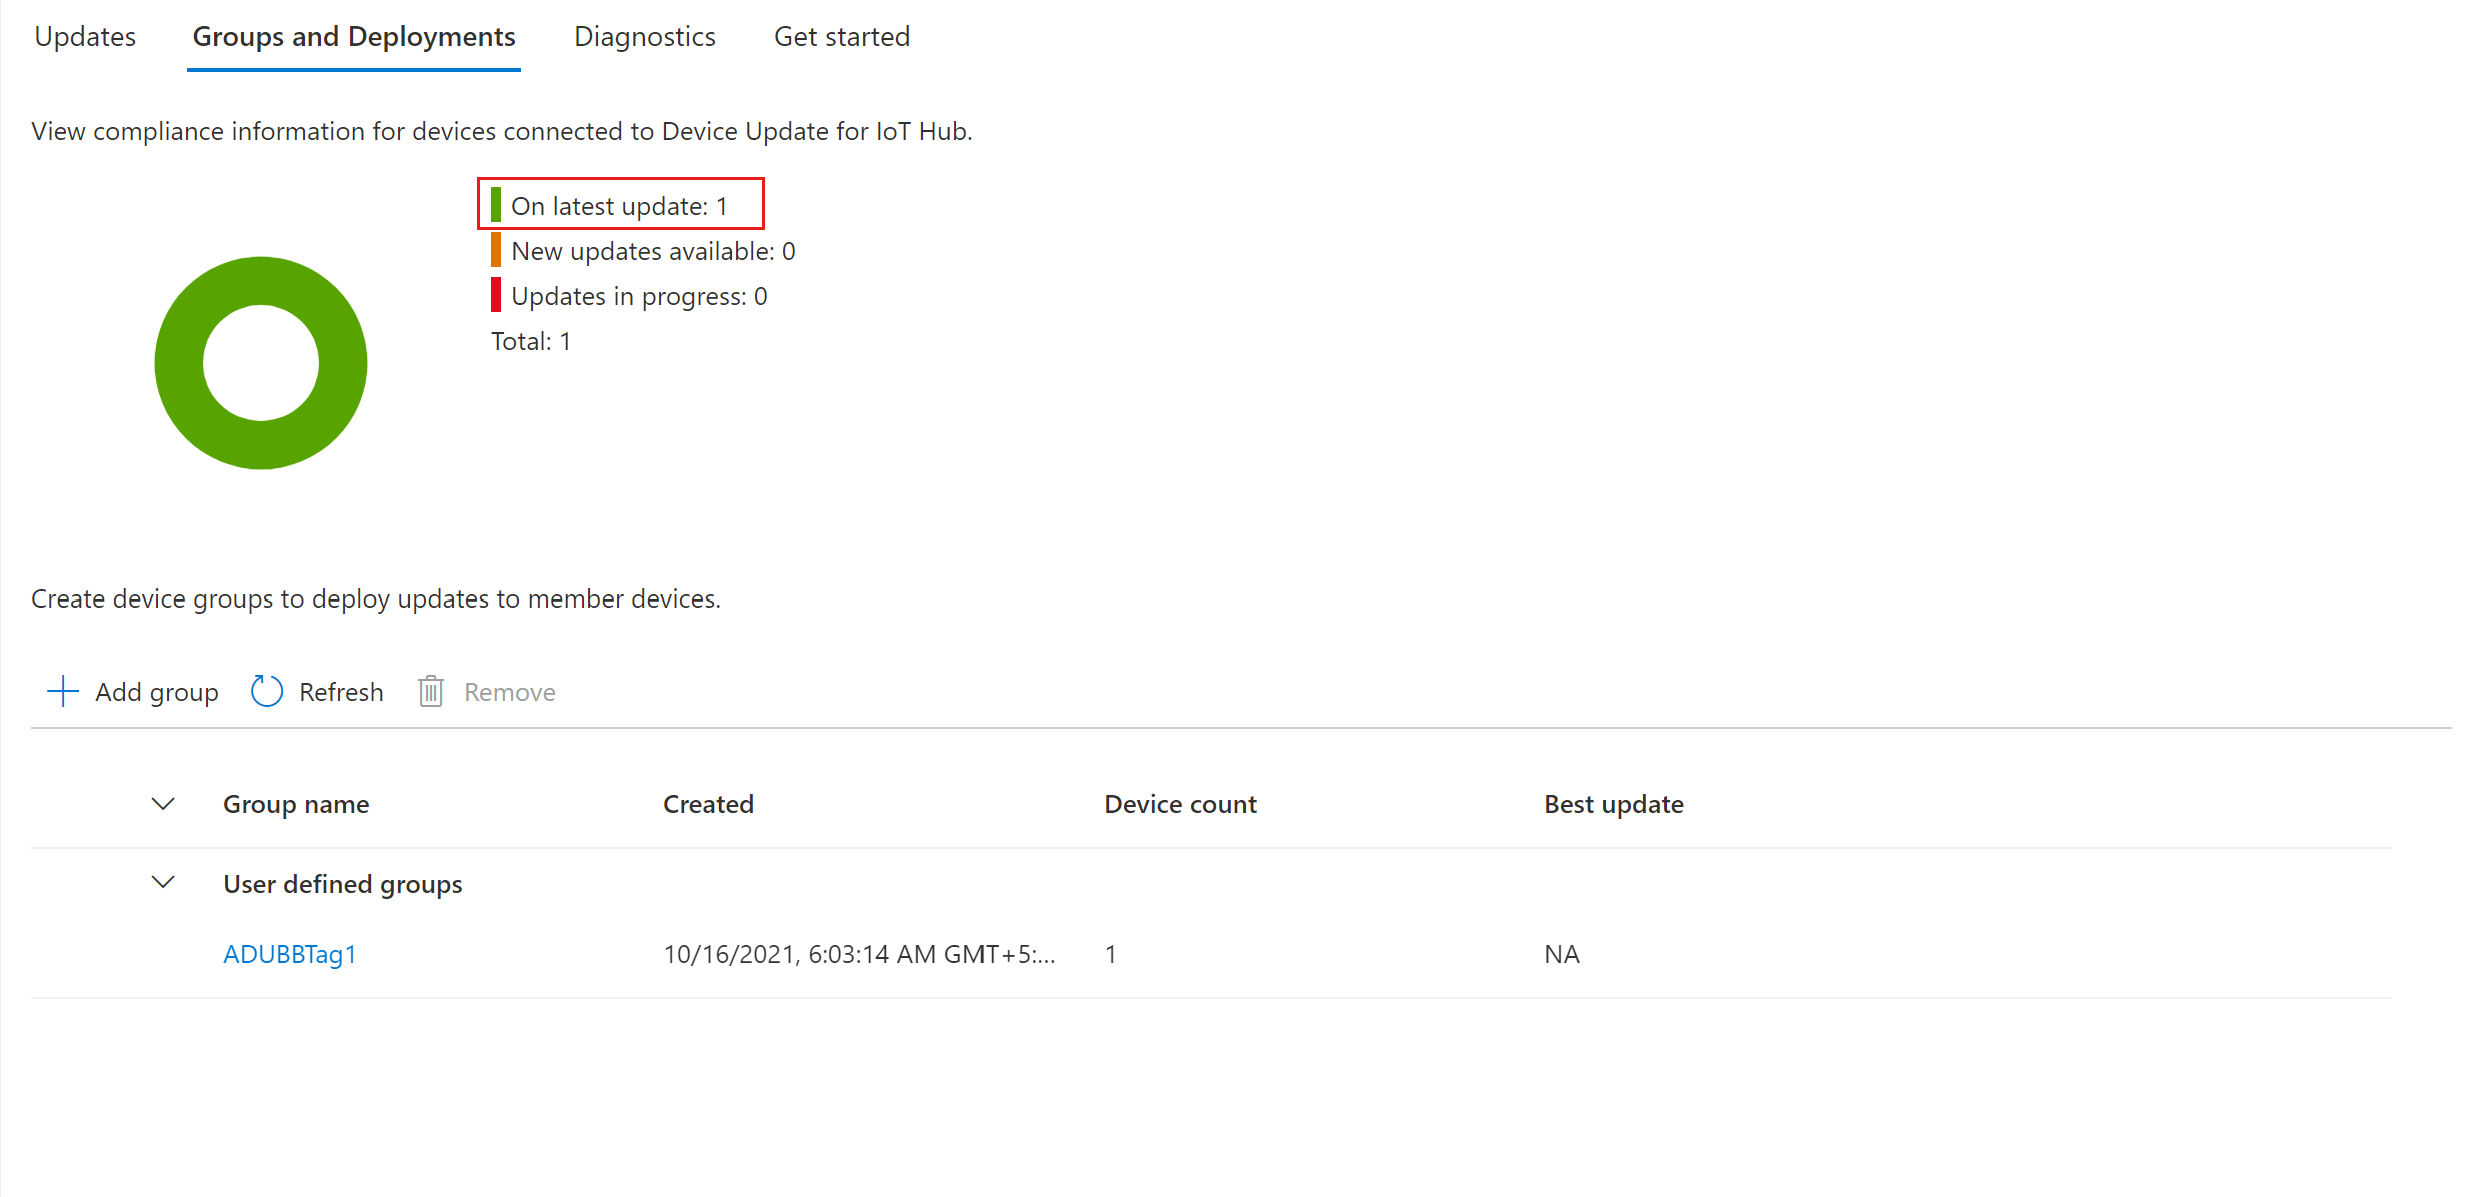
The update compliance chart shows the count of devices in various states of compliance: On latest update, New updates available, and Updates in progress. For more information, see Device Update compliance.
Under Group name, you see a list of all the device groups for devices connected to this IoT hub and their available updates, with links to deploy the updates under Status. Any devices that don't meet the device class requirements of a group appear in a corresponding invalid group. For more information about tags and groups, see Manage device groups.
You should see the device group that contains the device you set up in this tutorial, along with the available updates for the devices in the group. You might need to refresh the page. To deploy the best available update to a group from this view, select Deploy next to the group.
Deploy the update
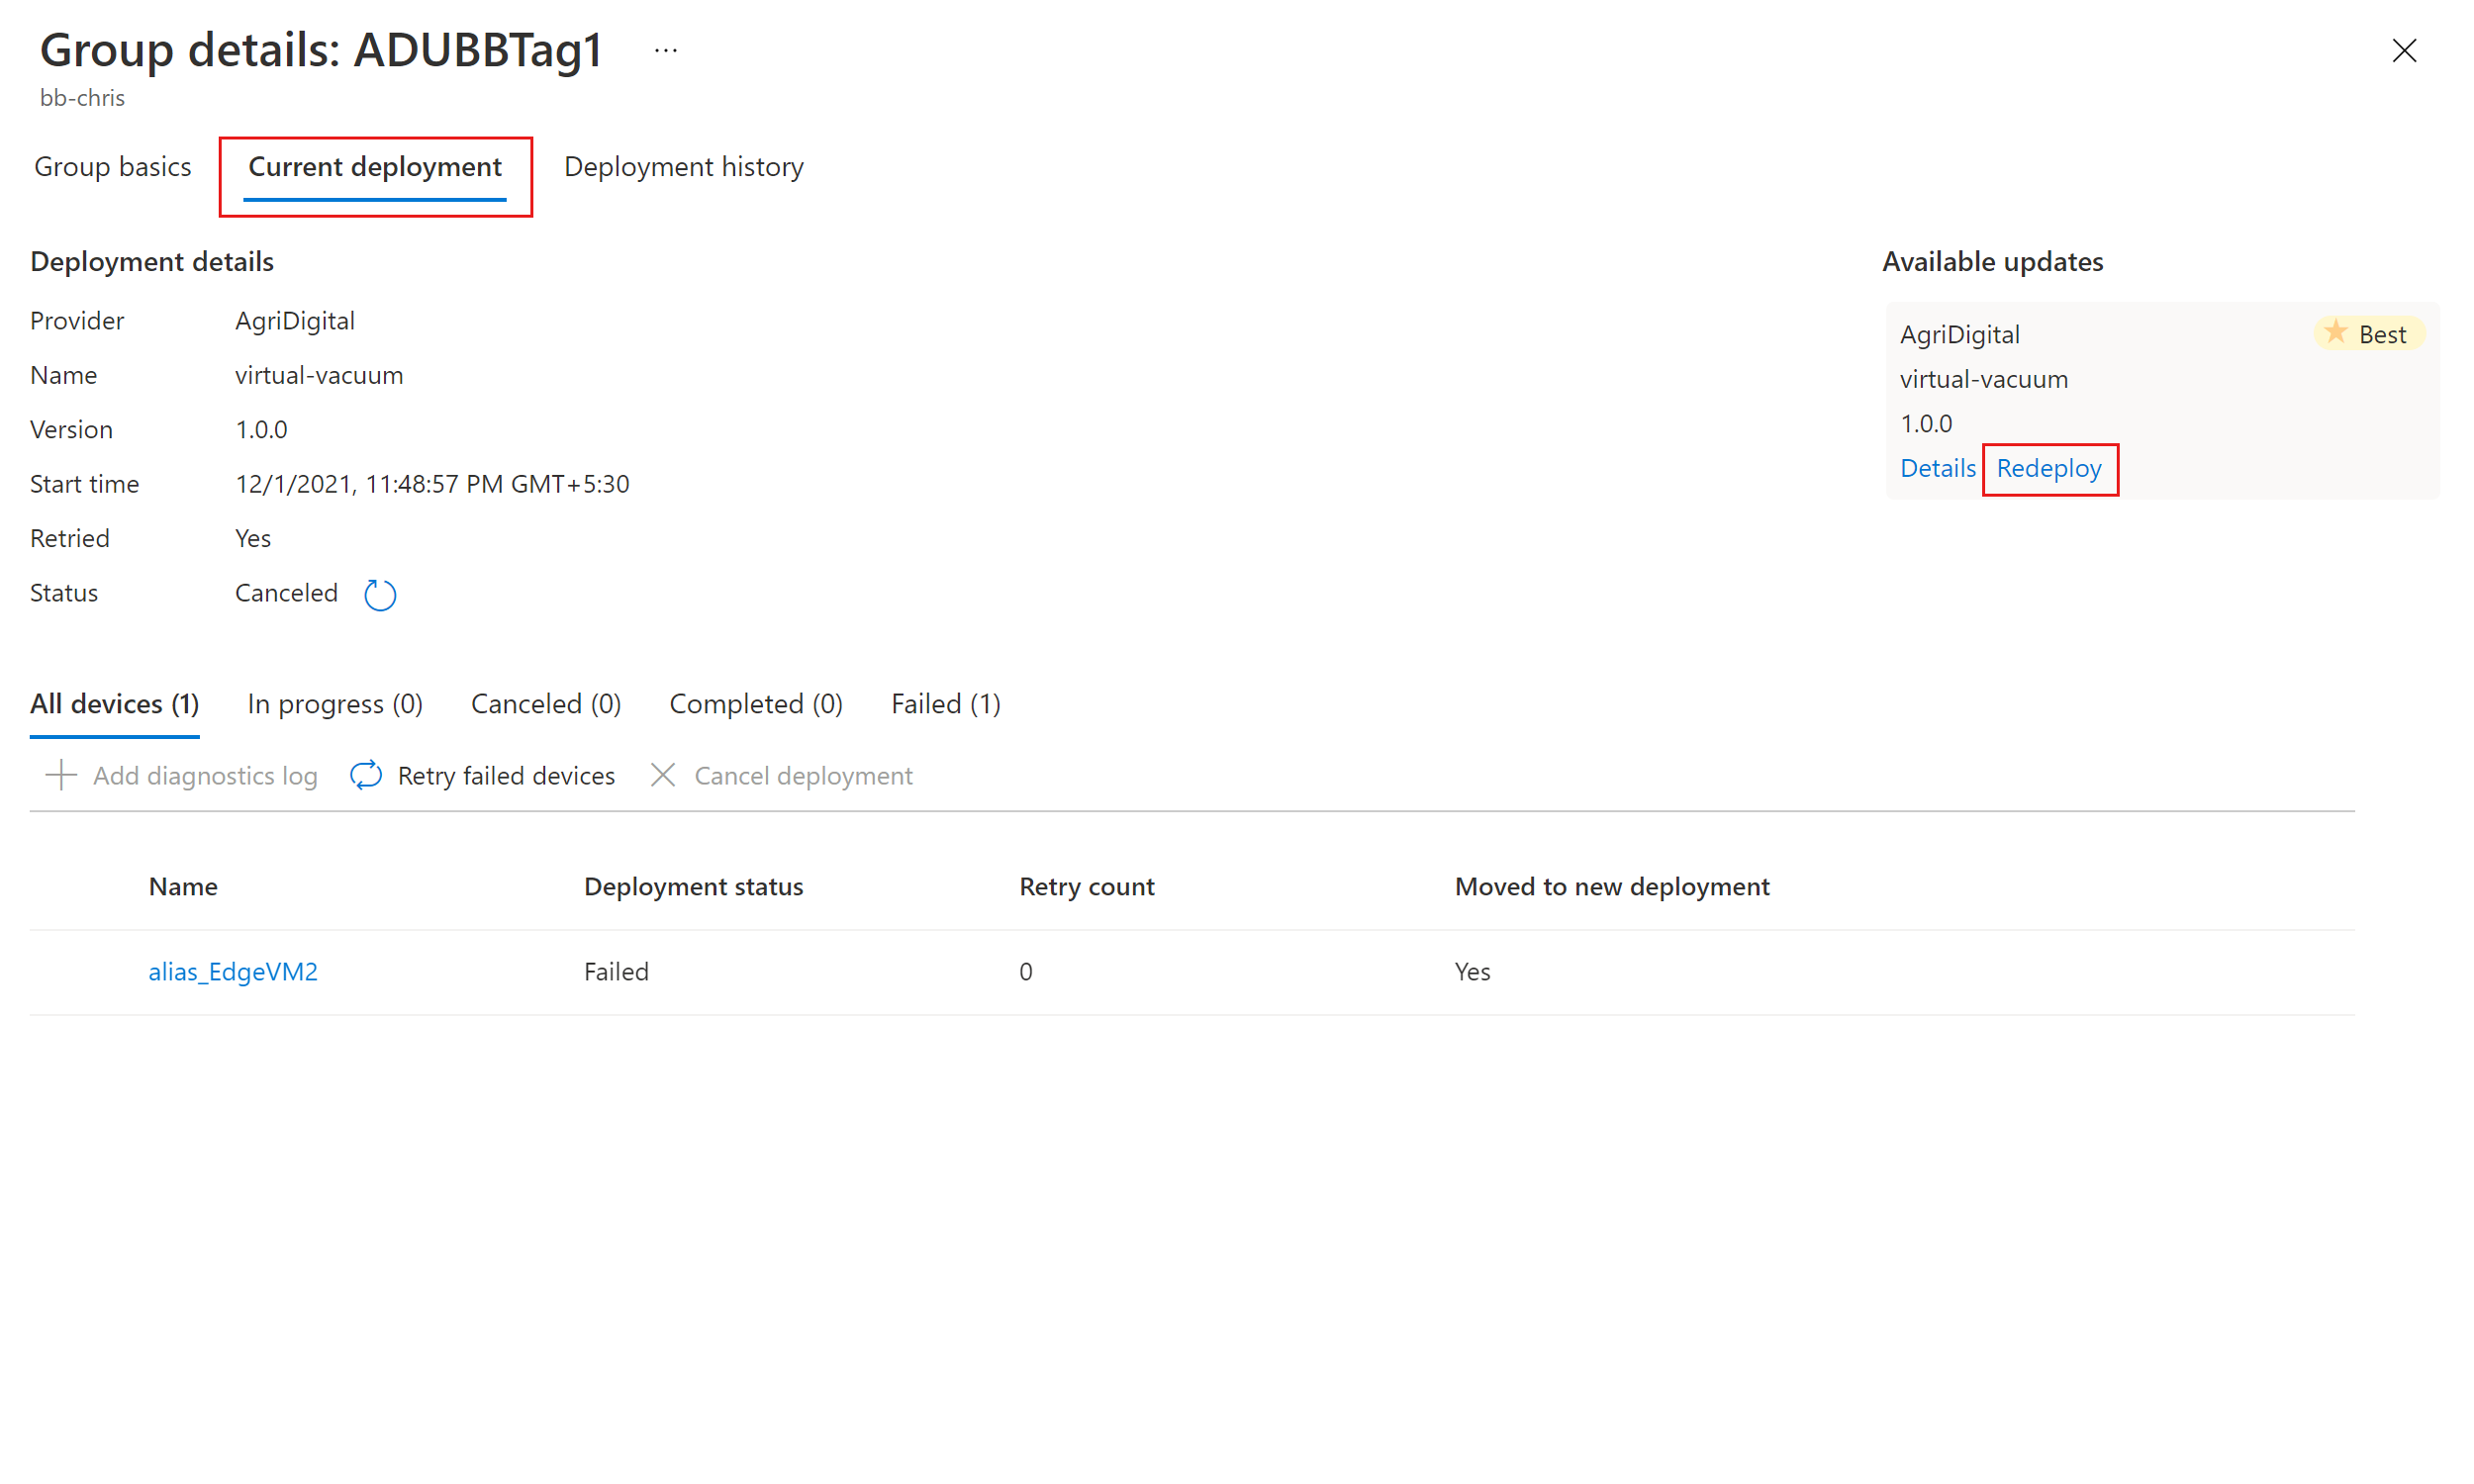
On the Group details page, select the Current deployment tab, and then select Deploy next to the desired update in the Available updates section. The best available update for the group is denoted with a Best highlight.
On the Create deployment page, schedule your deployment to start immediately or in the future, and then select Create.
Tip
By default, the Start date and time is 24 hours from your current time. Be sure to select a different date and time if you want the deployment to begin sooner.
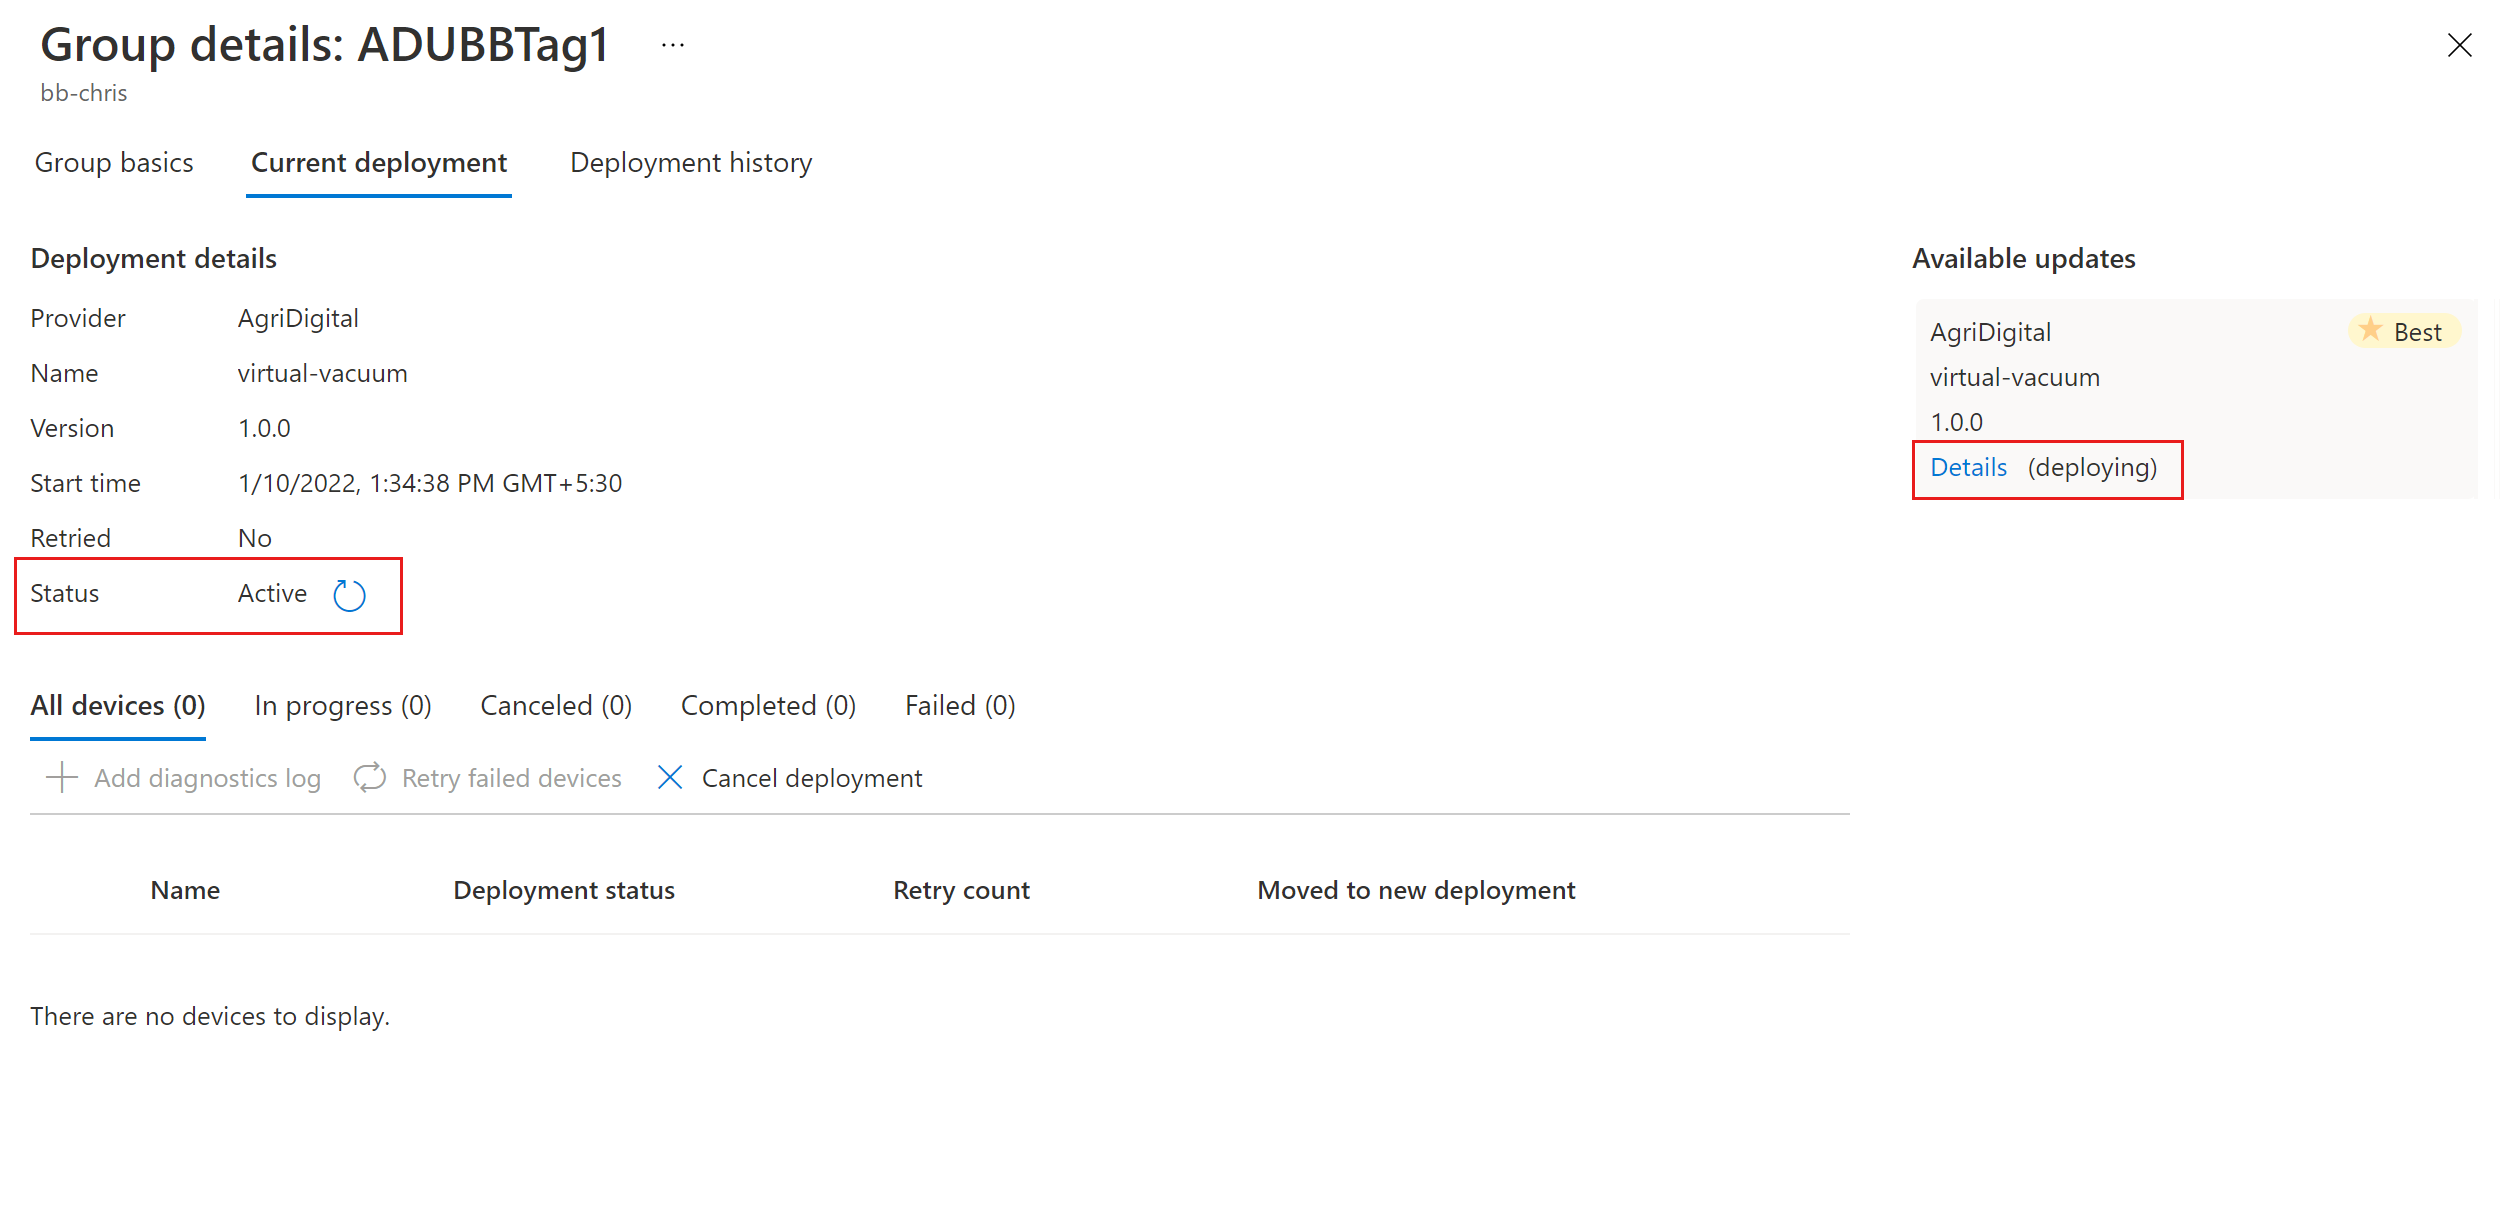
Under Deployment details, Status turns to Active. Under Available updates, the selected update is marked with (deploying).
On the Updates page, view the compliance chart to see that the update is now in progress. After your device successfully updates, your compliance chart and deployment details update to reflect that status.
View update deployment history
To view deployment history:
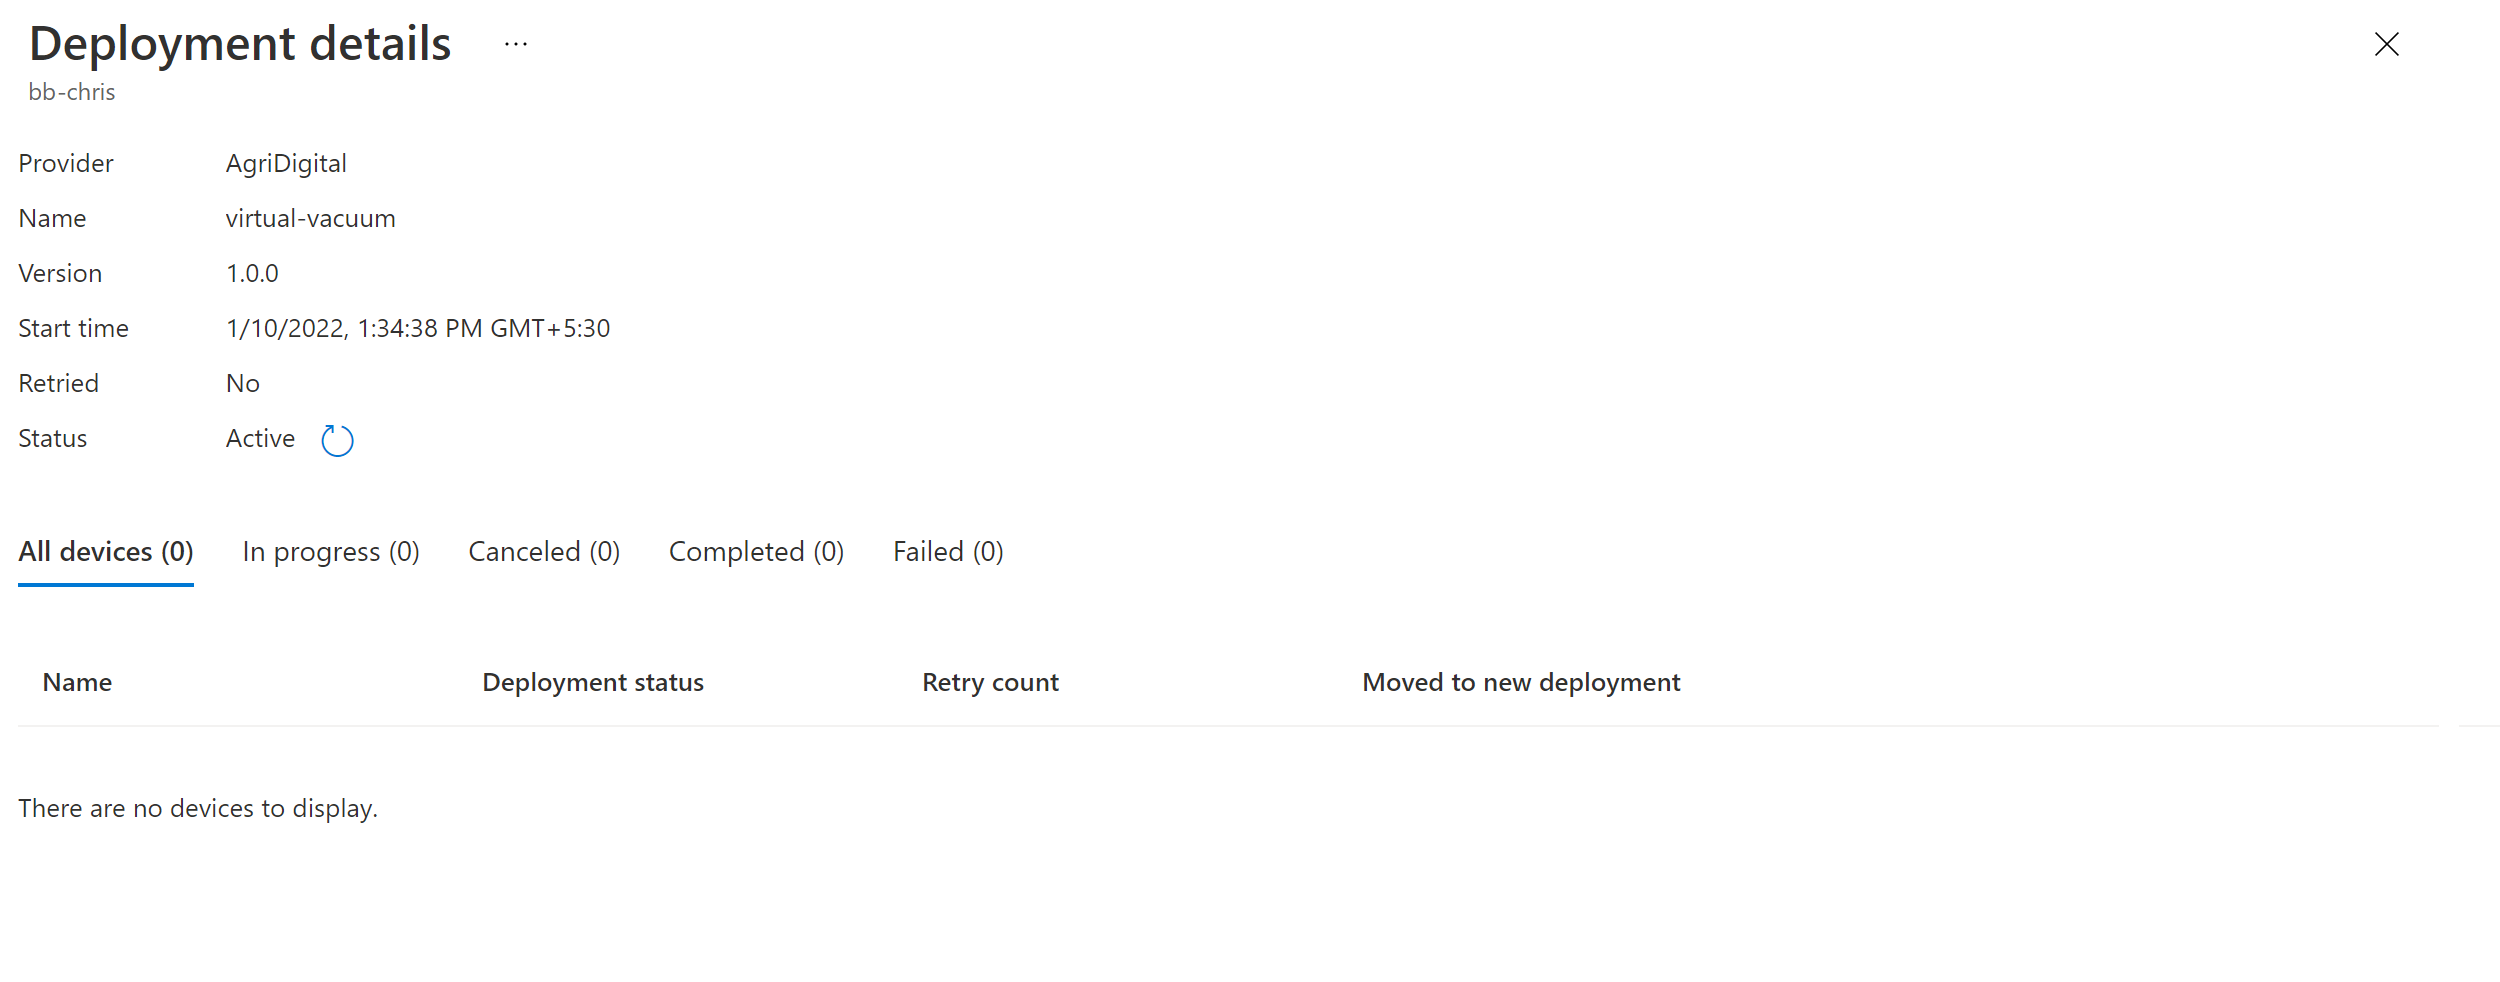
Select the Deployment history tab at the top of the Group details page, and select the details link next to the deployment you created.
On the Deployment details page, select Refresh to view the latest status details.
Clean up resources
When you no longer need the resources you created for this tutorial, you can delete them.
- In the Azure portal, navigate to the resource group that contains the resources.
- If you want to delete all the resources in the group, select Delete resource group.
- If you want to delete only some of the resources, use the check boxes to select the resources and then select Delete.
