Exercise - Use Copilot to build a Power Pages site
Exercise 1: Create your first website
In this exercise, you create your first website by using a template.
Prerequisite: You must have a non-production environment with a Dataverse database installed.
Task - Create your first Power Pages site
In this task, you create your first Power Pages website from a template.
Go to Power Pages and make sure that you have the correct environment selected.
Select Get started.
Select the option that matches your experience with Power Pages. For this exercise, select "No, I've never built one before."
Hover your cursor over Starter layout 1 and then select Choose this template.
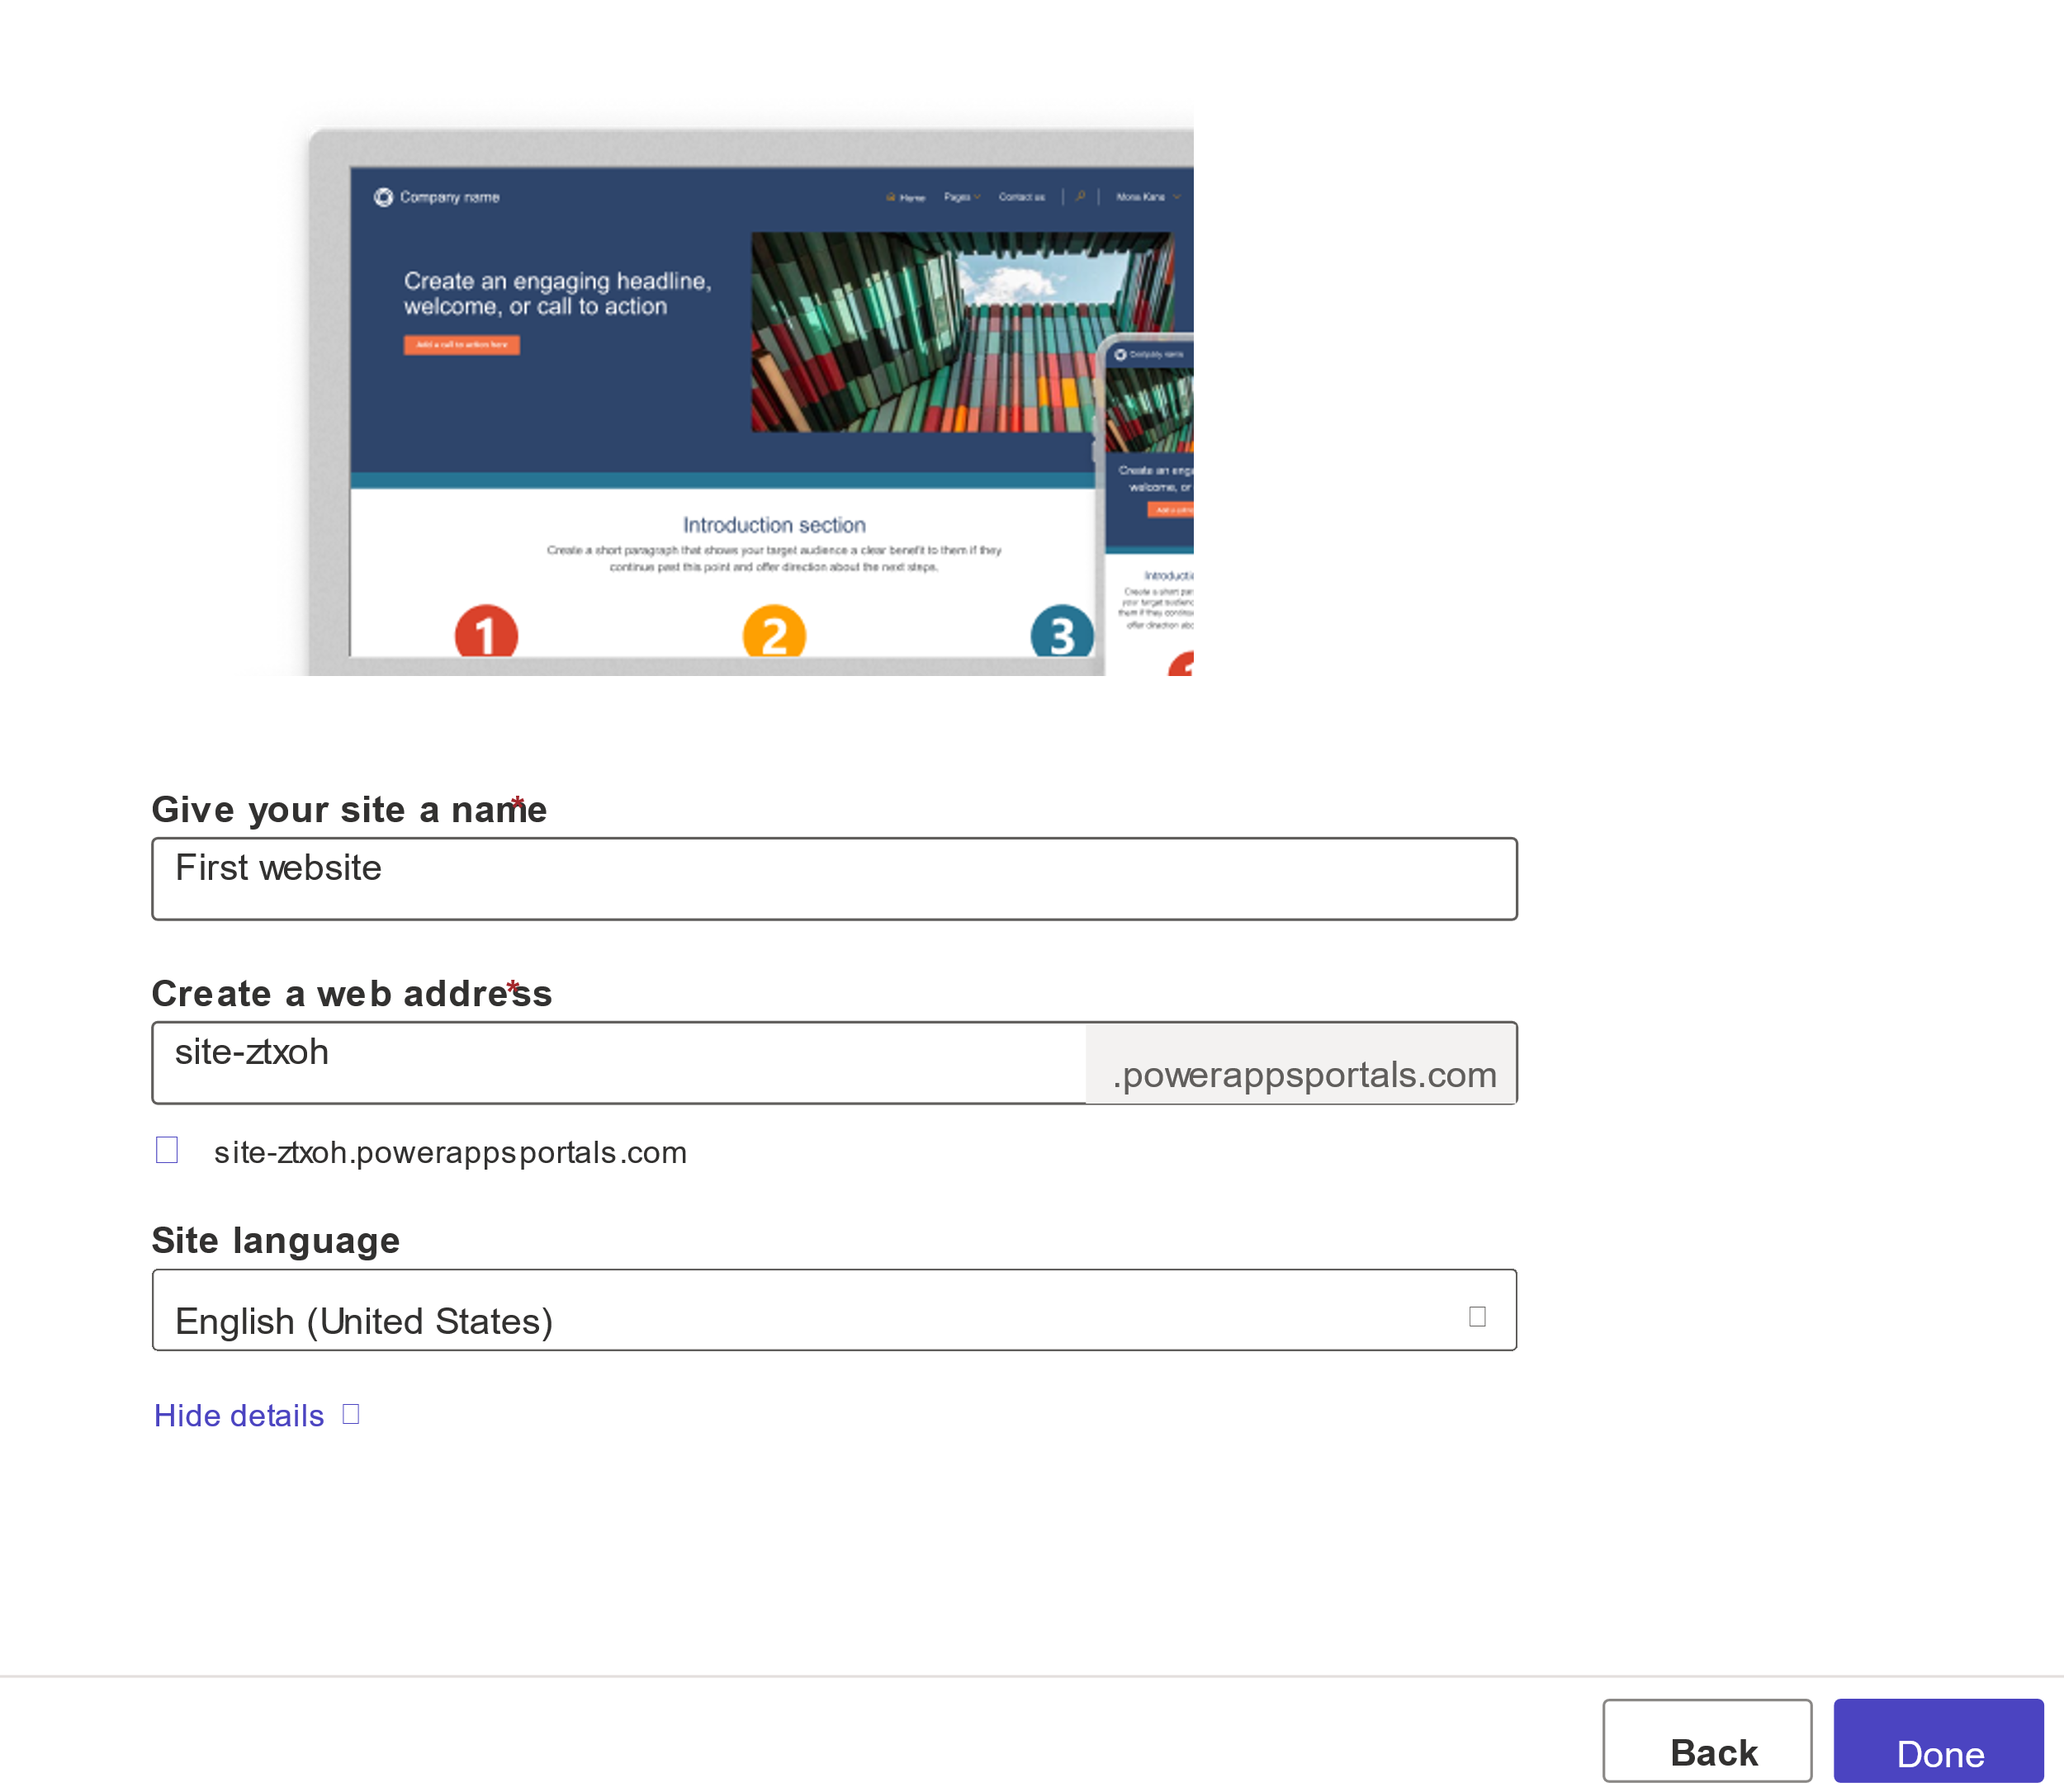
Enter First website for the name, select Done, and then wait for the site to create.
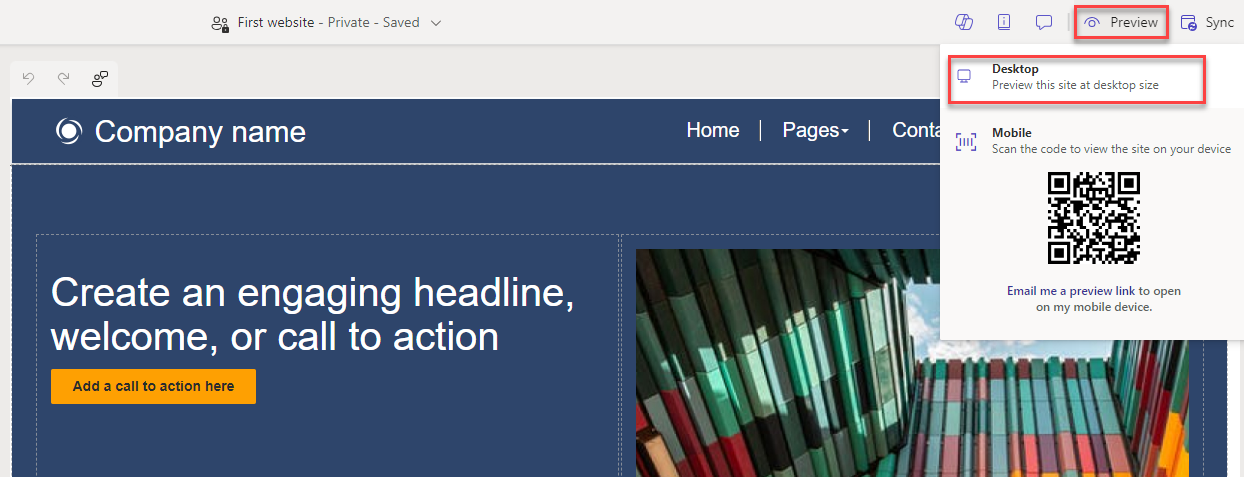
Your new website should resemble the following image. Select Preview > Desktop.
Your new site should load. Go to different pages and view the pages that are included in the template that you selected.

After you're done, close the preview browser window or tab.
You should return to the designer. Don't navigate away from this page.


Exercise 2: Use Copilot to build a Power Pages site
In this exercise, you build a Power Pages website for a company that provides cleaning services to businesses. You describe the site that you want to build, and Copilot creates the site for you.
Note
The example prompt produces the results that are shared in this exercise. It's likely that your exact experience might differ. That scenario is expected; Copilot constantly improves and changes.
Prerequisite: You must have a non-production environment with a Dataverse database installed.
Task - Create a site with Copilot
In this task, you create the website by describing the site that you want to build with Copilot.
Go to Power Pages and select the Home button.
In the Start building your website with Copilot text box, describe the site that you want to build. For this exercise, give Copilot the following description. Replace FL with your initials.
FL-Clean provides after business hours and weekend cleaning services to business. FL-Clean does not handle chemical waste or hazardous materials.
Select the send button and then wait for Copilot to create the site.

You can change the name and the web address if you want. Select Next.

Copilot should show you a layout and offer an opportunity to try a different layout. Select Try again.
Keep selecting Try again until you find a layout that you're satisfied with and then select Next.
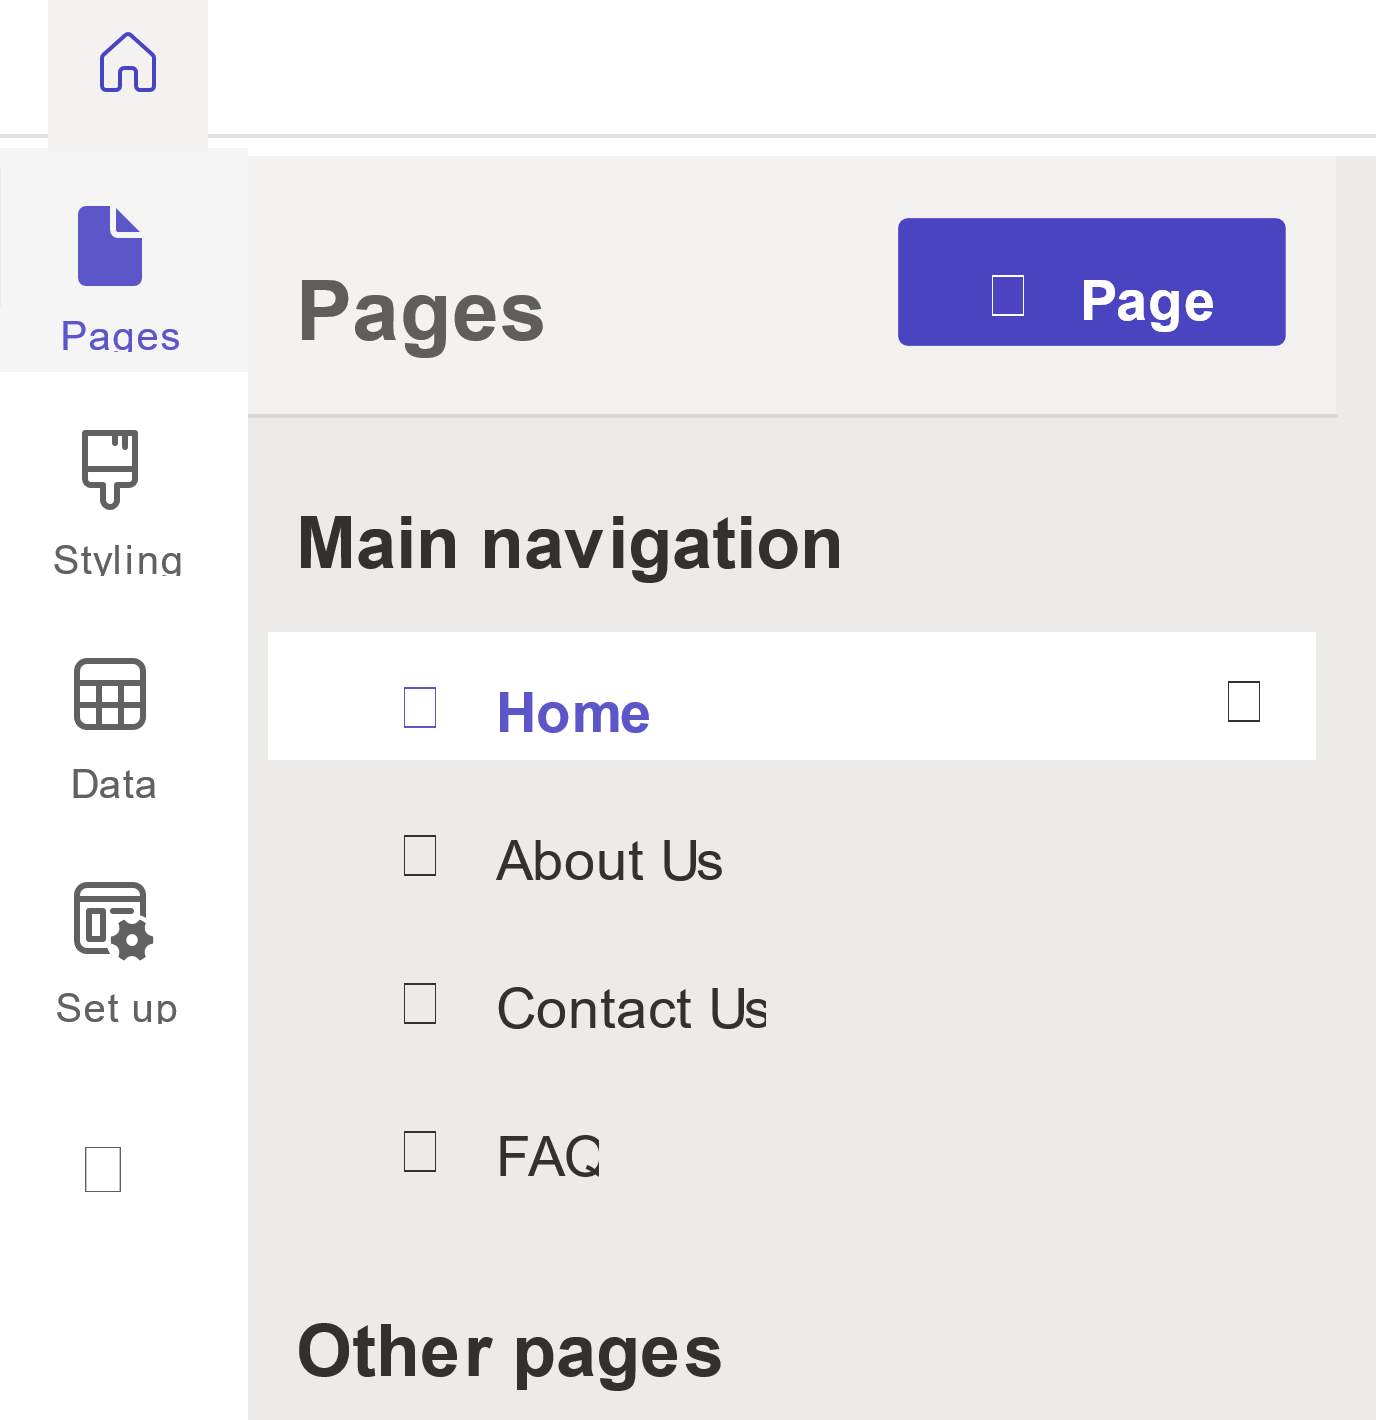
On the Add common pages dialog, select About Us, Contact Us, and FAQ, and then select Done.
Wait for Copilot to create the site for you.
Your site should now have at least four pages, including the home page.
Examine the pages. Images and text should display that Copilot put in place based on the business that you described.
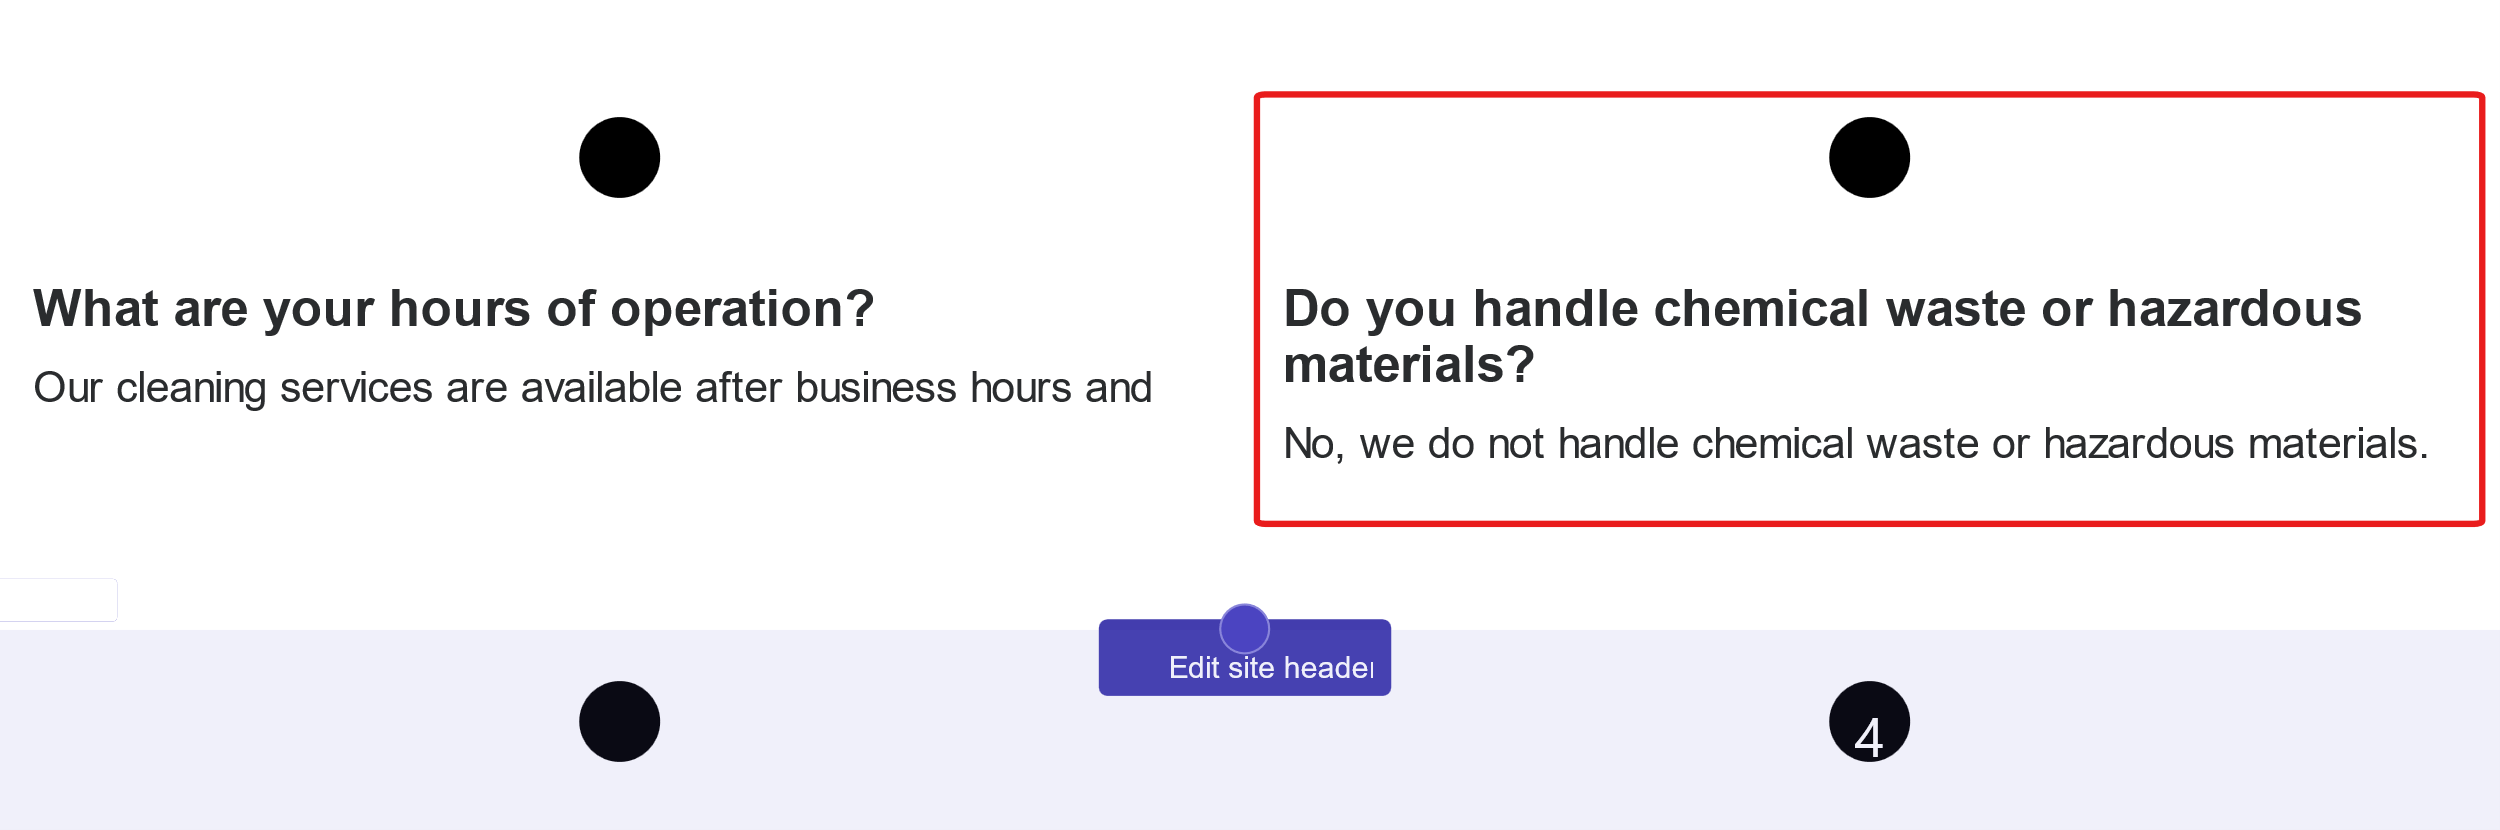
Select the FAQ page.
Locate the chemical waste and hazardous materials. Copilot included this information because it's in the description that you provided to Copilot.
Select the Home page and then select the Preview button in the upper right of the designer.
Select Desktop.
The site should load.
Scroll down and review the layout that you chose.
Go to each page and examine its content.
Close the preview.
You should return to the designer. Don't navigate away from this page.


Task - Edit with Copilot
In this task, you use Copilot to rewrite the text that it provided for your site. You also replace images by using stock images.
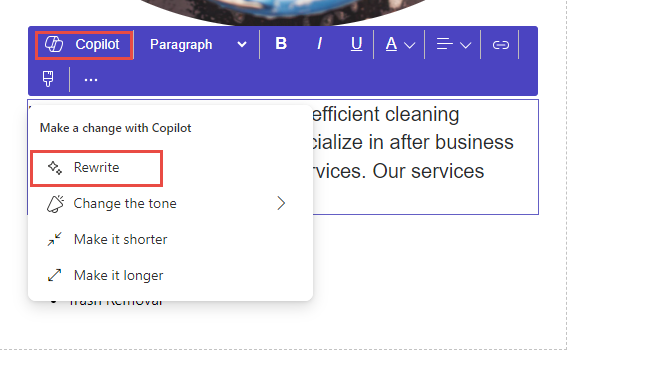
Select the Home page.
Select a text area, select Copilot, and then select Rewrite.
Select Tone and then select Friendly.
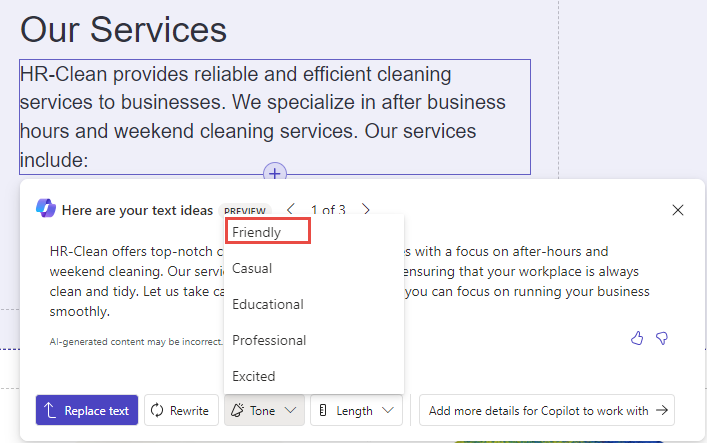
You can change the length, tone, and rewrite until you're satisfied with the text.
Select Replace text when you're done editing. You can edit other text by using the same steps.
Scroll down and select an image that you want to replace.
Select the Image button.
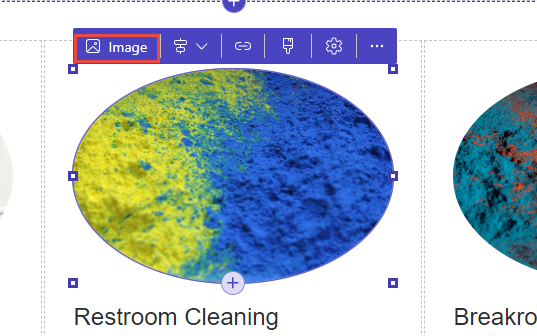
Select Stock images from the left.
Search for cleaning and then select an image that's appropriate for your site.
Select Insert.
The image should now be replaced with the image that you selected from the stock images.

You can replace more images by using the previous steps.
Review the other pages and edit their content to fit your business.
Don't navigate away from this page.


Task - Add a form with Copilot
In this task, you use Copilot to create a form that allows your customers to request cleaning service.
Select + Page.

Enter Book for Page name, select Start from blank, and then select Add.
Copilot should add a new page to your site. From the Choose a component to add dialog, select Form.
In the Describe a form text box, enter the following description and then select the send button. You can also provide your own description.
A form for customers to book for cleaning service, customers must provide the name and phone number.
Preview the form. You can tell Copilot to rearrange or remove columns. This exercise removes the Price, Payment Method, and Status columns by telling Copilot to remove the columns by name. The columns that Copilot creates for you might be different.
Remove the Price, Payment Method, and the Status.
When you're done editing the form, select OK.
Copilot creates a Dataverse table to save the data that your customers provide.
Your customers can't view the form yet because it doesn't have that permission associated with it. Select the New permission button.
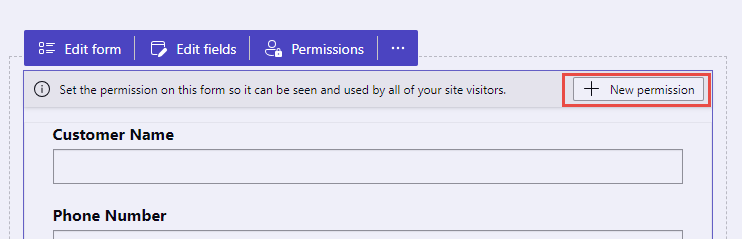
Change the name to Booking, select the Create checkbox, and then select the + Add roles button.
Select the Anonymous Users checkbox and then select the Save button. You're making this form available to all users who visit the site.
Select Save again on the warning pop-up window.
Select the Preview button. Sometimes, site updates take a few minutes to appear on the site. Try refreshing your browser but be patient.
Fill out the form and then select Submit.
You should get a success message. Select Book again from the navigation.
Fill out the form and then select Submit.
Add more bookings if you want.
Close the preview.
You should be back to the designer. Don't navigate away from this page.


Task - Review the created data
In this task, you review the data that the form created.
Select the Home button located in the upper-left corner of the designer.
Select Solutions from the left and then open Default solution.
Search for Copilot and then select the table that Copilot created. The name of the table starts with Copilot.
The bookings should display.