練習 - 升階至預備環境
您的發行管線現在有三個階段:組建、開發和測試。 您和 Tailspin 小組還要實作一個階段:預備。
在這個部分,您將會:
- 在 Azure Pipelines 中建立預備環境,並將您自己指派為核准者。
- 定義預備階段,使其只在核准者確認過測試階段的結果後才會執行。
建立預備環境
在這裡,您會在 Azure Pipelines 中建立預備環境。 為了方便學習,您要將自己指派為核准者。 在實務上,您會指派在變更移至下一個階段之前核准變更所需的使用者。 在 Tailspin 小組中,會由 Amita 核准變更,然後變更才能從測試階段升階到預備階段。
在本課程模組稍早時,您已經為開發和測試階段指定了 environment 設定。 以下是開發階段的範例。
- stage: 'Deploy'
  displayName: 'Deploy the web application'
  dependsOn: Build
  jobs:
  - deployment: Deploy
    pool:
      vmImage: 'ubuntu-20.04'
    environment: dev
    variables:
    - group: Release
您可以透過 Azure Pipelines 定義環境,並於其中包含特定的發行準則。 此準則可包含已獲授權可部署至該環境的管線。 您也可以指定需要完成哪些人工核准才能將發行從某個階段升階到下一個階段。 在此,您會指定這些核准。
若要建立預備環境:
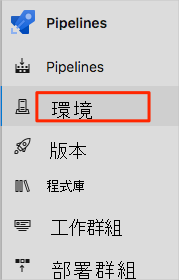
從 Azure Pipelines 中,選取 [環境]。
選取 [新增環境]。
在 [名稱] 底下輸入預備。
將其餘欄位保留為預設值。
選取 建立。
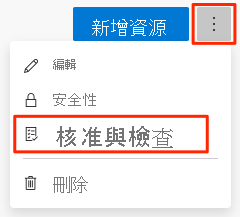
在 [預備] 環境頁面上,開啟下拉式清單,然後選取 [核准和檢查]。
選取 [核准]。
在 [核准者] 底下,選取 [新增使用者和群組],然後選取您的帳戶。
在 [給核准者的指示] 下輸入在此變更已可進入預備環境時加以核准。
選取 建立。
將變更升階到預備階段
在這裡,您會修改管線設定,以將組建部署到預備階段。
在 Visual Studio Code 中修改 azure-pipelines.yml,如下所示:
trigger: - '*' variables: buildConfiguration: 'Release' releaseBranchName: 'release' schedules: - cron: '0 3 * * *' displayName: 'Deploy every day at 3 A.M.' branches: include: - release always: false stages: - stage: 'Build' displayName: 'Build the web application' jobs: - job: 'Build' displayName: 'Build job' pool: vmImage: 'ubuntu-20.04' demands: - npm variables: wwwrootDir: 'Tailspin.SpaceGame.Web/wwwroot' dotnetSdkVersion: '6.x' steps: - task: UseDotNet@2 displayName: 'Use .NET SDK $(dotnetSdkVersion)' inputs: version: '$(dotnetSdkVersion)' - task: Npm@1 displayName: 'Run npm install' inputs: verbose: false - script: './node_modules/.bin/node-sass $(wwwrootDir) --output $(wwwrootDir)' displayName: 'Compile Sass assets' - task: gulp@1 displayName: 'Run gulp tasks' - script: 'echo "$(Build.DefinitionName), $(Build.BuildId), $(Build.BuildNumber)" > buildinfo.txt' displayName: 'Write build info' workingDirectory: $(wwwrootDir) - task: DotNetCoreCLI@2 displayName: 'Restore project dependencies' inputs: command: 'restore' projects: '**/*.csproj' - task: DotNetCoreCLI@2 displayName: 'Build the project - $(buildConfiguration)' inputs: command: 'build' arguments: '--no-restore --configuration $(buildConfiguration)' projects: '**/*.csproj' - task: DotNetCoreCLI@2 displayName: 'Publish the project - $(buildConfiguration)' inputs: command: 'publish' projects: '**/*.csproj' publishWebProjects: false arguments: '--no-build --configuration $(buildConfiguration) --output $(Build.ArtifactStagingDirectory)/$(buildConfiguration)' zipAfterPublish: true - publish: '$(Build.ArtifactStagingDirectory)' artifact: drop - stage: 'Dev' displayName: 'Deploy to the dev environment' dependsOn: Build condition: | and ( succeeded(), eq(variables['Build.SourceBranchName'], variables['releaseBranchName']) ) jobs: - deployment: Deploy pool: vmImage: 'ubuntu-20.04' environment: dev variables: - group: Release strategy: runOnce: deploy: steps: - download: current artifact: drop - task: AzureWebApp@1 displayName: 'Azure App Service Deploy: website' inputs: azureSubscription: 'Resource Manager - Tailspin - Space Game' appName: '$(WebAppNameDev)' package: '$(Pipeline.Workspace)/drop/$(buildConfiguration)/*.zip' - stage: 'Test' displayName: 'Deploy to the test environment' dependsOn: Dev #condition: eq(variables['Build.Reason'], 'Schedule') jobs: - deployment: Deploy pool: vmImage: 'ubuntu-20.04' environment: test variables: - group: 'Release' strategy: runOnce: deploy: steps: - download: current artifact: drop - task: AzureWebApp@1 displayName: 'Azure App Service Deploy: website' inputs: azureSubscription: 'Resource Manager - Tailspin - Space Game' appName: '$(WebAppNameTest)' package: '$(Pipeline.Workspace)/drop/$(buildConfiguration)/*.zip' - stage: 'Staging' displayName: 'Deploy to the staging environment' dependsOn: Test jobs: - deployment: Deploy pool: vmImage: 'ubuntu-20.04' environment: staging variables: - group: 'Release' strategy: runOnce: deploy: steps: - download: current artifact: drop - task: AzureWebApp@1 displayName: 'Azure App Service Deploy: website' inputs: azureSubscription: 'Resource Manager - Tailspin - Space Game' appName: '$(WebAppNameStaging)' package: '$(Pipeline.Workspace)/drop/$(buildConfiguration)/*.zip'此程式碼會新增預備階段。 該階段會部署至包含發行核准的預備環境。
提示
您可能已經注意到,您的三個部署階段都遵循類似的步驟。 您可以使用範本來定義共通的組建工作一次,然後就能重複使用多次。 您已在使用 Azure Pipelines 建立組建管線課程模組中使用過這項技術。 為了方便學習,我們會在每個階段重複執行這些步驟。
在整合式終端中,將 azure-pipelines.yml 新增至索引。 接著認可變更,並將其推送至 GitHub。
提示
執行這些 Git 命令之前,請先儲存 azure-pipelines.yml。
git add azure-pipelines.yml
git commit -m "Deploy to Staging"
git push origin release
在 Azure Pipelines 中,移至該組建。 在建置執行時加以追蹤。
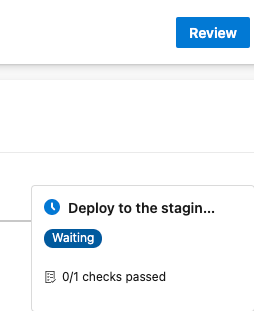
當組建到達「預備」階段時,您會看到管線等候所有檢查都通過。 在本案例中有一項檢查,那就是手動發行核准。
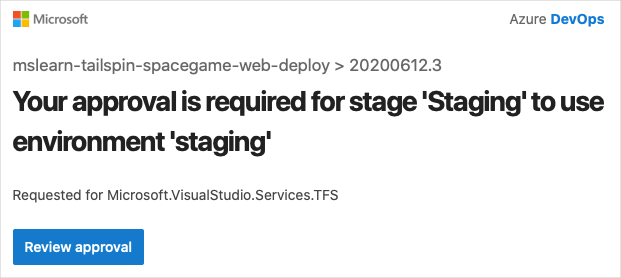
您可以設定 Azure DevOps 在組建需要核准時傳送電子郵件通知給您。 以下是範例:
選取 [檢閱]>[核准]。
實務上,為了確認其符合您的需求,您會檢查變更。
組建完成後,開啟網頁瀏覽器。 移至與預備環境之 App Service 實例相關聯的 URL。
如果您的瀏覽器索引標籤仍保持開啟,請重新整理頁面。 如果您不記得 URL,請在 Azure 入口網站的 [App Service 詳細資料] 頁面中找到該 URL。
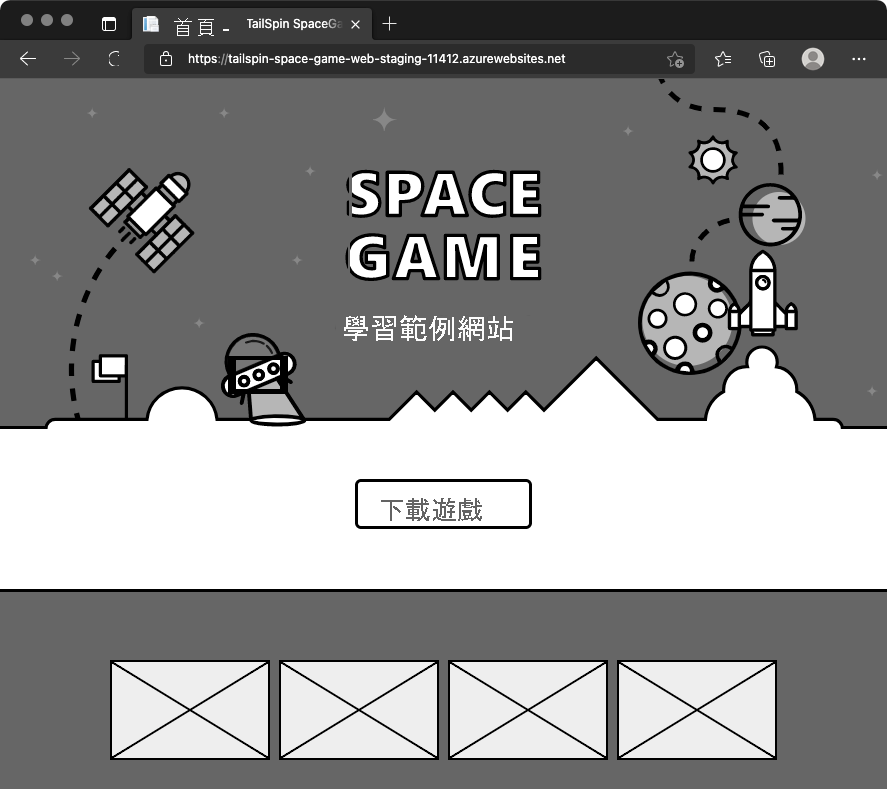
您會看到 Space Game 網站已部署至 App Service,且正在執行。
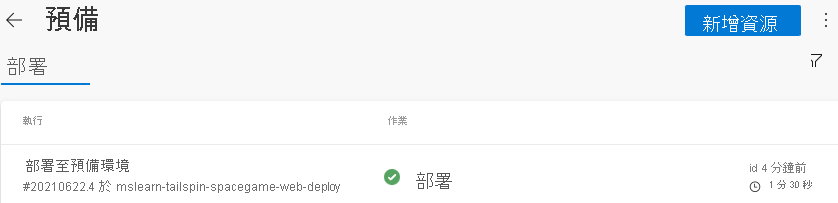
(選擇性步驟) 在 Azure Pipelines 中選取 [環境]。 接下來,選取 [預備] 環境。
Azure Pipelines 會記錄您的部署歷程記錄,讓您能夠透過環境中的變更逆向追蹤到程式碼認可和工作項目。
Tailspin 小組齊聚一堂以討論其進度。 Amita 在核准測試階段中的變更時,其他人在一旁觀看。
Tim:老實說,起初我有點擔心自動化的發行管線。 但現在看到它運作正常後,我就喜歡上它了。 每個階段都可以有自己的環境、相關聯的測試和核准者。 管線將許多以前必須手動執行的工作自動化了。 但如果有需要,我們還是可以控制它。
Amita:我能想像得到我們在做將變更從預備升階至生產的類似工作。 說起...何時要新增 生產 環境?
Andy: 不久。 我認為我們仍然需要先填寫幾個部分,然後才加入。