練習 - 將訊息傳送至 Azure 服務匯流排
在此單元中,您會建立一個可將訊息傳送至 Azure 服務匯流排佇列的 Spring Boot 應用程式。 請在本機完成下列步驟。
建立 Spring Boot 專案
若要建立 Spring Boot 專案,我們會使用 Spring Initializr 搭配命令列:
curl https://start.spring.io/starter.tgz -d type=maven-project -d dependencies=web -d baseDir=spring-sender-application -d bootVersion=3.3.0.RELEASE -d javaVersion=1.8 | tar -xzvf -
將訊息傳送至服務匯流排佇列
現在,讓我們將一些訊息傳送至服務匯流排佇列。
針對 Service Bus Spring Boot Starter 新增 maven 相依性
在 spring-sender-application 的 pom.xml 檔案中,於相依性底下新增下列命令:
		<!-- https://mvnrepository.com/artifact/com.azure.spring/spring-cloud-azure-starter-servicebus-jms -->
		<dependency>
		    <groupId>com.azure.spring</groupId>
		    <artifactId>spring-cloud-azure-starter-servicebus-jms</artifactId>
		    <version>5.18.0</version>
		</dependency>
新增設定參數
在
spring-sender-application\src\main\resources資料夾中,編輯application.properties檔案,新增下列參數:spring.jms.servicebus.connection-string=<xxxxx> spring.jms.servicebus.idle-timeout=20000 spring.jms.servicebus.pricing-tier=premium將
spring.jms.servicebus.connection-string屬性設定為您稍早儲存的服務匯流排命名空間的連接字串。
新增程式碼以將訊息傳送至服務匯流排
接下來,我們會新增商務邏輯,以將訊息傳送至服務匯流排佇列。
在 src/main/java/com/example/demo 目錄中,建立具有下列內容的 SendController.java 檔案:
package com.example.demo;

import org.springframework.beans.factory.annotation.Autowired;
import org.springframework.jms.core.JmsTemplate;
import org.springframework.web.bind.annotation.GetMapping;
import org.springframework.web.bind.annotation.RequestParam;
import org.springframework.web.bind.annotation.RestController;

@RestController
public class SendController {

    private static final String queue = "test-queue-jms";

    @Autowired
    private JmsTemplate jmsTemplate;

    @GetMapping("/messages")
    public String postMessage(@RequestParam String message) {
        jmsTemplate.send(queue, s -> s.createTextMessage(message));
        return message;
    }
}
在本機執行應用程式
切換回
pom.xml檔案所在範例spring-sender-application資料夾的根目錄,然後執行下列命令來啟動 Spring Boot 應用程式。 此步驟假設您已在 Windows 電腦上安裝mvn,而且其位於PATH中。mvn spring-boot:run應用程式啟動完成後,您可選取下列連結,以將訊息傳送至服務匯流排佇列。
http://localhost:8080/messages?message=Hellohttp://localhost:8080/messages?message=HelloAgainhttp://localhost:8080/messages?message=HelloOnceAgain您可以變更訊息佇列參數中的字串值,並傳送任何文字至服務匯流排佇列。
瀏覽器會顯示以訊息查詢字串參數傳遞的任何內容,這表示服務匯流排正在接受訊息。
查看服務匯流排佇列中的訊息
注意
雖然檢視訊息有助於了解訊息的傳送端,但此步驟為選擇性,不一定要執行。
在本教學課程的下一個步驟中將會收到這些訊息。
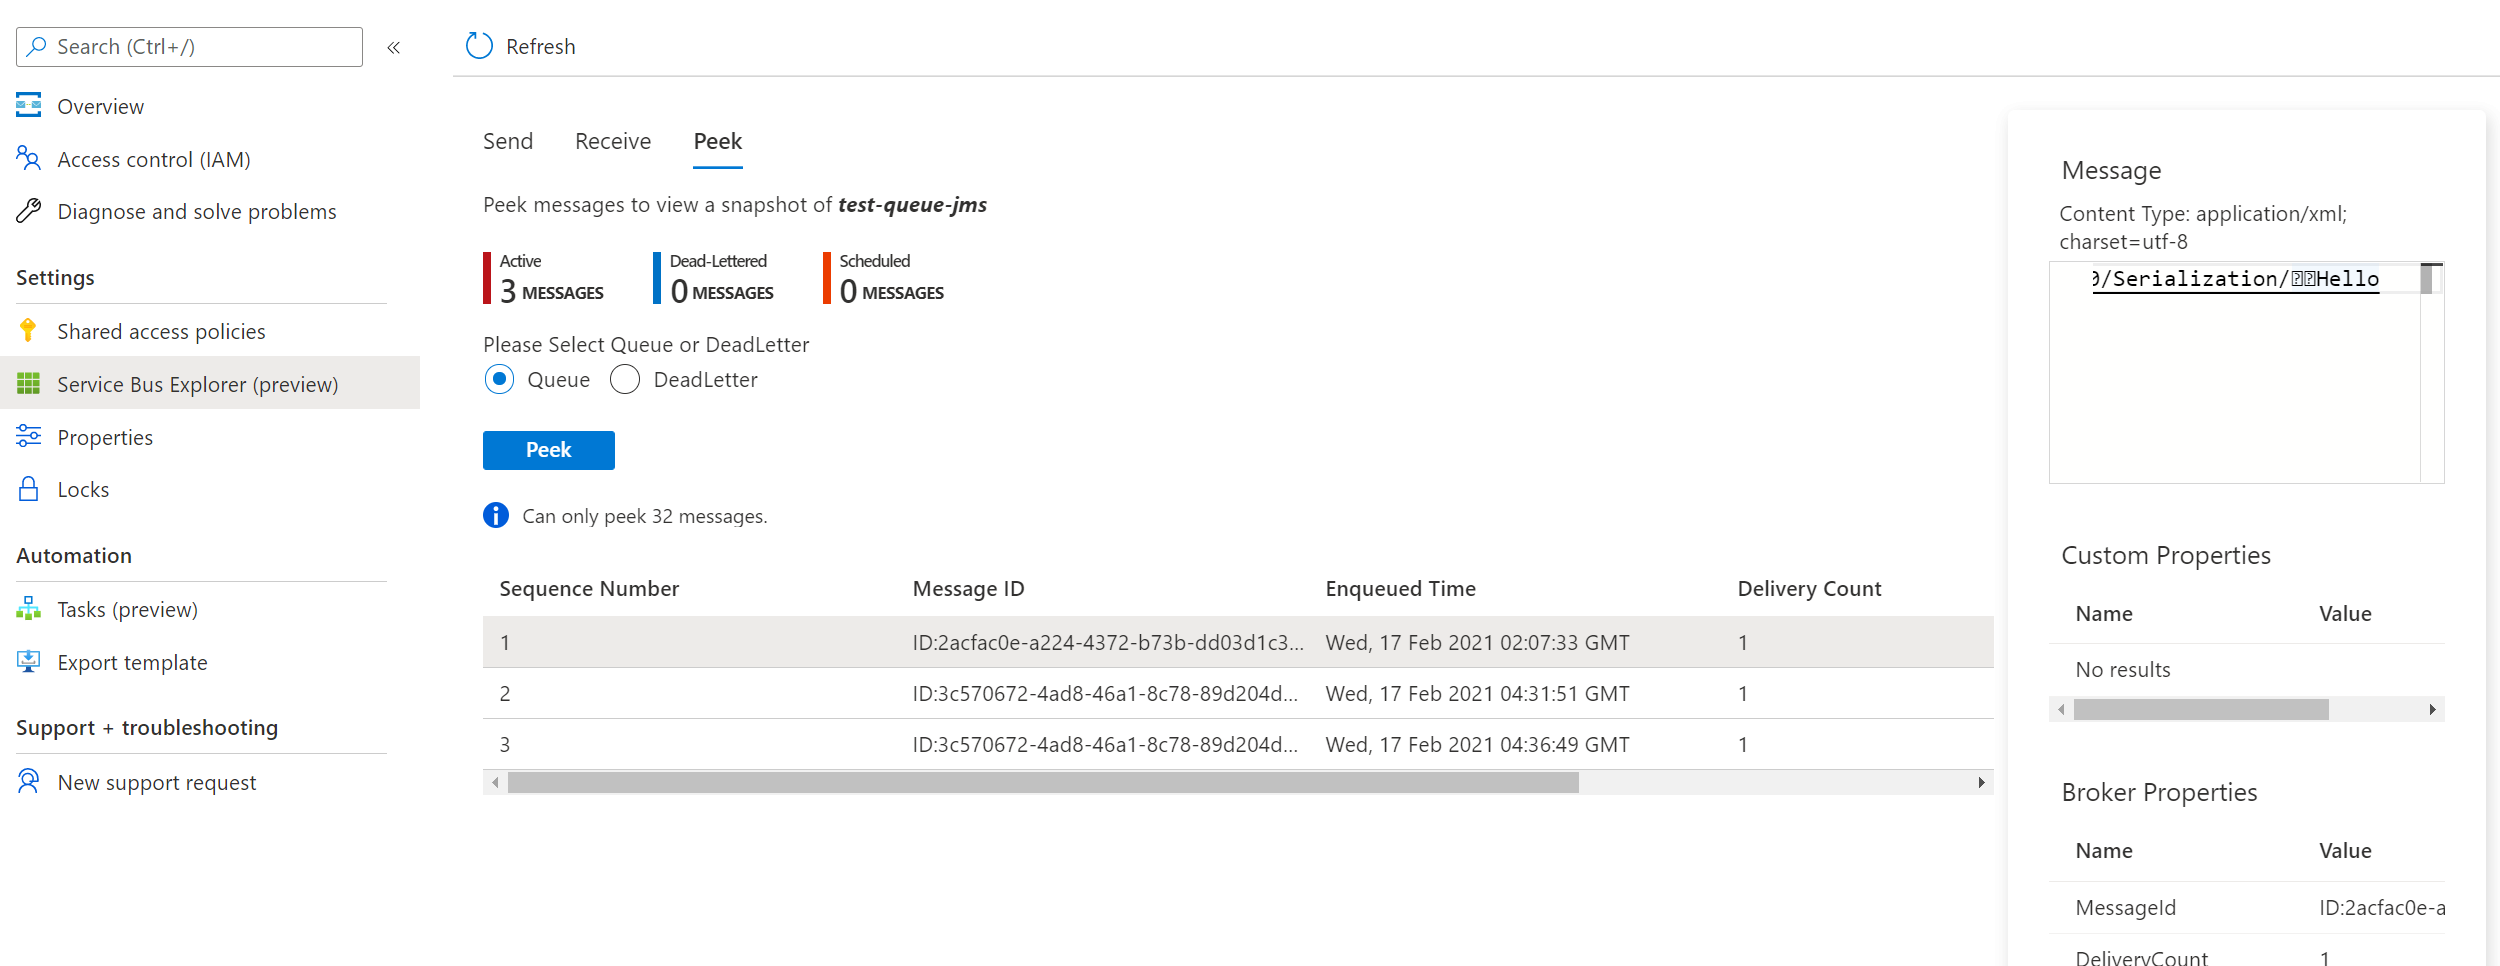
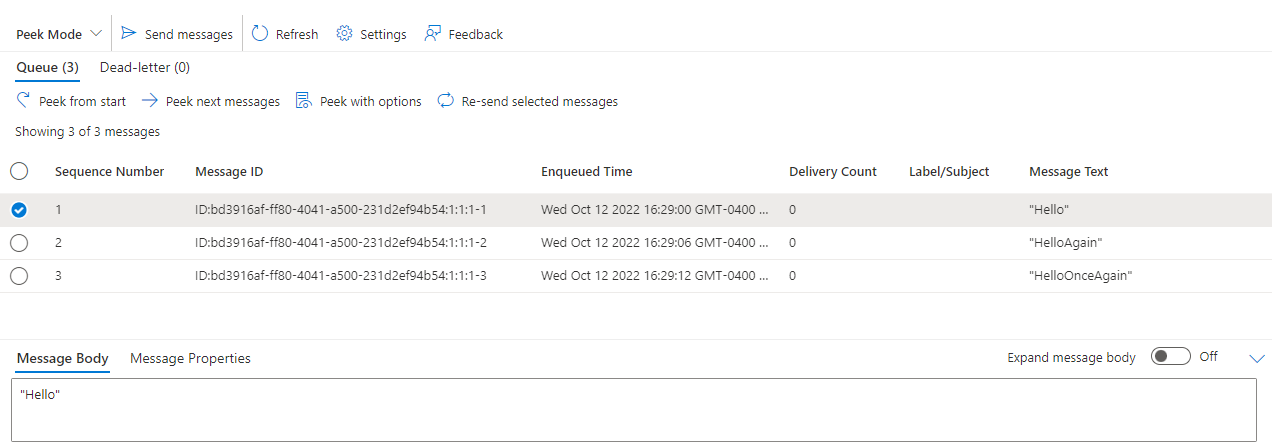
您可以繼續在 Azure 入口網站的「服務匯流排總管」中檢視訊息:

