警告
iOS 設計工具在 Visual Studio 2019 16.8 版和 Visual Studio 2019 for Mac 8.8 版中已被取代,並在 Visual Studio 2019 16.9 版和 Visual Studio for Mac 8.9 版中移除。 建置 iOS 使用者介面的建議方式是直接在執行 Xcode 的 Mac 上。 如需詳細資訊,請參閱 使用 Xcode 設計使用者介面。
需求
適用於 iOS 的 Xamarin 設計工具可在 Windows 上的 Visual Studio for Mac 和 Visual Studio 2017 和更新版本中取得。
本指南假設熟悉用戶入門指南中涵蓋的內容。
逐步解說
重要
從 Xamarin.Studio 5.5 開始,建立自定義控件的方式與舊版略有不同。 若要建立自定義控件, IComponent 介面是必要專案(具有相關聯的實作方法),也可以使用 [DesignTimeVisible(true)]標註 類別。 下一個方法正用於下列逐步解說範例中。
從 iOS > 應用程式>單一檢視應用程式 > C# 樣本建立新的解決方案,將其命名為
ScratchTicket,然後繼續執行 [新增專案] 精靈: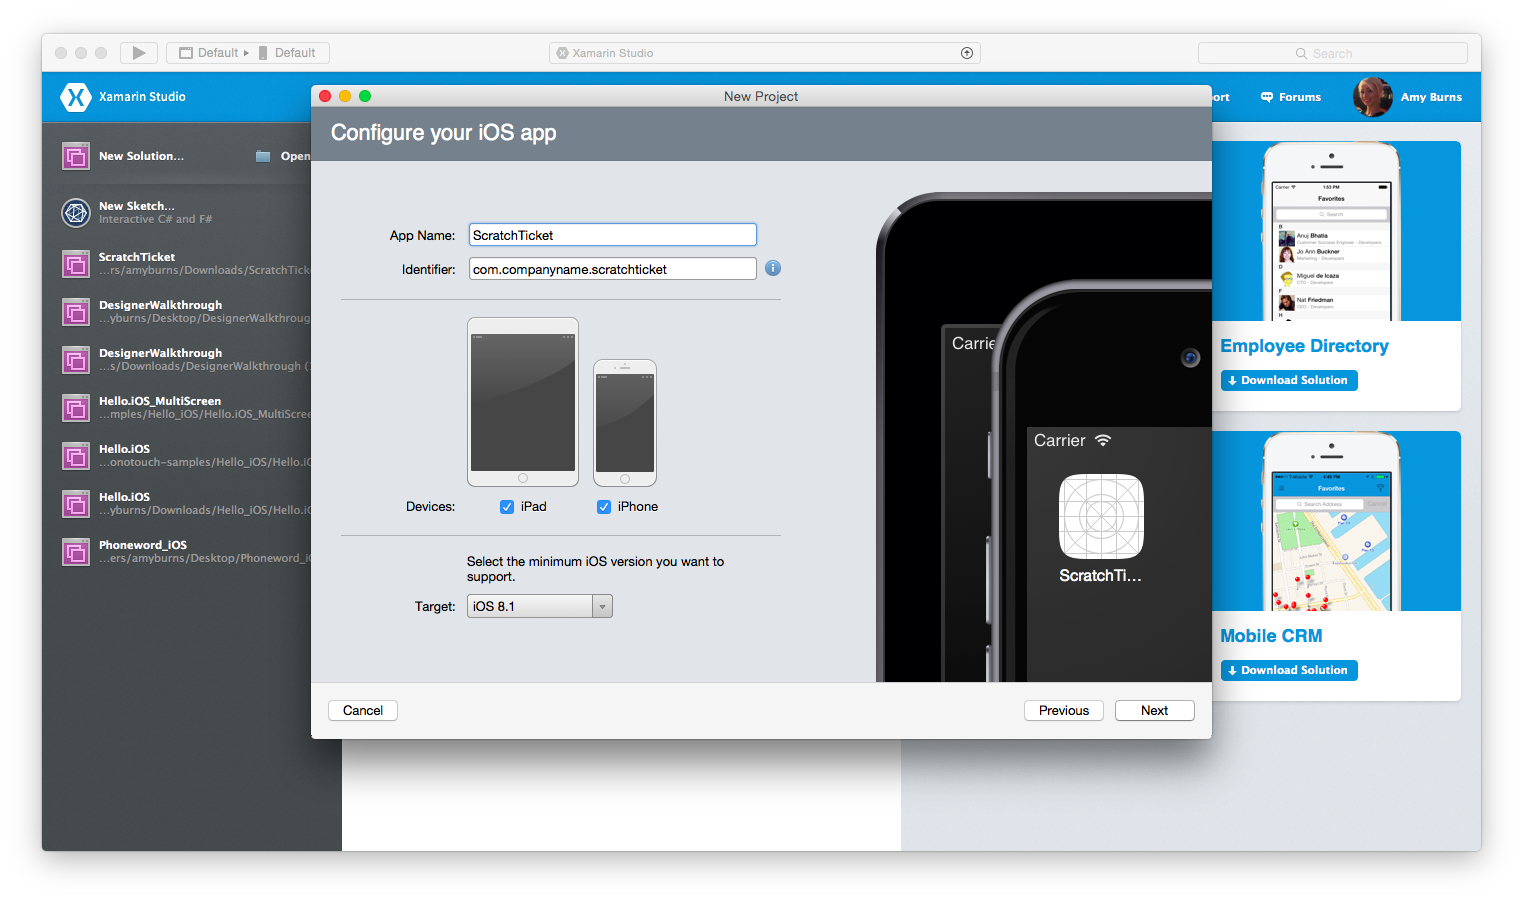
建立名為
ScratchTicketView的新空白類別檔案: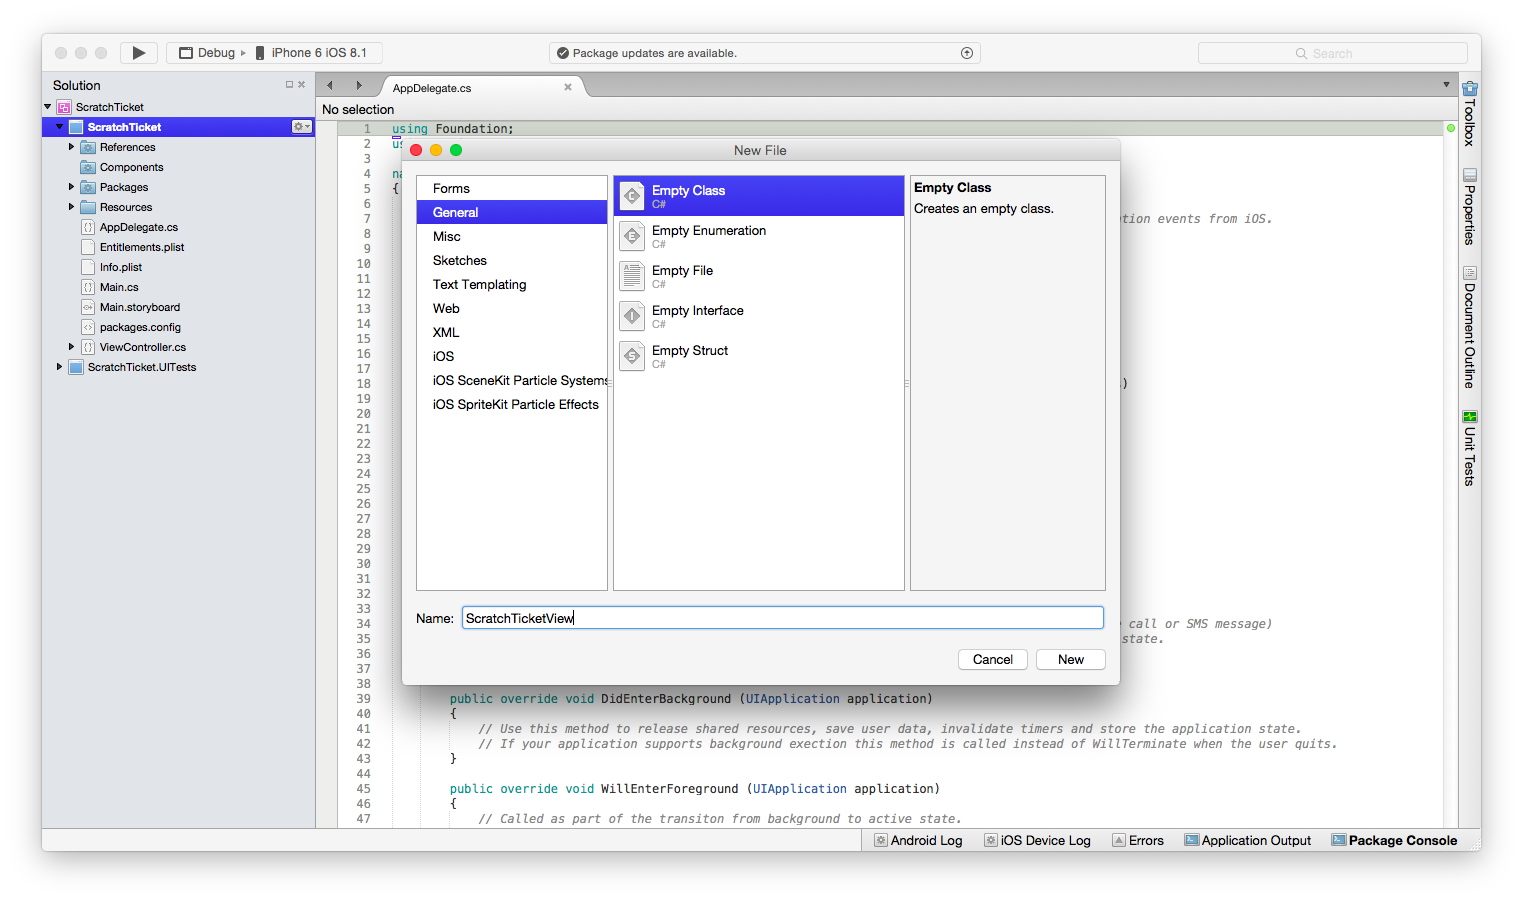
為類別新增下列程式代碼
ScratchTicketView:using System; using System.ComponentModel; using CoreGraphics; using Foundation; using UIKit; namespace ScratchTicket { [Register("ScratchTicketView"), DesignTimeVisible(true)] public class ScratchTicketView : UIView { CGPath path; CGPoint initialPoint; CGPoint latestPoint; bool startNewPath = false; UIImage image; [Export("Image"), Browsable(true)] public UIImage Image { get { return image; } set { image = value; SetNeedsDisplay(); } } public ScratchTicketView(IntPtr p) : base(p) { Initialize(); } public ScratchTicketView() { Initialize(); } void Initialize() { initialPoint = CGPoint.Empty; latestPoint = CGPoint.Empty; BackgroundColor = UIColor.Clear; Opaque = false; path = new CGPath(); SetNeedsDisplay(); } public override void TouchesBegan(NSSet touches, UIEvent evt) { base.TouchesBegan(touches, evt); var touch = touches.AnyObject as UITouch; if (touch != null) { initialPoint = touch.LocationInView(this); } } public override void TouchesMoved(NSSet touches, UIEvent evt) { base.TouchesMoved(touches, evt); var touch = touches.AnyObject as UITouch; if (touch != null) { latestPoint = touch.LocationInView(this); SetNeedsDisplay(); } } public override void TouchesEnded(NSSet touches, UIEvent evt) { base.TouchesEnded(touches, evt); startNewPath = true; } public override void Draw(CGRect rect) { base.Draw(rect); using (var g = UIGraphics.GetCurrentContext()) { if (image != null) g.SetFillColor((UIColor.FromPatternImage(image).CGColor)); else g.SetFillColor(UIColor.LightGray.CGColor); g.FillRect(rect); if (!initialPoint.IsEmpty) { g.SetLineWidth(20); g.SetBlendMode(CGBlendMode.Clear); UIColor.Clear.SetColor(); if (path.IsEmpty || startNewPath) { path.AddLines(new CGPoint[] { initialPoint, latestPoint }); startNewPath = false; } else { path.AddLineToPoint(latestPoint); } g.SetLineCap(CGLineCap.Round); g.AddPath(path); g.DrawPath(CGPathDrawingMode.Stroke); } } } } }將
FillTexture.png、FillTexture2.png和Monkey.png檔案 (可從 GitHub 取得) 新增至 Resources 資料夾。按兩下檔案
Main.storyboard,以在設計工具中開啟它: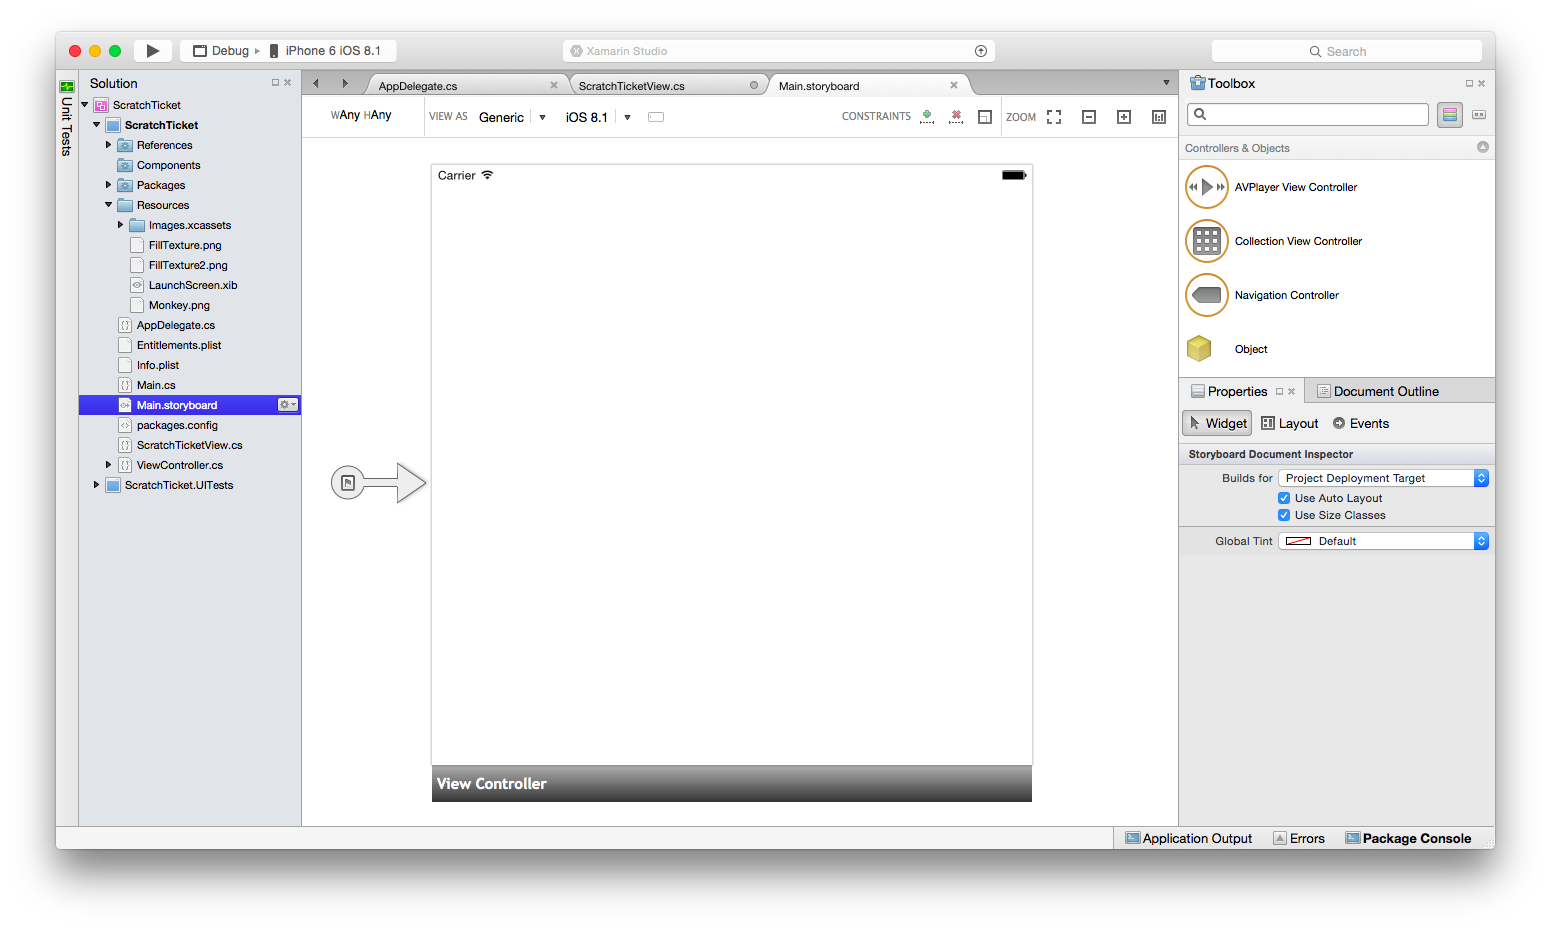
將影像檢視從 [工具箱] 拖放到分鏡腳本中的檢視。
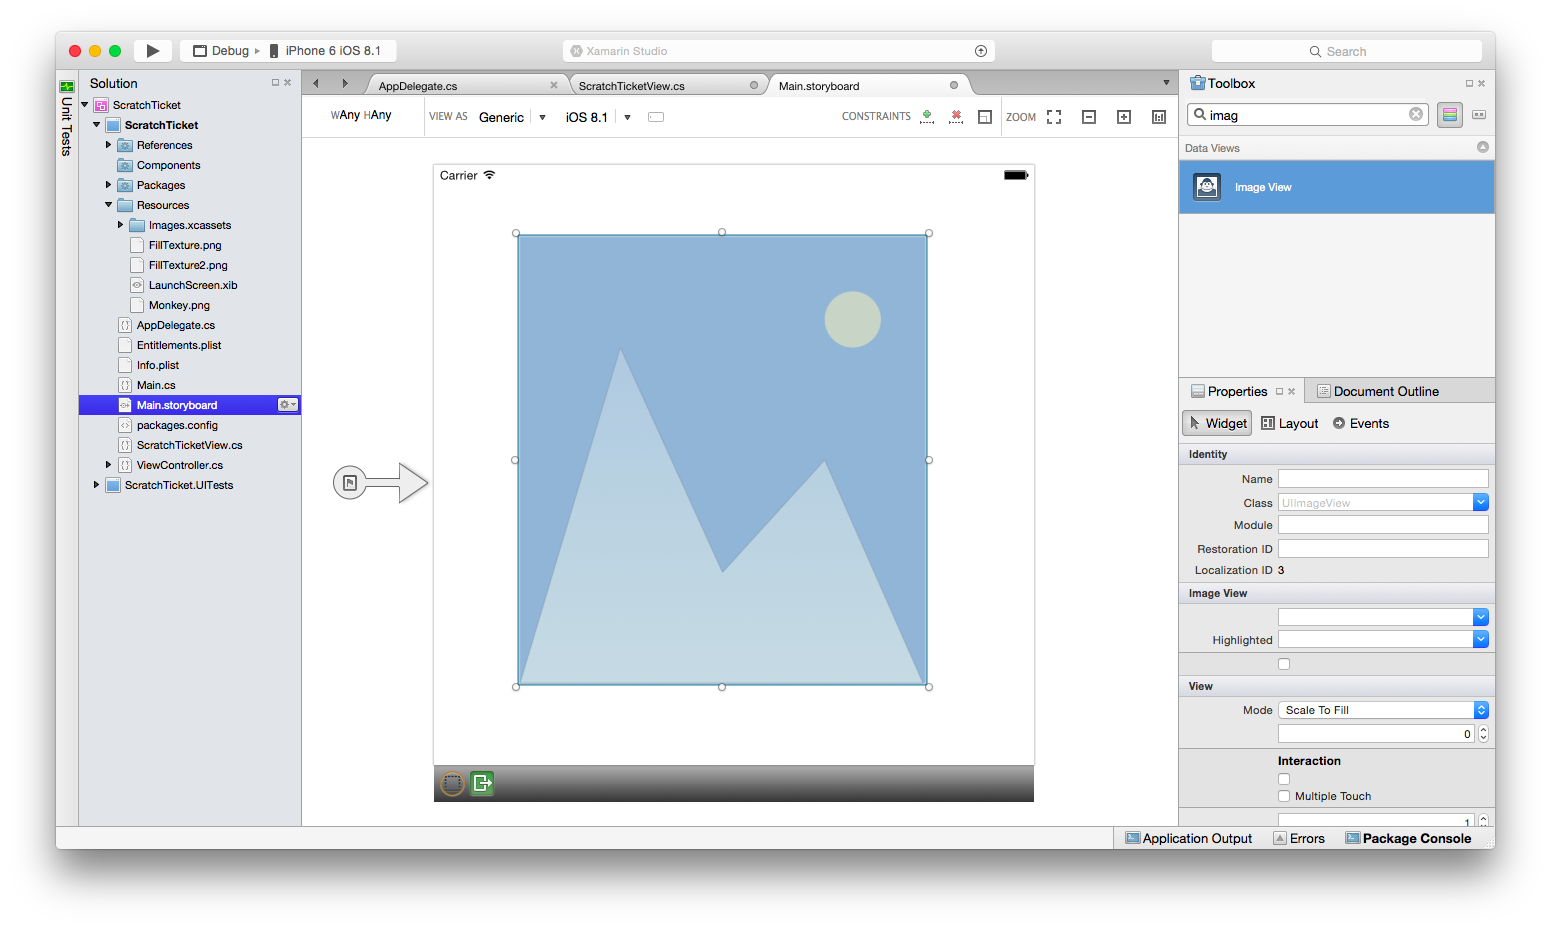
選取 [ 影像檢視 ],並將其 Image 屬性變更為
Monkey.png。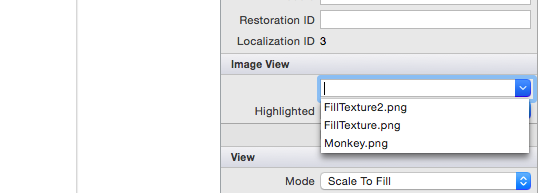
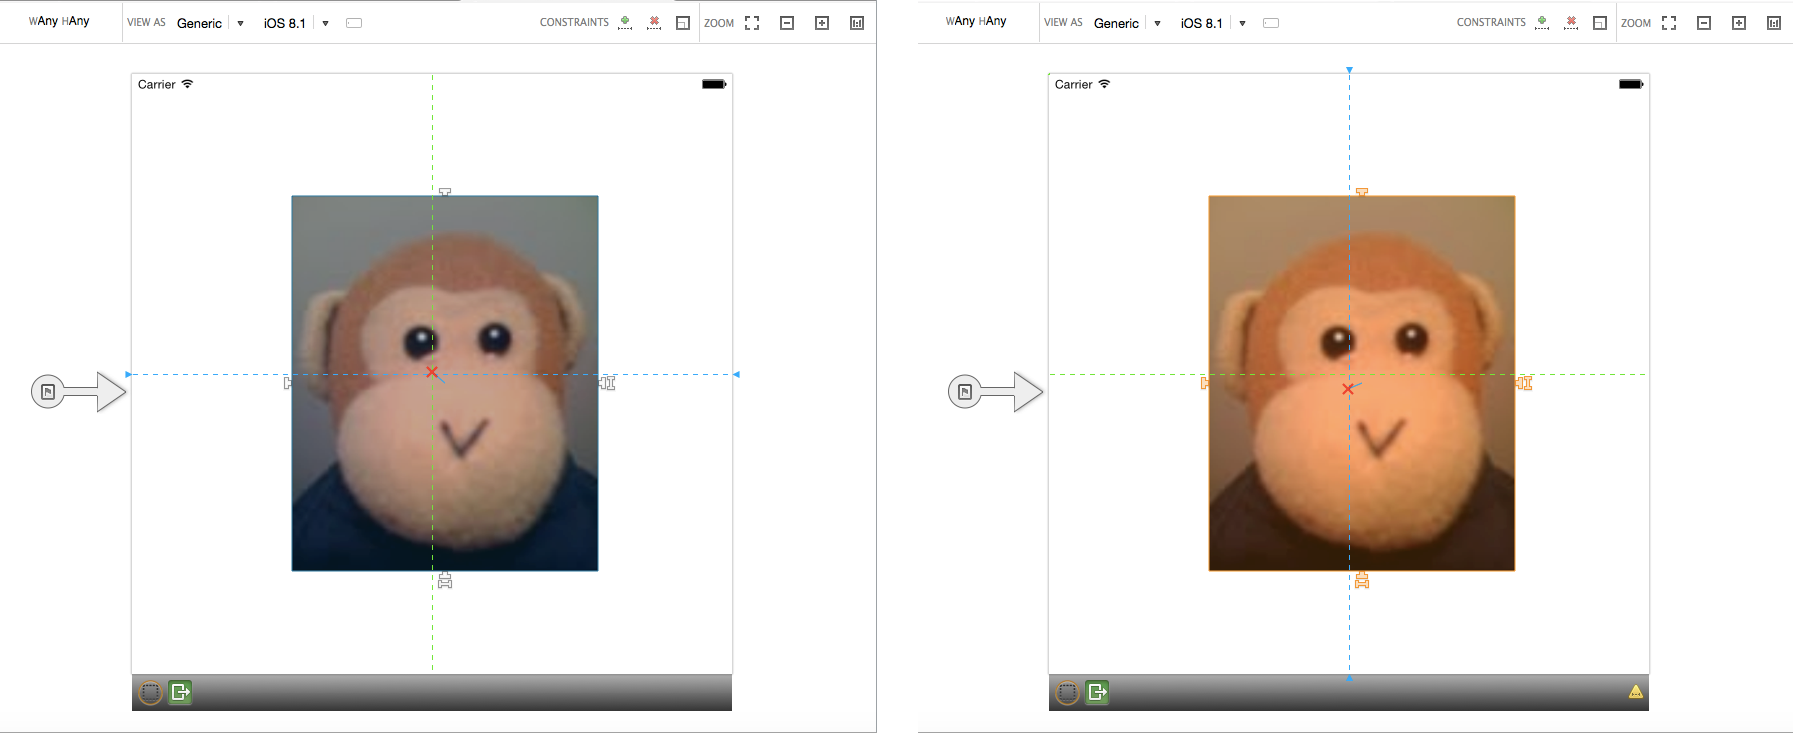
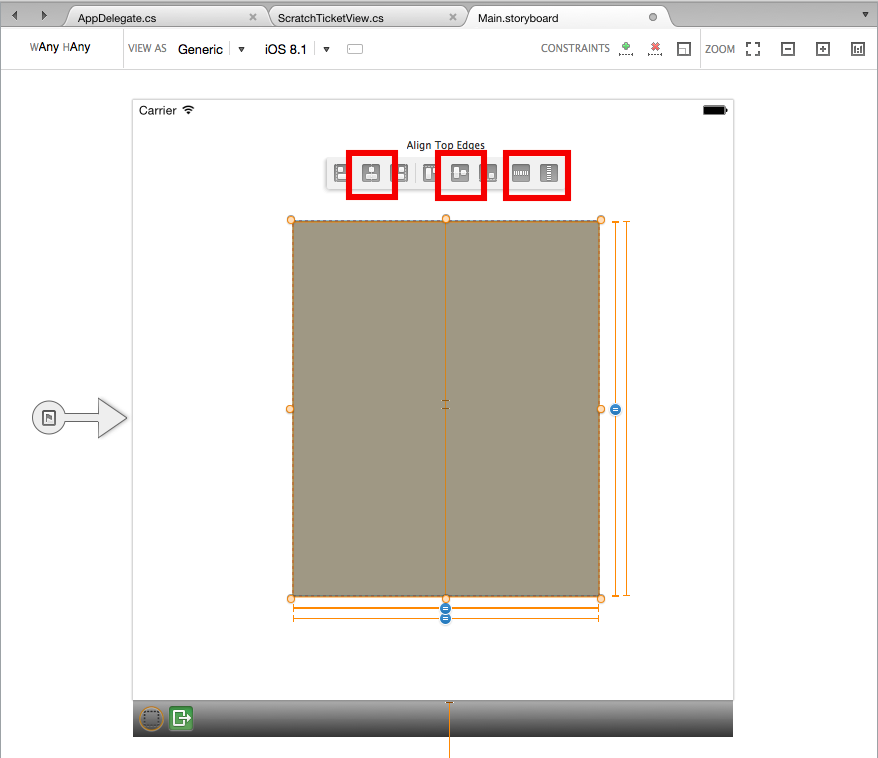
當我們使用大小類別時,我們需要限制此影像檢視。 按兩次使其進入條件約束模式。 讓我們按兩下置中釘選控點,以垂直和水準對齊中心:
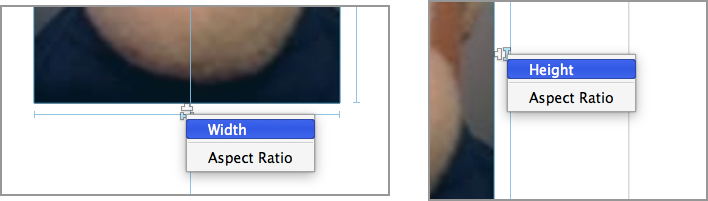
若要限制高度和寬度,請按下大小釘選控點(“骨頭”形控點),然後分別選取寬度和高度:
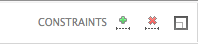
點選工具列中的 [更新] 按鈕,以根據條件約束更新框架:
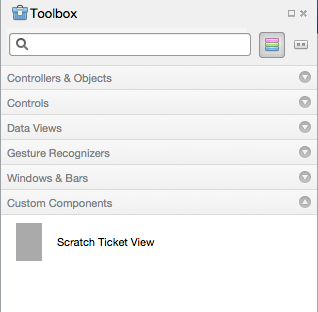
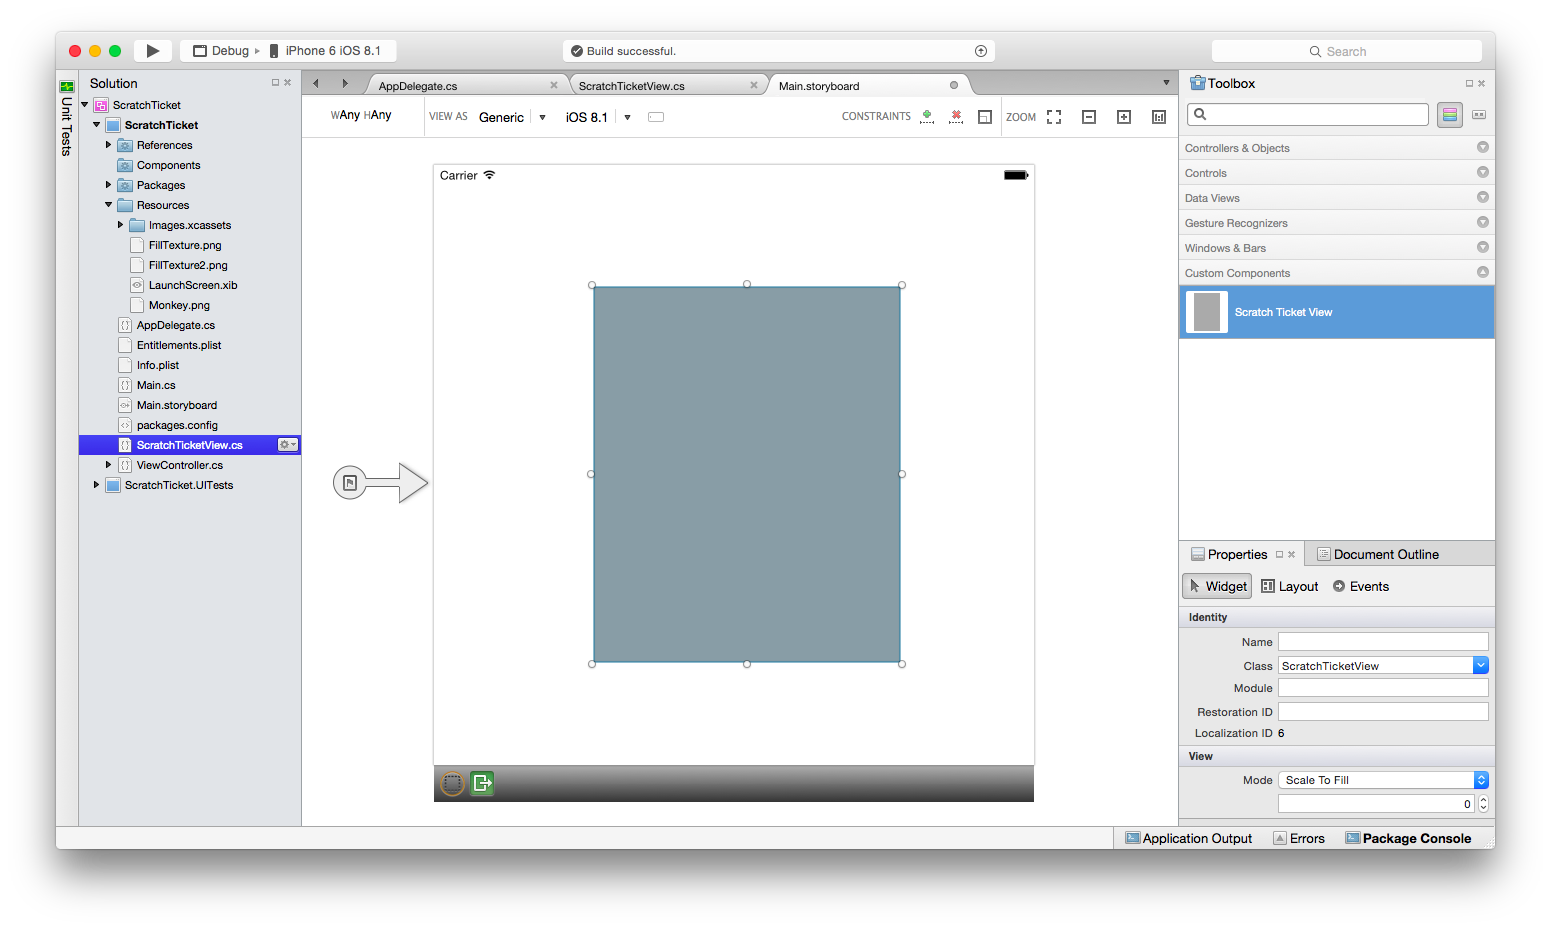
接下來,建置專案,讓臨時票證檢視會出現在 [工具箱] 中的 [自定義元件] 底下:
拖放臨時票證檢視,使其出現在猴子影像上。 調整拖曳控點,讓臨時票證檢視完全覆蓋猴子,如下所示:
藉由繪製周框來選取這兩個檢視,將臨時票證檢視限制為影像檢視。 選取選項以將它限制為 Width、Height、Center 和 Middle,並根據條件約束更新畫面格,如下所示:
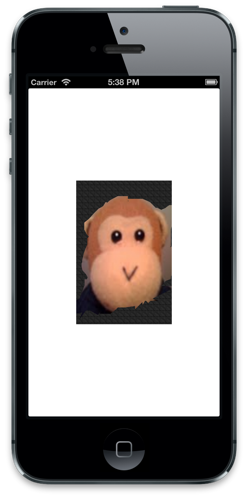
執行應用程式並「暫存」影像以顯示猴子。


新增設計時間屬性
設計工具也包含屬性類型數值、列舉、字串、bool、CGSize、UIColor 和 UIImage 之自定義控件的設計時間支援。 為了示範,讓我們將 屬性新增至 , ScratchTicketView 以設定「已關閉」的影像。
將下列程式代碼新增至 ScratchTicketView 屬性的類別:
[Export("Image"), Browsable(true)]
public UIImage Image
{
    get { return image; }
    set {
            image = value;
              SetNeedsDisplay ();
        }
}
我們也可能會想要將 Null 檢查新增至 Draw 方法,如下所示:
public override void Draw(CGRect rect)
{
    base.Draw(rect);

    using (var g = UIGraphics.GetCurrentContext())
    {
        if (image != null)
            g.SetFillColor ((UIColor.FromPatternImage (image).CGColor));
        else
            g.SetFillColor (UIColor.LightGray.CGColor);

        g.FillRect(rect);

        if (!initialPoint.IsEmpty)
        {
             g.SetLineWidth(20);
             g.SetBlendMode(CGBlendMode.Clear);
             UIColor.Clear.SetColor();

             if (path.IsEmpty || startNewPath)
             {
                 path.AddLines(new CGPoint[] { initialPoint, latestPoint });
                 startNewPath = false;
             }
             else
             {
                 path.AddLineToPoint(latestPoint);
             }

             g.SetLineCap(CGLineCap.Round);
             g.AddPath(path);
             g.DrawPath(CGPathDrawingMode.Stroke);
        }
    }
}
ExportAttribute將和 包含BrowsableAttribute自變數設定為 true 的 ,會導致屬性顯示在設計工具的 [屬性] 面板中。 將 屬性變更為專案隨附的另一個影像,例如 FillTexture2.png,會導致控件在設計時間更新,如下所示:

摘要
在本文中,我們逐步解說如何建立自定義控件,以及使用 iOS 設計工具在 iOS 應用程式中取用它。 我們已瞭解如何建立和建置 控件,使其可供設計工具工具箱中的應用程式使用。 此外,我們已探討如何實作 控件,使其在設計時間和運行時間都正確轉譯,以及如何在設計工具中公開自定義控件屬性。