使用數據填入 Xamarin.Android ListView
若要將資料列新增至 ListView ,您需要將它新增至配置,並使用呼叫 以填入本身的方法ListView實IListAdapter作 。 Android 包含內 ListActivity 建和 ArrayAdapter 類別,您可以在不定義任何自定義版面配置 XML 或程式代碼的情況下使用。 類別 ListActivity 會自動建立 ListView 並公開 ListAdapter 屬性,以提供透過配接器顯示的數據列檢視。
內建配接器會採用檢視資源標識碼作為參數,用於每個數據列。 您可以使用內建資源,例如 中的 Android.Resource.Layout 資源,因此您不需要自行撰寫。
使用 ListActivity 和 ArrayAdapter<字串>
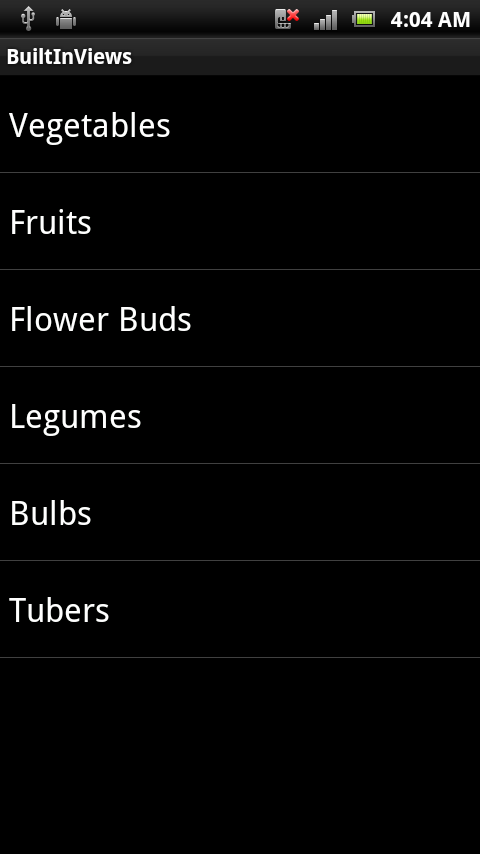
BasicTable/HomeScreen.cs範例示範如何使用這些類別,在幾行程式代碼中顯示 ListView :
[Activity(Label = "BasicTable", MainLauncher = true, Icon = "@drawable/icon")]
public class HomeScreen : ListActivity {
   string[] items;
   protected override void OnCreate(Bundle bundle)
   {
       base.OnCreate(bundle);
       items = new string[] { "Vegetables","Fruits","Flower Buds","Legumes","Bulbs","Tubers" };
       ListAdapter = new ArrayAdapter<String>(this, Android.Resource.Layout.SimpleListItem1, items);
   }
}
處理數據列點選
通常, ListView 也會允許使用者觸控數據列來執行一些動作(例如播放歌曲或撥打聯繫人,或顯示另一個畫面)。 若要回應使用者觸控,必須在 中 ListActivity 實作一個方法 – OnListItemClick 如下所示:
protected override void OnListItemClick(ListView l, View v, int position, long id)
{
   var t = items[position];
   Android.Widget.Toast.MakeText(this, t, Android.Widget.ToastLength.Short).Show();
}
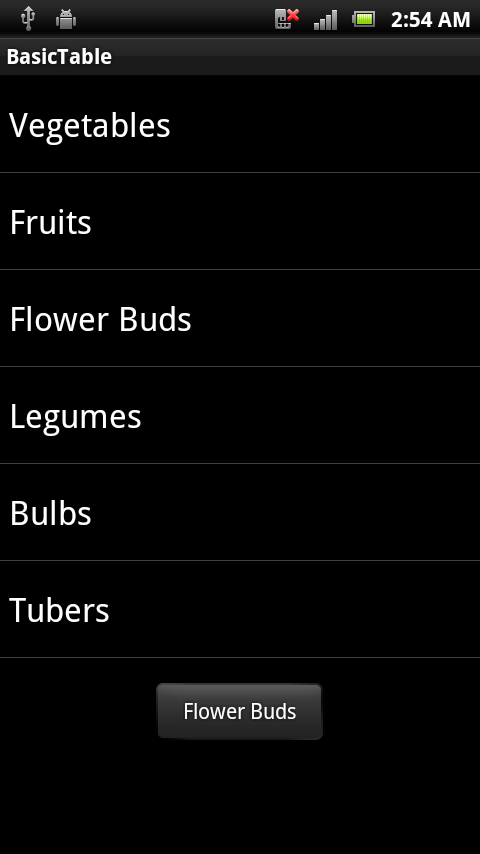
現在使用者可以觸控數據列,而且 Toast 會出現警示:
實作 ListAdapter
ArrayAdapter<string> 是偉大的,因為它的簡單,但它是非常有限的。 不過,通常您有一組商務實體,而不只是您想要系結的字串。
例如,如果您的數據是由 Employee 類別的集合所組成,則您可能希望清單只顯示每個員工的名稱。 若要自定義 的行為 ListView ,以控制所顯示的數據,您必須實作覆寫下列四個項目的 BaseAdapter 子類別:
Count – 告訴控件數據中的數據列數目。
GetView – 傳回每個數據列的檢視,填入數據。 這個方法具有 參數,可用來
ListView傳入現有未使用的數據列以供重複使用。GetItemId – 傳回數據列標識符(通常是數據列編號,雖然它可以是您想要的任何長值)。
this[int] 索引器 – 傳回與特定數據列編號相關聯的數據。
BasicTableAdapter/HomeScreenAdapter.cs中的範例程式代碼示範如何子類別BaseAdapter:
public class HomeScreenAdapter : BaseAdapter<string> {
   string[] items;
   Activity context;
   public HomeScreenAdapter(Activity context, string[] items) : base() {
       this.context = context;
       this.items = items;
   }
   public override long GetItemId(int position)
  {
       return position;
   }
   public override string this[int position] {
       get { return items[position]; }
   }
   public override int Count {
       get { return items.Length; }
   }
   public override View GetView(int position, View convertView, ViewGroup parent)
   {
       View view = convertView; // re-use an existing view, if one is available
      if (view == null) // otherwise create a new one
           view = context.LayoutInflater.Inflate(Android.Resource.Layout.SimpleListItem1, null);
       view.FindViewById<TextView>(Android.Resource.Id.Text1).Text = items[position];
       return view;
   }
}
使用自定義配接器
使用自訂配接器類似於內 ArrayAdapter建 的 ,傳入 context 和 string[] 要顯示的值:
ListAdapter = new HomeScreenAdapter(this, items);
由於此範例使用相同的數據列配置 (SimpleListItem1) ,因此產生的應用程式看起來會與上一個範例相同。
數據列檢視重複使用
在此範例中,只有六個專案。 因為螢幕可以容納八個,因此不需要重新使用數據列。 不過,顯示數百或數千個數據列時,只要一次在畫面上容納八個物件,就會浪費記憶體來建立數百或數千個 View 物件。 為了避免這種情況,當數據列從畫面中消失時,其檢視會放在佇列中以供重複使用。 當使用者捲動時 ListView ,要求顯示新檢視的呼叫 GetView – 如果有的話,它會在 參數中 convertView 傳遞未使用的檢視。 如果此值為 Null,則您的程式代碼應該建立新的檢視實例,否則您可以重新設定該物件的屬性並重複使用它。
GetView方法應該遵循此模式來重複使用資料列檢視:
public override View GetView(int position, View convertView, ViewGroup parent)
{
   View view = convertView; // re-use an existing view, if one is supplied
   if (view == null) // otherwise create a new one
       view = context.LayoutInflater.Inflate(Android.Resource.Layout.SimpleListItem1, null);
   // set view properties to reflect data for the given row
   view.FindViewById<TextView>(Android.Resource.Id.Text1).Text = items[position];
   // return the view, populated with data, for display
   return view;
}
自定義配接器實作應該 一律 重複使用 convertView 物件,再建立新的檢視,以確保它們不會在顯示長清單時用盡記憶體。
某些配接器實作(例如 ,) CursorAdapter沒有 GetView 方法,而是需要兩種不同的方法 NewView ,並 BindView 藉由將的責任 GetView 分成兩種方法來強制執行數據列重複使用。 檔稍後有一個 CursorAdapter 範例。
啟用快速捲動
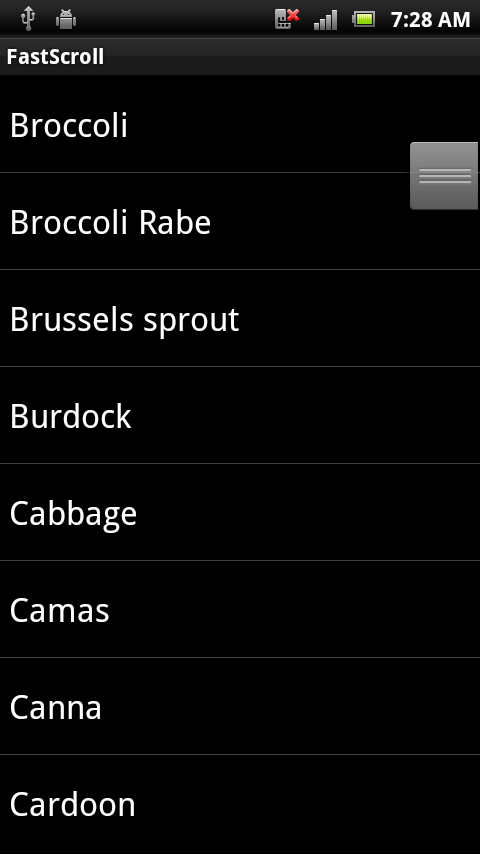
快速捲動可協助用戶藉由提供額外的「句柄」,做為滾動條直接存取清單的一部分,協助使用者捲動長清單。 這個螢幕快照顯示快速捲動控點:
使快速捲動句柄出現,就像將 屬性設定 FastScrollEnabled 為 true一樣簡單:
ListView.FastScrollEnabled = true;
新增區段索引
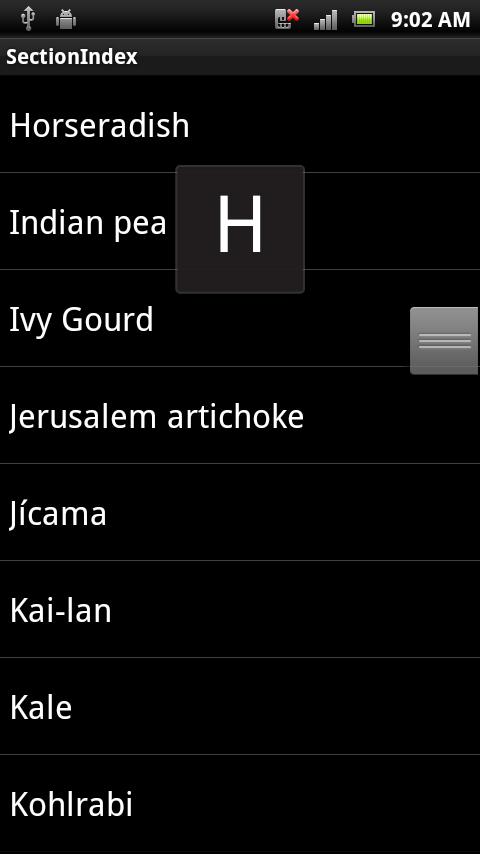
區段索引會在使用者快速捲動長清單時提供額外的意見反應 – 它會顯示他們捲動到的「區段」。 若要讓區段索引出現,Adapter 子類別必須實 ISectionIndexer 作 介面,根據所顯示的數據列提供索引文字:
若要實作 ISectionIndexer ,您需要將三種方法新增至配接器:
GetSections – 提供可顯示之區段索引標題的完整列表。 此方法需要 Java 物件的陣列,因此程式代碼必須從 .NET 集合建立
Java.Lang.Object[]。 在我們的範例中,它會以 的形式傳回清單中Java.Lang.String的初始字元清單。GetPositionForSection – 傳回指定區段索引的第一個數據列位置。
GetSectionForPosition – 傳回要針對指定數據列顯示的區段索引。
範例 SectionIndex/HomeScreenAdapter.cs 檔案會實作這些方法,以及建構函式中的一些額外程序代碼。 建構函式會透過迴圈每個數據列並擷取標題的第一個字元來建置區段索引(專案必須已經排序才能運作)。
alphaIndex = new Dictionary<string, int>();
for (int i = 0; i < items.Length; i++) { // loop through items
   var key = items[i][0].ToString();
   if (!alphaIndex.ContainsKey(key))
       alphaIndex.Add(key, i); // add each 'new' letter to the index
}
sections = new string[alphaIndex.Keys.Count];
alphaIndex.Keys.CopyTo(sections, 0); // convert letters list to string[]

// Interface requires a Java.Lang.Object[], so we create one here
sectionsObjects = new Java.Lang.Object[sections.Length];
for (int i = 0; i < sections.Length; i++) {
   sectionsObjects[i] = new Java.Lang.String(sections[i]);
}
建立數據結構時, ISectionIndexer 方法非常簡單:
public Java.Lang.Object[] GetSections()
{
   return sectionsObjects;
}
public int GetPositionForSection(int section)
{
   return alphaIndexer[sections[section]];
}
public int GetSectionForPosition(int position)
{   // this method isn't called in this example, but code is provided for completeness
    int prevSection = 0;
    for (int i = 0; i < sections.Length; i++)
    {
        if (GetPositionForSection(i) > position)
        {
            break;
        }
        prevSection = i;
    }
    return prevSection;
}
您的區段索引標題不需要將 1:1 對應至您的實際區段。 這就是為什麼方法存在的原因 GetPositionForSection 。
GetPositionForSection 讓您有機會將索引清單中的索引對應至清單檢視中任何區段。 例如,您的索引中可能有 「z」,但您可能沒有每一個字母的數據表區段,因此,它可能會對應至 25 或 24,或者任何區段索引 “z” 應該對應至 。


