Refresh a Windows 7 SP1 client with Windows 10 using Configuration Manager
Applies to:
- Windows 10
This article will show you how to refresh a Windows 7 SP1 client with Windows 10 using Configuration Manager and Microsoft Deployment Toolkit (MDT). A computer refresh isn't the same as an in-place upgrade. A computer refresh involves storing user data and settings from the old installation, wiping the hard drives, installing a new OS, and then restoring the user data at the end of the installation.
A computer refresh with Configuration Manager works the same as it does with MDT Lite Touch installation. Configuration Manager also uses the User State Migration Tool (USMT) from the Windows Assessment and Deployment Kit (Windows ADK) 10 in the background. A computer refresh with Configuration Manager has the following steps:
- Data and settings are backed up locally in a backup folder.
- The partition is wiped, except for the backup folder.
- The new operating system image is applied.
- Other applications are installed.
- Data and settings are restored.
Infrastructure
An existing Configuration Manager infrastructure that is integrated with MDT is used for the following procedures. For more information about the setup for this article, see Prepare for Zero Touch Installation of Windows 10 with Configuration Manager.
For the purposes of this article, we'll use one server computer (CM01) and one client computer (PC0003).
CM01 is a domain member server and Configuration Manager software distribution point. In this guide, CM01 is a standalone primary site server.
PC0003 is a domain member client computer running Windows 7 SP1, or a later version of Windows, with the Configuration Manager client installed, that will be refreshed to Windows 10.
Note
If desired, PC0003 can be a VM hosted on the server HV01, which is a Hyper-V host computer that we used previously to build a Windows 10 reference image. However, if PC0003 is a VM then you must ensure it has sufficient resources available to run the Configuration Manager OSD task sequence. 2GB of RAM or more is recommended.
All servers are running Windows Server 2019. However, an earlier, supported version of Windows Server can also be used.
All server and client computers referenced in this guide are on the same subnet. This interrelation isn't required, but each server and client computer must be able to connect to each other to share files, and to resolve all DNS names and Active Directory information for the contoso.com domain. Internet connectivity is also required to download OS and application updates.
Important
This article assumes that you have configured Active Directory permissions in the specified OU for the CM_JD account, and the client's Active Directory computer account is in the Contoso > Computers > Workstations OU. Use the Active Directory Users and Computers console to review the location of computer objects and move them if needed.
Verify the Configuration Manager client settings
To verify that PC003 is correctly assigned to the PS1 site:
On PC0003:
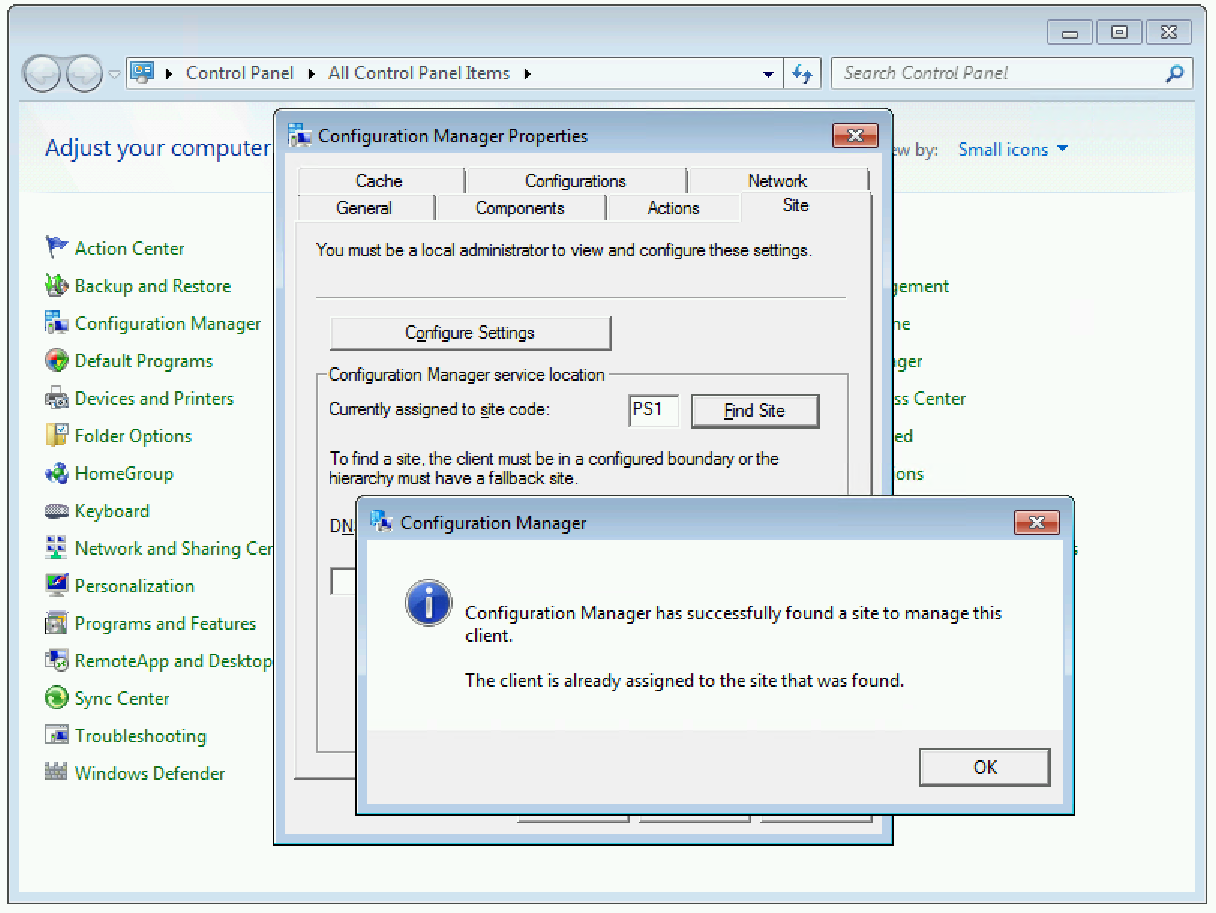
Open the Configuration Manager control panel (
control.exe smscfgrc).On the Site tab, select Configure Settings, then select Find Site.
Verify that Configuration Manager has successfully found a site to manage this client is displayed. See the following example.
Create a device collection and add the PC0003 computer
On CM01:
Using the Configuration Manager console, in the Asset and Compliance workspace, expand Overview, right-click Device Collections, and then select Create Device Collection. Use the following settings:
- General
- Name: Install Windows 10 Enterprise x64
- Limited Collection: All Systems
- Membership rules
- Add Rule: Direct rule
- Resource Class: System Resource
- Attribute Name: Name
- Value: PC0003
- Add Rule: Direct rule
- Select Resources
- Select PC0003
Use the default settings to complete the remaining wizard pages and select Close.
- General
Review the Install Windows 10 Enterprise x64 collection. Don't continue until you see the PC0003 machine in the collection.
Note
It may take a short while for the collection to refresh; you can view progress via the
Colleval.logfile. If you want to speed up the process, you can manually update membership on the Install Windows 10 Enterprise x64 collection by right-clicking the collection and selecting Update Membership.
Create a new deployment
On CM01:
Using the Configuration Manager console, in the Software Library workspace, expand Operating Systems, select Task Sequences, right-click Windows 10 Enterprise x64 RTM, and then select Deploy. Use the below settings:
General
- Collection: Install Windows 10 Enterprise x64
Deployment Settings
Purpose: Available
Make available to the following: Configuration Manager clients, media and PXE
Note
It's not necessary to make the deployment available to media and Pre-Boot Execution Environment (PXE) for a computer refresh, but you will use the same deployment for bare-metal deployments later on and you will need it at that point.
Scheduling
- <default>
User Experience
- <default>
Alerts
- <default>
Distribution Points
- <default>
Initiate a computer refresh
Now you can start the computer refresh on PC0003.
On CM01:
- Using the Configuration Manager console, in the Assets and Compliance workspace, select the Install Windows 10 Enterprise x64 collection, right-click PC0003, point to Client Notification, select Download Computer Policy, and then select OK in the popup dialog box that appears.
On PC0003:
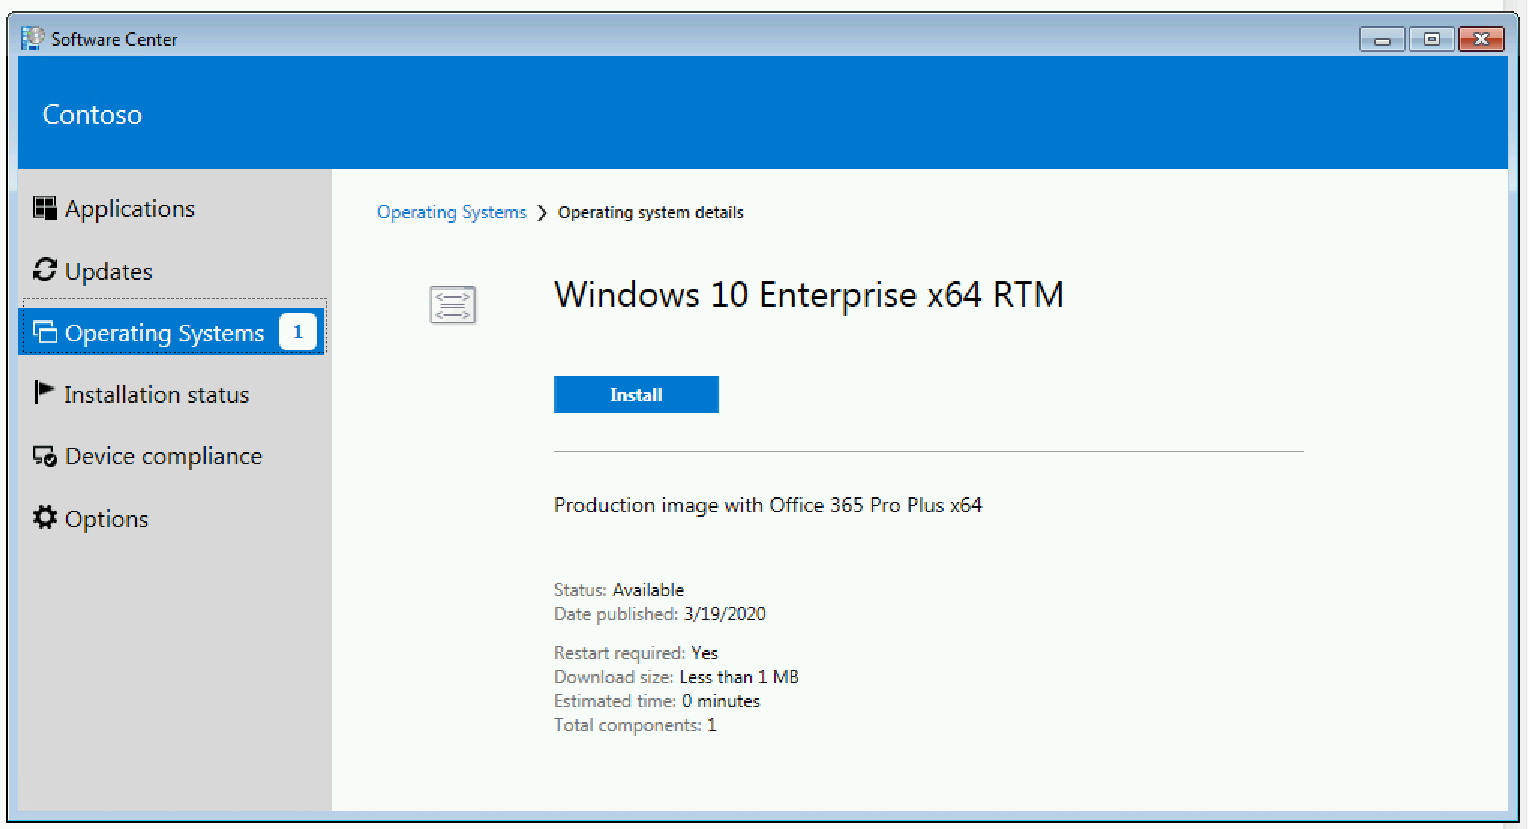
Open the Software Center (select Start and type Software Center, or select the New software is available balloon in the system tray), select Operating Systems and select the Windows 10 Enterprise x64 RTM deployment, then select Install.
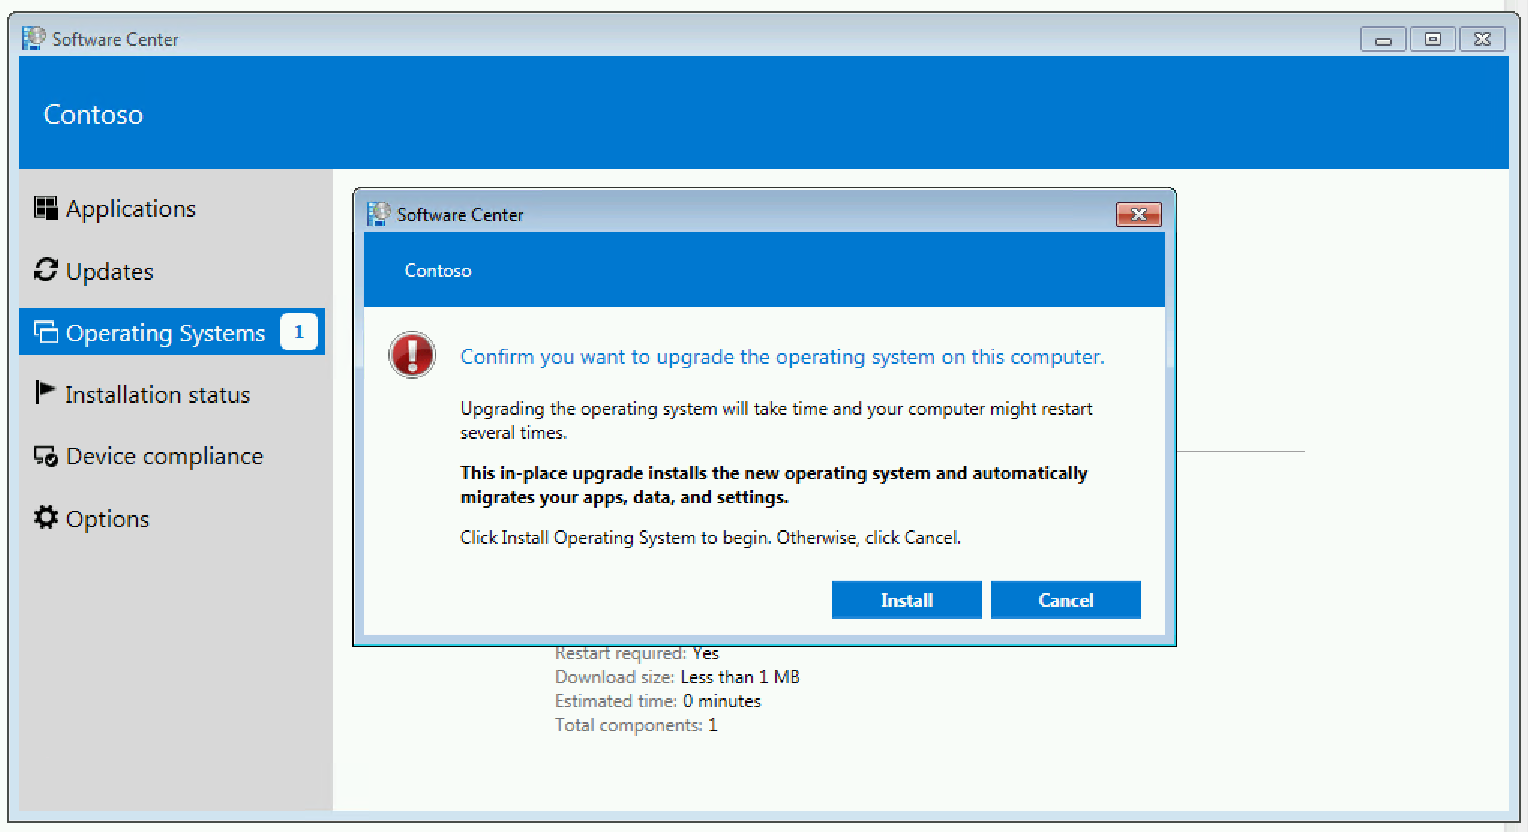
In the Software Center warning dialog box, select Install Operating System.
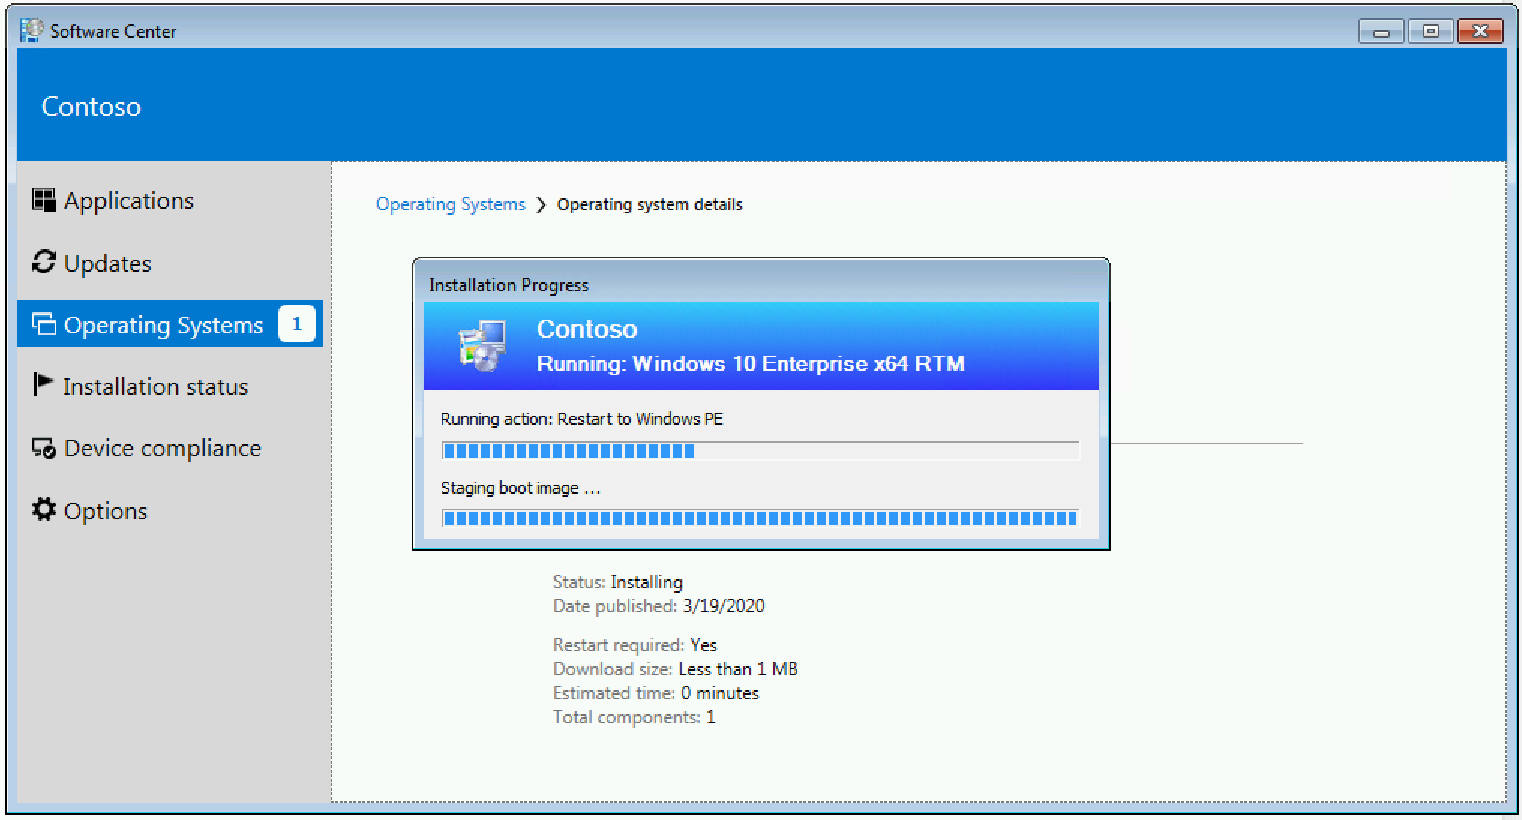
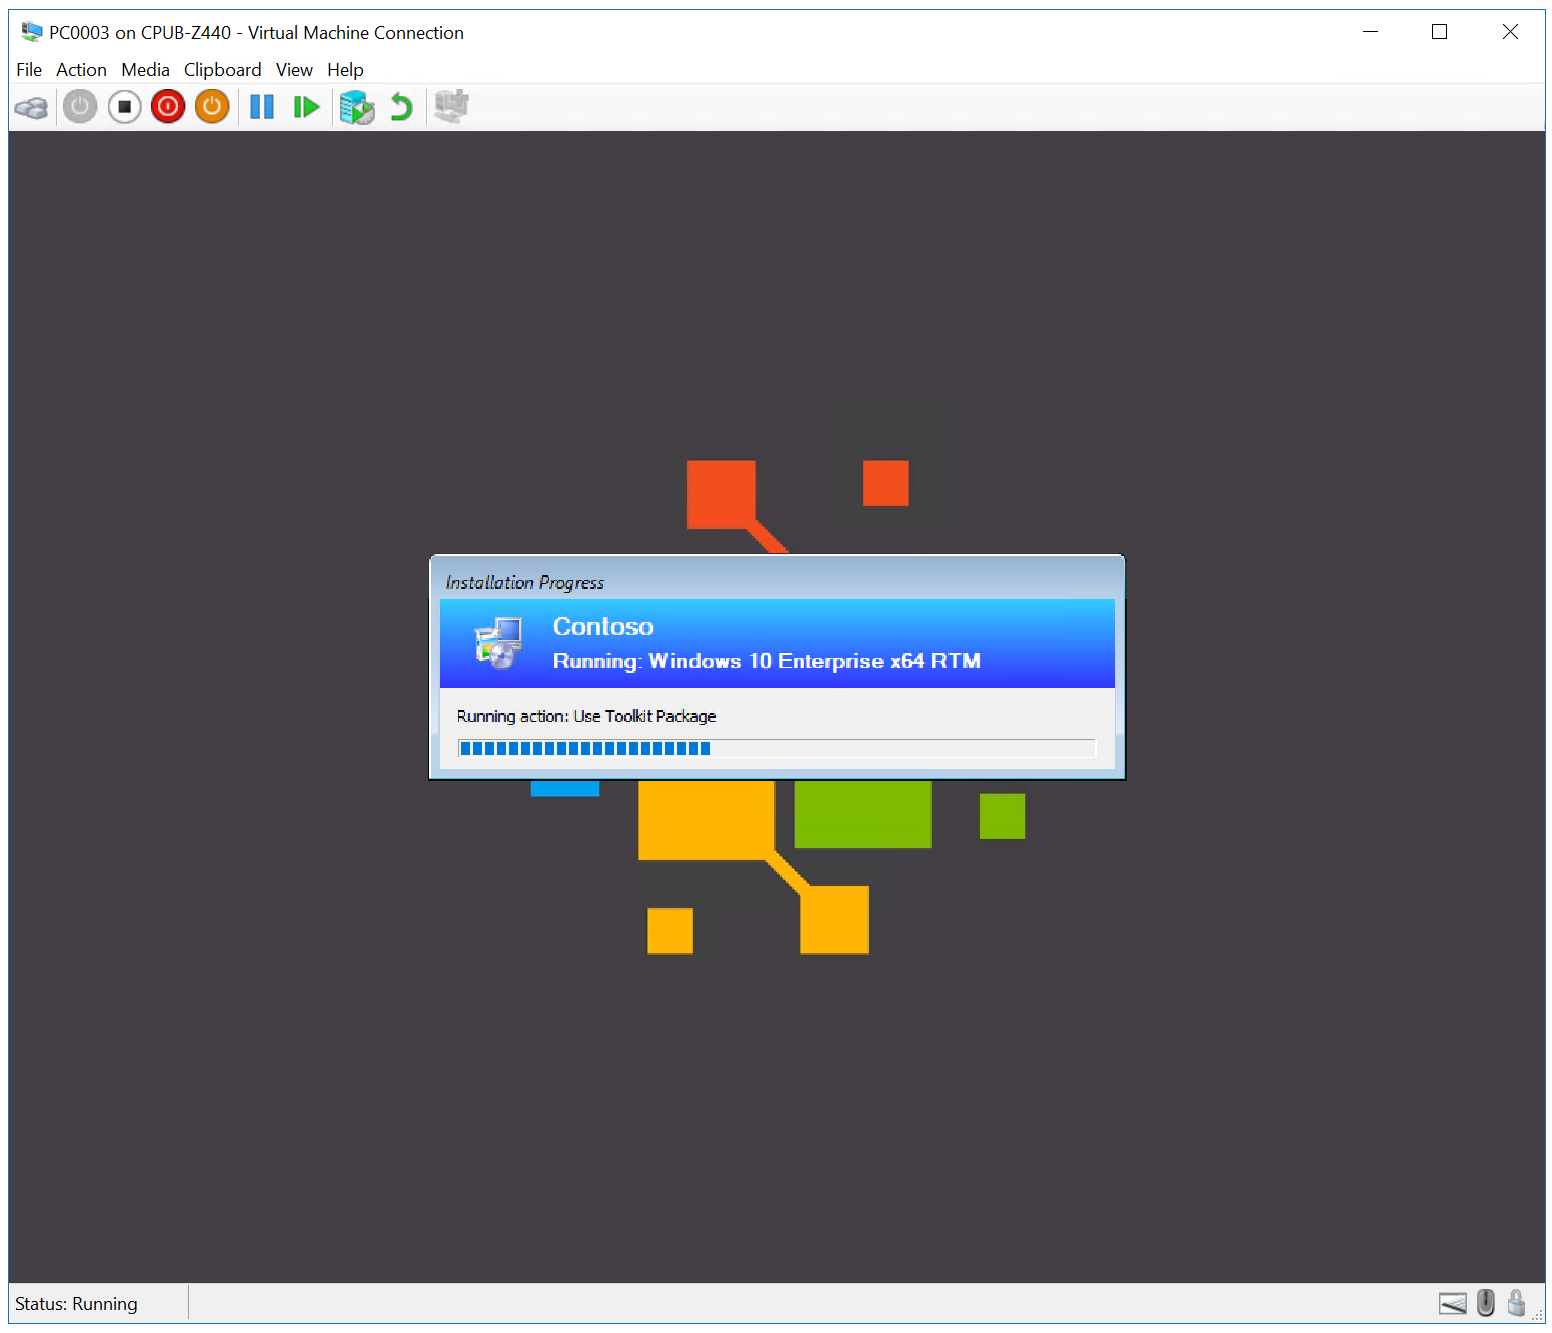
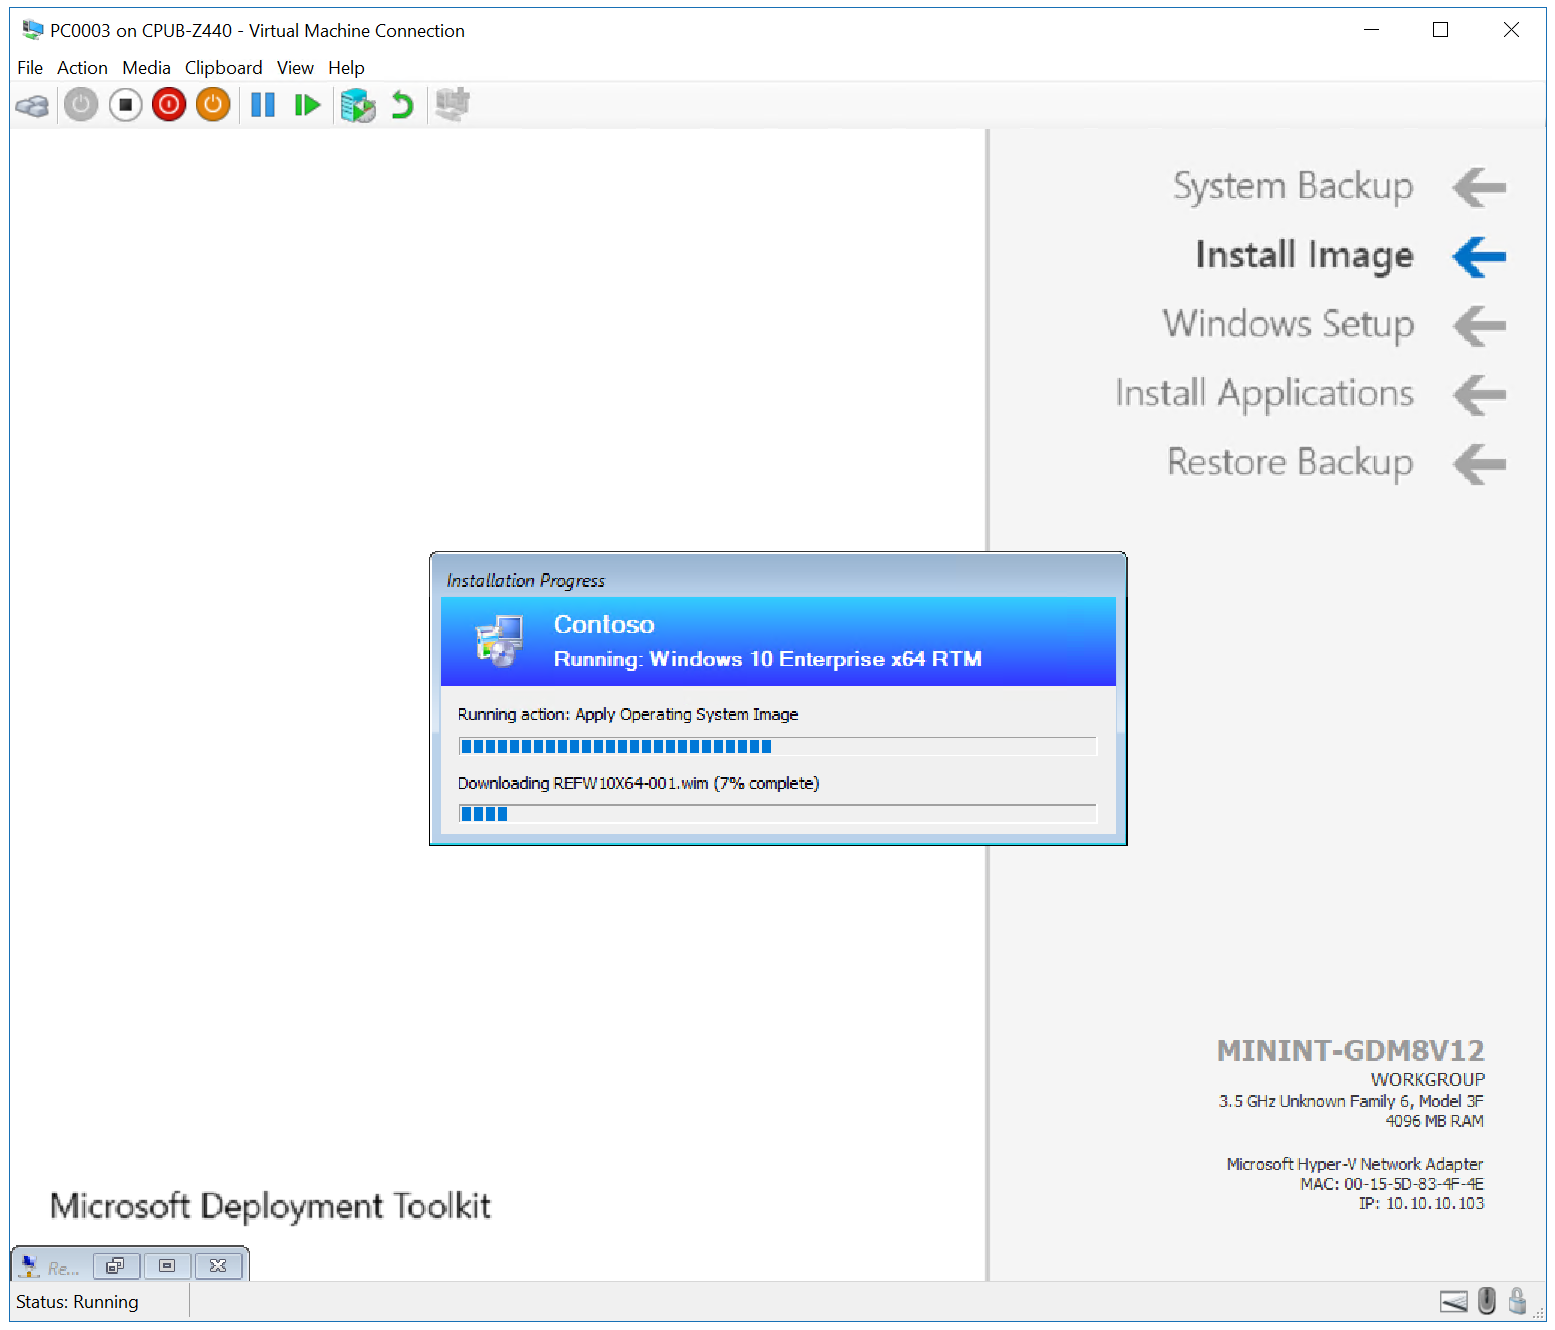
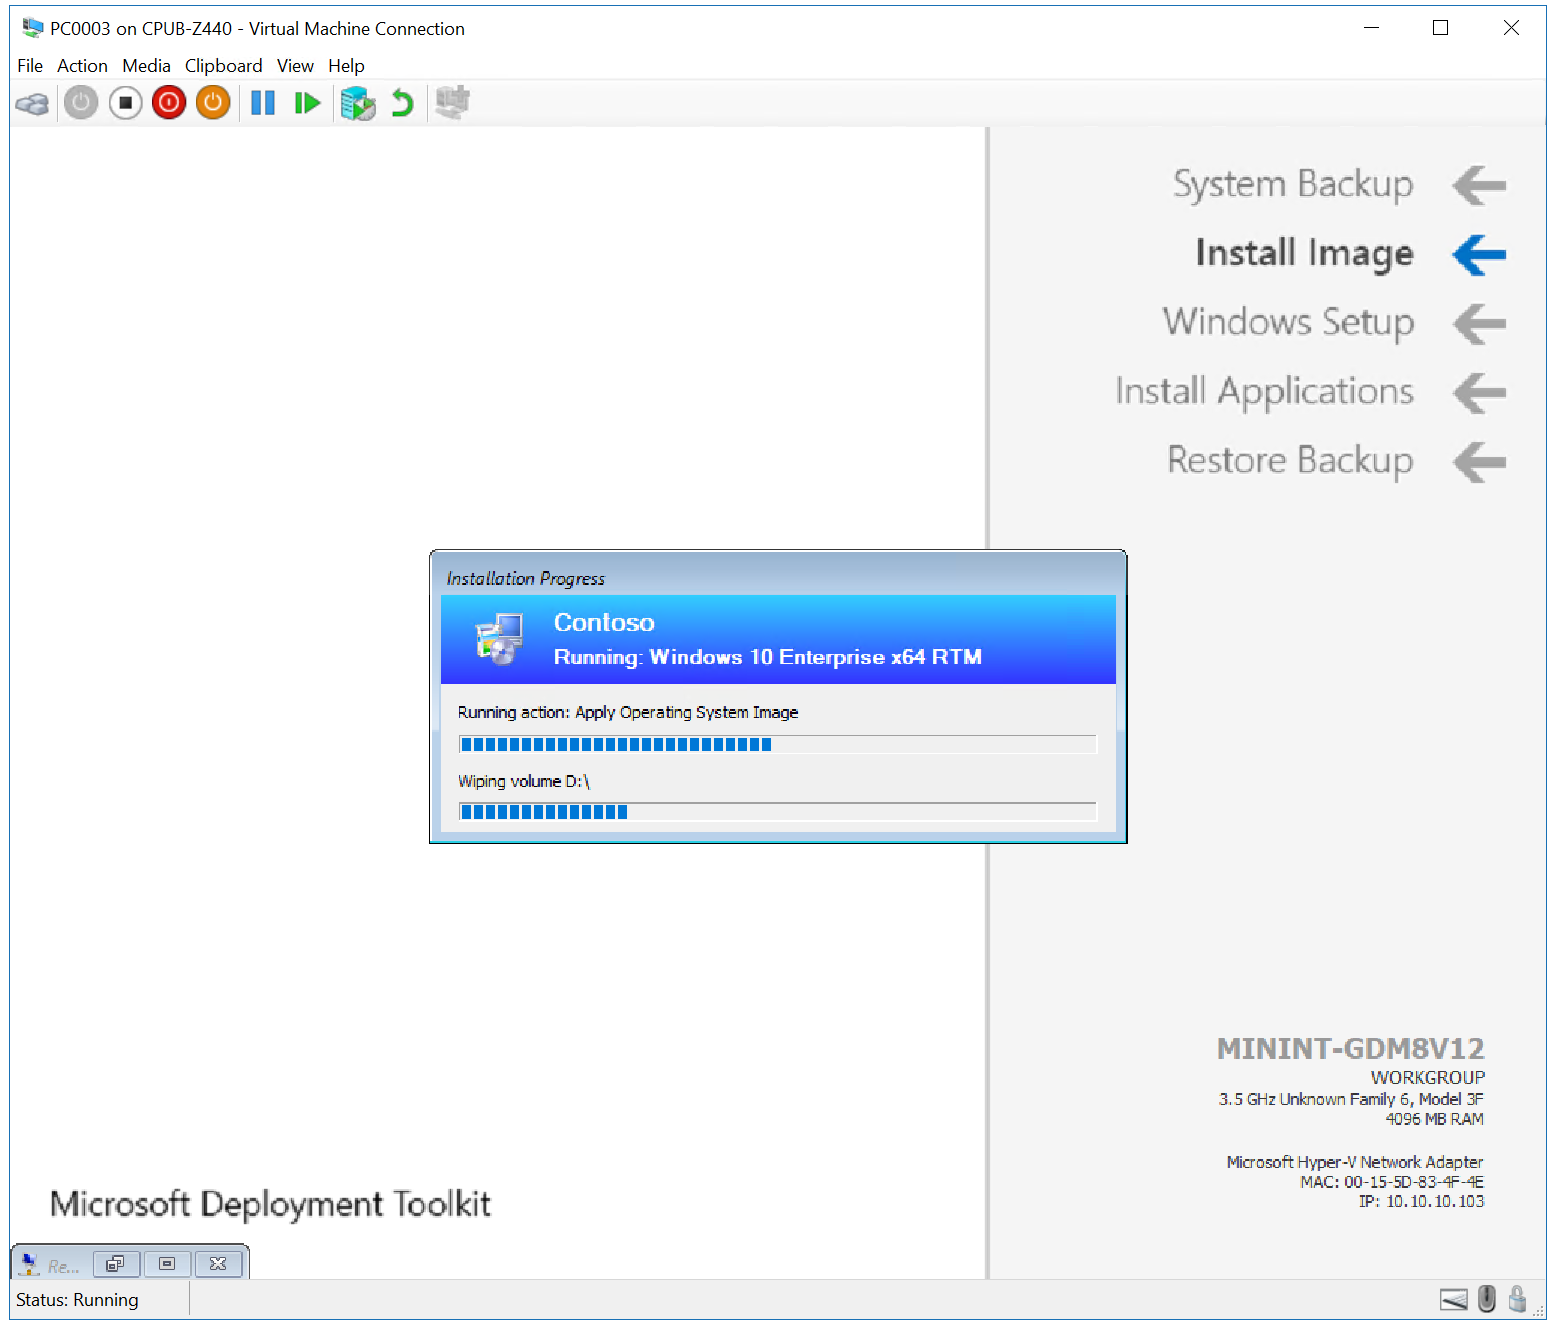
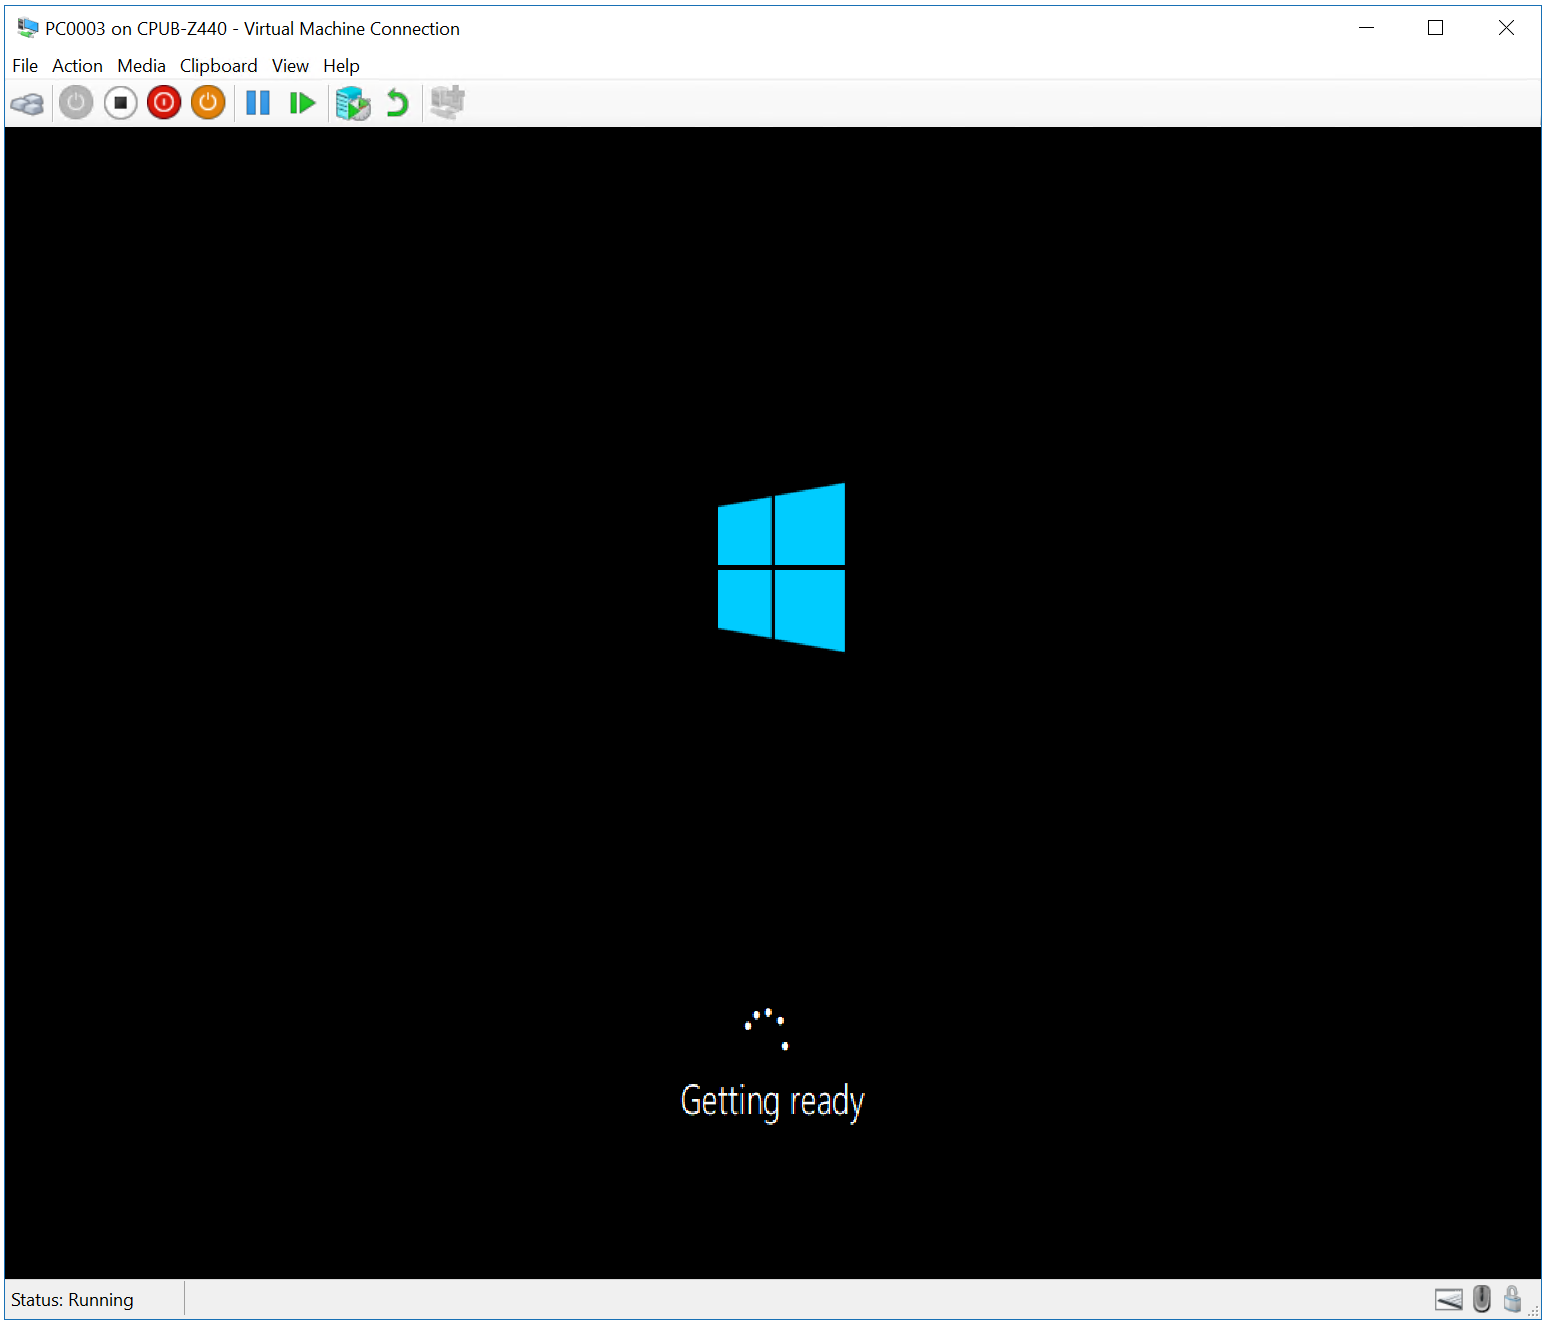
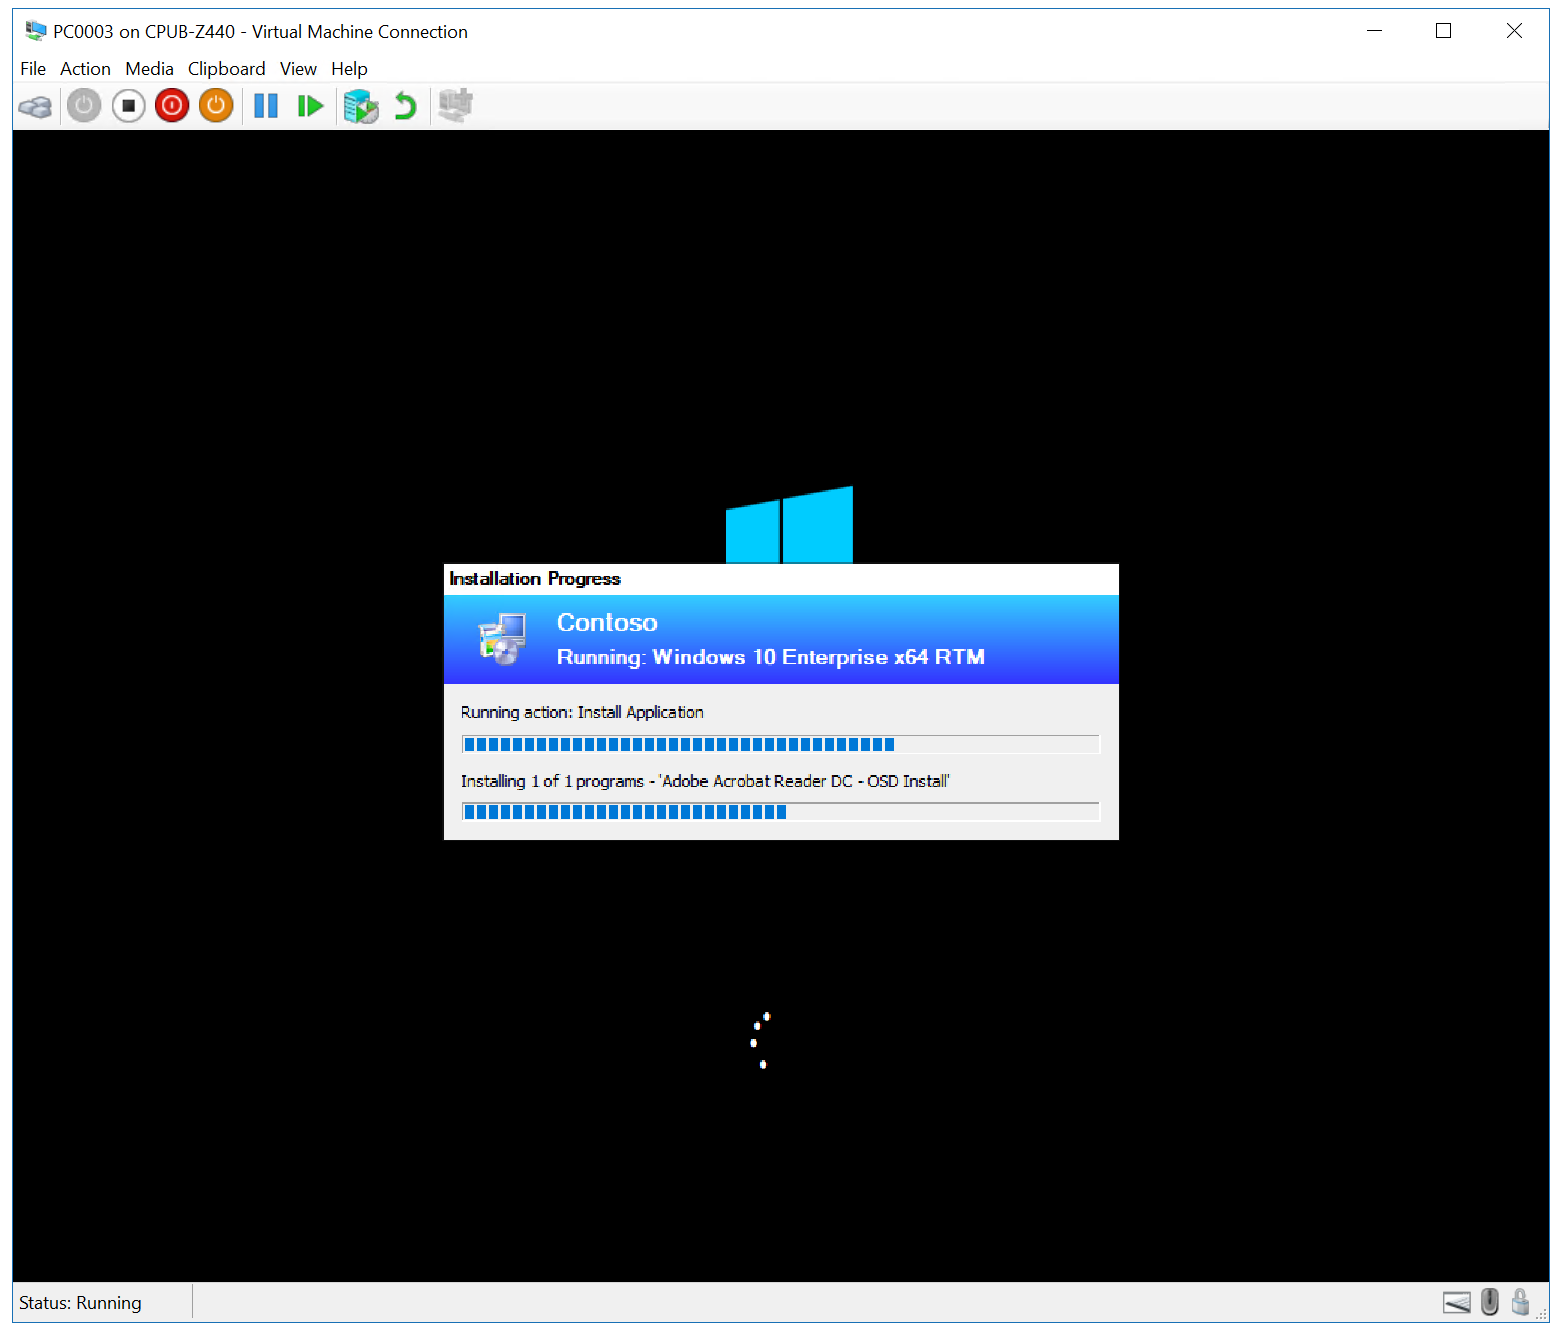
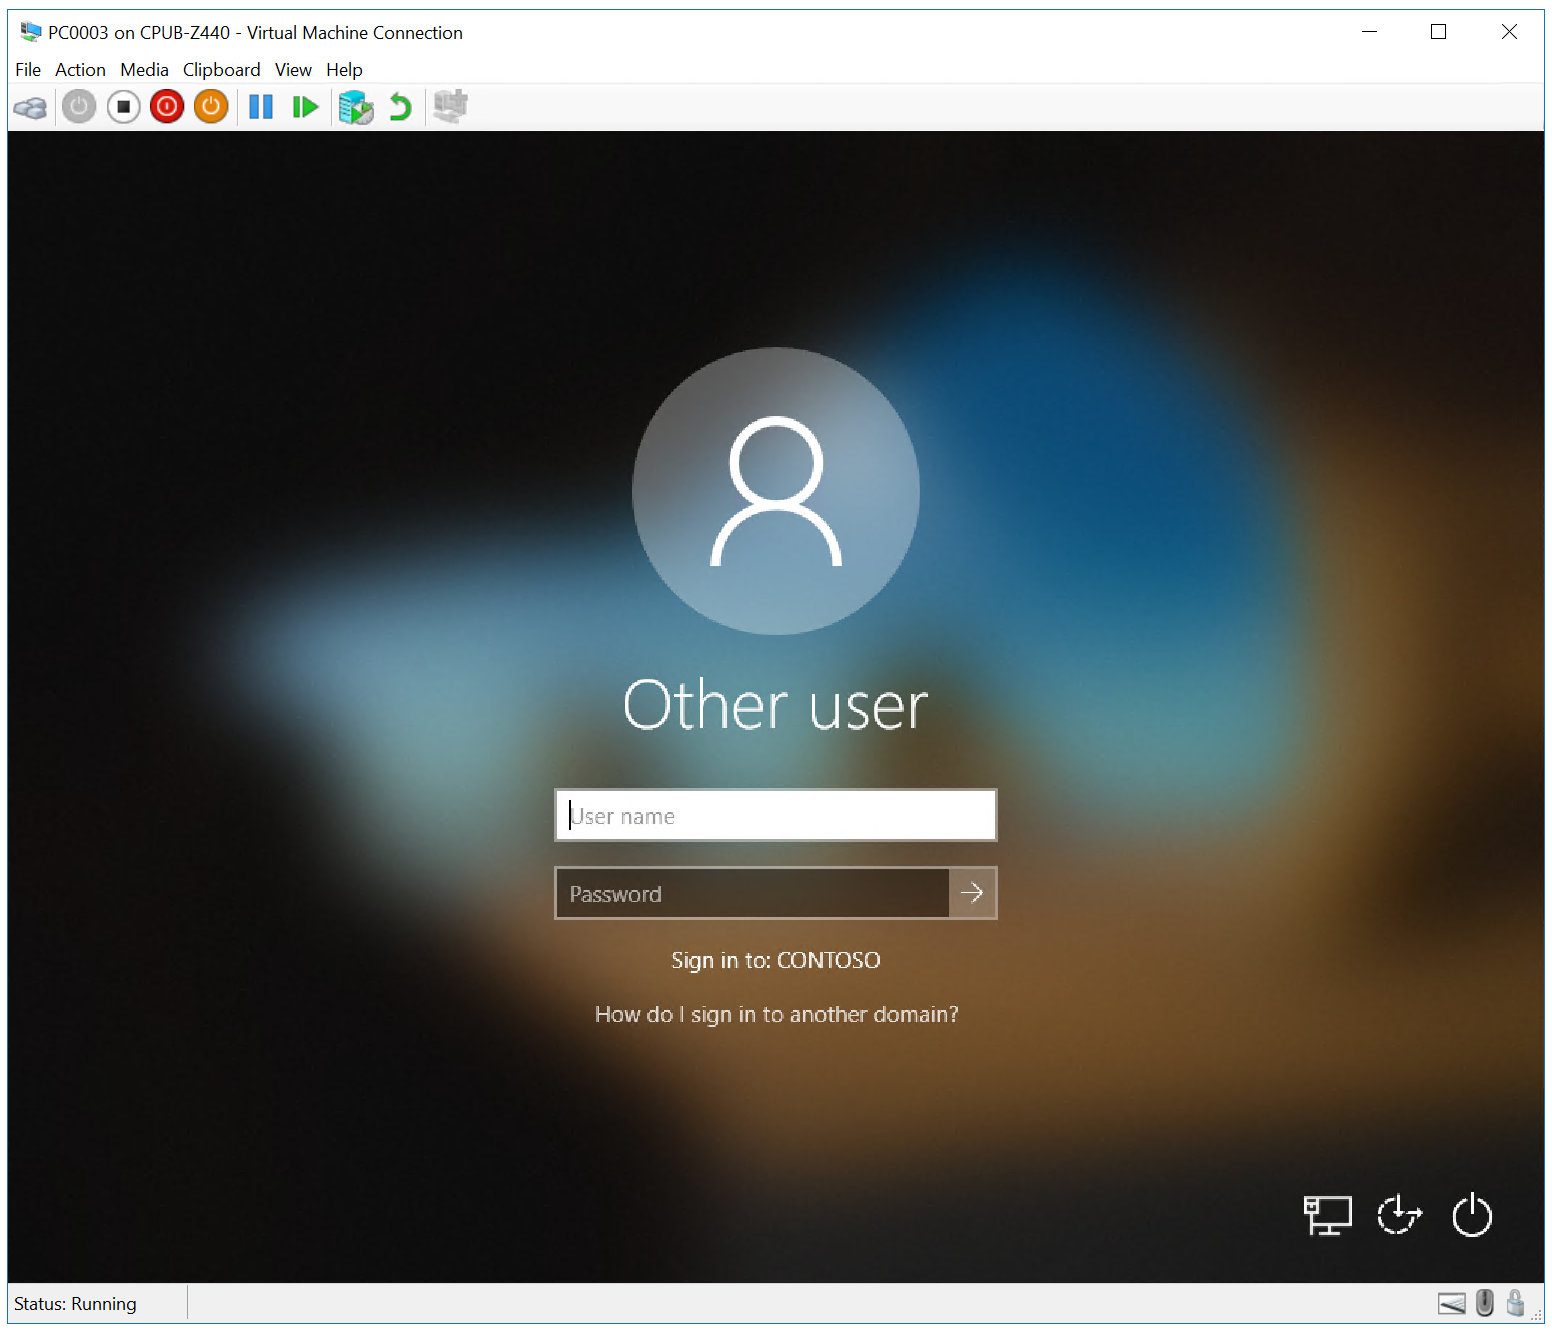
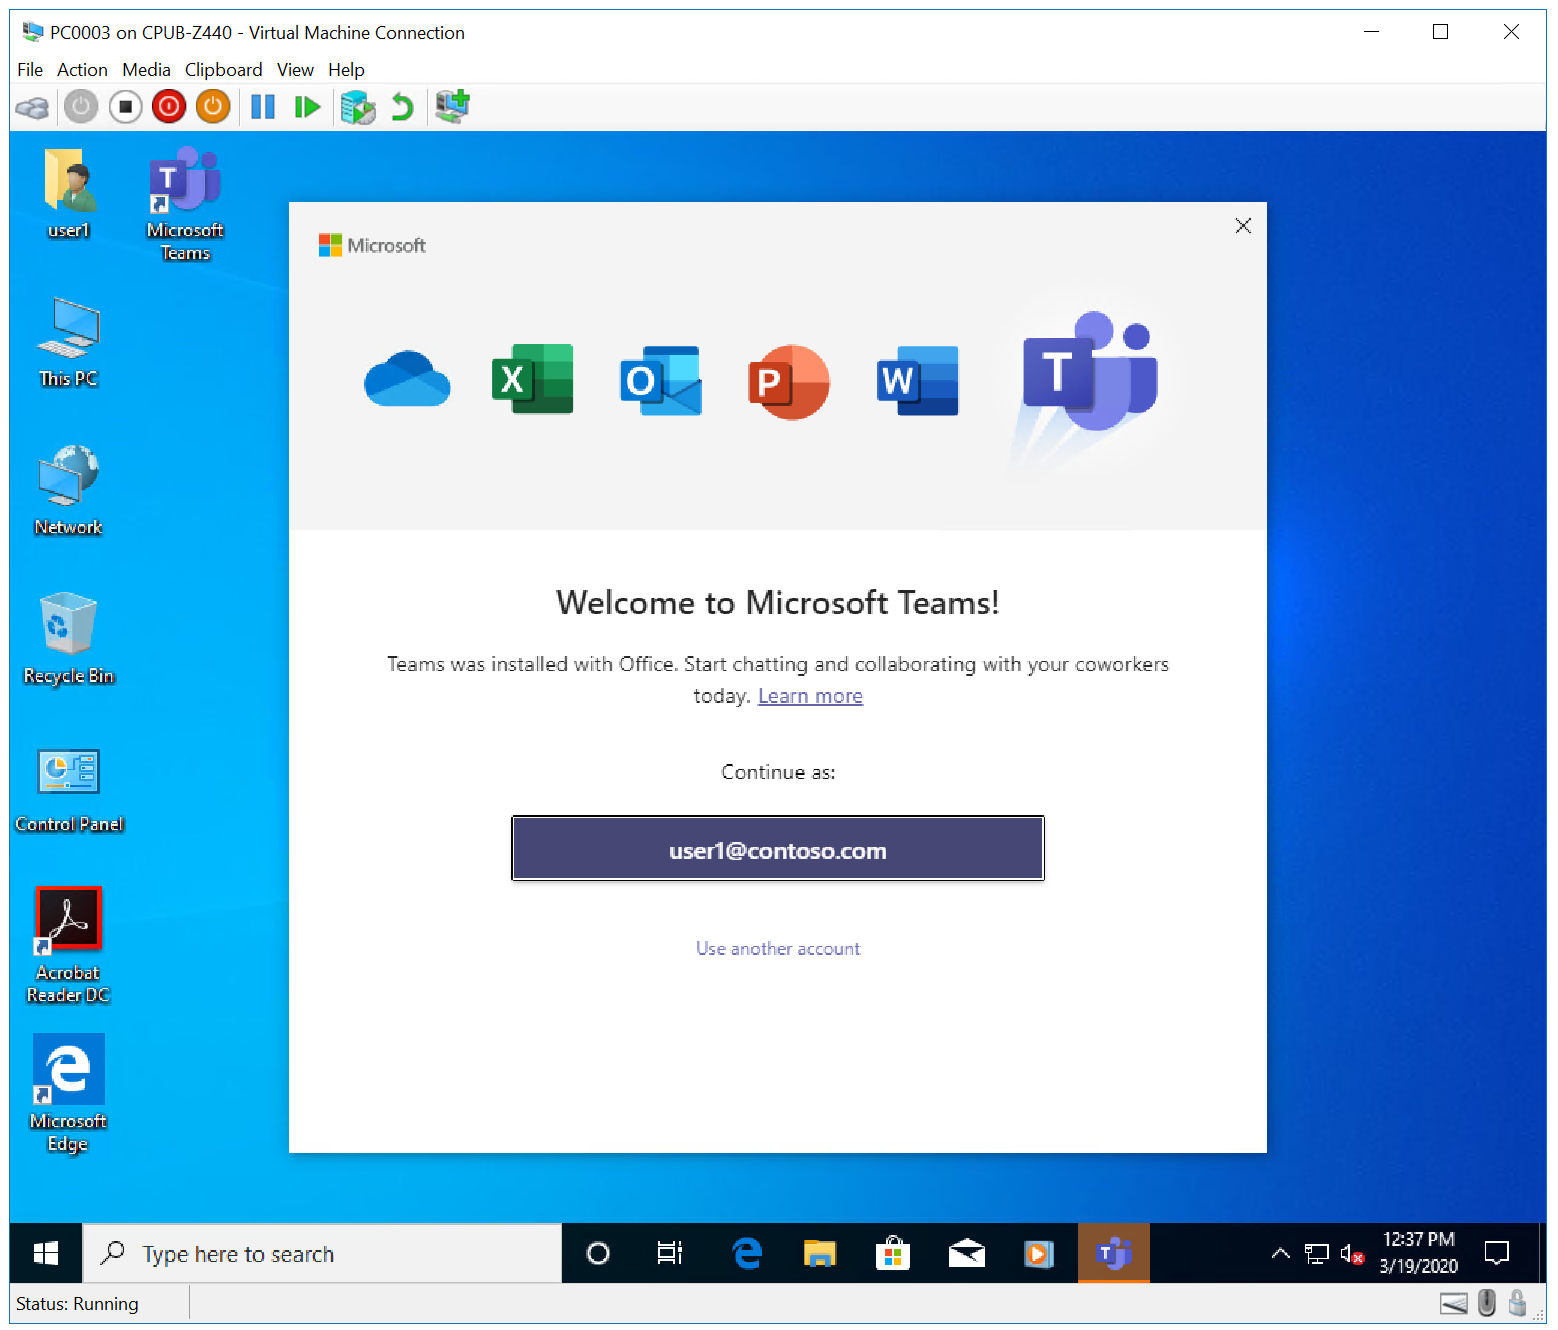
The client computer will run the Configuration Manager task sequence, boot into Windows PE, and install the new OS and applications. See the following examples:
Next, see Replace a Windows 7 SP1 client with Windows 10 using Configuration Manager.
Related articles
Prepare for Zero Touch Installation of Windows 10 with Configuration Manager
Create a custom Windows PE boot image with Configuration Manager
Add a Windows 10 operating system image using Configuration Manager
Create an application to deploy with Windows 10 using Configuration Manager
Add drivers to a Windows 10 deployment with Windows PE using Configuration Manager
Create a task sequence with Configuration Manager and MDT
Deploy Windows 10 using PXE and Configuration Manager
Replace a Windows 7 SP1 client with Windows 10 using Configuration Manager