Quickstart leaderboards
In this guide, we're going to see how to set up the development environment for the Leaderboard service. We're also going to learn how to create a quick leaderboard from our website Game Manager.
Prerequisites
We're going to need a PlayFab account to use the PlayFab Leaderboards service. For instructions to create an account, see Authentication.
Creating a leaderboard
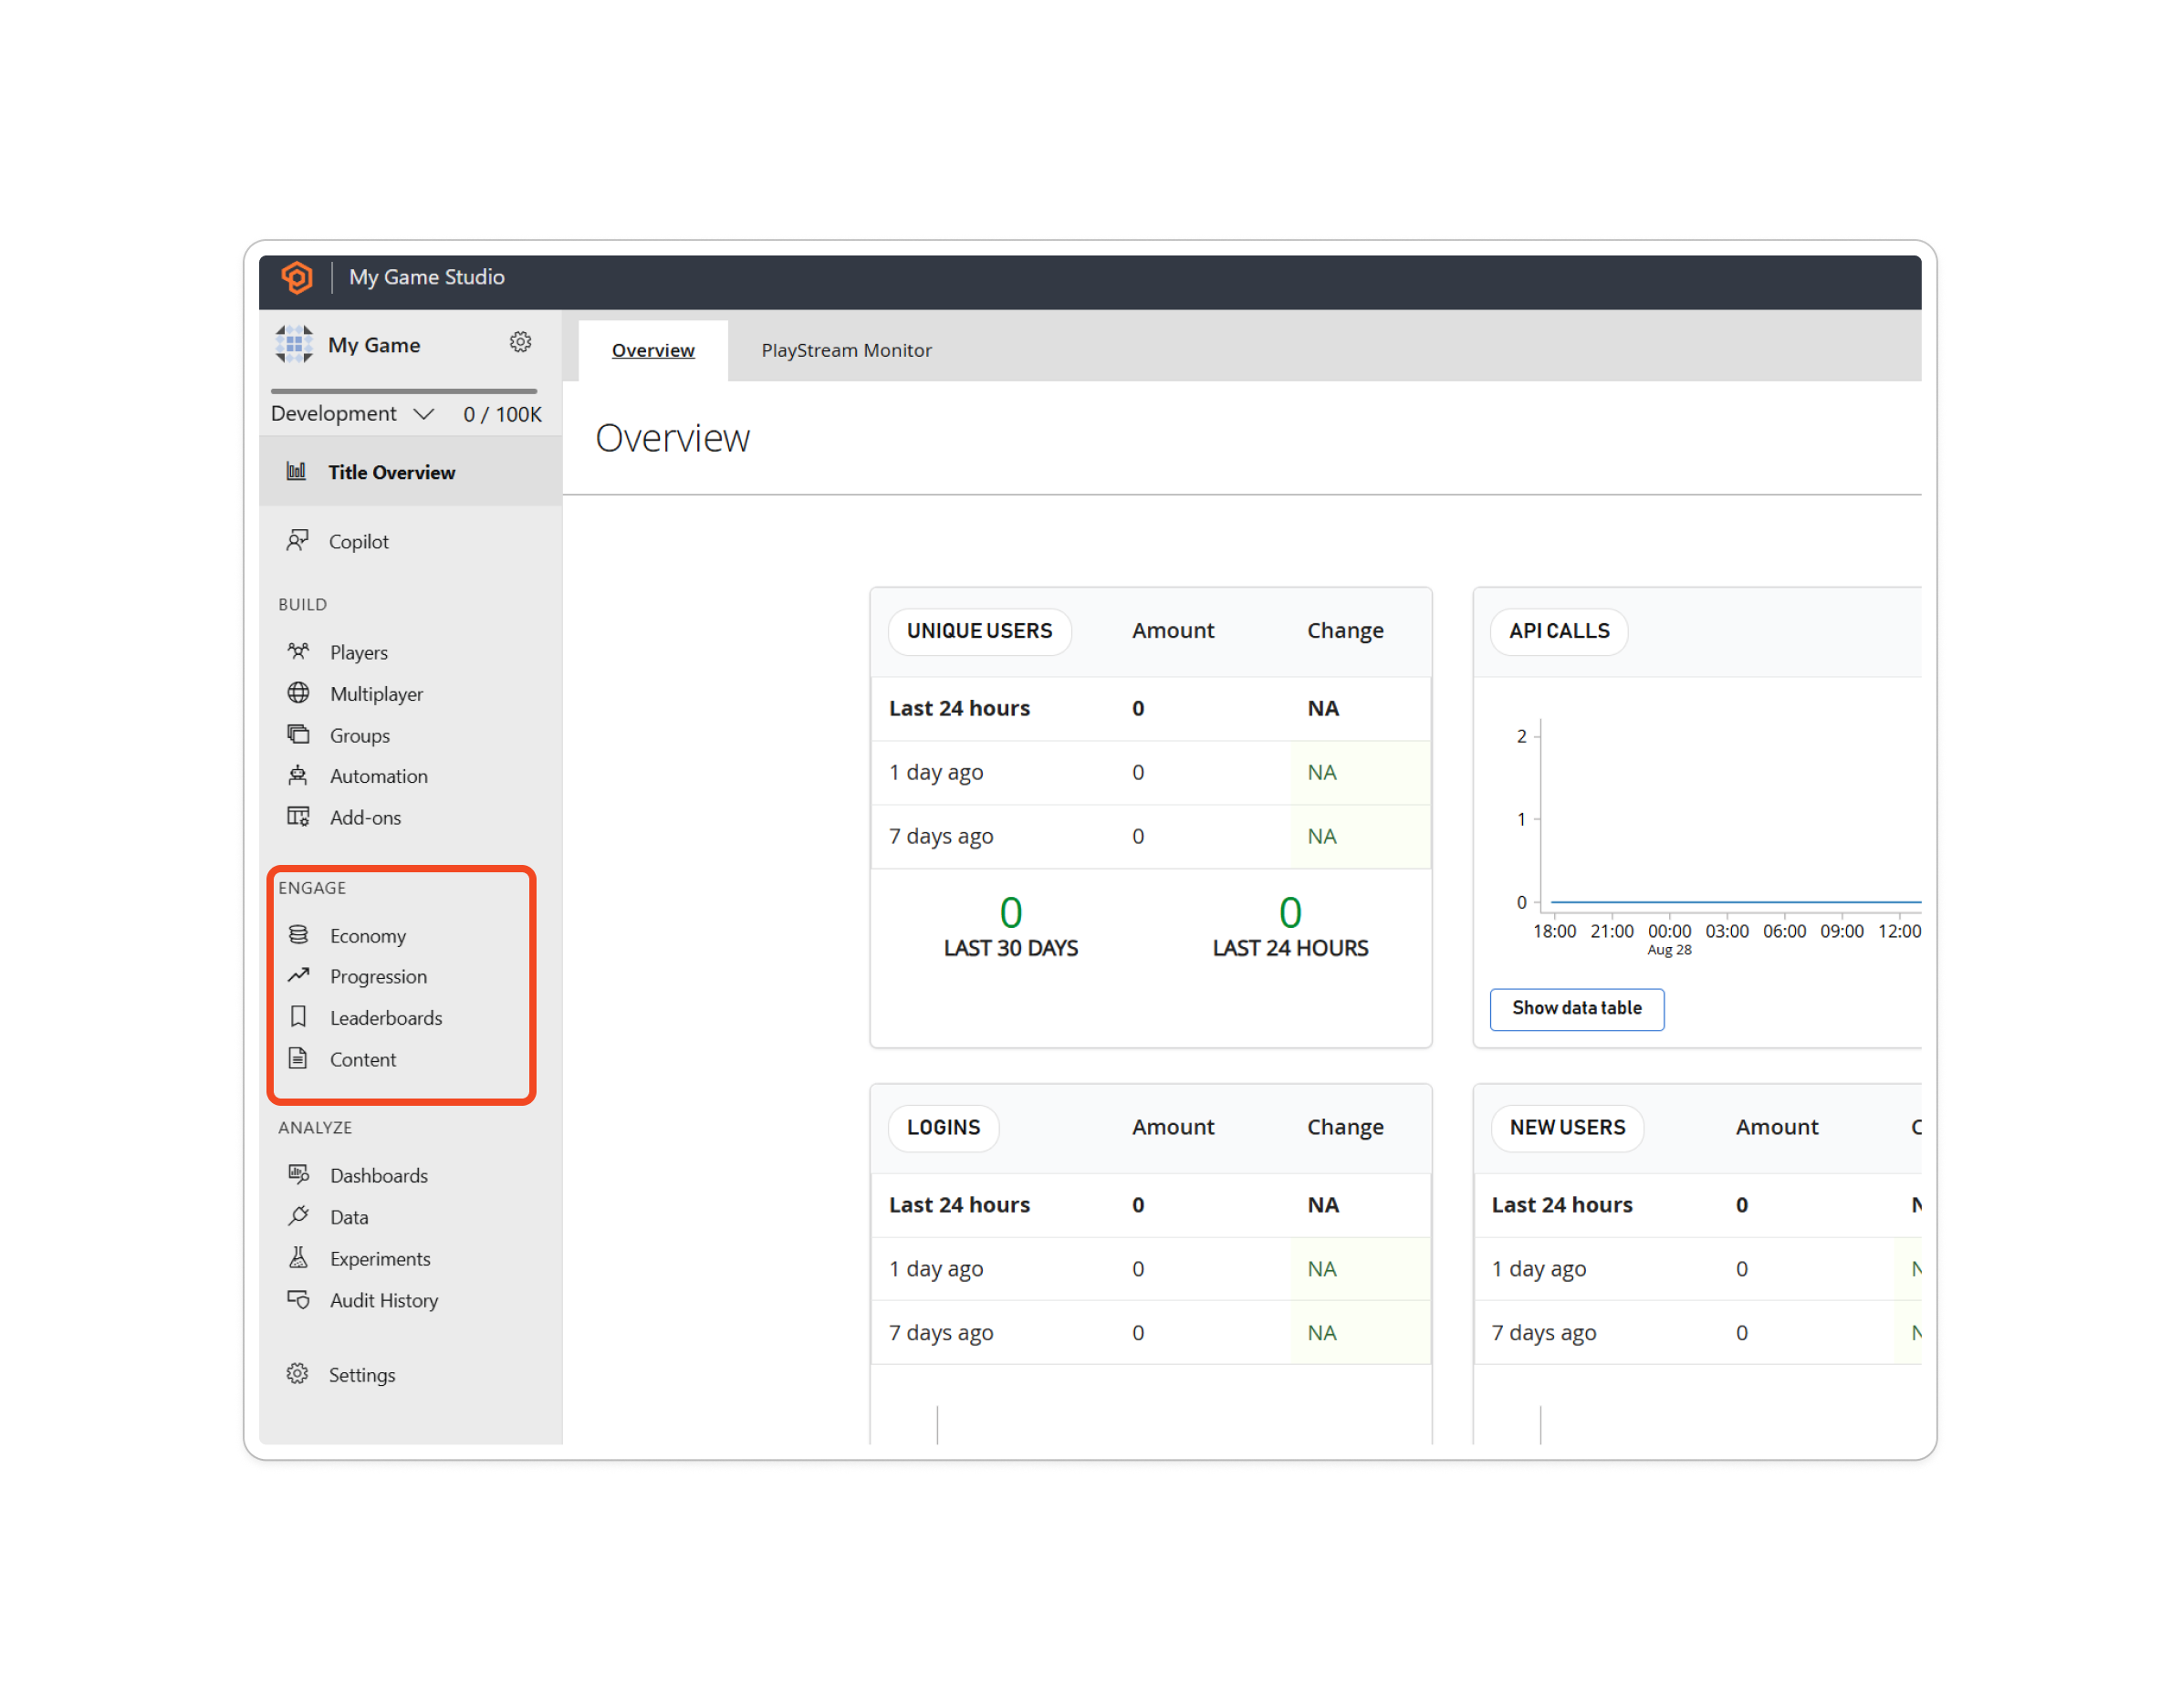
We're going to select Progression on the left menu.
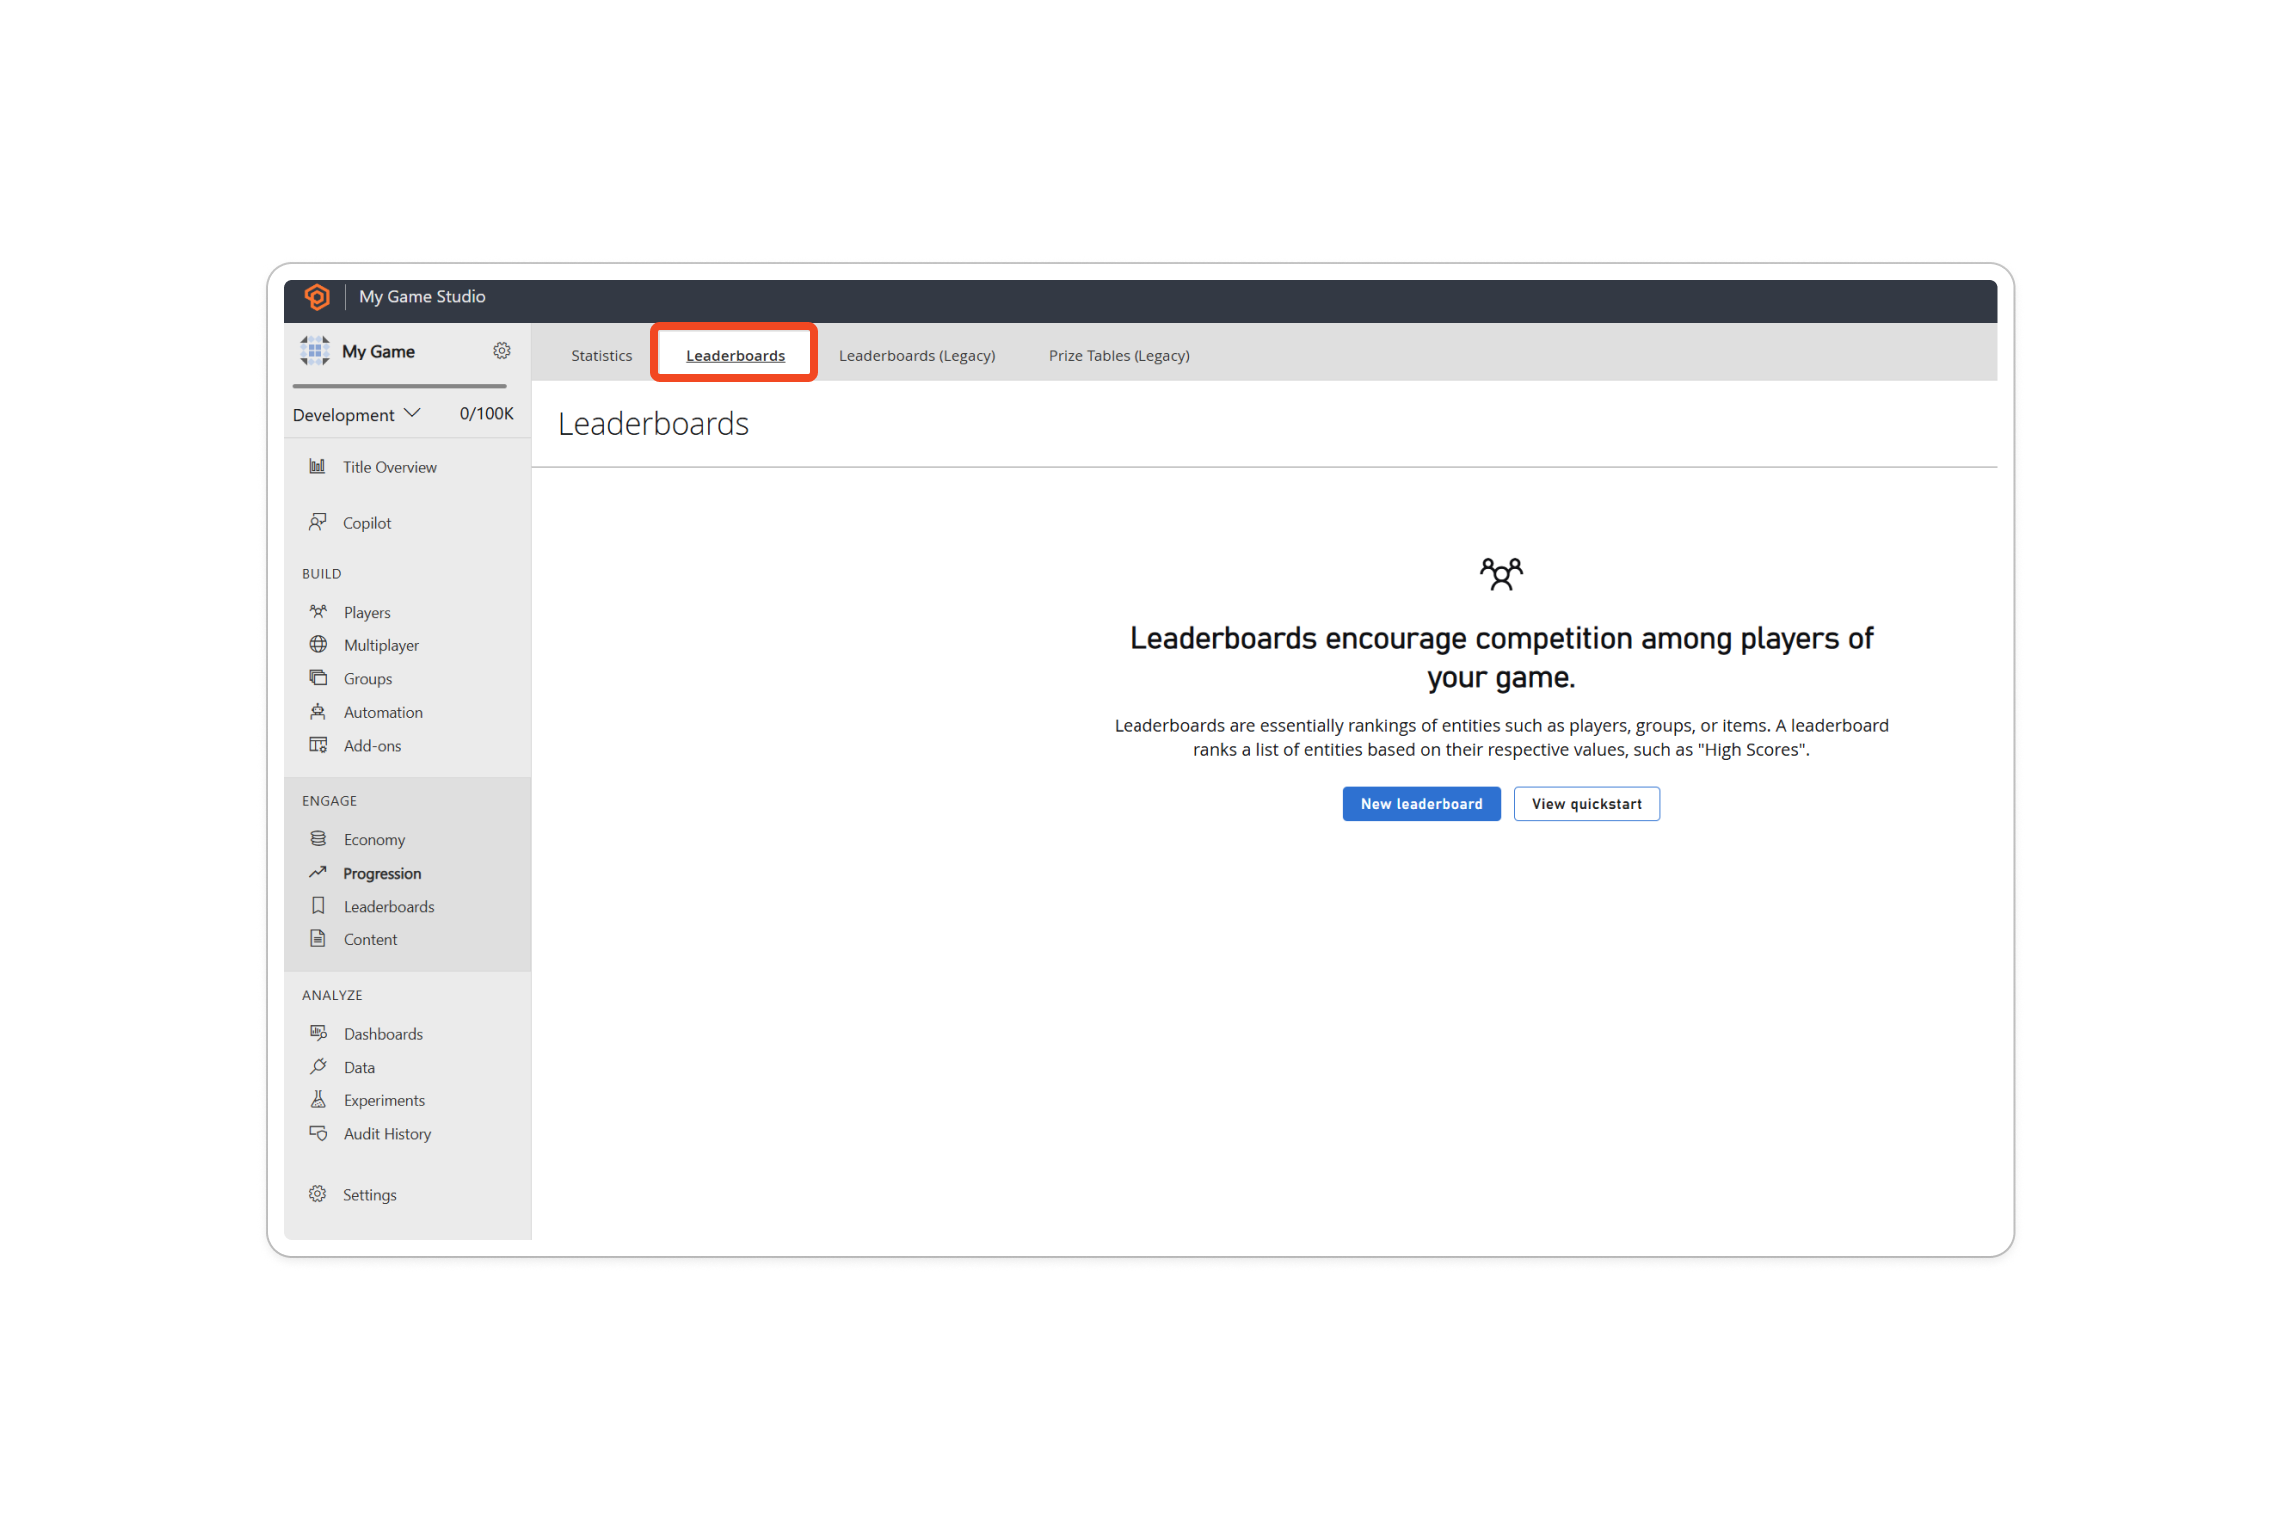
We now select Leaderboards tab from the upper menu.
Then we're going to go "New Leaderboard" button and create our leaderboard definition.
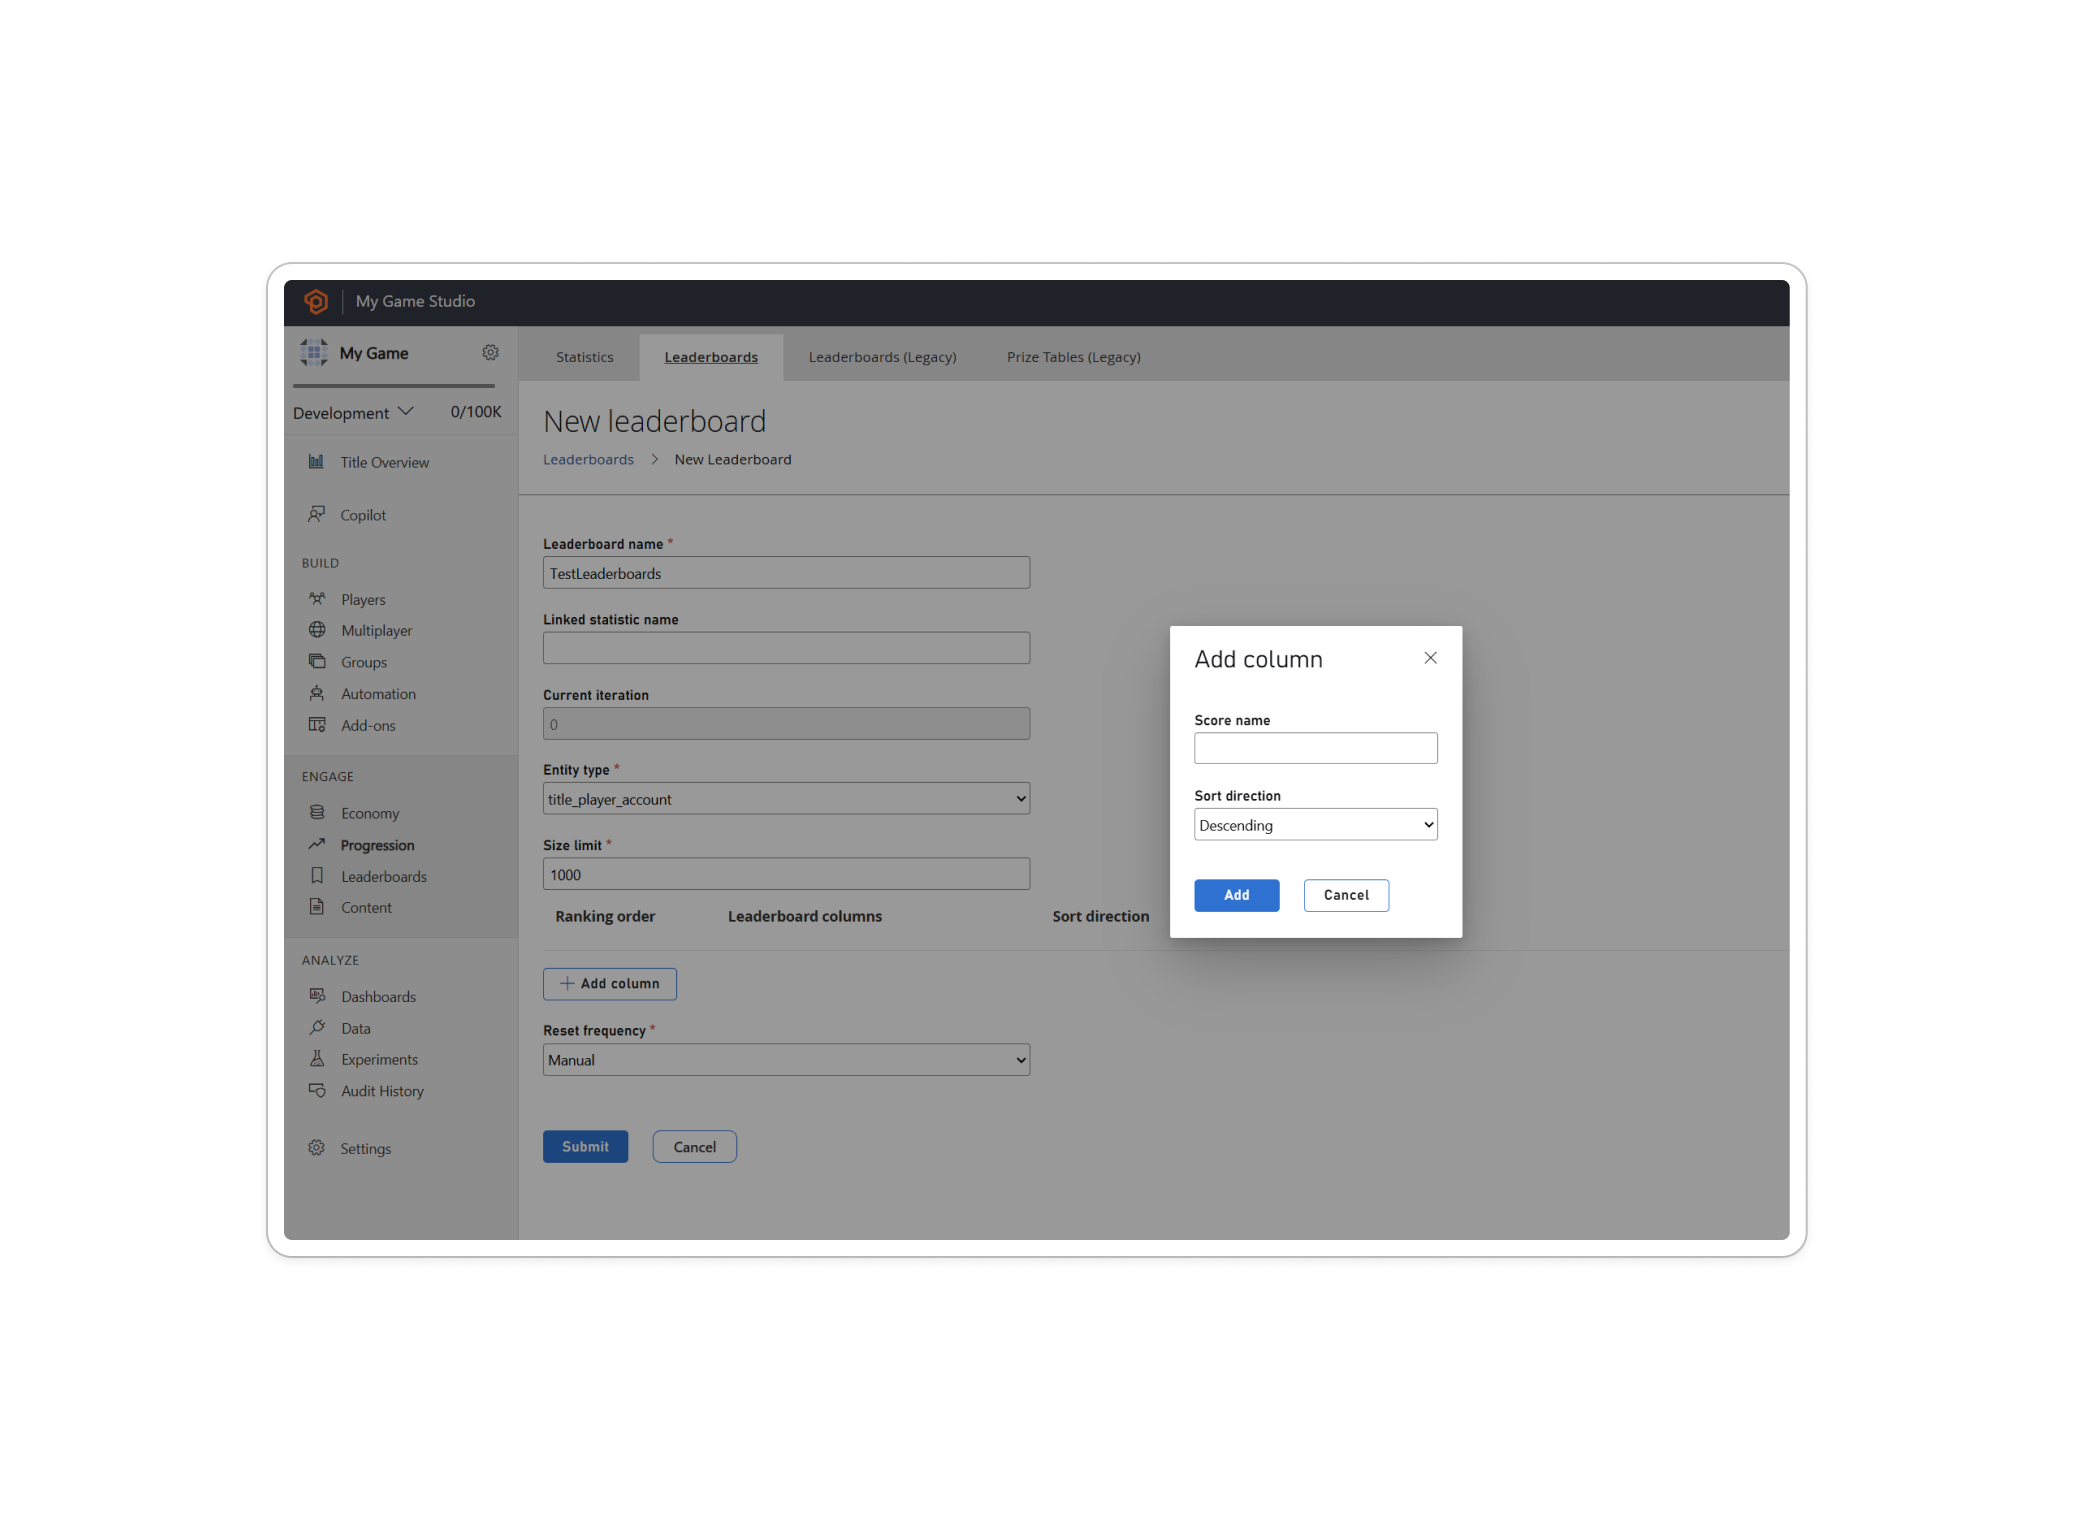
Here we're able to configure every aspect of the leaderboard. Learn more about the parameters available and how to create leaderboards here:
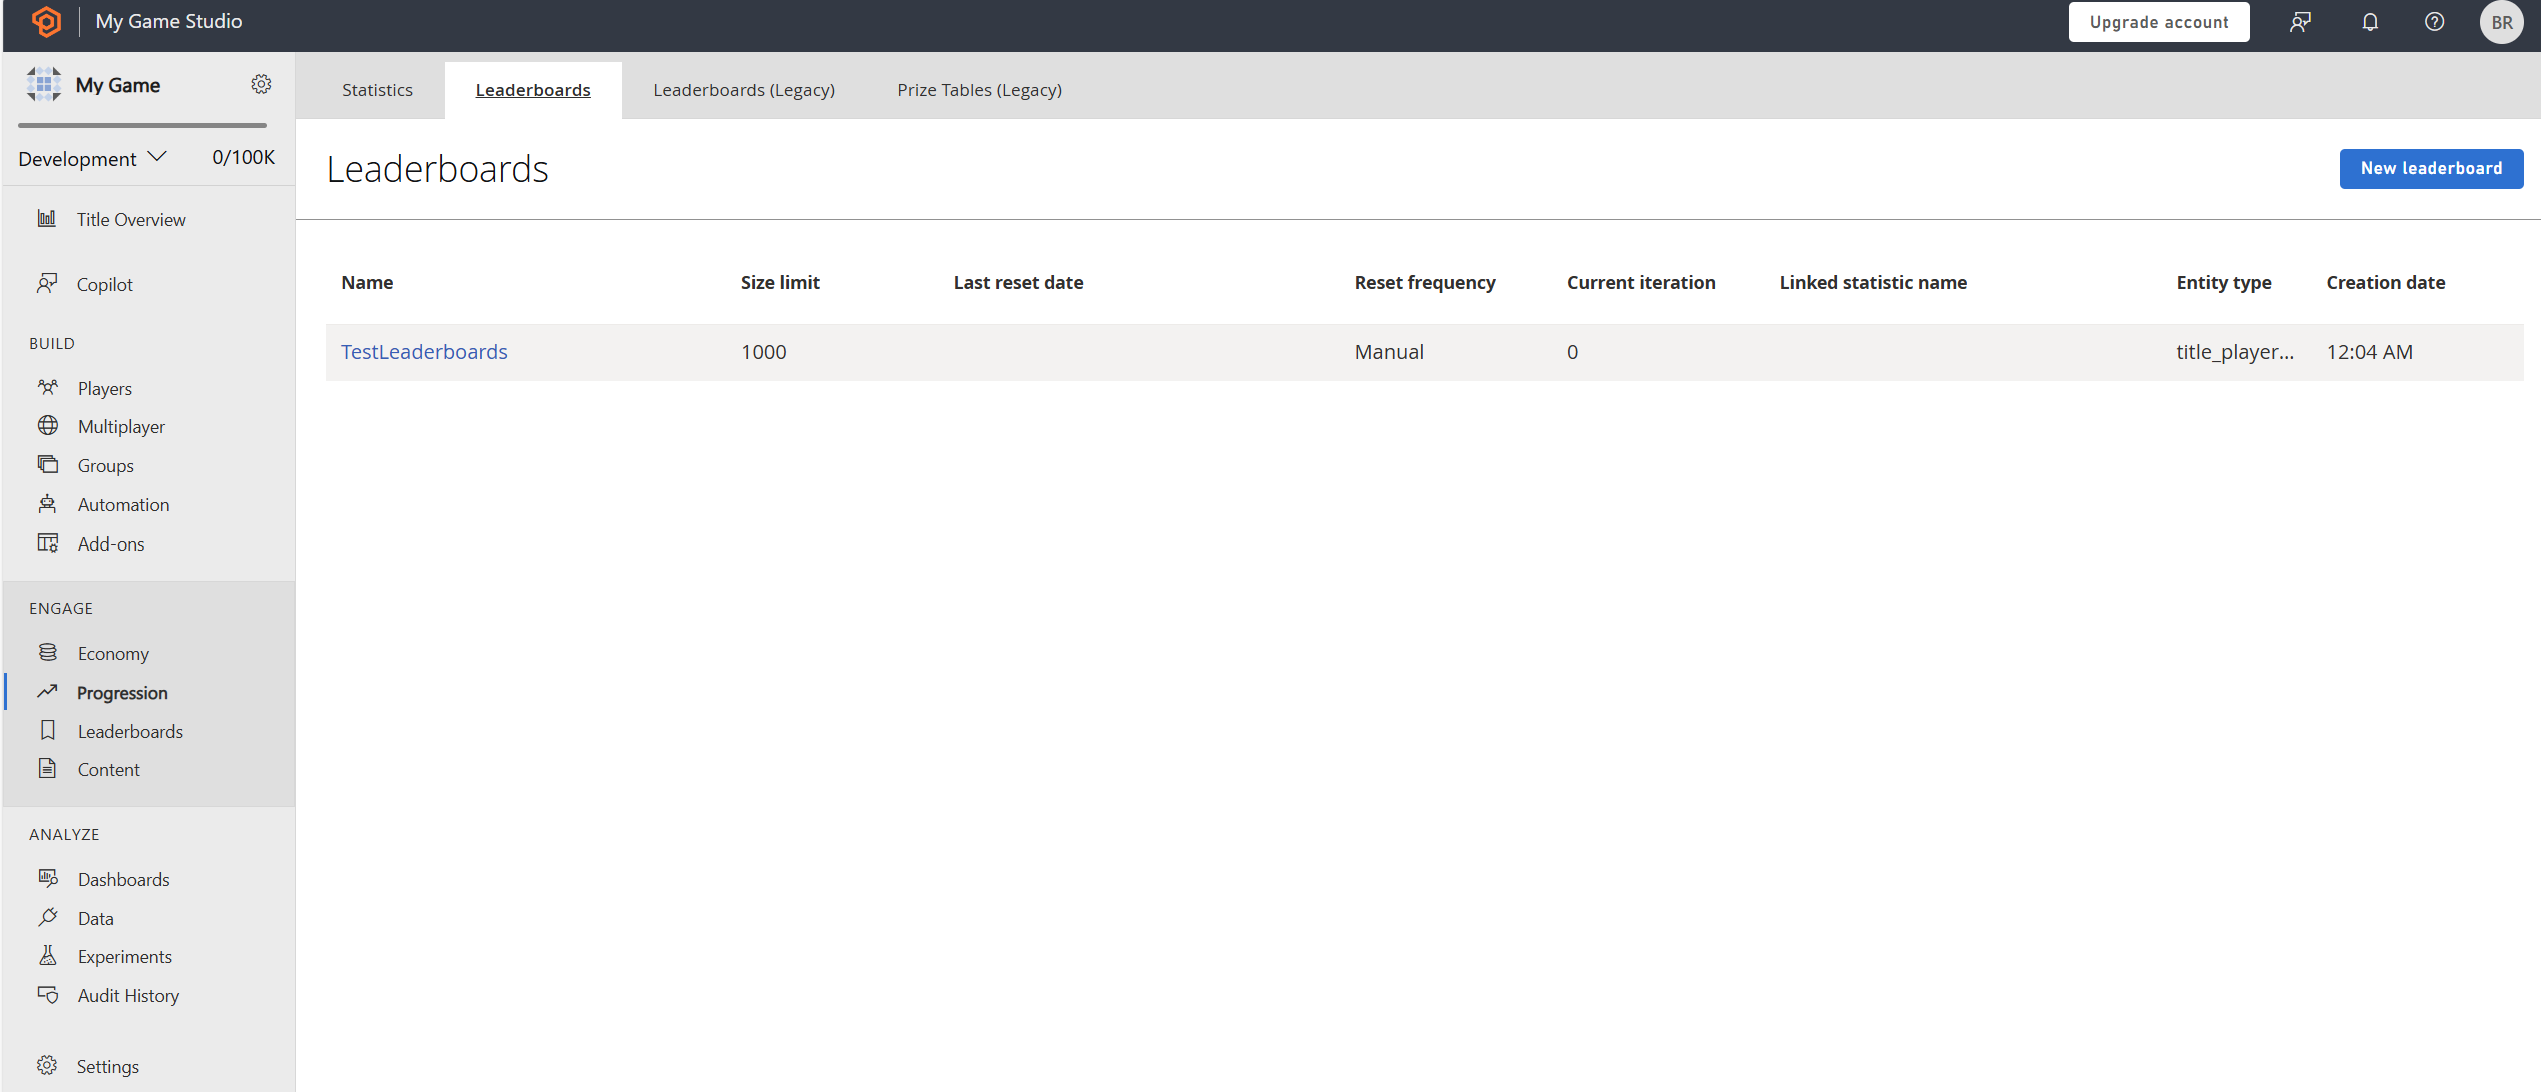
The final result should be like this.
Setting up the environment
Here we're going to learn how to set up the developer environment to use the C# SDK, but the concepts presented here can also work with other SDK or plain HTTP requests.
Setting TitleId and DeveloperSecretKey
DeveloperSecretKey is needed when authenticating as Title Entity.
PlayFabSettings.staticSettings.TitleId = ""; // Change this value to your own titleId from PlayFab Game Manager
PlayFabSettings.staticSettings.DeveloperSecretKey = ""; // Change this to your title's secret key from Game Manager
Creating a title and getting the secret key
- Log in to https://playfab.com/
- Create a title
- Find the Title ID in the API Features section under settings.
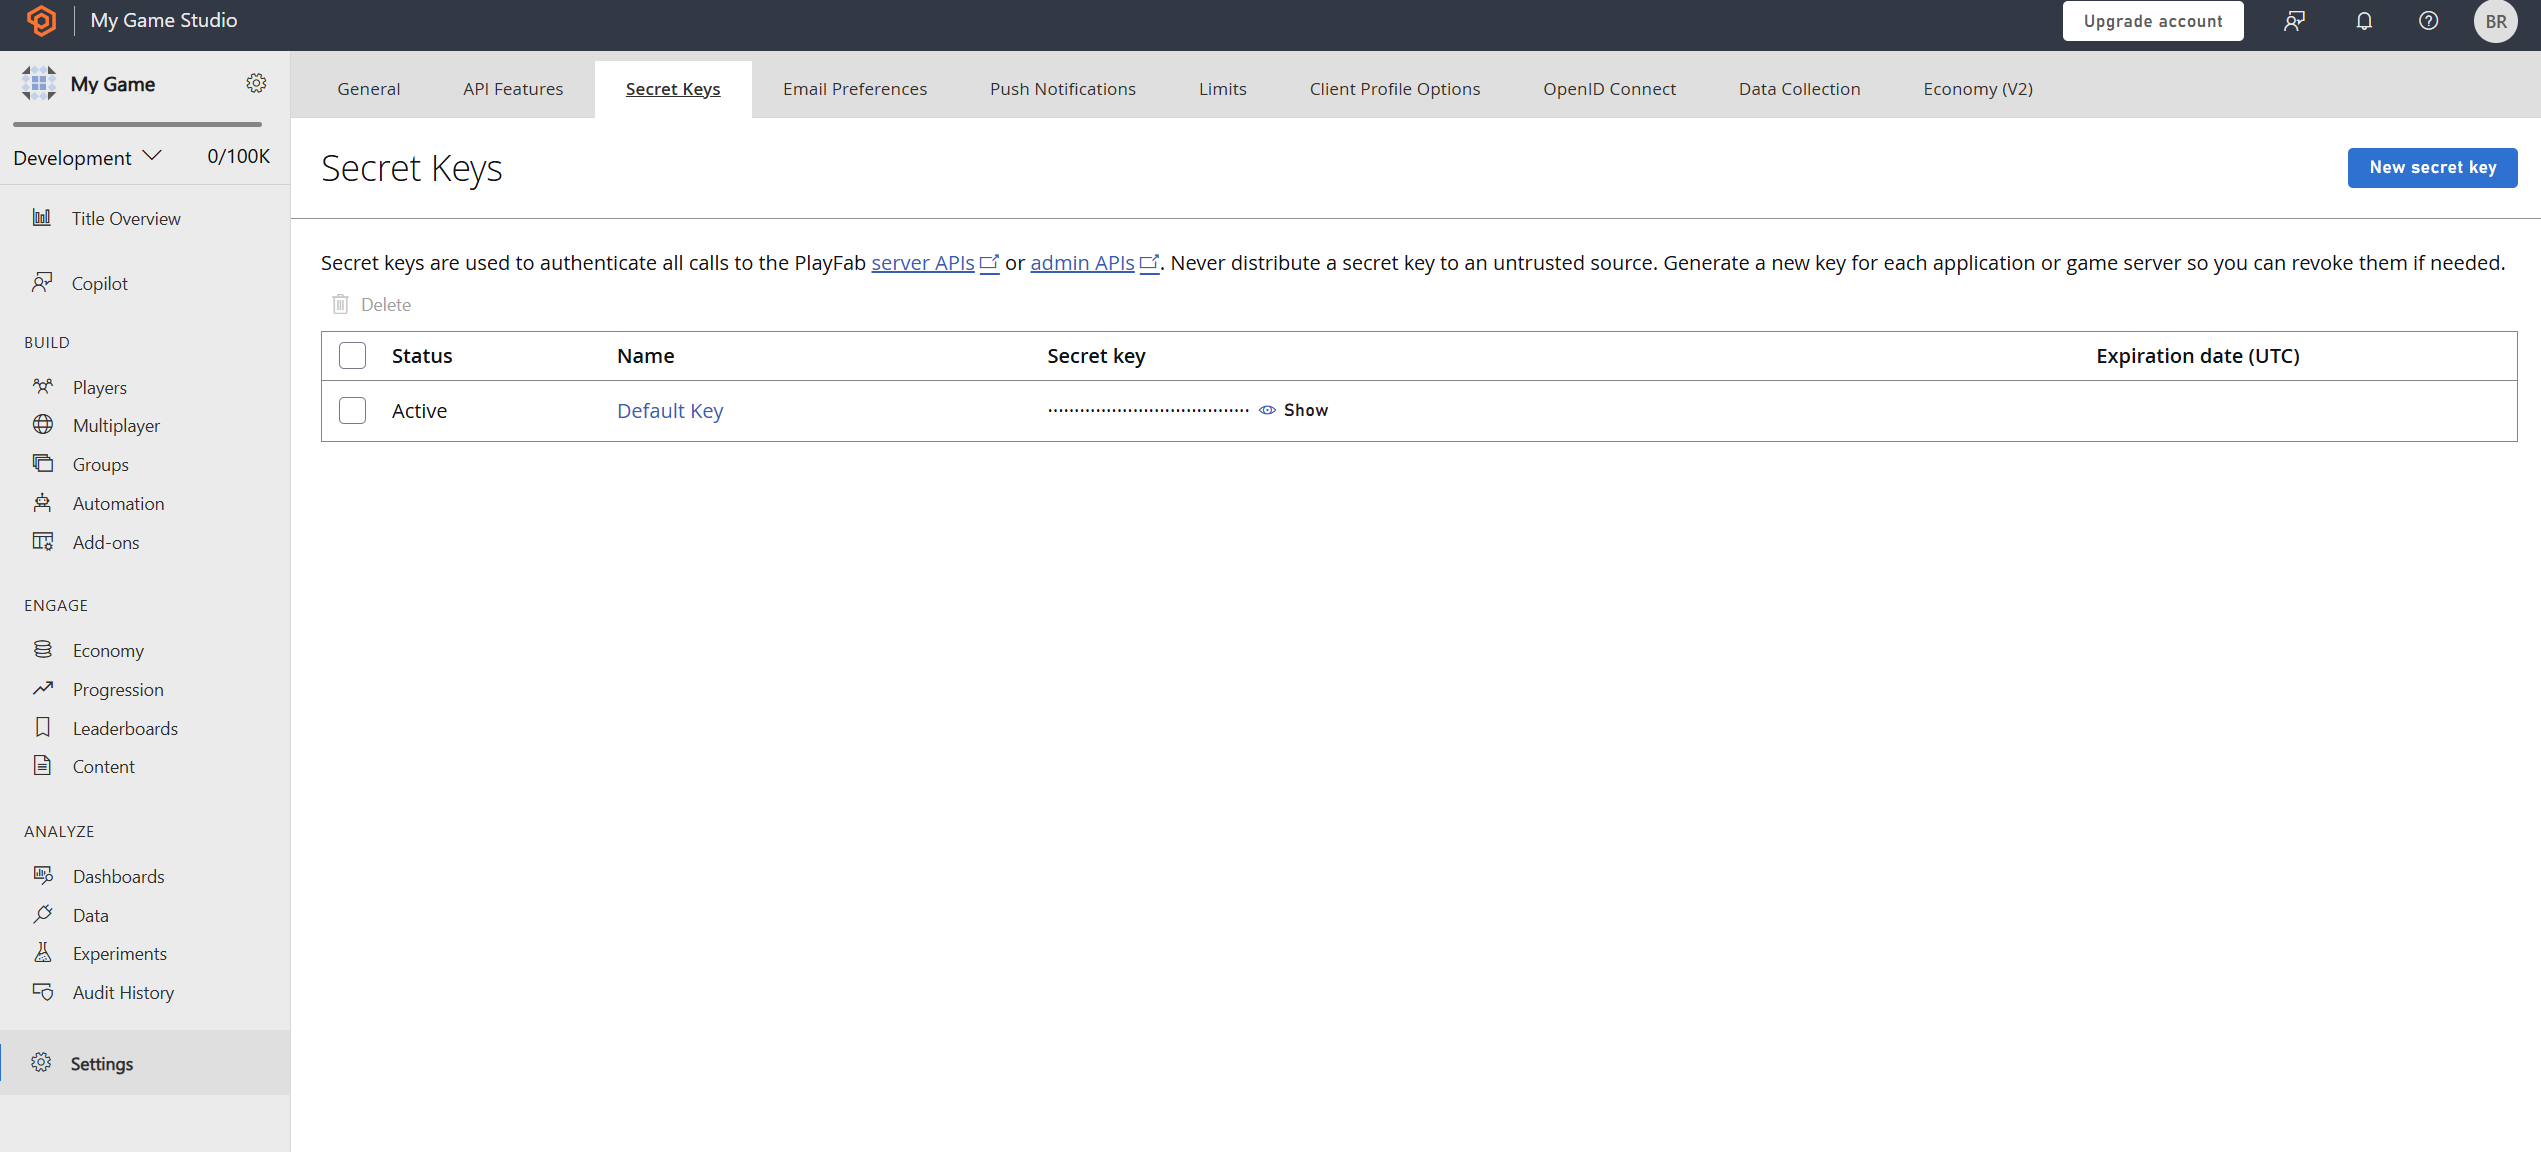
- Generate secret key:
- Cog next to title name in top left of title view
- Title Settings
- Secret Keys
- New secret key
Here's how the UI looks like when you find the Secret Key section within Game Manager.
Login as Title
For write operations we recommend using the TitleEntity from your game server, this method is going to return the AuthenticationContext that is
going to be used across all the requests we made.
public static async Task<PlayFabAuthenticationContext> LoginAsTitleEntity()
{
    GetEntityTokenRequest request = new GetEntityTokenRequest()
    {
        Entity = new PlayFab.AuthenticationModels.EntityKey()
        {
            Id = PlayFabSettings.staticSettings.TitleId,
            Type = "title",
        },
    };

    PlayFabResult<GetEntityTokenResponse> entityTokenResult = await PlayFabAuthenticationAPI.GetEntityTokenAsync(request);

    PlayFabAuthenticationContext authContext = new PlayFabAuthenticationContext
    {
        EntityToken = entityTokenResult.Result.EntityToken
    };

    return authContext;
}
Login as Player (create Player)
This method creates a player based on an identifier which returns an entity of type title_player_account. More information here:
Quickstart entities
private static async Task<PlayFabAuthenticationContext> LoginAsPlayer(string customId = "GettingStartedGuide")
{
    LoginWithCustomIDRequest request = new LoginWithCustomIDRequest { CustomId = customId, CreateAccount = true };

    PlayFabResult<LoginResult> loginResult = await PlayFabClientAPI.LoginWithCustomIDAsync(request);

    return loginResult.Result.AuthenticationContext;
}
Set the display name property for an entity
In order to have the DisplayName property available as part of the response of the "Get Leaderboards APIs",
we need to execute the following code per each entity that we created in order to map the entity to the custom
display name of the game.
private static async Task UpdateEntityDisplayName(PlayFabAuthenticationContext context, string customId)
{
    SetDisplayNameRequest request = new SetDisplayNameRequest()
    {
        AuthenticationContext = context,
        DisplayName = customId,
        Entity = new PlayFab.ProfilesModels.EntityKey()
        {
            Id = context.EntityId,
            Type = context.EntityType,
        },
    };

    PlayFabResult<SetDisplayNameResponse> updateNameResult = await PlayFabProfilesAPI.SetDisplayNameAsync(request);
}