教學課程:登入並註銷 React SPA
本教學課程是一系列的最後一個部分,示範如何使用 Microsoft 身分識別平臺來建置 React 單頁應用程式 (SPA), 並準備進行驗證。 在此系列 的第 2 部分中,您已將功能元件新增至 React SPA 並建置回應式 UI。 最後一個步驟說明如何在應用程式中測試登入和註銷功能。
在本教學課程中,您將;
- 將程式代碼新增至 claimUtils.js 檔案,以建立保險索賠表格。
- 登入和註銷應用程式
- 檢視從標識元令牌傳回的宣告
先決條件
- 完成前置條件及 教學課程中的步驟:在 React 單頁應用程式中建立登入和登出的元件。
將程式代碼新增至 claimUtils.js 檔案(選擇性)
若要新增能顯示從 ID 標記令牌傳回宣告的表格功能,您可以將程式碼新增至 claimUtils.js 檔案。 此代碼段會將適當的描述和對應的值填入宣告數據表。
- 開啟 公用程式/claimUtils.js,並新增下列代碼段:
export const createClaimsTable = (claims) => {
    let claimsObj = {};
    let index = 0;

    Object.keys(claims).forEach((key) => {
        if (typeof claims[key] !== 'string' && typeof claims[key] !== 'number') return;
        switch (key) {
            case 'aud':
                populateClaim(
                    key,
                    claims[key],
                    "Identifies the intended recipient of the token. In ID tokens, the audience is your app's Application ID, assigned to your app in the Microsoft Entra admin center.",
                    index,
                    claimsObj
                );
                index++;
                break;
            case 'iss':
                populateClaim(
                    key,
                    claims[key],
                    'Identifies the issuer, or authorization server that constructs and returns the token. It also identifies the external tenant for which the user was authenticated. If the token was issued by the v2.0 endpoint, the URI will end in /v2.0. The GUID that indicates that the user is a consumer user from a Microsoft account is 9188040d-6c67-4c5b-b112-36a304b66dad.',
                    index,
                    claimsObj
                );
                index++;
                break;
            case 'iat':
                populateClaim(
                    key,
                    changeDateFormat(claims[key]),
                    'Issued At indicates when the authentication for this token occurred.',
                    index,
                    claimsObj
                );
                index++;
                break;
            case 'nbf':
                populateClaim(
                    key,
                    changeDateFormat(claims[key]),
                    'The nbf (not before) claim identifies the time (as UNIX timestamp) before which the JWT must not be accepted for processing.',
                    index,
                    claimsObj
                );
                index++;
                break;
            case 'exp':
                populateClaim(
                    key,
                    changeDateFormat(claims[key]),
                    "The exp (expiration time) claim identifies the expiration time (as UNIX timestamp) on or after which the JWT must not be accepted for processing. It's important to note that in certain circumstances, a resource may reject the token before this time. For example, if a change in authentication is required or a token revocation has been detected.",
                    index,
                    claimsObj
                );
                index++;
                break;
            case 'name':
                populateClaim(
                    key,
                    claims[key],
                    "The name claim provides a human-readable value that identifies the subject of the token. The value isn't guaranteed to be unique, it can be changed, and it's designed to be used only for display purposes. The profile scope is required to receive this claim.",
                    index,
                    claimsObj
                );
                index++;
                break;
            case 'preferred_username':
                populateClaim(
                    key,
                    claims[key],
                    'The primary username that represents the user. It could be an email address, phone number, or a generic username without a specified format. Its value is mutable and might change over time. Since it is mutable, this value must not be used to make authorization decisions. It can be used for username hints, however, and in human-readable UI as a username. The profile scope is required in order to receive this claim.',
                    index,
                    claimsObj
                );
                index++;
                break;
            case 'nonce':
                populateClaim(
                    key,
                    claims[key],
                    'The nonce matches the parameter included in the original /authorize request to the IDP. If it does not match, your application should reject the token.',
                    index,
                    claimsObj
                );
                index++;
                break;
            case 'oid':
                populateClaim(
                    key,
                    claims[key],
                    'The oid (user’s object id) is the only claim that should be used to uniquely identify a user in an external tenant. The token might have one or more of the following claim, that might seem like a unique identifier, but is not and should not be used as such.',
                    index,
                    claimsObj
                );
                index++;
                break;
            case 'tid':
                populateClaim(
                    key,
                    claims[key],
                    'The tenant ID. You will use this claim to ensure that only users from the current external tenant can access this app.',
                    index,
                    claimsObj
                );
                index++;
                break;
            case 'upn':
                populateClaim(
                    key,
                    claims[key],
                    '(user principal name) – might be unique amongst the active set of users in a tenant but tend to get reassigned to new employees as employees leave the organization and others take their place or might change to reflect a personal change like marriage.',
                    index,
                    claimsObj
                );
                index++;
                break;
            case 'email':
                populateClaim(
                    key,
                    claims[key],
                    'Email might be unique amongst the active set of users in a tenant but tend to get reassigned to new employees as employees leave the organization and others take their place.',
                    index,
                    claimsObj
                );
                index++;
                break;
            case 'acct':
                populateClaim(
                    key,
                    claims[key],
                    'Available as an optional claim, it lets you know what the type of user (homed, guest) is. For example, for an individual’s access to their data you might not care for this claim, but you would use this along with tenant id (tid) to control access to say a company-wide dashboard to just employees (homed users) and not contractors (guest users).',
                    index,
                    claimsObj
                );
                index++;
                break;
            case 'sid':
                populateClaim(key, claims[key], 'Session ID, used for per-session user sign-out.', index, claimsObj);
                index++;
                break;
            case 'sub':
                populateClaim(
                    key,
                    claims[key],
                    'The sub claim is a pairwise identifier - it is unique to a particular application ID. If a single user signs into two different apps using two different client IDs, those apps will receive two different values for the subject claim.',
                    index,
                    claimsObj
                );
                index++;
                break;
            case 'ver':
                populateClaim(
                    key,
                    claims[key],
                    'Version of the token issued by the Microsoft identity platform',
                    index,
                    claimsObj
                );
                index++;
                break;
            case 'uti':
            case 'rh':
                index++;
                break;
            case '_claim_names':
            case '_claim_sources':
            default:
                populateClaim(key, claims[key], '', index, claimsObj);
                index++;
        }
    });

    return claimsObj;
};

/**
 * Populates claim, description, and value into an claimsObject
 * @param {String} claim
 * @param {String} value
 * @param {String} description
 * @param {Number} index
 * @param {Object} claimsObject
 */
const populateClaim = (claim, value, description, index, claimsObject) => {
    let claimsArray = [];
    claimsArray[0] = claim;
    claimsArray[1] = value;
    claimsArray[2] = description;
    claimsObject[index] = claimsArray;
};

/**
 * Transforms Unix timestamp to date and returns a string value of that date
 * @param {String} date Unix timestamp
 * @returns
 */
const changeDateFormat = (date) => {
    let dateObj = new Date(date * 1000);
    return `${date} - [${dateObj.toString()}]`;
};
執行您的專案並登入
既然已新增所有必要的代碼段,就可以在網頁瀏覽器中呼叫及測試應用程式。
開啟新的終端機,然後執行下列命令來啟動您的快速網頁伺服器。
npm start複製終端機中顯示的
httpURL,例如,http://localhost:3000,然後將它貼到瀏覽器中。 我們建議使用私人或 incognito 瀏覽器會話。使用向租用戶註冊的帳戶登入。
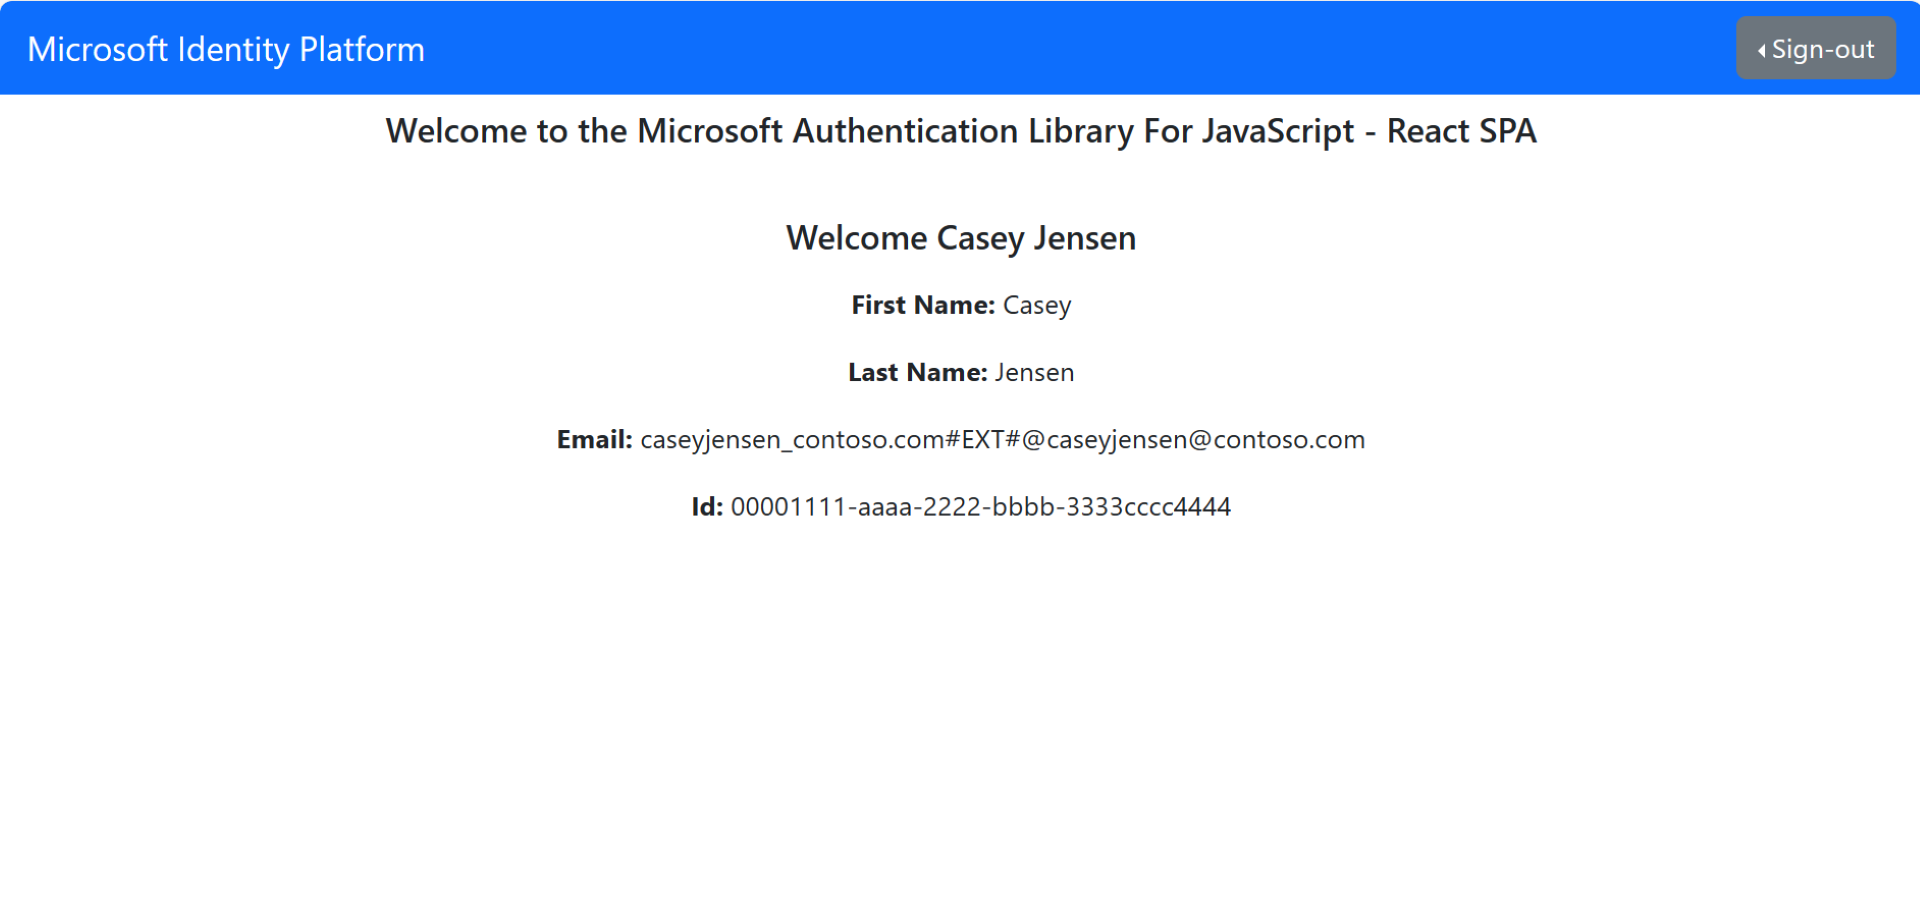
類似下列螢幕快照的介面隨即出現,表示您已登入應用程式。 如果您已新增宣告表,您可以查看從 ID 權杖傳回的宣告。
從應用程式註銷
- 尋找頁面上的 [註銷] 按鈕,然後選取它。
- 系統會提示您挑選要註銷的帳戶。 選取您用來登入的帳戶。
隨即出現訊息,指出您已註銷。您現在可以關閉瀏覽器視窗。
相關內容
- 快速入門:使用 Microsoft 身分識別平臺保護 ASP.NET Core Web API。
- 在下列多部分教學課程系列中,透過建置 React SPA 及登入使用者來深入瞭解。
- 啟用密碼重設。
- 自訂預設商標。
- 使用Google設定登入。
