將節點陣列新增至叢集
節點陣列可用來定義當叢集相應增加和減少時,如何建立/刪除特定類型的節點。 每個陣列都有名稱、一組屬性,這些屬性會套用至陣列中的每個節點,以及描述陣列如何調整 (限制、放置群組、擴展集組態等) 的選擇性屬性。
本文說明如何使用範本檔案,將節點陣列新增至現有的叢集。 深入瞭解節點陣列。
編輯叢集範本
若要新增節點陣列,您必須擁有叢集的 範本檔案 。 編輯此檔案,並在 下方 [cluster] 新增區 [[nodearray]] 段,以提供該叢集中的唯一名稱。
例如,下列範本包含名為 「highmem」 的節點陣列,它會使用 Standard_M64 VM,而不是節點預設值中指定的值 (Standard_D4_v2) :
# hpc-template.txt

[cluster hpc]

    [[node defaults]]
    Credentials = $Credentials
    ImageName = cycle.image.centos7
    SubnetId = my-subnet
    Region = USEast2
    MachineType = Standard_D4_v2

    [[node scheduler]]

    [[nodearray highmem]]
    MachineType = Standard_M64


[parameters Cluster Parameters]

    [[parameter Credentials]]
    ParameterType = Cloud.Credentials
    Label = Credentials

    [[parameter Region]]
    ParameterType = Cloud.Region
    Label = Region
    DefaultValue = westus2

    [[[parameter SubnetId]]]
    ParameterType = Azure.Subnet
    Label = Subnet
    Required = true
重新匯入修改過的叢集範本
若要套用叢集範本變更並建立新的節點陣列,請使用 CycleCloud CLI 匯入範本。 您必須指定要修改的叢集名稱,以及 --force 指示 CLI 覆寫現有叢集中值的旗標。
下列命令會將上述變更套用至名為 「example-cluster」 的叢集:
cyclecloud import_cluster example-cluster -f hpc-template.txt -c hpc --force
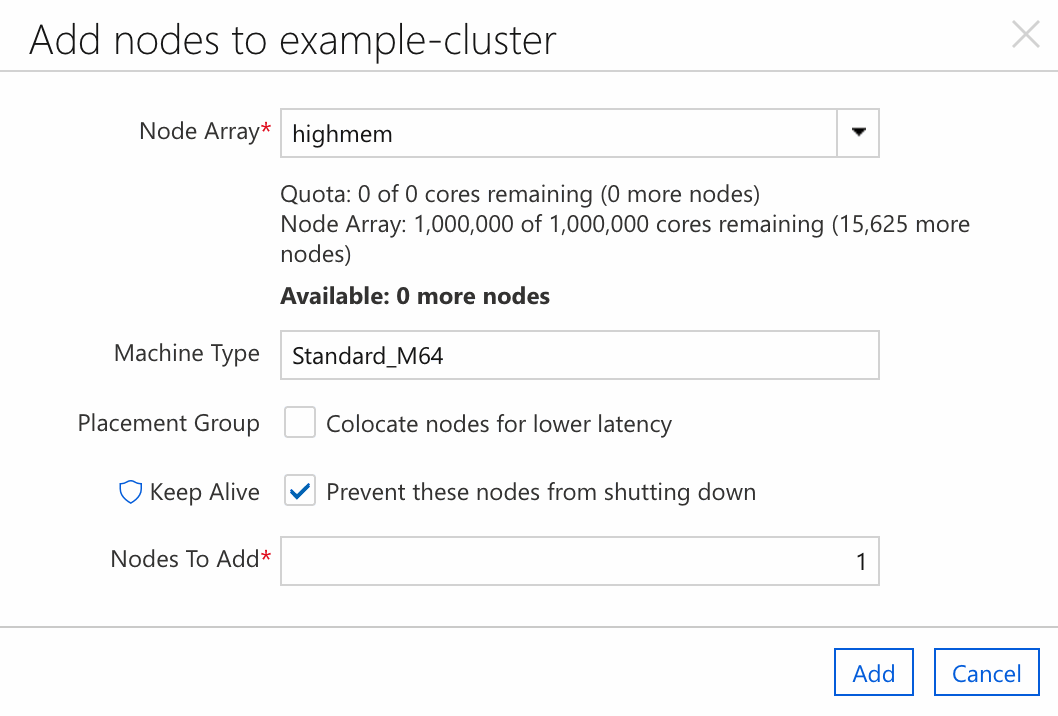
若要測試新的節點陣列,請移至 Web UI,然後按一下 [新增節點] 按鈕。 選取 「highmem」 陣列,然後按一下 [新增] 以建立新的節點。 若要進行進一步的變更,只要編輯範本檔案,然後重新執行上述的 import 命令即可。