建立控制器 (C#)
在此教學課程中,Stephen Walther 示範如何將控制器新增至 ASP.NET MVC 應用程式。
此教學課程的目標是說明如何建立新的 ASP.NET MVC 控制器。 您會了解如何透過使用 Visual Studio [新增控制器] 功能表選項和手動建立類別檔案來建立控制器。
使用 [新增控制器] 功能表選項
建立新控制器最簡單的方式是以滑鼠右鍵按一下 Visual Studio 方案總管視窗中的 Controllers 資料夾,然後選取[新增控制器] 選單選項 (參見圖 1)。 選取此功能表選項會開啟 [新增控制器] 對話方塊 (參見圖 2)。
![Visual Studio 方案總管視窗的螢幕擷取畫面,其中顯示右鍵功能表中的 [新增] 和 [控制器] 選項。](creating-a-controller-cs/_static/image1.png)
圖 01:新增控制器 (按一下以檢視全尺寸影像)
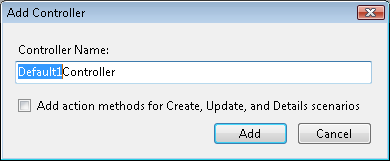
![[新增控制器] 對話方塊的螢幕擷取畫面,其中顯示 [控制器名稱] 欄位中的 [預設 1 控制器]。](creating-a-controller-cs/_static/image3.png)
圖 02:[新增控制器] 對話方塊 (按一下以檢視全尺寸影像)
請注意,控制器名稱的第一個部分會在 [新增控制器] 對話方塊中反白顯示。 每個控制器名稱都必須以後綴 Controller 結尾。 例如,您可以建立名為 ProductController 的控制器,但不能建立名為 Product 的控制器。
如果建立缺少 Controller 後綴的控制器,您就無法叫用控制器。 不要這樣做——在犯這個錯誤後,我浪費了無數小時的生活。
清單1 - Controllers\ProductController.cs
using System;
using System.Collections.Generic;
using System.Linq;
using System.Web;
using System.Web.Mvc;
using System.Web.Mvc.Ajax;

namespace MvcApplication1.Controllers
{
    public class ProductController : Controller
    {
        //
        // GET: /Product/

        public ActionResult Index()
        {
            return View();
        }
    }
}
您應始終在控制器資料夾中建立控制器。 否則,您將違反 ASP.NET MVC 的慣例,而其他開發人員將更難了解您的應用程式。
Scaffolding 動作方法
當建立控制器時,您可以選擇自動產生 Create、Update 和 Details 動作方法 (參見圖 3)。 如果您選取此選項,則會產生清單 2 中的控制器類別。
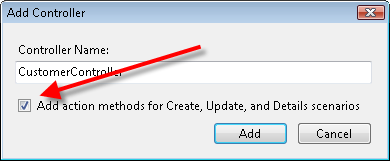
圖 03:自動建立動作方法 (按一下以檢視全尺寸影像)
清單 2 - Controllers\CustomerController.cs
using System;
using System.Collections.Generic;
using System.Linq;
using System.Web;
using System.Web.Mvc;
using System.Web.Mvc.Ajax;

namespace MvcApplication1.Controllers
{
    public class CustomerController : Controller
    {
        //
        // GET: /Customer/

        public ActionResult Index()
        {
            return View();
        }

        //
        // GET: /Customer/Details/5

        public ActionResult Details(int id)
        {
            return View();
        }

        //
        // GET: /Customer/Create

        public ActionResult Create()
        {
            return View();
        }

        //
        // POST: /Customer/Create

        [AcceptVerbs(HttpVerbs.Post)]
        public ActionResult Create(FormCollection collection)
        {
            try
            {
                // TODO: Add insert logic here

                return RedirectToAction("Index");
            }
            catch
            {
                return View();
            }
        }

        //
        // GET: /Customer/Edit/5

        public ActionResult Edit(int id)
        {
            return View();
        }

        //
        // POST: /Customer/Edit/5

        [AcceptVerbs(HttpVerbs.Post)]
        public ActionResult Edit(int id, FormCollection collection)
        {
            try
            {
                // TODO: Add update logic here

                return RedirectToAction("Index");
            }
            catch
            {
                return View();
            }
        }
    }
}
這些產生的方法是存根方法。 您必須新增實際邏輯,以便自行建立、更新及顯示客戶的詳細資料。 但是,Stub 方法提供您一個很好的起點。
建立控制器類別
ASP.NET MVC 控制器只是類別。 如果您想要的話,您可以忽略方便的 Visual Studio 控制器 Scaffolding,並手動建立控制器類別。 執行下列步驟:
- 以滑鼠右鍵按一下 Controllers 資料夾,然後選取功能表選項 [新增]、[新項目 ],然後選取 [類別 ] 範本 (參見圖 4)。
- 將新類別命名為 PersonController.cs,然後按一下 [新增 ] 按鈕。
- 修改產生的類別檔案,讓類別繼承自基底 System.Web.Mvc.Controller 類別 (參見清單 3)。
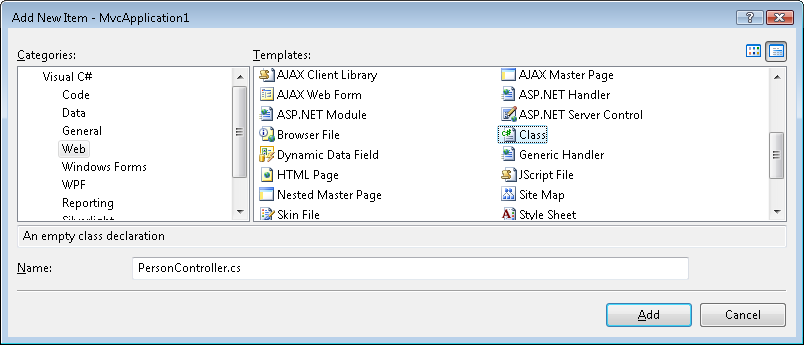
圖 04:建立新類別(按一下以檢視全尺寸影像)
清單 3 - Controllers\PersonController.cs
using System;
using System.Collections.Generic;
using System.Linq;
using System.Web;

namespace MvcApplication1.Controllers
{
    public class PersonController : System.Web.Mvc.Controller
    {
        public string Index()
        {
            return "Hello World!";
        }
    }
}
清單 3 中的控制器會公開一個名為 Index() 的動作,其會傳回字串 「Hello World」。 您可以執行應用程式並要求如下所示的網址來叫用此控制器動作:
http://localhost:40071/Person
注意
ASP.NET 開發伺服器會使用隨機連接埠號碼 (例如 40071)。 輸入 URL 以叫用控制器時,您必須提供正確的連接埠號碼。 您可以將滑鼠停留在 Windows 通知區域 (螢幕右下方) ASP.NET 開發伺服器的圖示上,以判斷連接埠號碼。