Provisioning a Visual Studio Ultimate 2013 Preview machine in Azure
One of the great scenarios enabled by Windows Azure is the fast provisioning of virtual machines and environments being used for is for training and evaluation instances of software and solutions. If you have followed my recent posts (Making the most of free Azure benefits with MSDN & Getting setup on Azure with MSDN benefits) then you will have seen how easy it is to MSDN benefits enable you to get free access to Azure resources.
In this post you will see how in minutes you can use your Azure subscription to get quickly setup with a machine running Visual Studio 2013 Preview, so you can quickly get hands-on and start using the latest version in isolation from any other instances of Visual Studio you may currently be using. In my instance I will connect this Visual Studio instance to Team Foundation Service so that I have full VS2013 machine running with full Application Lifecycle Management capabilities.
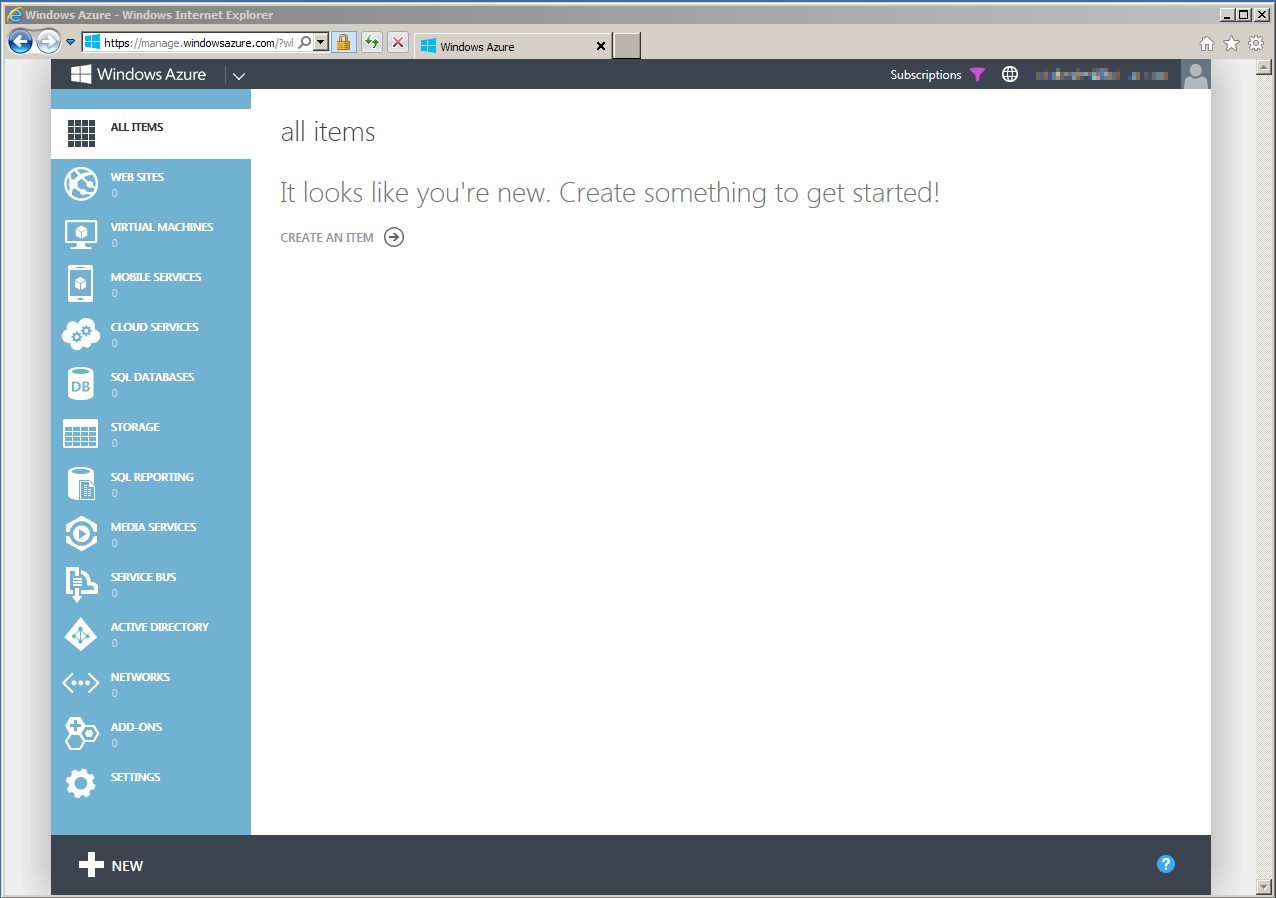
Assuming you are setup in Azure this will only be a few steps and you’ll be up and running. Firstly log into the Windows Azure Portal (https://manage.windowsazure.com). I’m picking up from my last articles so I have an empty subscription with the portal looking as shown below.
Now that you are logged in select “New” from them bottom left of the screen and head through the menus to “Compute”, “Virtual Machine” and select “From Gallery” as shown below. This will start a wizard for the creation of a new Virtual Machine from a gallery of existing Virtual Machine images available from Windows Azure.
In the wizard step one scroll to find the Visual Studio Ultimate 2013 Preview image as shown below. You will notice this list contains many potential template virtual machines, both Windows and Linux based that can be created from Azure. Some of these images are simply a base operating system, but some will have software installed such as SQL Server or BizTalk or in our instance VS2013 Preview. When you are happy and ready to progress to the next step, select the arrow in the bottom right of the dialog.
In step two of the wizard, you get to supply a virtual machine name for your new Virtual Machine, select its size and complete a username and password for login to the machine. Remember the size of virtual machine here is crucial as it both selects the hardware that your virtual machine will run on, but also has a knock on impact to the amount deducted per minute from your Azure subscription. Pick the appropriate size and when you are happy select next in the bottom right to move to step three.
Step three has a few more fields to be completed. Firstly in the cloud service field I will create a new cloud service for my virtual machine. This option is available so that virtual machines can be grouped logically for purposes such as load balancing. Next we need to select a DNS name for our machine so that it can be identified, this name will need to be unique so choose something appropriate.
The next option for a region will specify in which region I wish my virtual machine to be created within. In my instance I am selecting North Europe as these are the closest datacentres to my location.
For my storage account I will use an automatically generated storage account which will generate the necessary containers in Windows Azure storage to hold my virtual machine. Finally I will select “(None)” for the availability set field which allows me to tell Azure if I need or want fault tolerance from a single point of failure for my virtual machine. When step three is complete it should look something like the below image.
The final step allows us to specify endpoint where we can communicate with out virtual machine. In my instance the defaults of Remote Desktop and PowerShell are good so that I can use either of these mechanisms to work with my VM. With this all filled in automatically we are all done with the wizard so can select the tick mark in the bottom right of the screen to complete the wizard.
Virtual machine provisioning will take a few minutes but once completed you will have an entry in your Virtual Machines section of the portal that you can select and Connect to initiate a remote desktop session into your new virtual machine.
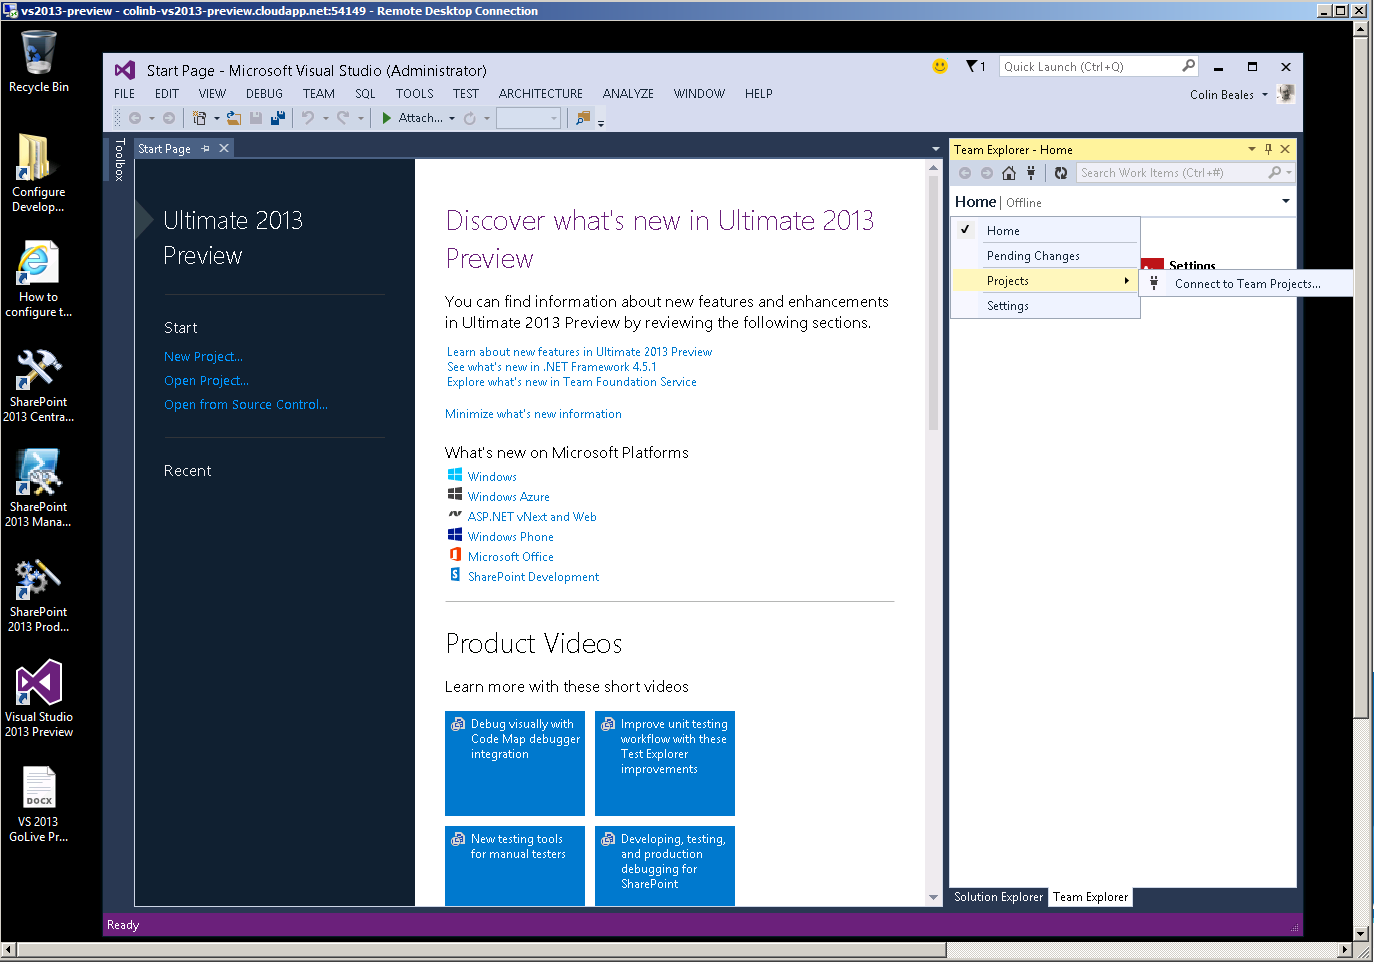
At this point we have a fully functional virtual machine with Visual Studio 2013 Preview installed within it. To finish off we can take a few steps to connect Visual Studio to Team Foundation Service (head to https://tfs.visualstudio.com if you want to sign-up for a Team Foundation Service account). To hook up Team Foundation Service load up Visual Studio and head to team explorer navigating the menus as shown below to select “Projects” and “Connect to Team Project”.
Simply fill head through the dialogs to add a Team Foundation Server (in our case Team Foundation Service) and then select the Project Collection and Team Project we want to work on.
With this done we now have Visual Studio Ultimate 2013 Preview all setup and configured against Team Foundation Service and are ready to start using the tools all working from the cloud.
If you remember to shutdown your virtual machine when you are finished the virtual machine will no longer incur any charges against yours subscription for the compute costs whilst the machine remains in this stopped state.
Of course a shutdown image can be selected at any time and restarted. At this point you can reconnect a remote desktop session again to the machine and use all the tools installed within.
In a few minutes and a simple wizard we have setup our Visual Studio Ultimate 2013 Preview and can use this for development/evaluation purposes in a nice isolated and hosted environment.
Colin.
Comments
Anonymous
August 22, 2013
Is there any possibility that beyond this preview - once Visual Studio 2013 is released - that developers will be able to continue to utilize an Azure VM for development / Visual Studio 2013? As a trainer / content creator, it would be helpful to point people to Azure so that they can always use the most recent version of Visual Studio.Anonymous
August 26, 2013
Thanks Bob for your suggestion - I will pass this onto the relevant people.Anonymous
October 17, 2013
VS 2013 RTM was made available to MSDN subscribers today and sure enough there's already a template for it in Azure :)


